 ASPNetWorld

Getting the right version of software to actually launch is half the battle, so let's start with what's needed. The current builds of Adobe Lightroom CC require macOS Sonoma 14.x or later, and the application runs natively on both Intel and Apple Silicon machines. You'll also want 8 GB of RAM and a solid 10 GB of free disk space to give the catalogue and cloud sync room to breathe.
Full-resolution originals live in Adobe's cloud, not on your local drive
Lightroom CC is the entirely cloud-based sibling in the family. Unlike Lightroom Classic, which relies on local folders and a traditional catalogue, this version is built around automatic syncing—your full-resolution originals live in Adobe's cloud, and every edit you make on a Mac, an iPad, or a phone appears everywhere else without a manual import step.
Merge multiple exposures into a single HDR image right inside the app
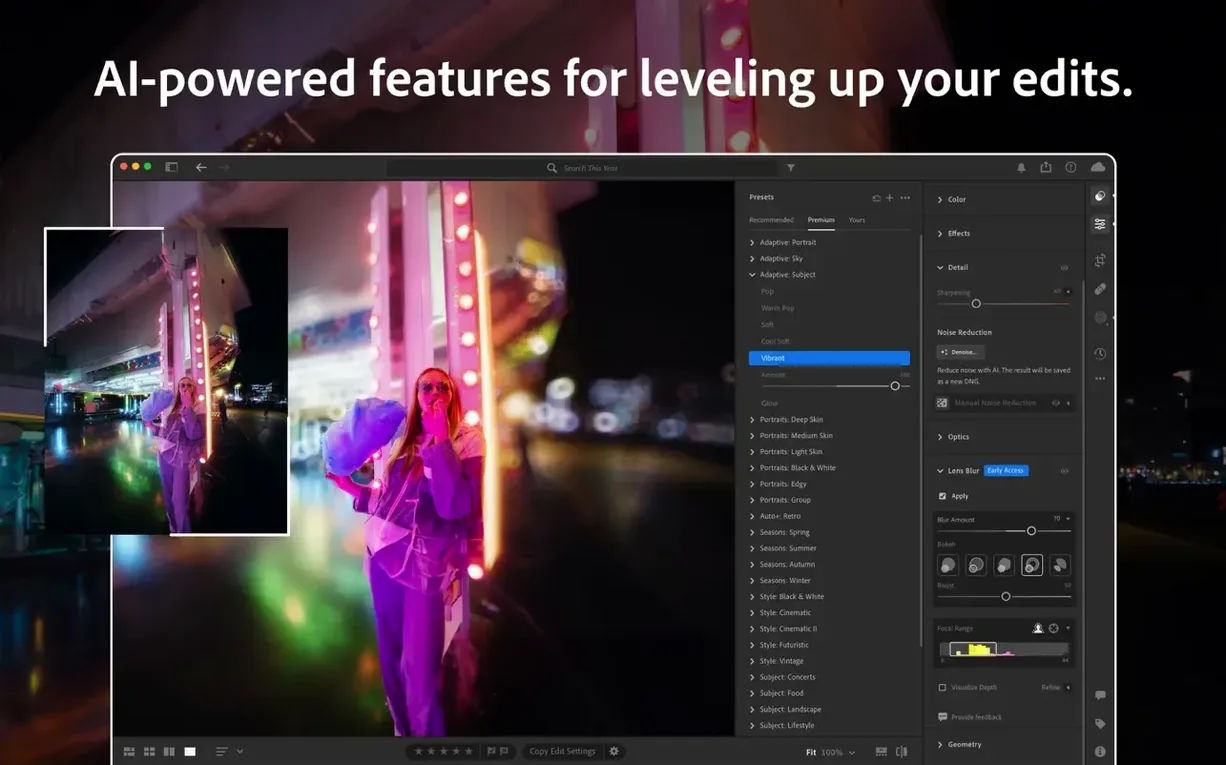
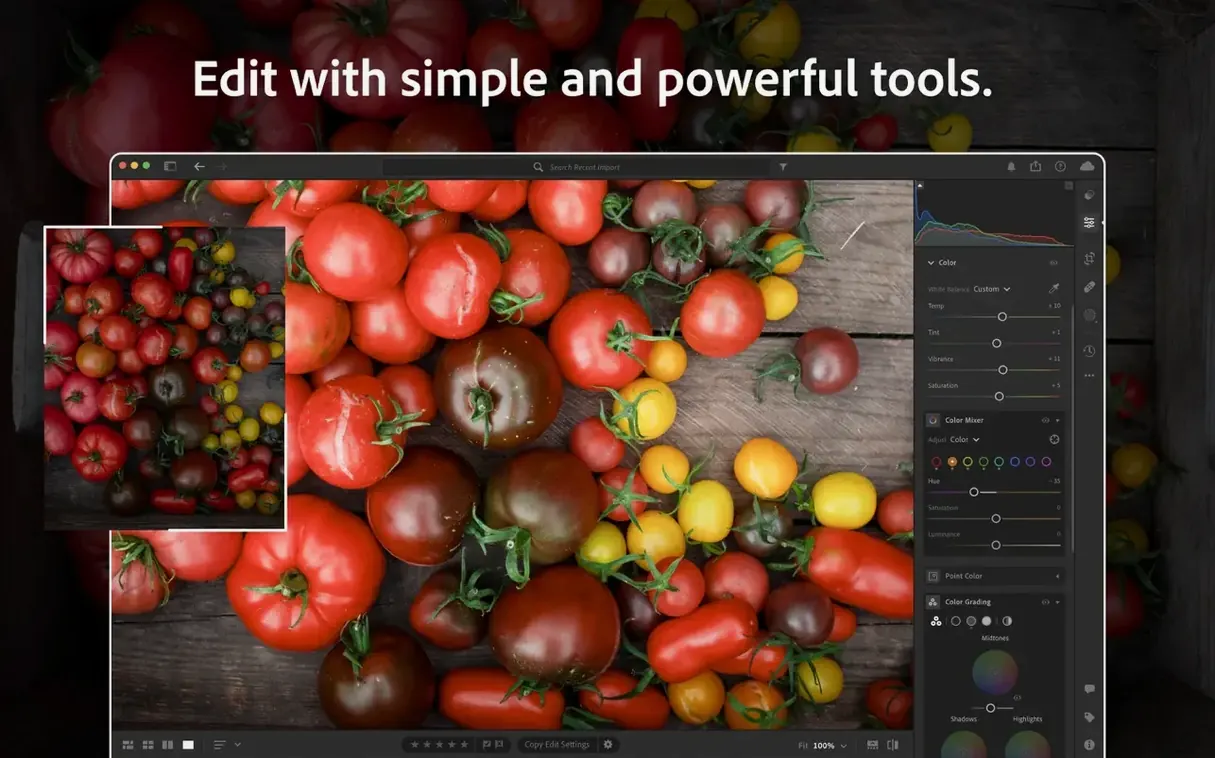
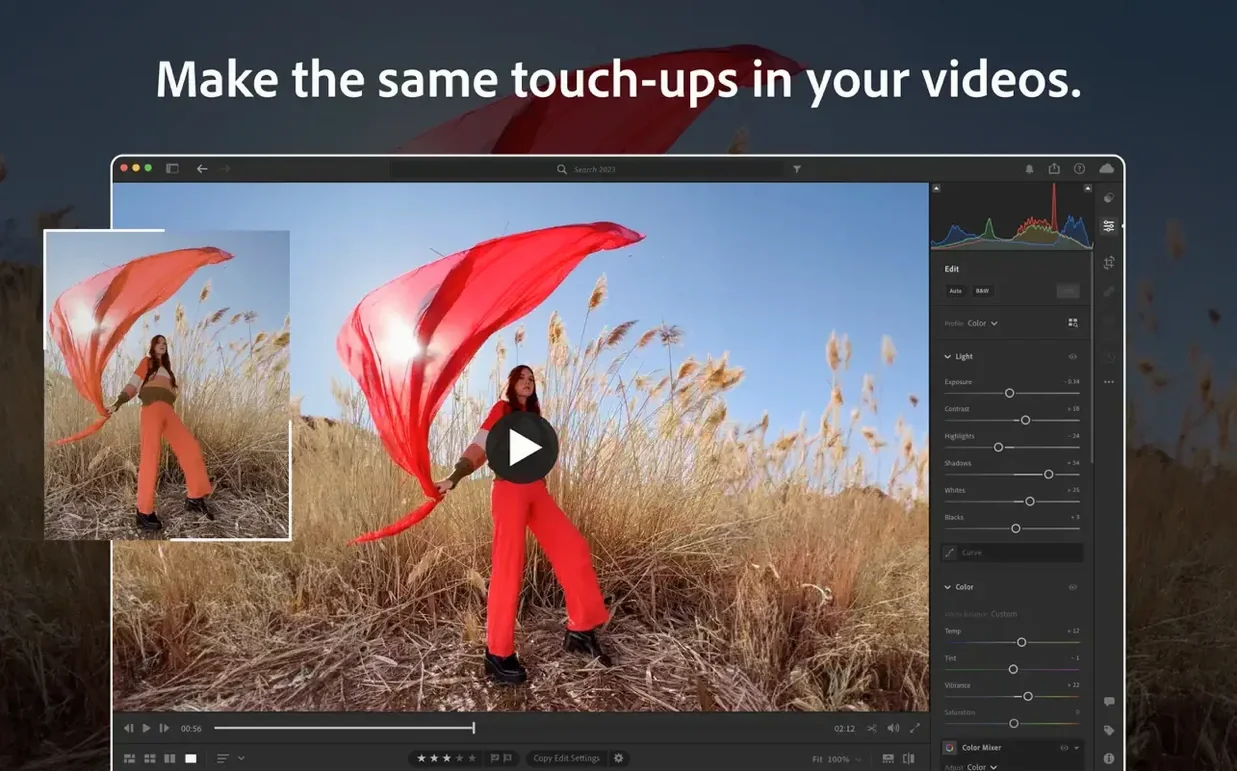
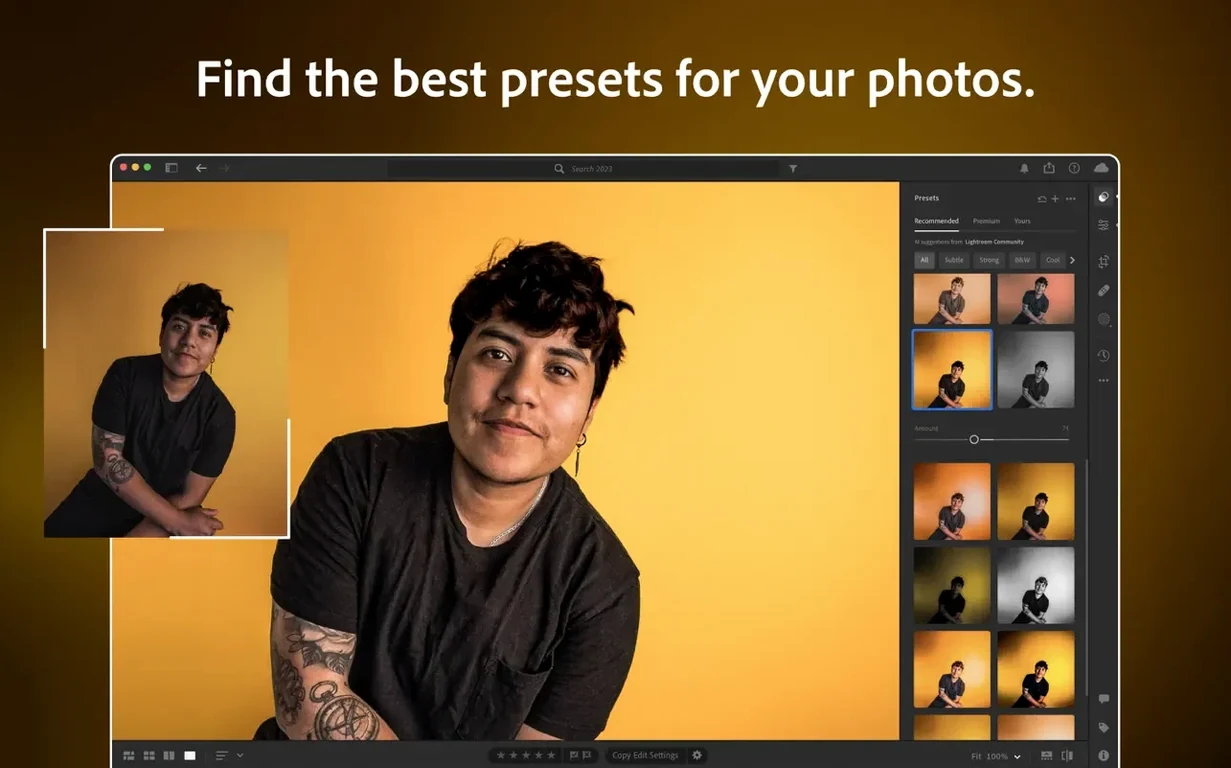
The toolkit covers everything from fundamental RAW processing to selective adjustments with brush, gradient, and radial filters. You can merge multiple exposures into an HDR image, and its automatic tagging system can help you find shots by identifying subjects like portraits, landscapes, or animals without you lifting a finger for keywords.
What's the organising system like?
Organisation is driven by the cloud sync engine and those automatic subject tags. Because the library is mirrored online, you can pull up a photo on a mobile device, give it a quick crop, and see that crop waiting for you back at the desktop. It also ties directly into Adobe Portfolio, so you can push a collection of images out to a personal portfolio website without leaving the application.
Performance and resource habits in daily use
After a few weeks of letting it become the default hub for a working library, the impression is of a thing that's settled into itself. Launch times on Apple Silicon are brisk — the icon barely has time to bounce twice — and on an M1 MacBook Air with 16 GB of RAM, the application sits at around 1.2 to 1.5 GB of memory with a 5,000-image cloud catalogue open. That's not light, but it's steady; I haven't caught it leaking memory after long editing sessions. Switching between the Library and Develop modules, even with 50-megapixel RAW files, is a beat quicker than you'd expect, and the cloud sync engine trundles away in the background without turning the machine into a hairdryer. On older Intel hardware, you'll feel the fans more during an HDR merge or a complex Generative Expand operation, but general browsing and slider adjustments stay fluid provided the 8 GB minimum is met. Adobe has clearly put work into making version 9.5 feel less like a colossus than earlier releases.
Double-tap the \ key for a temporary before-and-after view
Some of the best features are the ones that never get a splash screen. Here are a handful that can quietly change how you move through the app:
- Double-tapping the \ key toggles a temporary "before" view that shows the original import state, not just the last edit step — useful when you've been tweaking a tone curve for ten minutes and can't remember what the sky actually looked like.
- If you hold Option while dragging any Develop slider, the preview switches to a diagnostic mode that shows which pixels are clipping. It's like having a histogram built directly into your fingertips.
- Right-clicking a photo in the grid and choosing Edit in Photoshop automatically bundles the file off, waits for you to save, and pulls the edited TIFF straight into the cloud catalogue alongside the original — no manual export-import dance needed.
- The automatic subject tagging can be refined by selecting a batch of mistagged images and typing a manual keyword; Lightroom learns from the correction surprisingly fast, and a second pass through similar shots will often nudge them into the right category.
Switch GPU acceleration from Auto to a specific setting on Intel machines
A few defaults are worth nudging before you import anything important. First, open Preferences and look for the Use Graphics Processor setting — it's on by default, but on some Intel machines with discrete GPUs, switching it from "Auto" to "Custom" and enabling full acceleration can cut export times noticeably. Second, head to the mobile sync options and decide whether you actually want every phone photo automatically pulled into the desktop catalogue; the default "on" can fill your library with screenshot clutter, and you can restrict sync to only images you star or flag on the mobile device. Lastly, set your default import preset under the Develop module flyout menu: applying a gentle lens correction and a touch of noise reduction to every incoming RAW file means you start from a cleaner base, rather than correcting each image individually later on.
Version 9.5 sharpens the masking workflow and broadens raw support, bringing a couple of genuinely useful new controls into the panel. Here's what's changed:
- Generative Expand lets you reframe a shot by filling out the canvas with AI-generated content beyond the original crop.
- Masking now includes dedicated Feather and Edge controls for blending adjustments more smoothly.
- New camera and lens profiles have been added for several GoPro models, along with lenses from GoPro, Laowa, and SIGMA.
- macOS 14 Sonoma or later
- Intel or Apple Silicon processor
- 8 GB of RAM
- 10 GB of available disk space
- Internet connection and Adobe registration
Questions I keep hearing
Do I need an internet connection to use it?
An internet connection and Adobe registration are required for activation and to use the online syncing services that sit at the heart of the application.
Questions from the class 0
Sign in or join the class to ask a question.
Nobody has asked anything yet. If you have used it on a real job, say what the file did.
Also on the Adobe shelf
The whole Adobe shelf Adobe InDesign
Assembles long documents into print-ready pages and layouts.
Adobe InDesign
Assembles long documents into print-ready pages and layouts.
 Adobe Lightroom Classic
Imports, develops and catalogues photos from local folders and drives.
Adobe Lightroom Classic
Imports, develops and catalogues photos from local folders and drives.
 Adobe InCopy
Lets writers edit text while a designer lays out the same document.
Adobe InCopy
Lets writers edit text while a designer lays out the same document.
 Adobe Media Encoder
Handles the heavy encoding jobs queued from other Adobe apps.
Adobe Media Encoder
Handles the heavy encoding jobs queued from other Adobe apps.
 Adobe Illustrator
Builds logos and artwork that stay sharp at any size.
Adobe Illustrator
Builds logos and artwork that stay sharp at any size.
 Adobe Photoshop
Rearranges pixels so edited photos look completely untouched.
Adobe Photoshop
Rearranges pixels so edited photos look completely untouched.
 Adobe Dreamweaver
Lets you code and visually edit web pages side by side.
Adobe Dreamweaver
Lets you code and visually edit web pages side by side.
 Adobe Premiere Pro
Cuts and finishes professional video projects on a timeline.
Adobe Premiere Pro
Cuts and finishes professional video projects on a timeline.