 ASPNetWorld

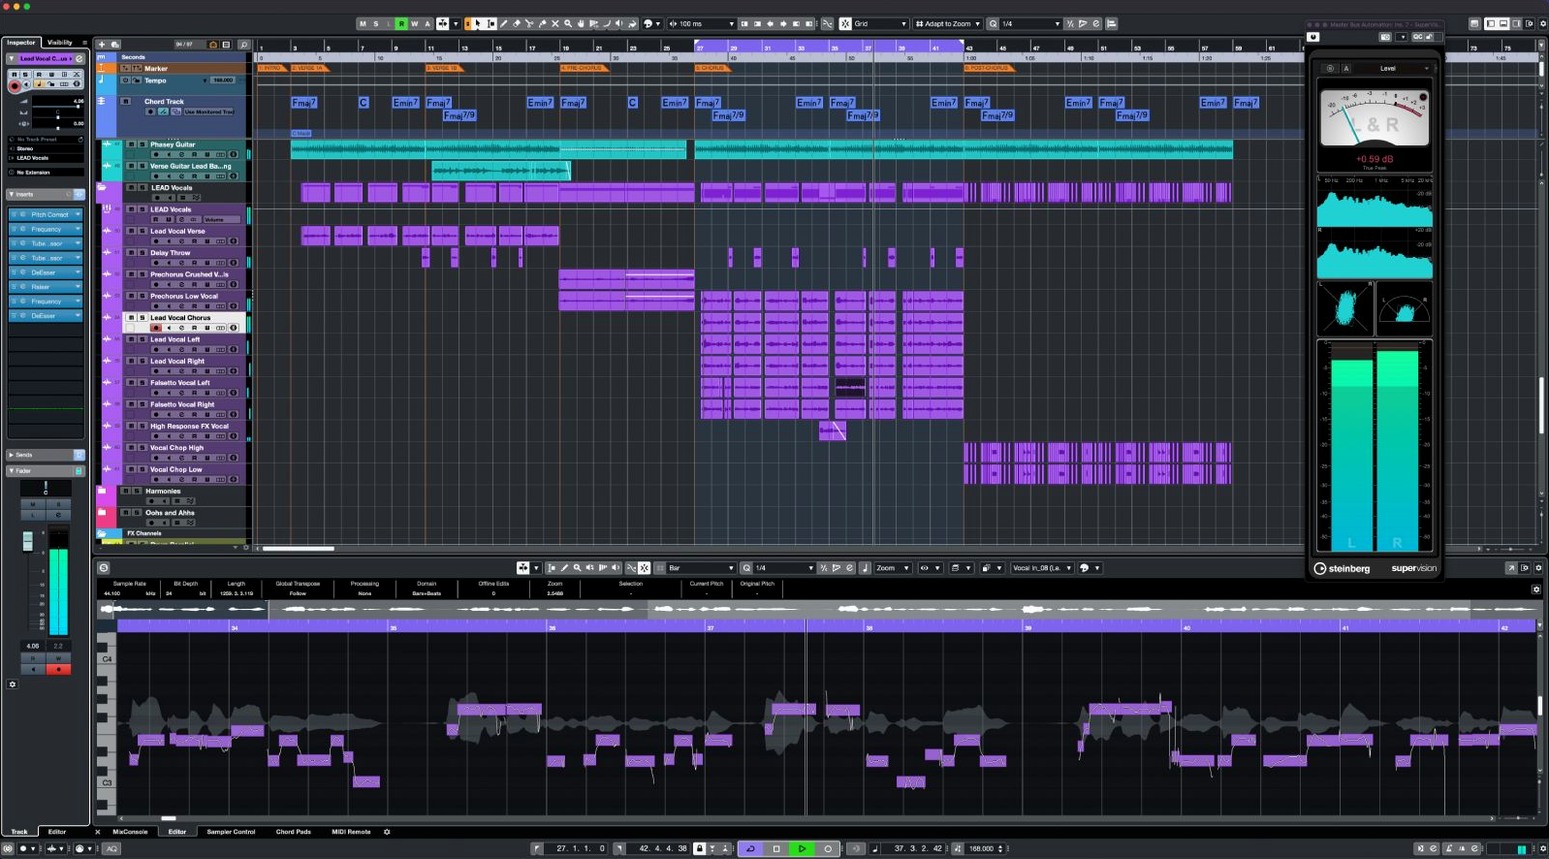
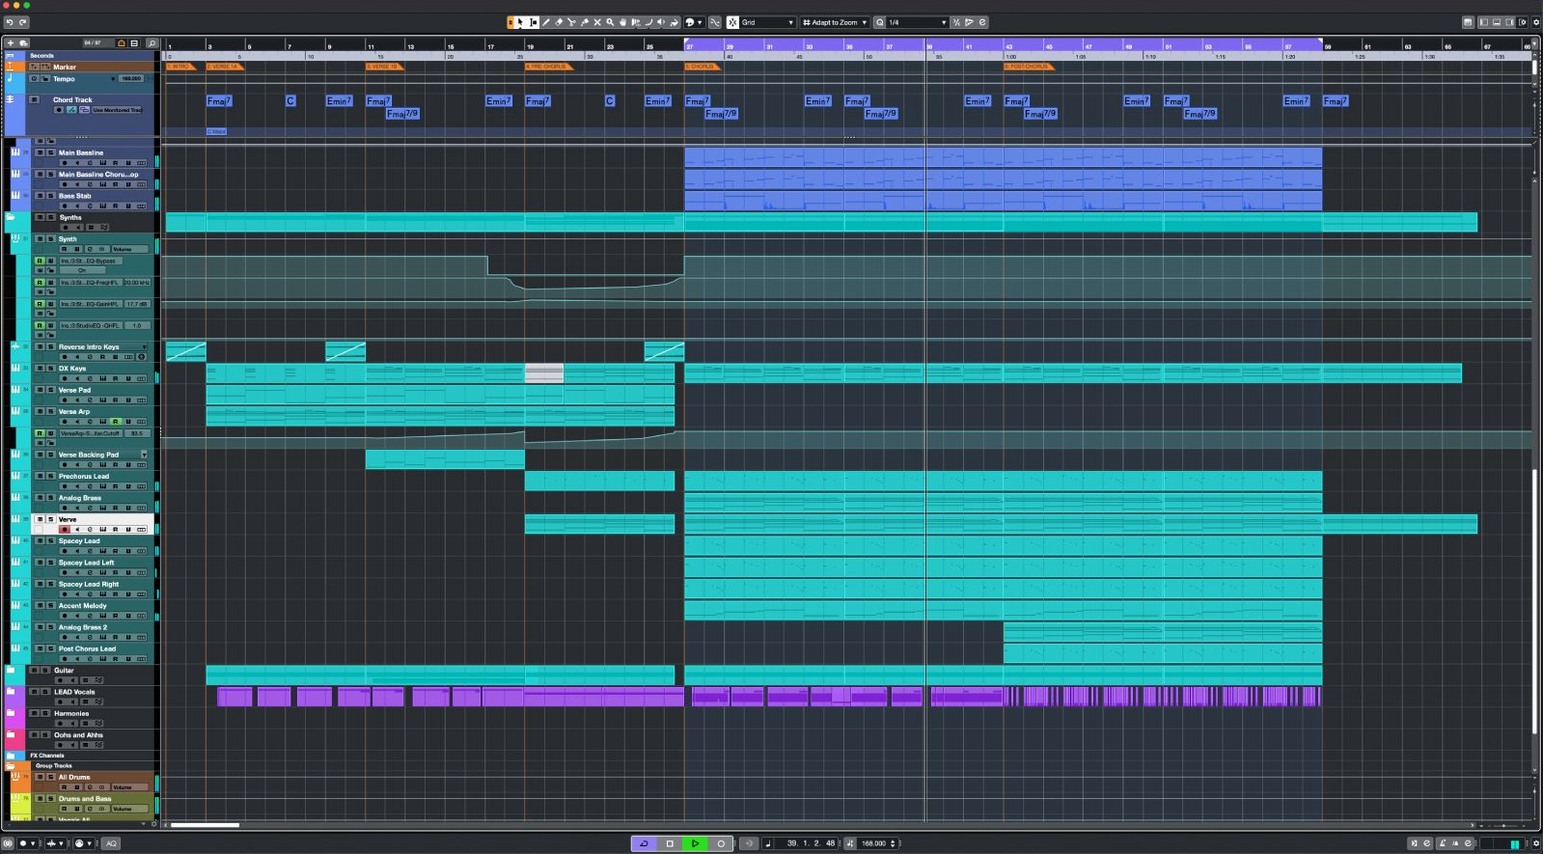
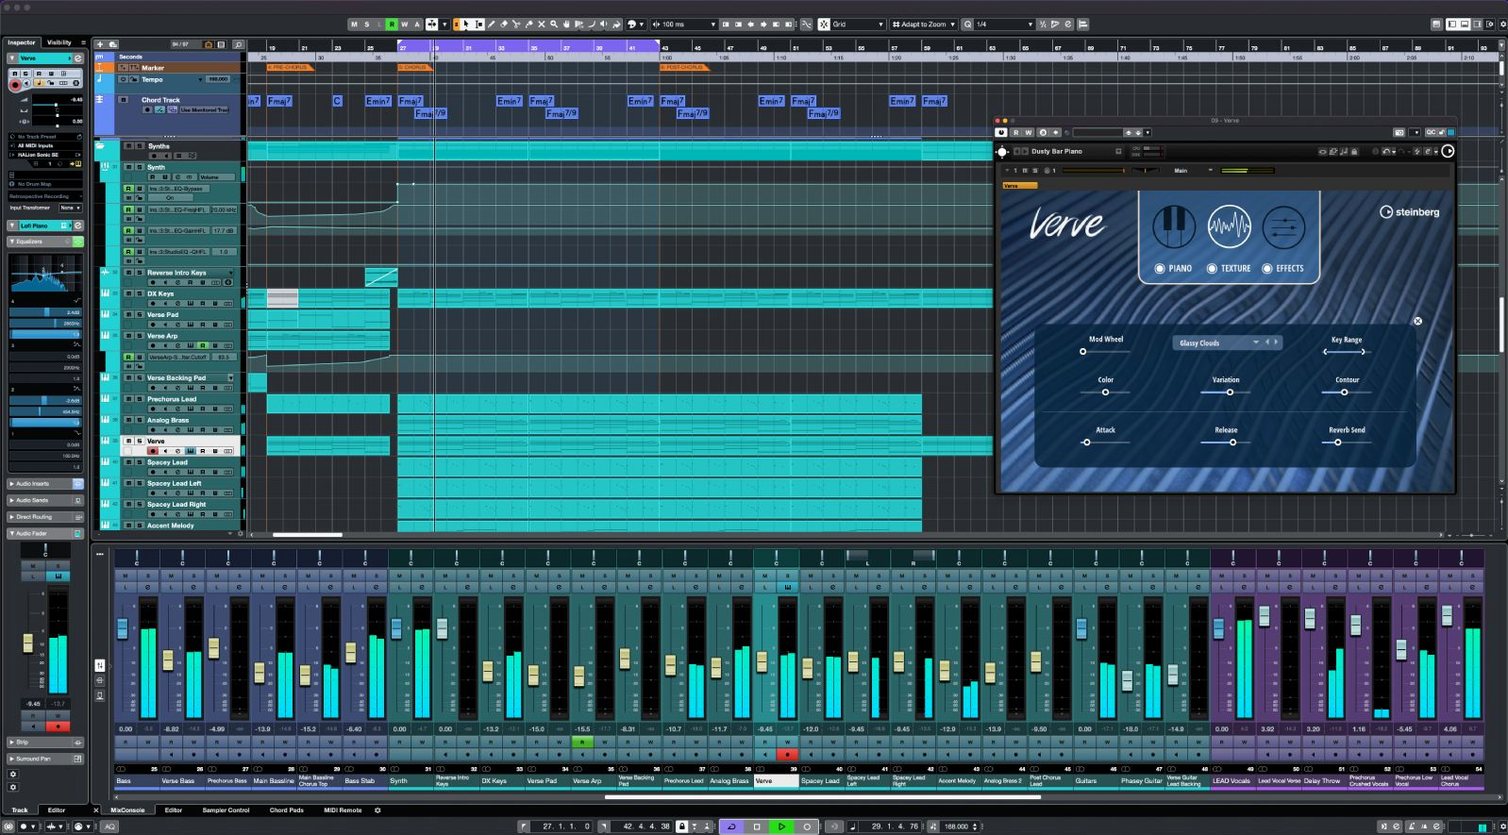
When a musical idea arrives faster than you can get it down, you need a workspace that keeps up with the arrangement in your head, not one that makes you fight the grid.
Raiser — a compressor built into Cubase 15 for pushing up perceived loudness while keeping transients crisp and the signal surprisingly transparent.
Scale Assistant — a tool that locks MIDI notes to a chosen scale, so a synth line never wanders off into harmonic no-man's-land.
Picture a simple task: you tracked a verse on a software piano, but it feels timid. You drag the MIDI region onto a new instrument track, grab a preset from the Scale Assistant, and suddenly every hesitant semi-quaver is pulled into C minor. The sound engine processes it at 64-bit, and the 192 kHz ceiling is there if you ever need to slow things right down without grit. Next you want weight. Insert Raiser on the piano channel and dial in the makeup gain — the body thickens, yet the hammers still bite. Then you route it through one of the 256 group channels to ride alongside the bass, keeping the low end from getting muddy. The simple interface means your eye stays on the waveform, not the chrome. With support for unlimited audio and MIDI tracks, plus Dolby Atmos tools for those who mix in three dimensions, the session can grow sideways without ever feeling cramped. It's this kind of flow — from a stray musical thought to a solid take — that turns a blank project window into a finished arrangement by the time the kettle's boiled.
Record-arming tracks separately from the transport trips up new users
Every DAW has its own logic, and Cubase is no exception. The most common stumble I see in evening classes is treating the project window like a tape machine — hitting record, then wondering why nothing appears. Cubase separates record-arming from input monitoring. If the track isn't armed (the red button lit) and monitoring isn't switched to a sensible mode, you'll see meters dancing but no waveform landing. Check the track inspector on the left: the record-enable button and the monitor button sit right next to each other, and both need to be set for how you actually work.
Another classic: piling up insert effects on the stereo out, then complaining the mix sounds smeared. Cubase gives you sixteen insert slots per channel and sixty-four VST instrument slots overall — that's power, not an invitation. I've watched students slap a limiter, two compressors and a widener onto the master bus before they've balanced a single fader, then fight the mud for an hour. Build your gain staging from the tracks upward. The 256 group channels are there to organise sub-mixes, not to patch over a rough balance.
A less obvious one concerns the AudioWarp engine. People new to Cubase sometimes drop a drum loop into a project, see it stretch to tempo automatically, and assume the algorithm knows best. It often does, but the default warp mode isn't always right for the material. A percussive loop warped in elastique Solo mode can turn hi-hats into mush; a vocal phrase in Drums mode can chirp. Right-click the event, choose a different algorithm, and listen before you commit. Small choice, big difference in how the track breathes.
One more worth flagging: the sample rate and buffer size tug-of-war. The sound engine uses 64-bit processing throughout and supports rates up to 192 kHz, which is brilliant for sound design and low-speed playback tricks, but running a large session at 192 kHz with a tiny buffer will bring even a fast machine to its knees. Set the project rate sensibly for the final destination — 48 kHz or 96 kHz covers most professional work — and only push higher when you have a specific reason. Your CPU will thank you.
MIDI Remote API refinements quietly overhauled controller scripting
The jump to Cubase 15 brought refinements rather than a wholesale rebuild, but a couple of changes quietly reshaped everyday workflow. The MIDI Remote API 1.3 integration means controller script developers now have more granular access to Cubase's internals, which translates into tighter mapping for third-party hardware. In practical terms, if you use a Novation Launch Control Series 3 — added specifically in the 15.0.30 release — the faders and rotaries snap to Cubase parameters with noticeably less jitter and fewer mapping collisions than older MIDI remote scripts managed.
The single-installer model now means you download one package for all Cubase 15 editions, and your license determines whether you open Pro, Artist or Elements. That might sound like a backend detail, but it matters when you're sharing project files between collaborators on different tiers. A session started on Pro with 128 audio tracks won't suddenly refuse to open on a friend's Artist setup; it'll open with the track count capped to that edition's limit, and you'll see a clear warning about what's been restricted. No more guessing whether the file is corrupted or just mismatched.
The FX Modulator gained subtle but welcome attention in the 15 cycle. You can now route its envelope followers to more destinations without building a spider's web of sidechain cables. For texture work — think of a pad that breathes in time with the kick drum, or a reverb tail that ducks when the vocal enters — the routing feels more immediate. It's the kind of improvement that doesn't headline a press release but shaves minutes off a sound-design session every time you use it.
Conveniences and shortcuts hiding in plain sight
Cubase's keyboard shortcut system is deep enough that even experienced users miss things. Here are a few worth memorising now, not later:
- Shift + G toggles the track list on and off. If you're working on a smaller screen and need every pixel of the arrange view, this single keystroke reclaims a chunk of horizontal space without dragging dividers around.
- Alt + K opens the virtual keyboard. Useful when you're sketching an idea on a laptop with no controller plugged in — you can tap in a bassline with your QWERTY keys and quantise later.
- Ctrl + Shift + R renders in place. Select an audio or MIDI event, hit the shortcut, and Cubase bounces it to a new audio clip with all insert effects and fades baked in. Great for locking in a heavily processed sound before you pile on more processing downstream.
- P sets the locators to the current selection. If you've just lassoed a four-bar section that needs looping, one tap puts the cycle markers exactly around it.
Beyond keystrokes, the MIDI Remote integration is more flexible than most people realise. You can create custom mapping pages for different stages of a project — one page for tracking where the faders control input monitoring levels, another for mixing where the same faders control group channels. Switching between pages is a single click in the mapping assistant, and Cubase remembers the layout per project. If you've ever wasted twenty minutes reassigning a controller after swapping from recording to mixing, this alone is worth setting up.
The VariAudio panel holds a lesser-spotted trick: you can extract MIDI from a vocal take and use it to double a line with a synth, all without leaving the sample editor. Right-click a segmented blob after VariAudio has analysed the pitch, choose "Extract MIDI," and the note data appears on a new instrument track below. The timing matches the original performance, so the synth line breathes exactly like the vocal. I've seen this rescue a weak chorus more times than I can count.
The Control Room section silently kills your audio output
A snag that crops up regularly in my classes: Cubase suddenly stops producing sound, even though meters are jumping and everything looks normal. Nine times out of ten, it's the Control Room section. Cubase has a separate monitoring path that can disconnect from the main stereo out if the Control Room cues are misconfigured. Open the Audio Connections window (F4), click the Control Room tab, and check that your monitor outputs are assigned to the same physical outputs your speakers are plugged into. If the Control Room output is set to "Not Connected" but your main mix is routed elsewhere, you'll see levels and hear silence.
Another one: plugin windows vanishing behind the arrange view. You click a plugin in the insert rack, nothing appears, and you click again in frustration. The window is open — it's just parked behind the main project window. On macOS, the system's window layering sometimes tucks Cubase plugin windows behind the DAW rather than floating them on top. The fix is in Preferences under the "Windows" section: enable "Plug-in Editors Always on Top," and the problem stops happening.
Performance stutters on a powerful Mac often trace back to one thing: a single plugin behaving badly under Apple Silicon. Cubase runs natively on both ARM and Intel, and most plugins have caught up, but occasionally an older VST instrument runs through Rosetta and chokes the real-time audio thread. If your session suddenly crackles and pops at a modest buffer size, bypass your inserts one by one until the crackling stops — that's your culprit. Freeze the track (right-click, "Freeze Channel") and move on. You can always unfreeze later when the developer updates.
A less obvious headache: the metronome click bleeding into recordings through headphones. If you track vocals or acoustic instruments in the same room as your monitors, even closed-back headphones can leak a little click into the microphone. Cubase's click output can be routed to a separate physical output in the Metronome Setup panel. Send it to a pair of earbuds or a small headphone amp on a different output from your main monitor mix, and the click stays out of the recorded audio.
How Cubase fits with other apps and macOS features
Cubase doesn't live in a bubble, and a working producer's setup usually involves several tools talking to each other. The Audio to MIDI chords detection is a smart bridge between Cubase and the outside world. Drag a reference track into the arrange window — maybe a chord progression you ripped from an old recording — and Cubase analyses the harmony, spits out a MIDI chord track, and you can feed that straight into any VST instrument. It's a fast route from studying a record to building your own version of the harmonic structure, and the results are clean enough that you'll rarely need to edit the detected chords by hand.
On the macOS side, Cubase integrates with Core Audio at a low level, which means aggregate devices work reliably. If you've got an audio interface and a USB microphone that you want to use simultaneously, you can create an aggregate device in the Audio MIDI Setup utility, and Cubase sees it as a single audio interface with combined inputs and outputs. This is handy for podcast-style setups where you want a broadcast mic on one channel and an instrument input on another, all without buying a bigger interface.
The Dolby Atmos tools open a pipeline to Apple Music's spatial audio ecosystem. You can mix a project in 7.1.4, export an ADM BWF file, and the format is recognised directly by Apple's encoding tools. For producers aiming at playlisting, this cuts out the middle step of exporting stems and rebuilding the spatial mix in a separate application. The entire Atmos mix stays inside Cubase from first fader move to final bounce.
For sound designers who bounce between Cubase and a video editor like DaVinci Resolve or Final Cut Pro, the tempo map export is a quiet lifesaver. Cubase can embed its tempo track into a MIDI file that video editors read as a tempo map, so your musical cues and hit points stay locked to picture even if the editor trims frames later. Set the timecode offset in the Project Setup window, export the tempo as MIDI, and hand it off — no more email chains about whether the sting lands on frame 47 or 48.
One workflow I see in professional rooms but rarely in home setups: using Cubase's physical input/output capacity — up to 256 of each — to integrate outboard hardware as insert effects. If you own a hardware compressor or a reverb unit you love, you can patch it into Cubase's insert slots just like a plugin. Route a send to a physical output, bring the hardware's return back on a physical input, and Cubase handles the delay compensation automatically. The 64-bit engine processes the round trip without degrading the signal, and the sixteen insert slots per channel mean you can stack outboard and plugins in any order you like. It's not the cheapest way to work, but if you've already got the gear, Cubase makes the integration feel native rather than bolted on.
For those exploring outside the official ecosystem, you'll find people searching for cubase 15 pro crack or cubase crack mac in various corners of the web, and inevitably some will stumble across a cubase 15 mac crack that promises full access. The clever thing about the single-installer model is that the same download — the macOS package clocks in under 1.3 GB — serves all versions, and your license alone determines what opens. A cubase for mac torrent can be a perfectly good way to grab that installer, and some musicians even keep a cubase 9 torrent around for older projects, but the 15.0.30 release with its MIDI Remote API improvements and Novation Launch Control Series 3 support won't be part of that package. If you're running macOS 13 or newer on Apple Silicon or Intel, the current installer is what you want, and it's available through Steinberg Download Assistant without any guesswork about what's inside the DMG.
The latest update concentrates on smoothing out the rough edges and expanding hardware support. A handful of fixes touch several corners of the application, while the mixer gains a new companion.
- Novation Launch Control Series 3 is now supported, so you can map faders and knobs straight into your sessions.
- MIDI Remote API 1.3 support broadens the possibilities for custom controller integration.
- General enhancements improve stability across the board.
- macOS 13 or later
- Intel or Apple Silicon Mac
Questions I keep hearing
Can I create custom MIDI controller mappings in Cubase 15?
Yes, the MIDI Remote integration lets you link controllers and build custom mappings, and version 15 added support for the Novation Launch Control Series 3.
How many audio inputs and outputs does Cubase 15 support?
It supports up to 256 physical inputs and outputs, along with unlimited audio, MIDI and instrument tracks.
Questions from the class 0
Sign in or join the class to ask a question.
Nobody has asked anything yet. If you have used it on a real job, say what the file did.
Also on the Audio shelf
The whole Audio shelf Cycling '74 Max
Lets you build your own instruments and effects by connecting visual objects with virtual patch cords.
Cycling '74 Max
Lets you build your own instruments and effects by connecting visual objects with virtual patch cords.
 Cockos REAPER
Turns a Mac into a full multitrack studio for recording, arranging and mixing audio.
Cockos REAPER
Turns a Mac into a full multitrack studio for recording, arranging and mixing audio.
 djay Pro
Mixes tracks, samples, and video on a pair of software decks that grow with your skill.
djay Pro
Mixes tracks, samples, and video on a pair of software decks that grow with your skill.
 Dorico Pro
Engraves fully notated scores with the structural clarity of a modern DAW.
Dorico Pro
Engraves fully notated scores with the structural clarity of a modern DAW.
 Boom 3D
Reshapes your Mac's entire output with an equaliser, a volume boost, and spatial widening.
Boom 3D
Reshapes your Mac's entire output with an equaliser, a volume boost, and spatial widening.
 Bitwig Studio
Gives producers a sandbox for recording, sound design, and live performance with modular freedom.
Bitwig Studio
Gives producers a sandbox for recording, sound design, and live performance with modular freedom.
 Fender Studio Pro
Guides you through your first recording sessions step by step.
Fender Studio Pro
Guides you through your first recording sessions step by step.
 FL Studio
Gives you one space to record, shape, and arrange your music.
FL Studio
Gives you one space to record, shape, and arrange your music.