 ASPNetWorld

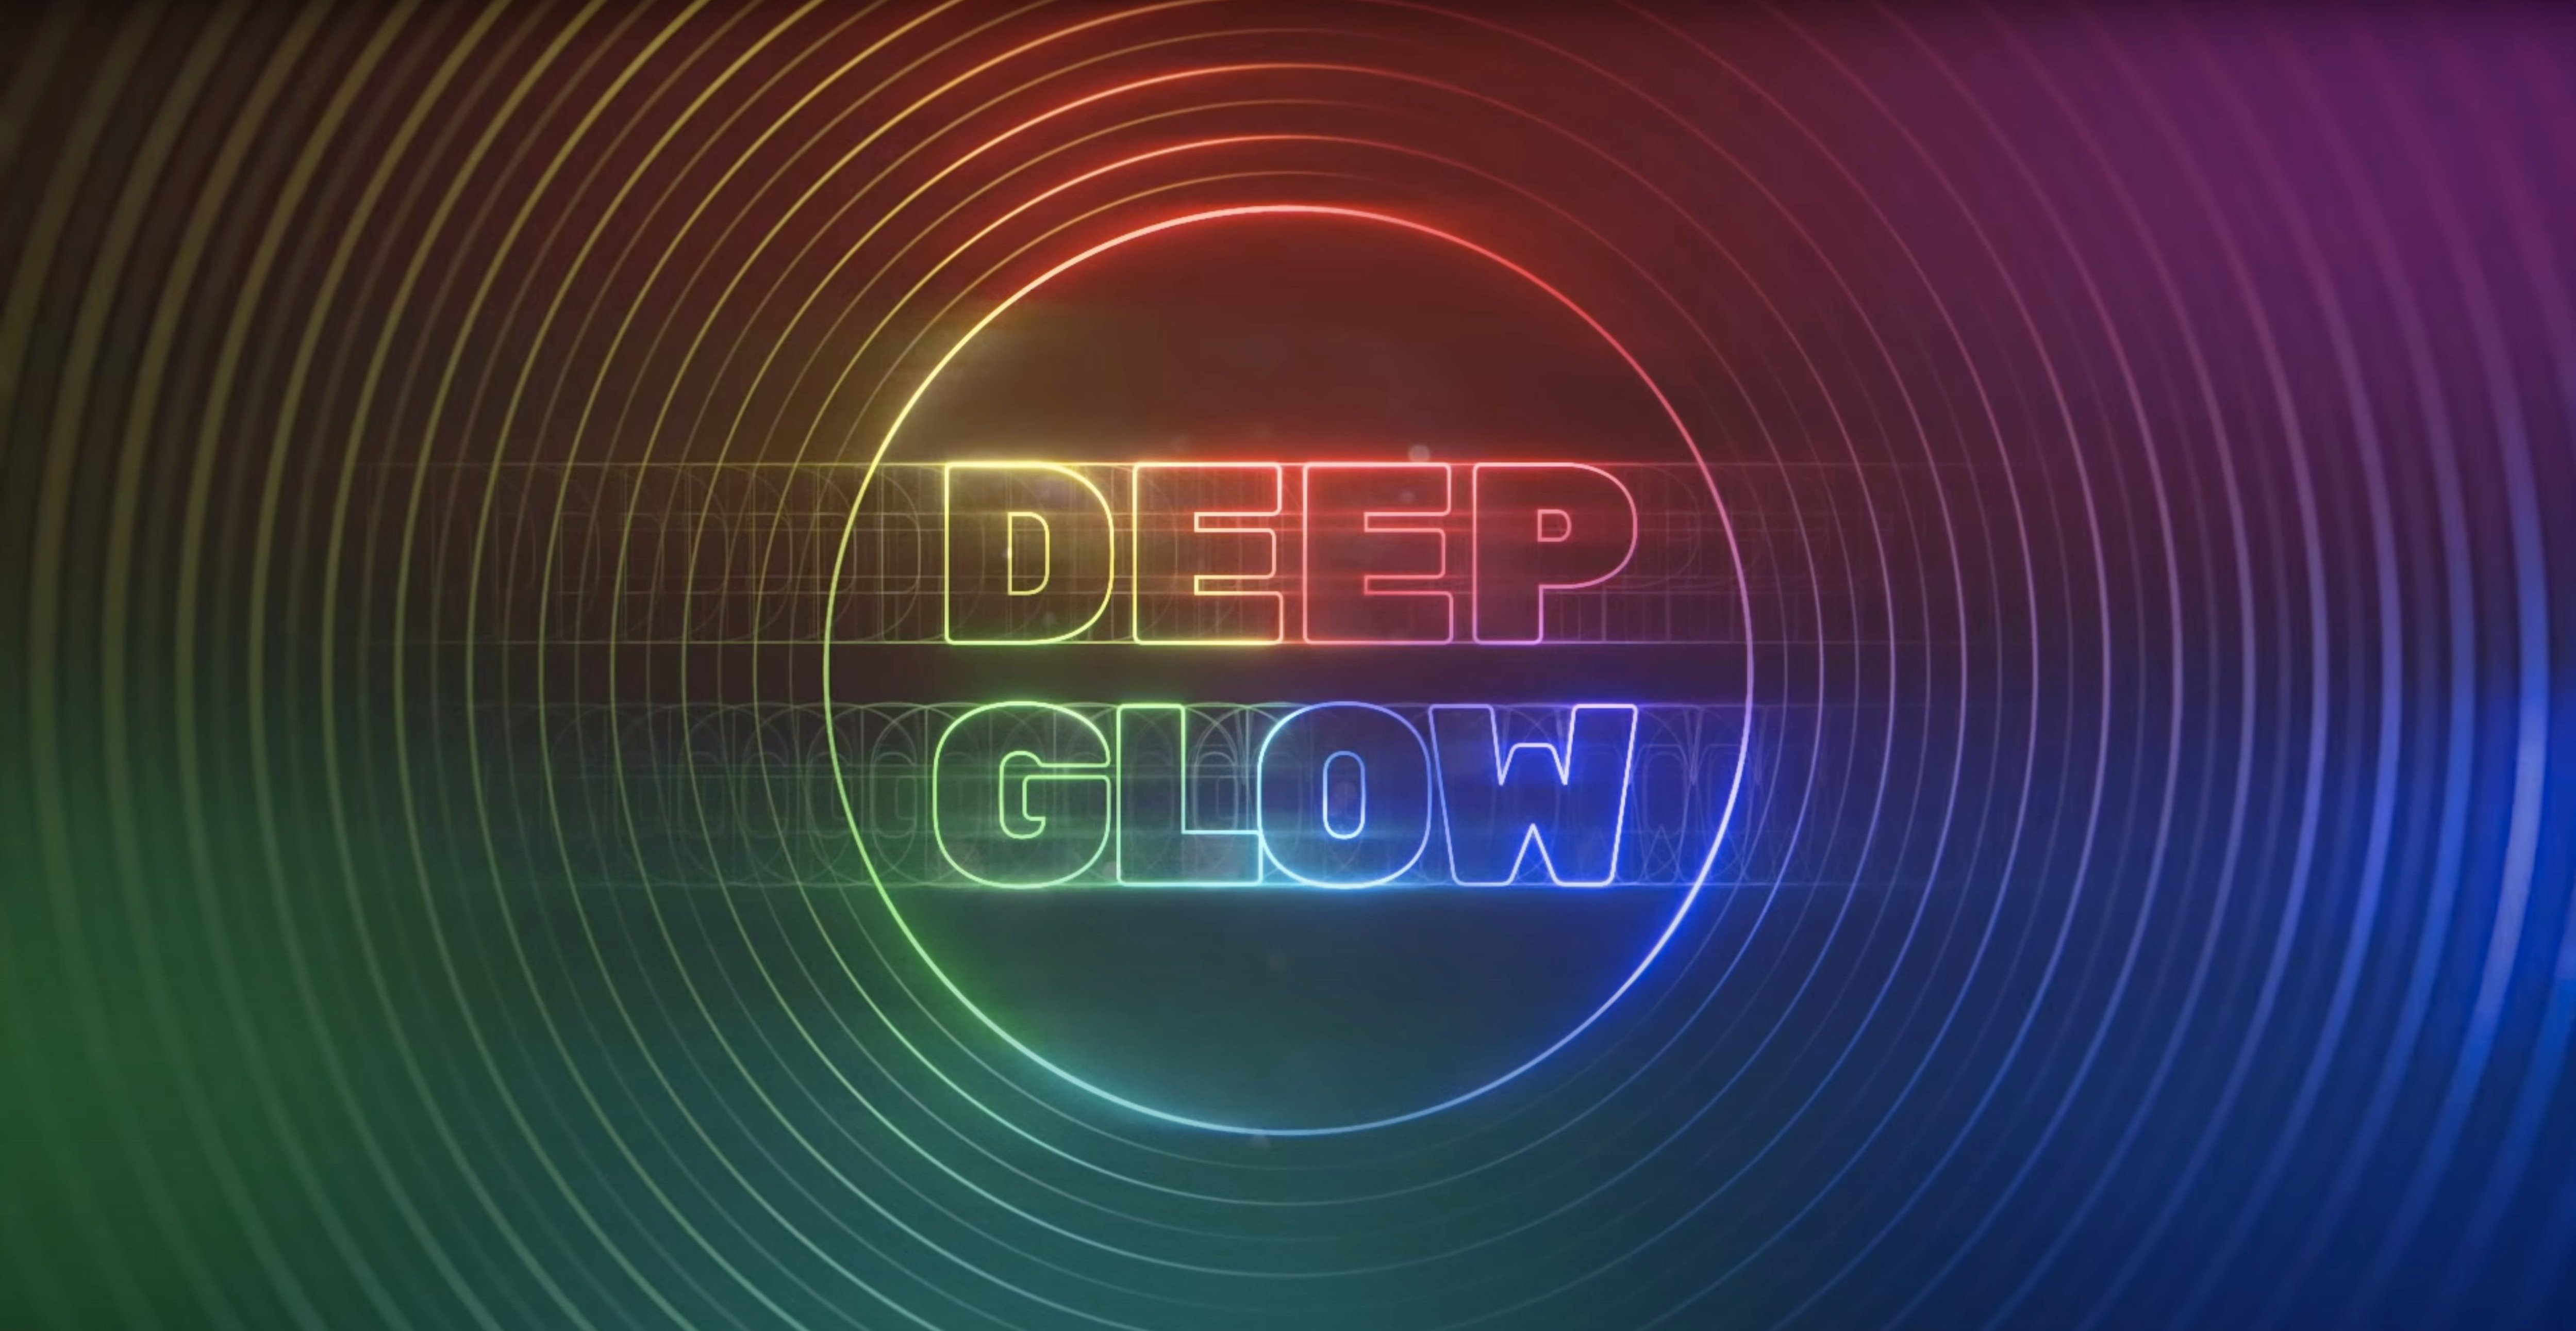
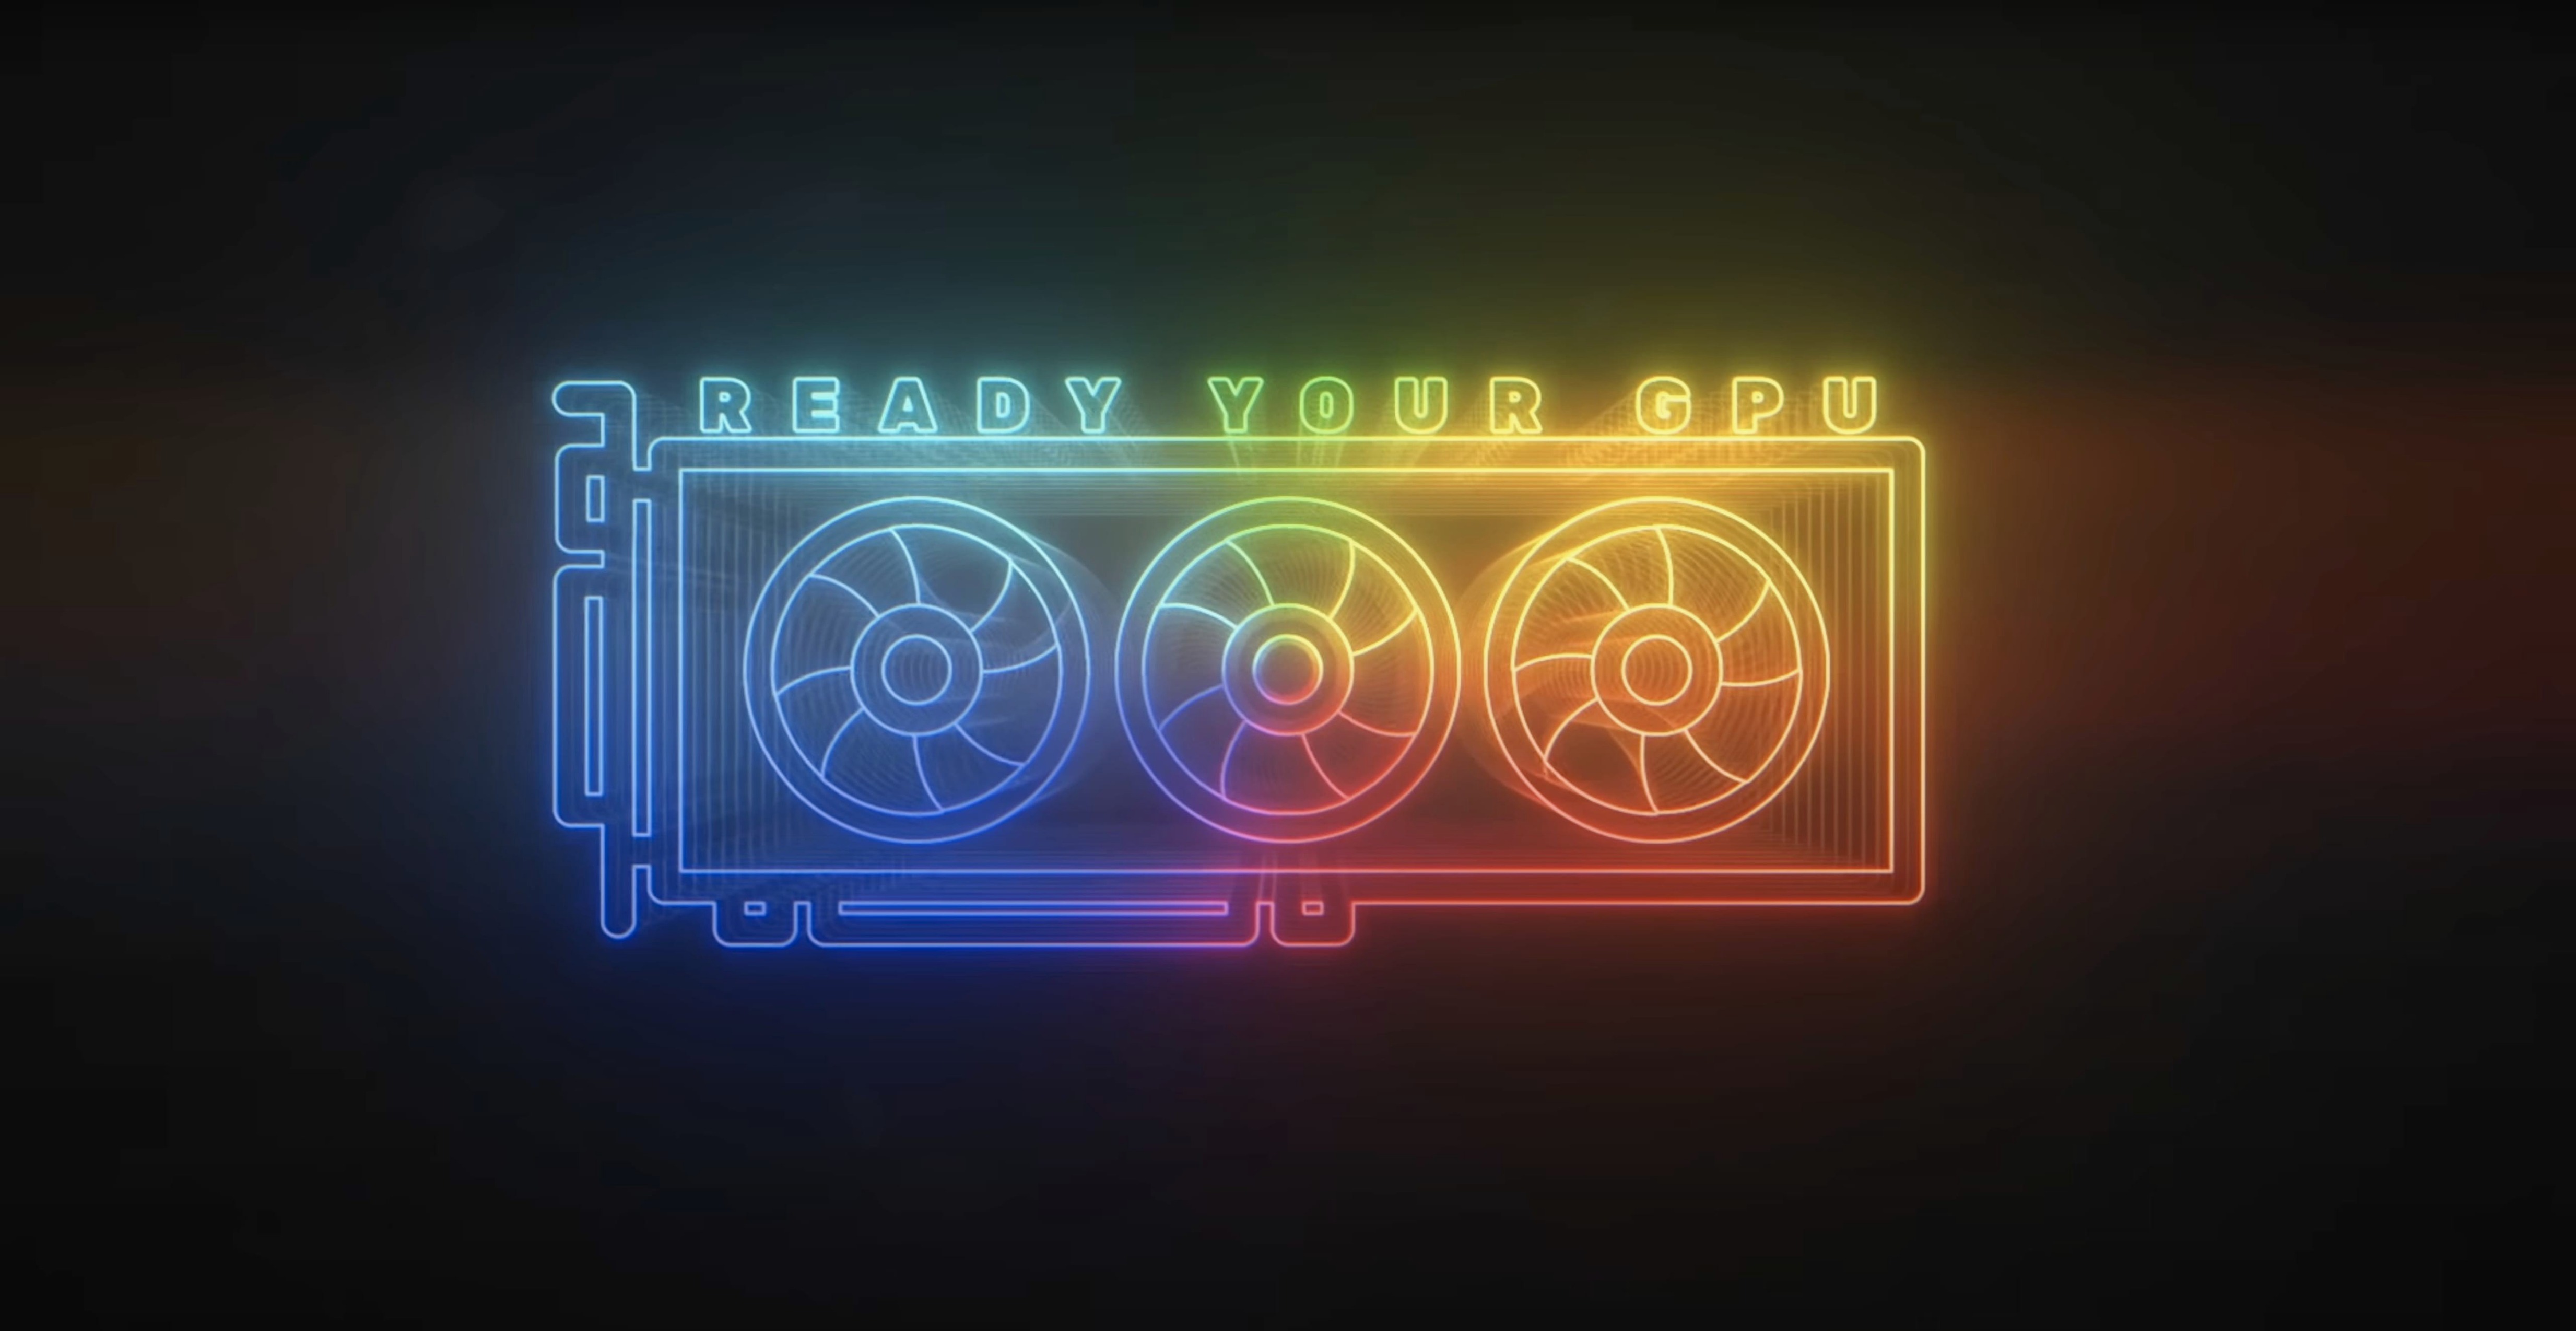
Deep Glow runs natively on both Apple Silicon and Intel Macs, so it feels at home on anything from an M1 MacBook Air to a Mac Pro with an Afterburner card.
Applying glow to a single track
Drop Deep Glow onto a logo or title layer and you get a physically plausible spread of light right away — the inverse-square falloff mimics how a real light source behaves, not just a soft blur.
Sweetening a bus with compositing controls
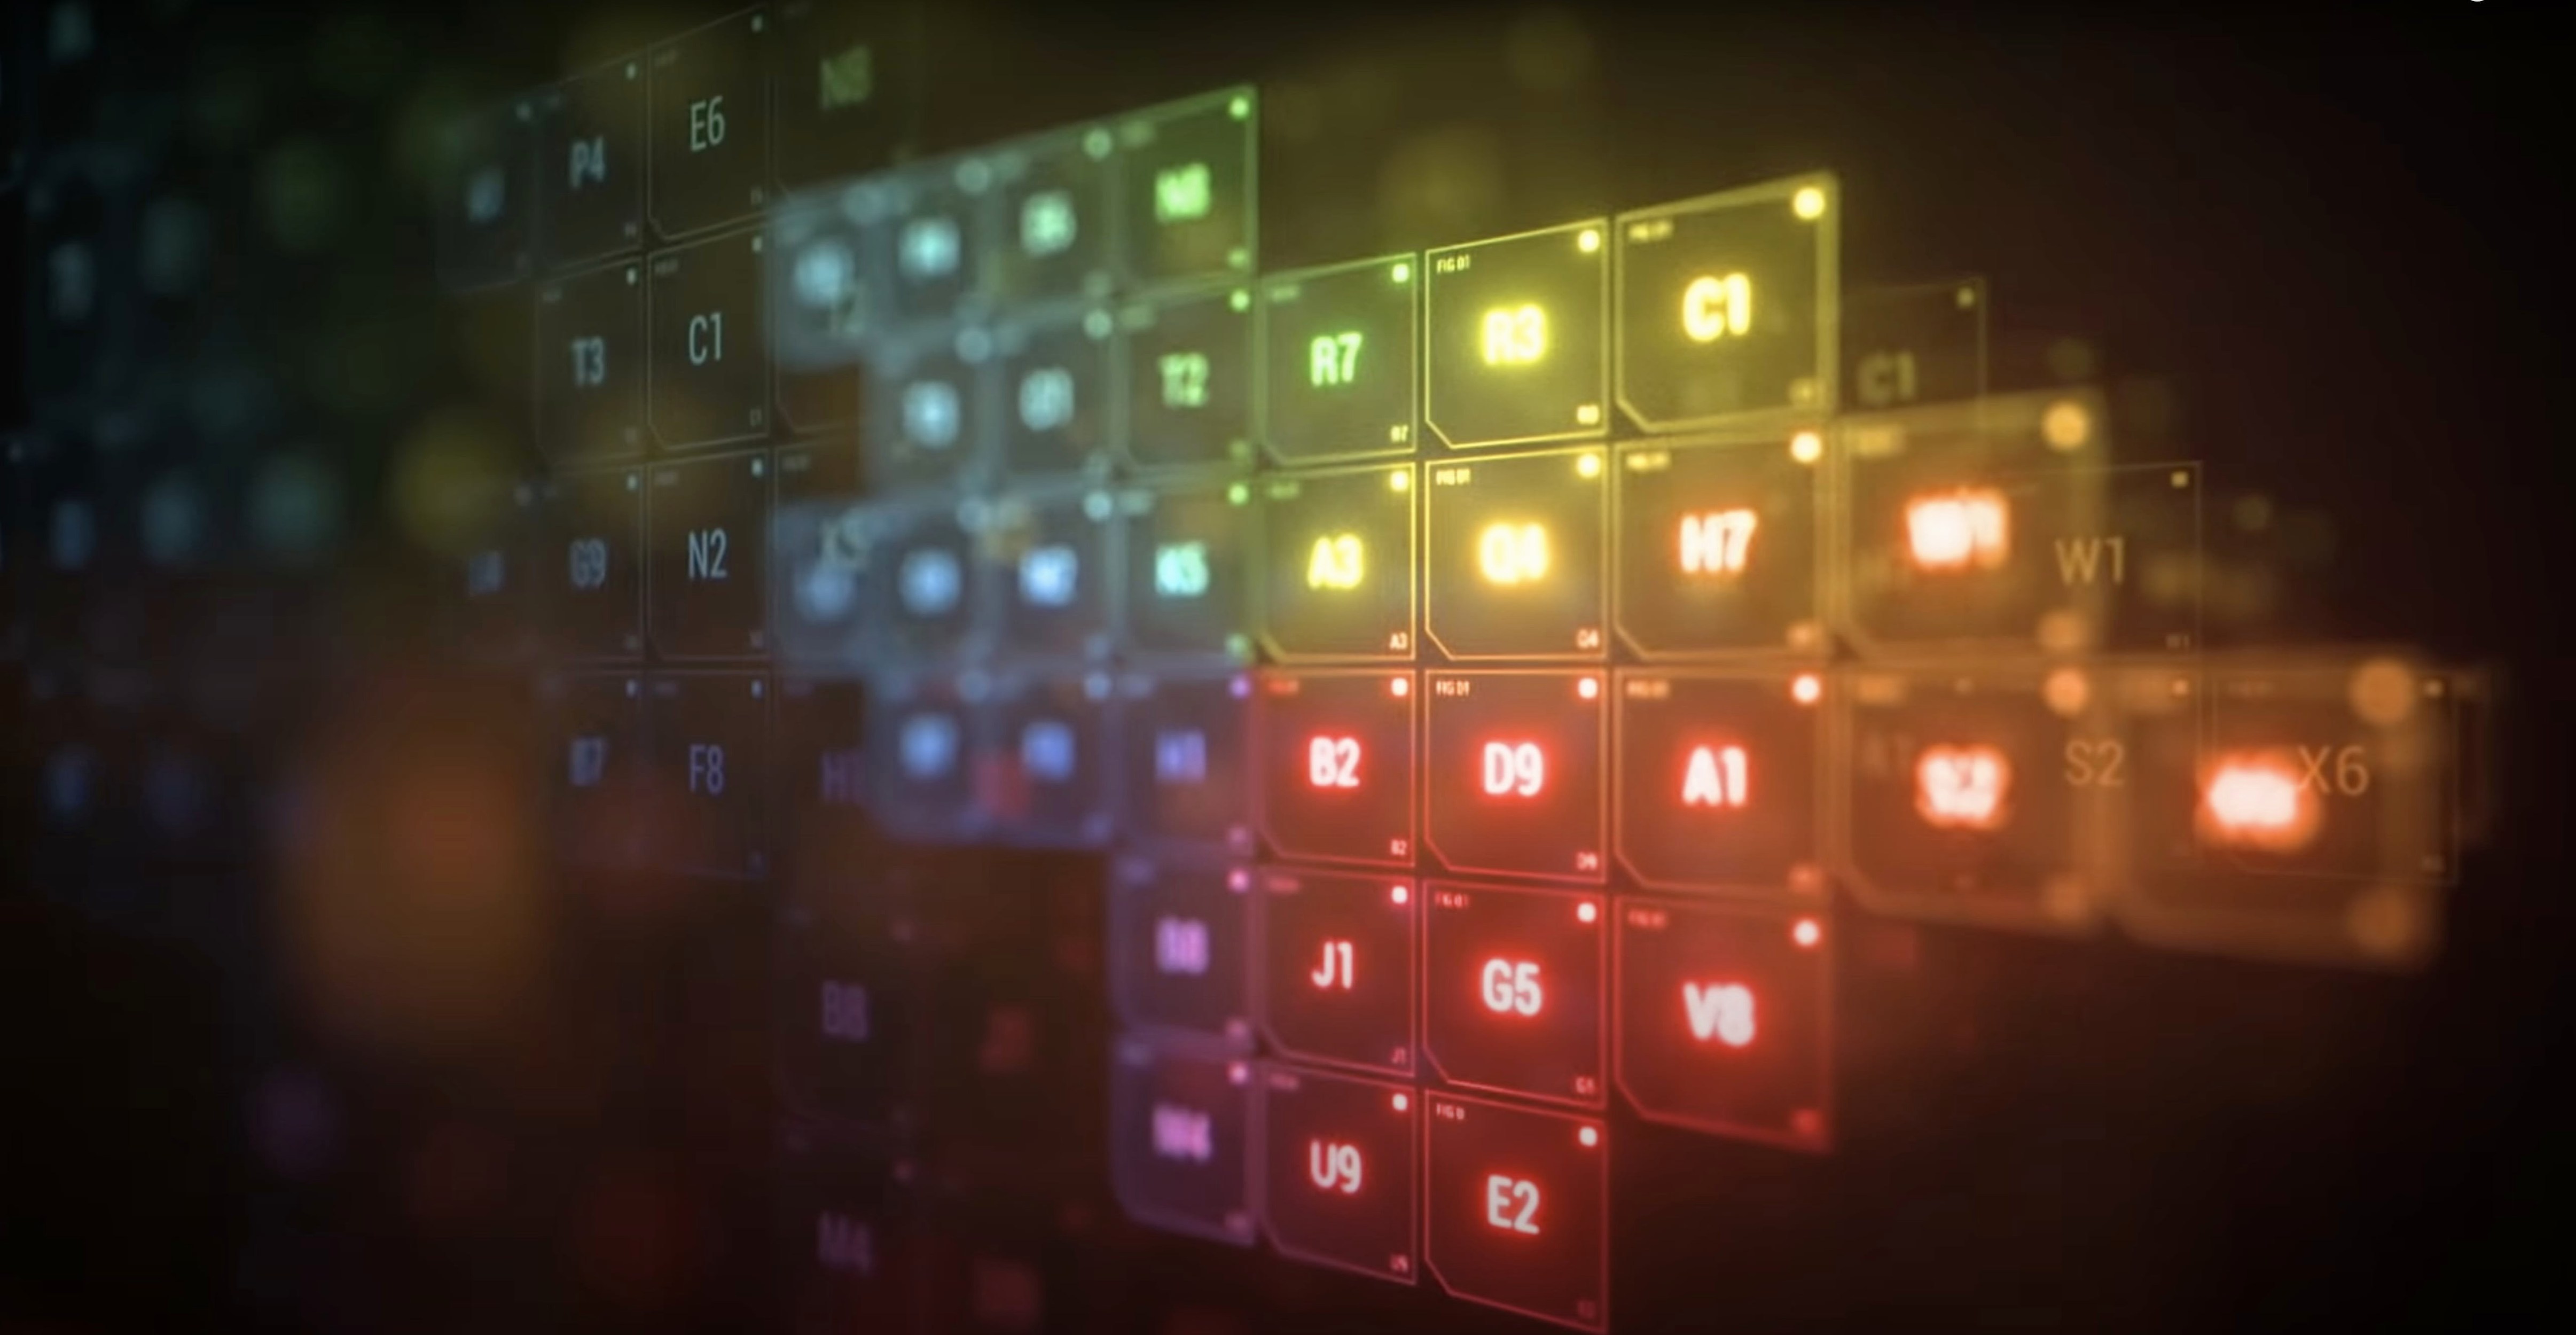
When you treat glow as a bus effect on an adjustment layer, the built-in compositing controls let you blend the result back over your scene with real finesse, pulling down the glow in the shadows while keeping the brights clean.
Adding texture for stylised work
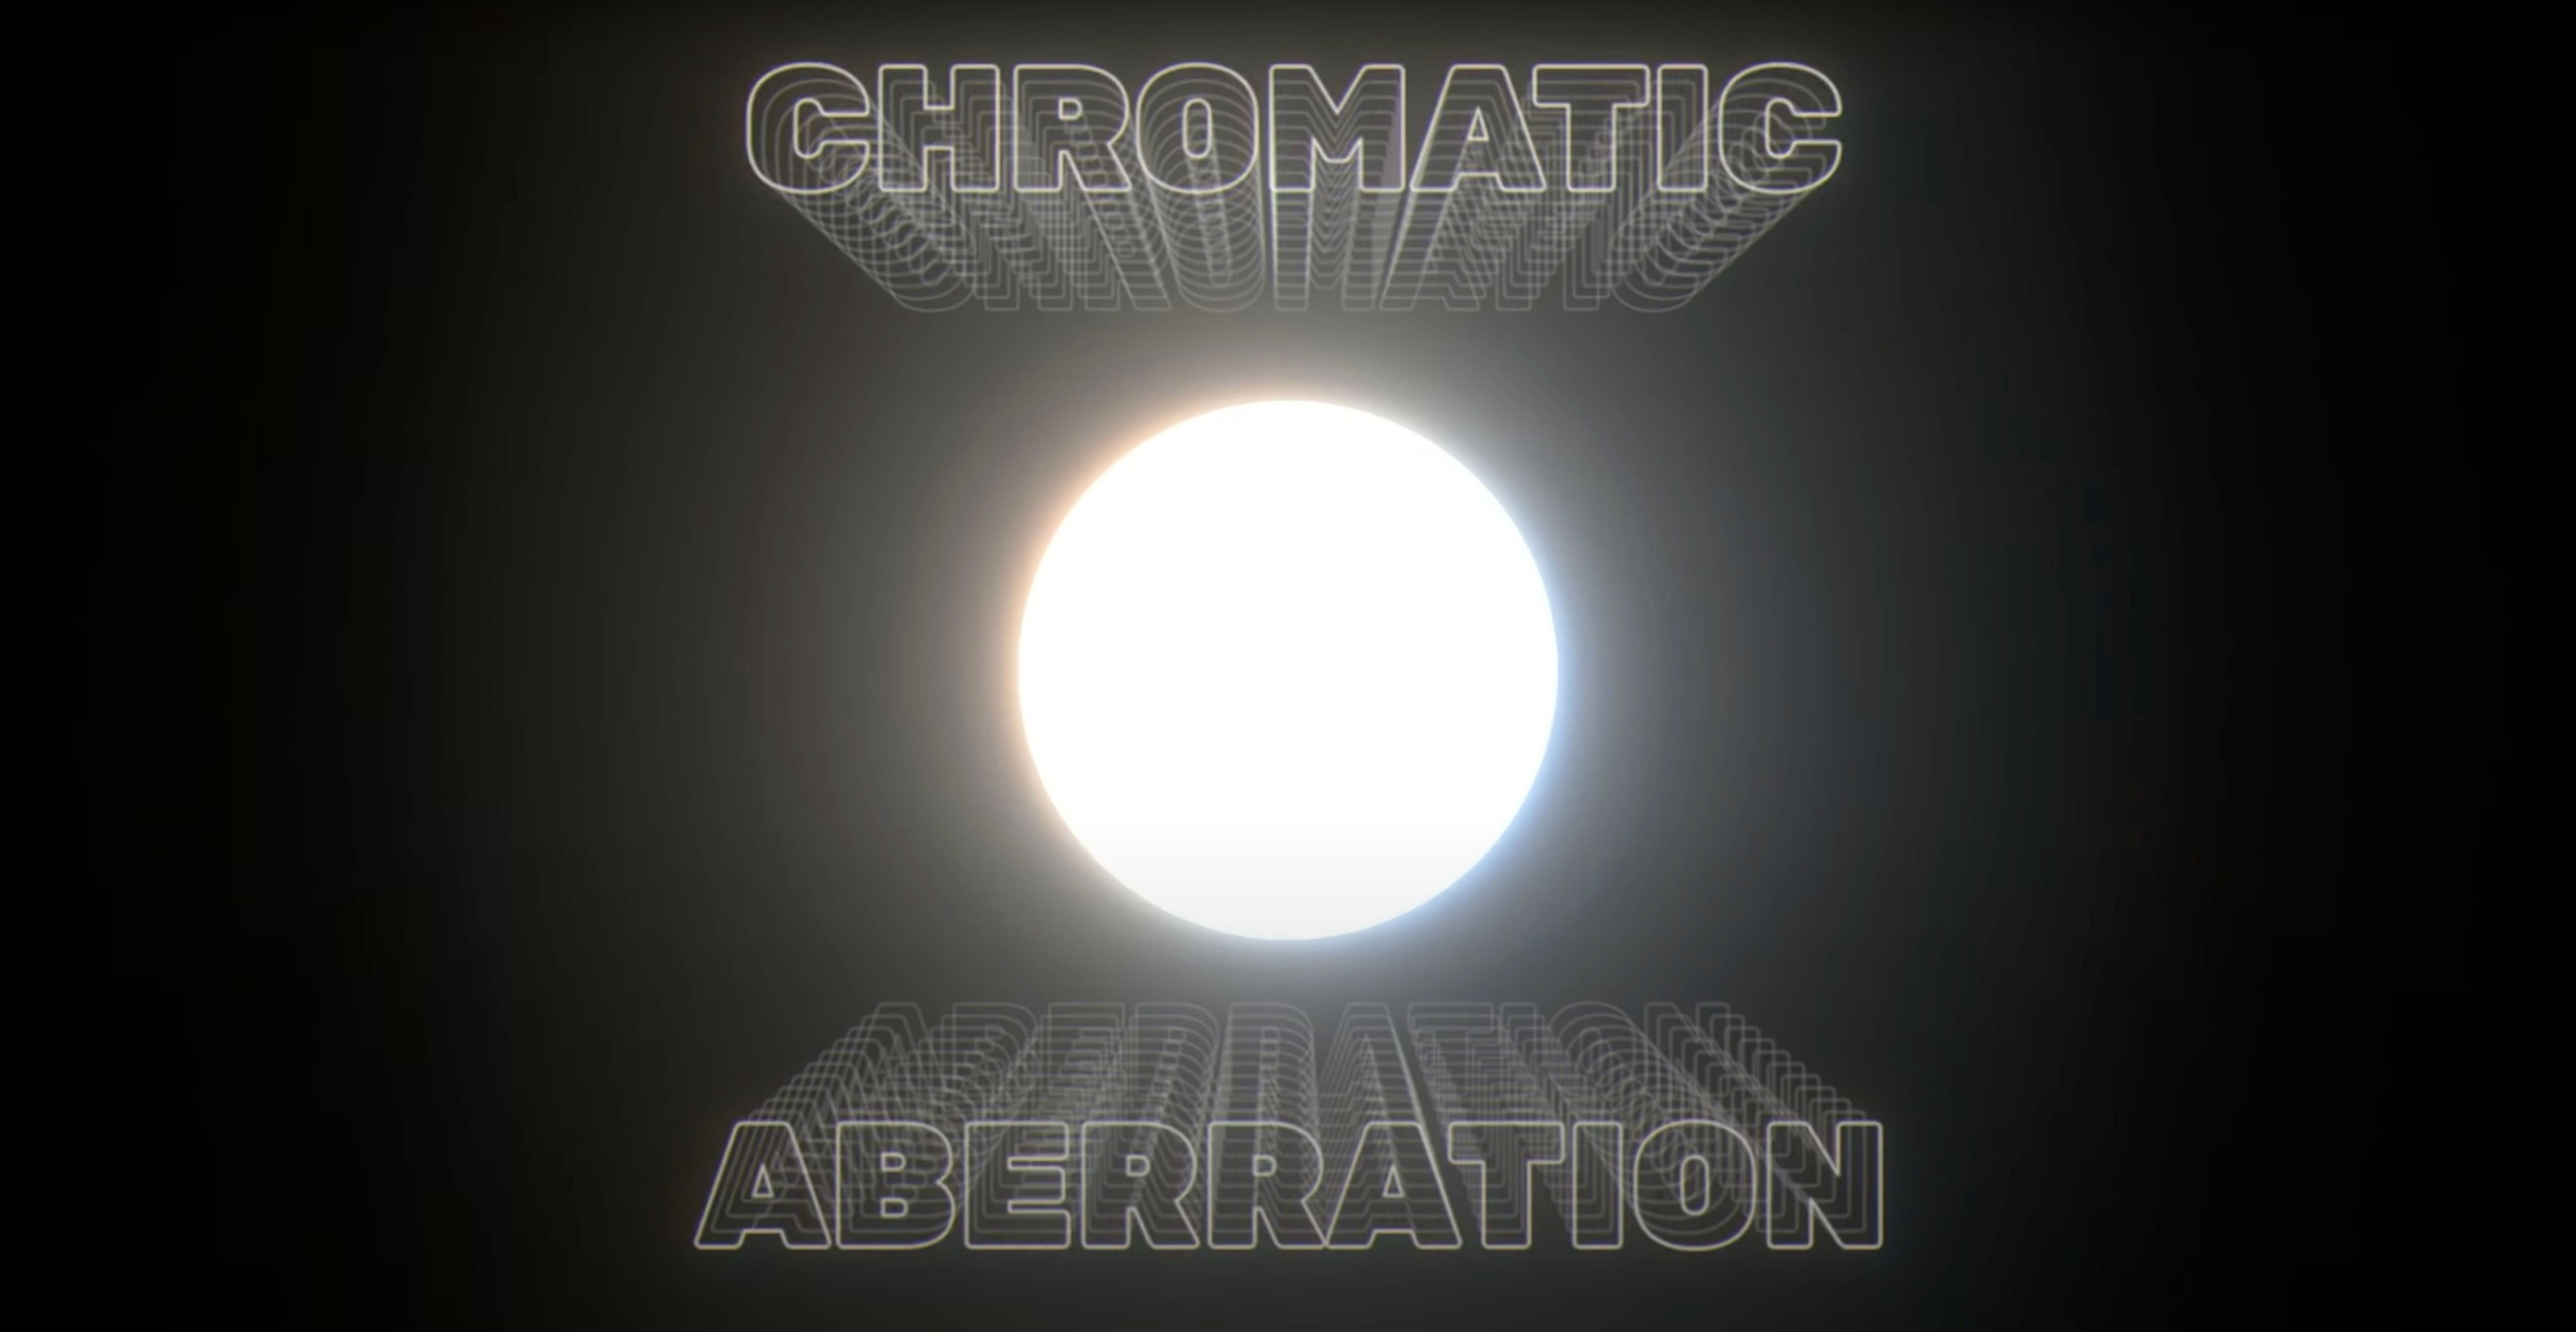
If you need something less clinical, the same controls can introduce grain and grit, giving you a stylised, almost analogue bloom that sits well on motion graphics or VFX composites without looking like a default filter.
After teaching evening classes in motion design for a few years, I’ve seen the same handful of glow-related missteps trip up newcomers time and again. Deep Glow sidesteps a few of them by design — its default falloff already behaves more like real light — but knowing what to avoid still saves you an afternoon of staring at a render queue.
The most common mistake is piling glow onto every single element at full opacity. In the physical world, light blooms from the brightest parts of a scene, not from everything equally. Beginners often apply the effect to an entire pre‑comp, then wonder why the result looks like a greasy lens rather than a luminous accent. With Deep Glow, the fix is usually a quick tweak to the Blend controls: pull the glow out of the shadows using the threshold slider, or set the blend mode to Screen and drop the opacity until only the genuine hot spots are radiating. A second pair of eyes — or a few minutes with the layer soloed — helps you hear what the image is actually doing.
Another classic snag is ignoring the colour space. After Effects projects can drift into linear, Rec.709, or even log profiles depending on how footage arrived and what colour management settings you inherited from a template. Because Deep Glow operates in a non‑linear space, the plugin handles the conversion for you, but if your project settings are fighting it — say, you’ve explicitly linearised everything upstream — the glow can look nuclear rather than natural. The solution is not to dial the radius down to zero in a panic. Instead, check your working space under Project Settings, and if you need a quick sanity check, toggle the View menu’s display colour management off and on. The glow that looked broken in a linearised viewer may actually be perfectly clean in the final export.
A third trap is over‑cranking the quality settings while you’re still blocking out timing. Deep Glow’s downsampling controls are there to keep the comp responsive, and they’re excellent at it, but students often set everything to “High” on the first pass and then complain that After Effects has turned to treacle. Set the Downsample to 4x or even 8x while you’re roughing out animation. You can always bump it back to 1x before the final render. The GPU acceleration means the penalty for high quality is smaller than with CPU‑only glows, but it’s not zero, and a stuttering timeline kills momentum faster than a slightly soft preview.
How Deep Glow sits alongside a few alternatives
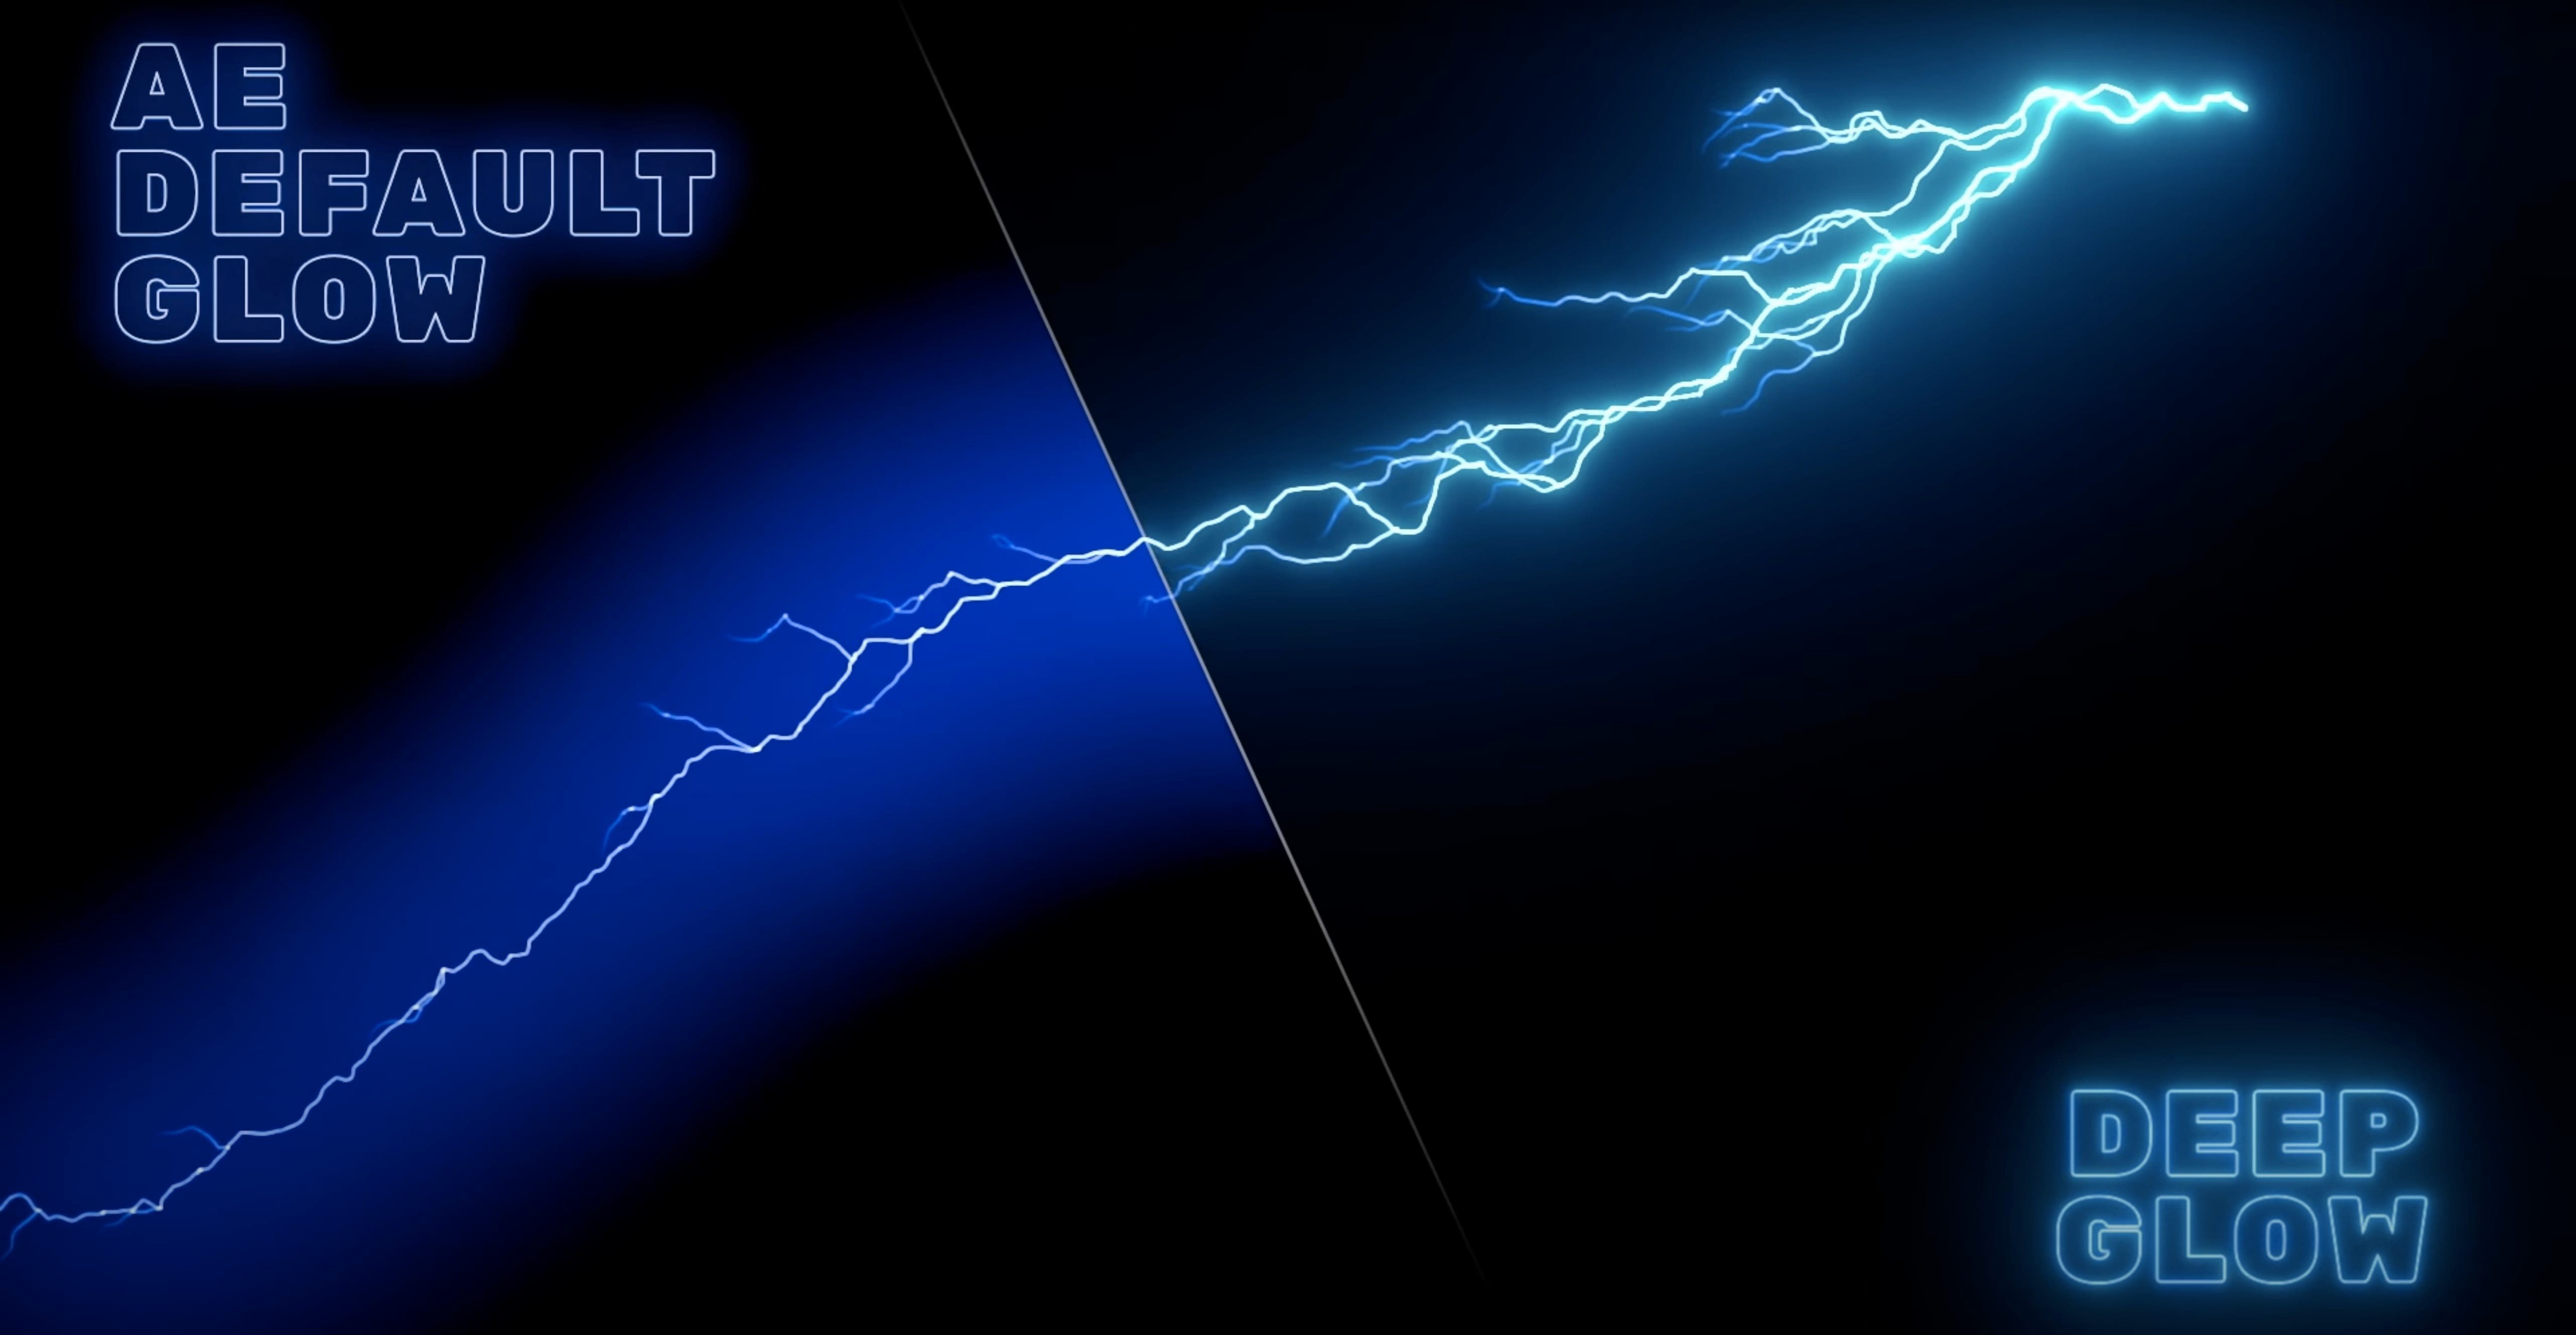
After Effects ships with a perfectly serviceable Glow effect, and for quick jobs it’s fine — drop it on, maybe knock the radius down, move on. Where Deep Glow pulls ahead is in the subtlety of the falloff and the way it handles colour. The built‑in glow uses a Gaussian‑style blur that brightens evenly out to the radius and then cuts off, which can read as a bit “CG” on high‑contrast footage. Deep Glow’s inverse‑square model means the light decays in a way your eye accepts as real, so a neon sign in a dark alley looks like it’s actually spilling light into the air, not like someone blurred a copy of the sign and put it underneath. If you’re doing title sequences or compositing where the glow needs to feel grounded, that difference on its own is worth the switch.
Another plugin you’ll hear mentioned in the same breath is Red Giant’s (now Maxon’s) Universe Glow. It’s part of a larger suite and comes with a library of presets that can be genuinely useful when you’re storyboarding looks. Universe Glow produces attractive, stylised blooms quickly, and its prismatic dispersion options are fun for music‑video work. The trade‑off is that it can feel like a preset‑first tool; if you need to match a specific practical light source, you’re often fighting the very presets that made it fast to start with. Deep Glow takes the opposite approach — it gives you a clean, physically‑motivated starting point and expects you to shape it. Neither philosophy is wrong, but for precision work where the glow is meant to sit invisibly inside a composite, Deep Glow’s restraint is an asset.
On the independent‑developer side, Saber from Video Copilot gets a lot of love, and it’s often grabbed when people search for a “deep glow free download” thinking it’ll cover the same ground. Saber is brilliant at what it does — neon‑style core‑and‑glow beams, particularly on text and shape layers — but it’s a different beast. It generates its own source geometry rather than working with whatever luminance is already in your layer. If you’re after a lightsaber or a glowing stroke, Saber is the tool. If you want the highlights on an existing 3D render to bloom organically, Deep Glow is the one. They complement each other well, and I keep both installed, but the “deepglow for mac” search that brings people to this page usually ends with them realising they need a real compositing glow, not a beam generator.
A quick note on Real Glow by AE Scripts — it’s a lean, fast, one‑trick plugin that does a credible impression of optical bloom, and it runs beautifully on older Macs. It doesn’t have Deep Glow’s compositing‑aware blend controls or the same granularity over grain and quality, but for a fast‑turnaround job where you just want a soft, warm bloom and you’re on a machine that struggles with heavier plugins, it’s worth knowing about. If your workflow regularly involves pushing glow far into stylised territory with texture, however, Deep Glow’s extra parameters will save you from having to chain three other effects underneath it.
Lighting a brushed-metal logo against a dark backdrop
Let me walk you through a real scenario — the kind I set for my evening class when we cover lighting integration. Imagine you’ve been handed a short product‑viz shot: a brushed‑metal logo rotating against a dark, moody background, rendered in Cinema 4D with a single key light hitting the top edge. It looks fine, but the light feels glued to the metal. You want the bright rim to spill into the scene just enough to sell the idea that it’s a physical object.
You start by bringing the render into After Effects, dropping it into a 1920‑by‑1080 comp, and adding an adjustment layer above it. Search for “deepglow for mac” would have led you here, but you’ve already installed it, so you apply Deep Glow directly to the adjustment layer. Immediately the whole frame lights up like a fog machine has gone rogue — that’s expected, because the plugin is working on every pixel of the underlying comp. You open the effect controls and head straight for the Blend section. You switch the blend mode to Screen, which prevents the glow from ever darkening anything, and then you pull the Threshold slider up slowly. Around 60%, the mid‑grey background drops into black and only the hot rim of the logo is feeding the glow. Now you’ve got a soft, directional bloom that feels attached to the light source, not to the whole object.
Next, you want to shape the glow so it decays like a real point light. The Radius control sets the overall spread, so you push it to about 120 pixels — enough to reach into the surrounding negative space. Under the Falloff section, you leave the curve at its default inverse‑square, because you’re after realism, but you do increase the Falloff slider just a touch to tighten the core. The logo’s rim now has a bright, concentrated glow right at the edge and a gentle, fading bloom further out. It’s already looking convincing, but it’s a little too smooth — almost too perfect for the grain of the background plate.
You unfold the Texture controls. The background footage came from an Alexa and has a fine, organic noise floor, so you add a whisper of film‑style grain to the glow. A Grain Amount of 0.08 and a Grain Size of 1.5 is enough to break up the perfection without calling attention to itself. You toggle the effect on and off a few times — the glow now reads as part of the same photographic world. Finally, because you’re working on a MacBook Pro that’s already running a dozen browser tabs, you check the Quality settings. You’ve been previewing at 4x downsampling the whole time, which kept the timeline snappy. With the look locked, you switch to 1x, go full‑resolution, and do a quick RAM preview of the final two seconds. The render time is a little longer, but the GPU chews through it without complaint. You send the comp to the render queue, and fifteen minutes later the client has a logo that looks like it was shot through a Cooke lens, not rendered in a dark room at 2 a.m.
Why your glow vanishes on transparent layers
Even seasoned compositors run into head‑scratchers with glow plugins, and Deep Glow is no different — it’s just that the fixes are usually faster once you know where to look. One of the most frequent support questions I hear is “why is my glow flickering on moving footage?” The culprit is almost always the Threshold control interacting with subtle luminance shifts in the source. A soft‑moving gradient or a compressed video clip might wobble just enough to cross the threshold on alternate frames, causing the glow to pop in and out. The cleanest cure is to drop the threshold by five or ten points and compensate by lowering the Glow Opacity instead. A lower threshold catches more of the luminance range, so those tiny frame‑to‑frame variations stop mattering, and the opacity control reins the brightness back in without introducing flicker.
Another one that catches people out: a glow that looks gorgeous in the Composition viewer but renders with banding, especially in dark gradients. This is typically an 8‑bit colour depth limitation, not a problem in Deep Glow itself. After Effects projects default to 8 bpc in a lot of templates, and a smooth, wide‑radius glow with a gentle falloff will show stepping in the final export. Bumping the project to 16 bpc under Project Settings usually solves it outright. If you’re forced to stay at 8 bpc for delivery — say, the final spec demands it — adding a tiny amount of grain (even 0.04) acts as dither and masks the banding beautifully without any perceptible texture.
Performance can also be a sticking point, especially on Intel Macs with integrated graphics. Deep Glow uses GPU acceleration, and on machines where the GPU shares memory with the system, a high‑radius glow at 1x quality on a 4K comp can bring even a modern laptop to a crawl. The trick is to think of the downsampling control as a temporary proxy switch, not a quality compromise. Comp at 4x or 2x, then dial it up only for the final review. If you still need more speed, reducing the Radius by 20% and compensating with a slightly more aggressive falloff curve often yields a visually similar bloom at a fraction of the render cost. And if you’ve stumbled across a “deep glow plugin crack” while troubleshooting performance, a good first step is to verify that the GPU acceleration paths are actually engaged in your host’s settings — that’s where the real speed lives.
Occasionally, a user will install Deep Glow and find it missing from the Effects menu entirely, particularly after an After Effects update. This is usually a plug‑in cache issue. Quit After Effects, navigate to ~/Library/Preferences/Adobe/After Effects/ and delete the plug‑in cache files (the folder may be labelled with your AE version number), then relaunch. The app will rebuild its plug‑in database on startup, and Deep Glow should reappear. On Apple Silicon Macs, also confirm that After Effects is not running under Rosetta unnecessarily; the native ARM build of Deep Glow will only show up when AE itself is running natively.
What the shift to version 1.6 meant in everyday use
Deep Glow 1.6 didn’t arrive with a splashy new feature list that rewrites the marketing copy, but for people who use it daily, the changes were meaningful in a quiet, practical way. The most noticeable improvement was in GPU compatibility and stability on Apple Silicon. Earlier versions worked on M1 and M2 machines but could occasionally drop frames or stall during long RAM previews, particularly when multiple instances of the effect were stacked. With 1.6, those stalls largely disappeared — the plugin’s Metal‑based GPU path got enough love under the hood that you can now stack four or five glow layers without After Effects deciding it needs a little nap.
Another subtle but welcome change was in the downsampling algorithm. In 1.5 and earlier, switching between quality levels sometimes introduced a slight shift in the glow’s apparent brightness, which meant you’d dial in a look at 4x, switch to 1x, and find the scene suddenly a quarter‑stop hotter. That’s been tightened up; the brightness now stays consistent across quality presets, so what you see in draft mode is genuinely what you get in the final render. For a working motion designer, that one fix probably saved more aggregate hours than any flashy new feature could.
The 1.6.x point releases that followed — 1.6.3 through 1.6.9 — were mostly about squashing edge cases. One involved a rare compositing glitch with adjustment layers that used certain track mattes; another fixed a colour‑shift bug that appeared only when the project colour space was set to Rec.2020. You might never hit those bugs, but the fact that they were addressed speaks to a developer that’s paying attention to the kinds of projects Deep Glow ends up in — broadcast, cinema, high‑end commercial work — rather than just adding presets. For me, the most practical takeaway from the 1.6 cycle is that the plugin grew up. It’s no longer the interesting newcomer that needs kid‑glove handling; it’s the dependable workhorse you trust not to embarrass you in front of a client.
- Adobe After Effects
- Apple Silicon or Intel Mac (64-bit)
- GPU acceleration support
- Interface language: English
Questions I keep hearing
Does Deep Glow run on Apple Silicon Macs?
Yes, it includes native support for ARM (Apple Silicon) as well as x86 64-bit Intel processors.
Can Deep Glow create anything beyond a smooth modern glow?
Absolutely — you can dial in grain and texture for a grittier, more stylised look that still respects the same falloff physics.
Questions from the class 0
Sign in or join the class to ask a question.
Nobody has asked anything yet. If you have used it on a real job, say what the file did.
Also on the Mac Apps shelf
The whole Mac Apps shelf Default Folder
Adds a toolbar of favourite folders to every Open and Save dialog.
Default Folder
Adds a toolbar of favourite folders to every Open and Save dialog.
 Dehancer Pro
Rebuilds the colour and grain of sixty-two real film stocks on your digital images.
Dehancer Pro
Rebuilds the colour and grain of sixty-two real film stocks on your digital images.
 Depth Scanner
Generates a true depth map from a single photo so you can refocus after the shot.
Depth Scanner
Generates a true depth map from a single photo so you can refocus after the shot.
 dBpoweramp Music Converter
Converts batches of audio files between formats while keeping your metadata intact.
dBpoweramp Music Converter
Converts batches of audio files between formats while keeping your metadata intact.
 DaVinci Resolve Studio
Combines editing, colour grading, visual effects and audio post-production in one application.
DaVinci Resolve Studio
Combines editing, colour grading, visual effects and audio post-production in one application.
 Disk Drill
Recovers deleted files and lost data from any drive you connect to your Mac.
Disk Drill
Recovers deleted files and lost data from any drive you connect to your Mac.
 DisplayBuddy
Lets you control every external display’s brightness and colour straight from the menu bar.
DisplayBuddy
Lets you control every external display’s brightness and colour straight from the menu bar.
 DaisyDisk
Scans your drive and draws an interactive map so you can spot the files eating your space.
DaisyDisk
Scans your drive and draws an interactive map so you can spot the files eating your space.