 ASPNetWorld

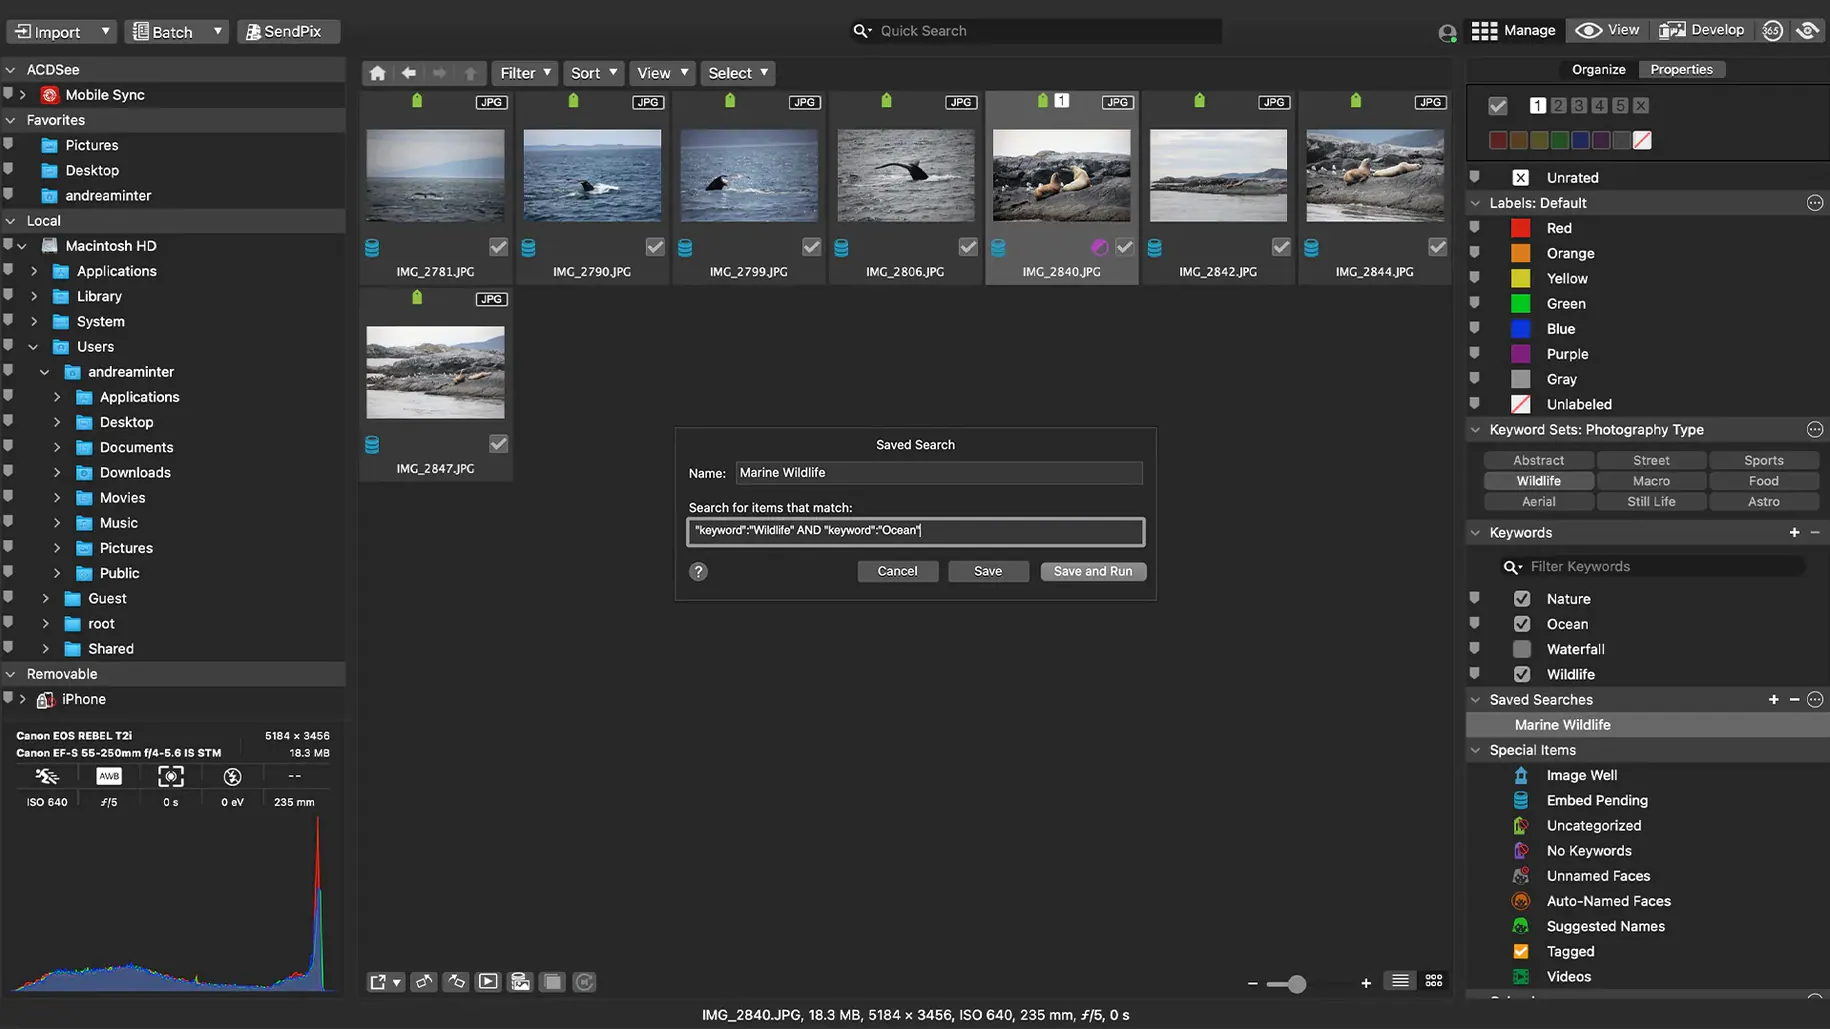
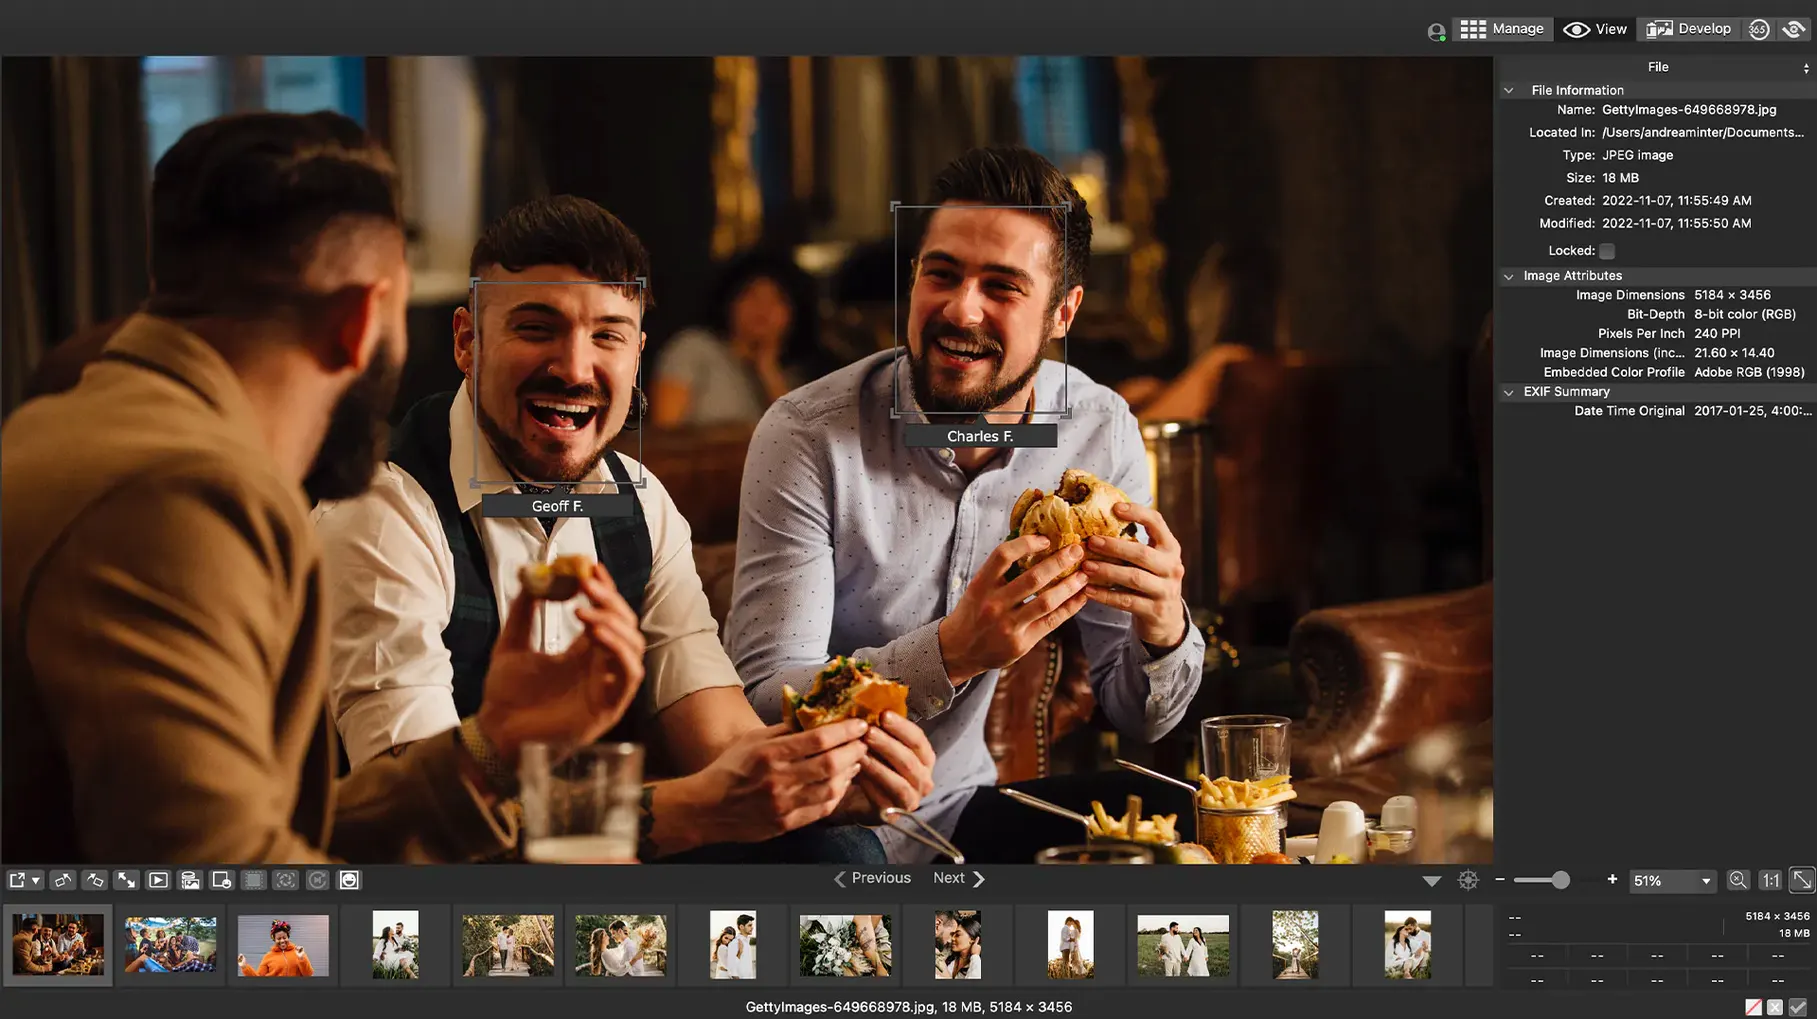
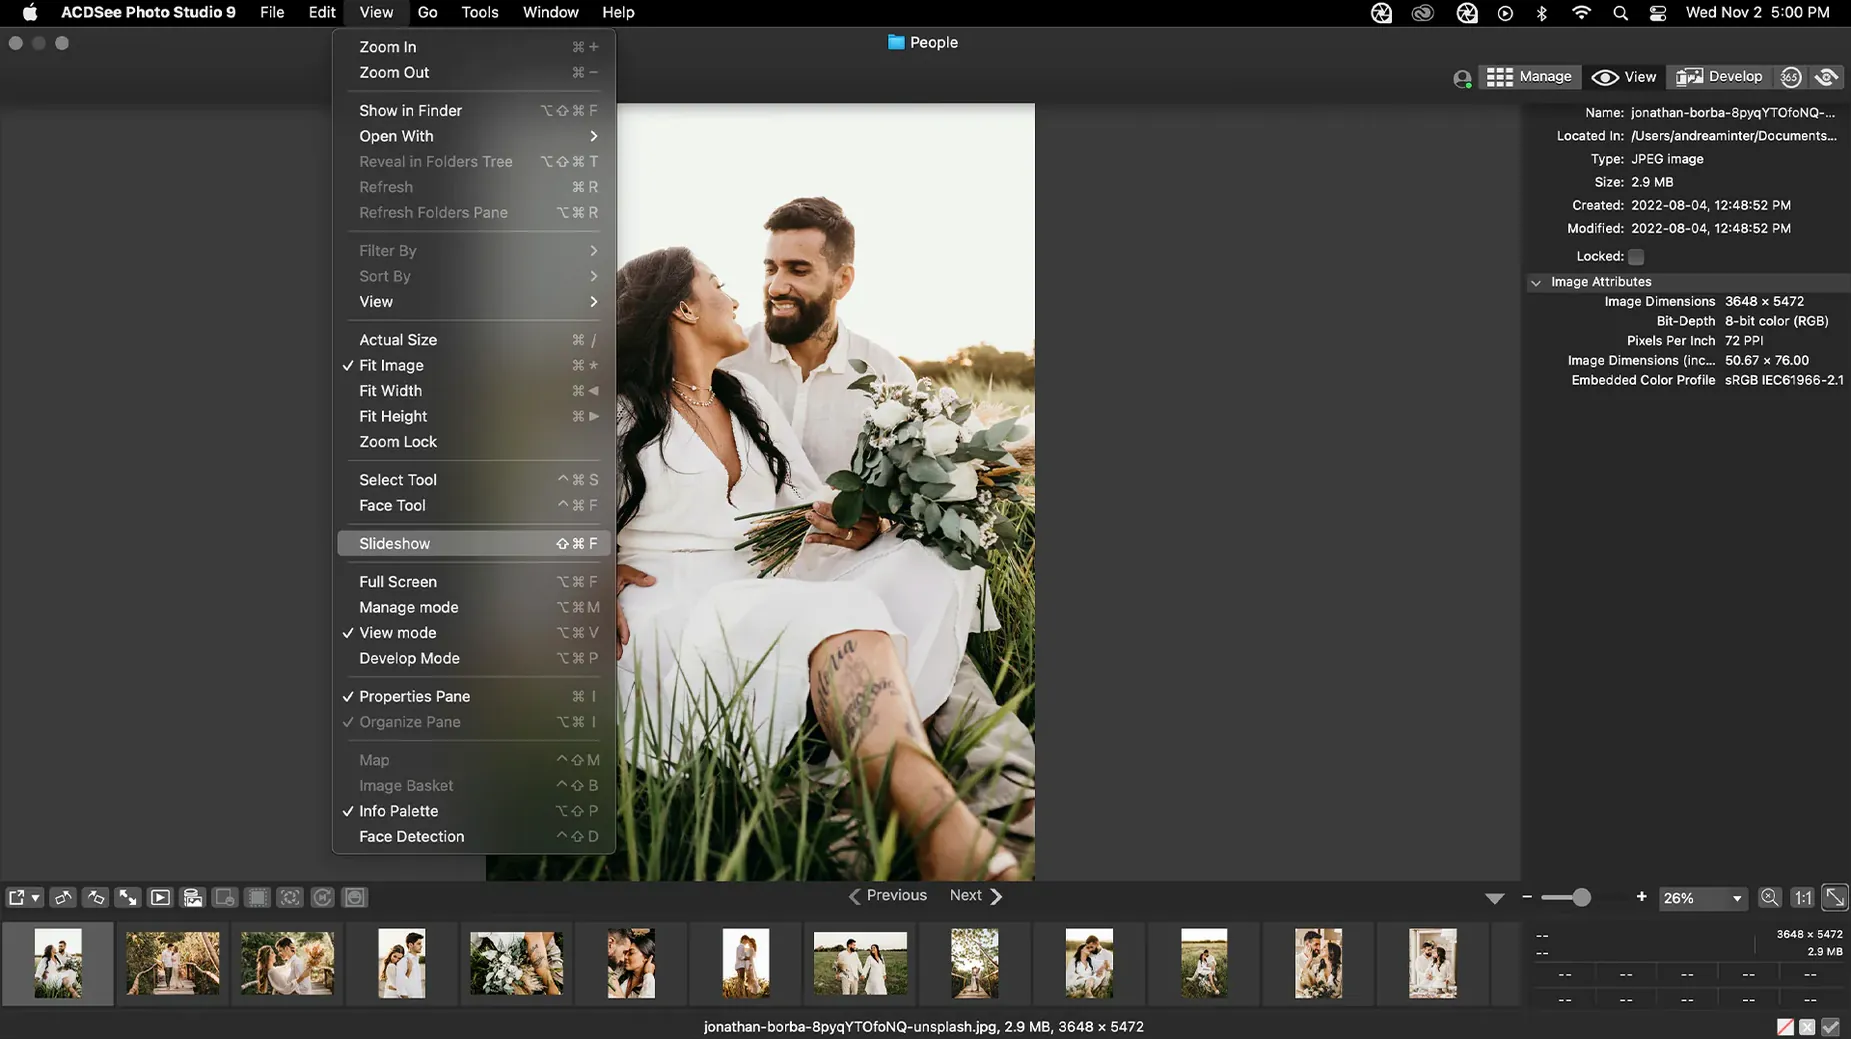
…and that non-destructive adjustment brush is really the moment the whole thing clicks. You pull in a card full of RAW files from a weekend shoot — the app supports over 450 camera models, so your Fuji or Sony files slide straight into the browser without a murmur — and you start culling. I tend to use the category and keyword system straight away: a quick ‘architecture’ category, maybe a ‘concrete’ keyword, and the job of finding those frames six months later is already done.
What makes the RAW handling genuinely useful?
It’s the combination of broad camera support and non-destructive logic. You can push exposure, pull back highlights, or warm up the white balance on a RAW file, and ACDSee Photo Studio remembers the instructions rather than baking them into the pixels. The original negative stays untouched, so you can revisit a landscape shot next spring and build a completely different interpretation without starting from scratch.
How does the metadata side work in practice?
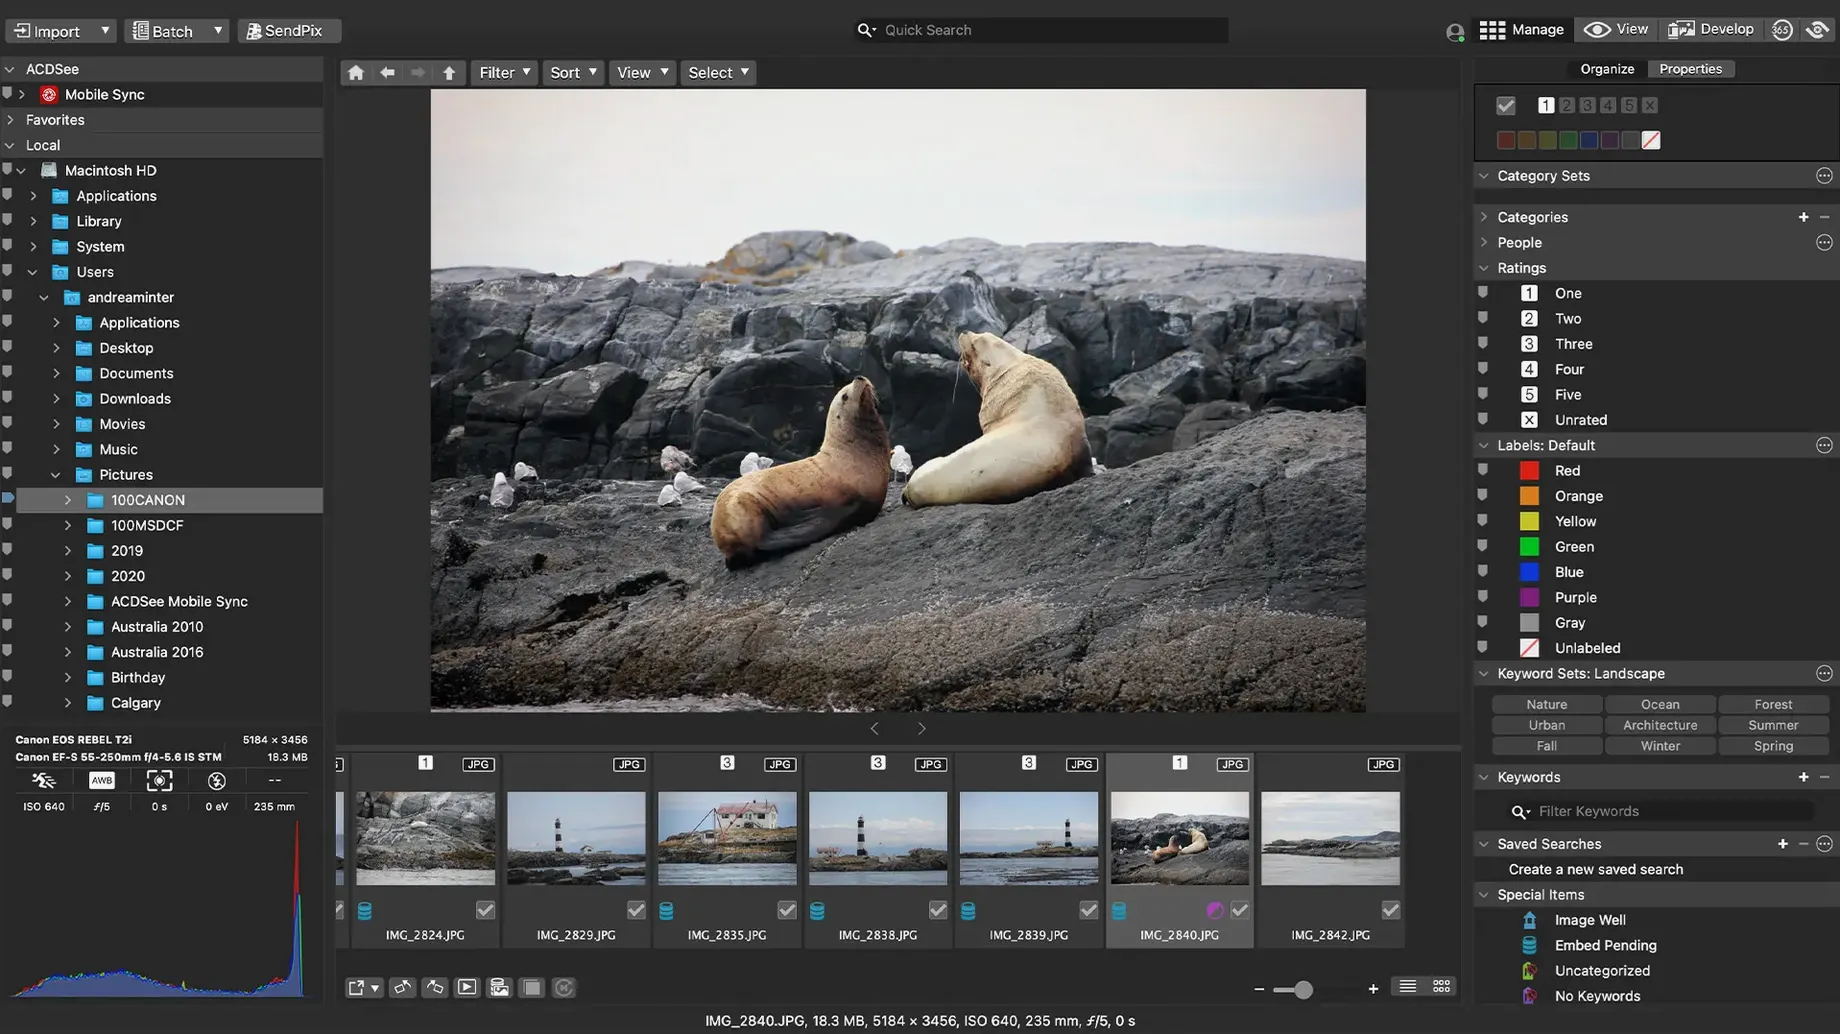
Select a batch of images, open the Properties pane, and you can see all the EXIF data the camera recorded alongside editable IPTC fields — caption, copyright, location, the works. Adding a keyword or a category is as straightforward as typing into a field. The recent 26.0.3 update smoothed out a few rough edges here: clicking away from a new keyword now properly commits the edit, and creating child items under a parent category no longer stumbles over renames.
Where does iCloud fit into the workflow?
If your image library lives on iCloud, the app sees those files directly rather than demanding a separate import process. A fix in the current build means the integration behaves more predictably, so you can browse and keyword-cloud-synced folders without the odd hiccup that used to interrupt a tagging session.
Forming three simple habits before your library gets messy
When you’ve just installed version 26.0.3, there are three habits worth forming before the library gets out of hand. None of them are complicated, but they turn a capable organiser into something that genuinely saves you time.
First, let the catalogue breathe. Point the app at your main image folder and give it an hour to build thumbnails and read metadata. The beachball is normal while it chews through several thousand RAW files — go make a coffee. Second, settle on a rating system you can stick with. I use one star for anything technically sound, three for a shortlist, five for portfolio candidates, and I never give two or four stars. It stops the middle ground from becoming a dumping zone. Third, create a handful of parent categories — ‘People’, ‘Places’, ‘Projects’, perhaps ‘Client work’ — and leave the granular tagging for later. A skeleton structure on day one means you’re never starting a search from zero.
The duplicate finder deserves an early outing too. Run it across your most chaotic folder and watch it surface three near-identical frames of the same sunset. Right-click to compare side by side, keep the sharpest one, and reclaim a surprising amount of disc space before the week is out.
Workflow: culling and grading a walkabout shoot
Imagine you’ve spent a damp Saturday morning in Brighton with a 35mm prime and come home with 340 RAW files. Here’s how that turns into twenty keepers, fully tagged and adjusted, inside an hour.
Pull the memory card and let the Finder copy everything to a folder called 2026-02-Brighton on your desktop. Open ACDSee, navigate to that folder in the browser, and switch to View mode. The first pass is brutal: arrow key through every frame, and any shot that’s missed focus or caught a lamp-post growing out of someone’s head gets a tap of the Delete key. Don’t rate yet — just clear the debris.
Second pass is where the rating system earns its keep. Arrow through again, and apply one star to anything with decent composition and exposure. You’ll end up with maybe sixty frames. Filter the browser to show only one-star images, then switch to a three-star shortlist by asking yourself whether you’d print it. Be harsh. You want roughly fifteen to twenty survivors.
Now select the shortlist, open the Properties pane, and apply a ‘Brighton’ category plus a ‘street’ keyword in one batch. While you’re there, drop a copyright string into the IPTC contact field so it travels with every export. The metadata is embedded, not sidecarred, which plays nicely with other tools down the line.
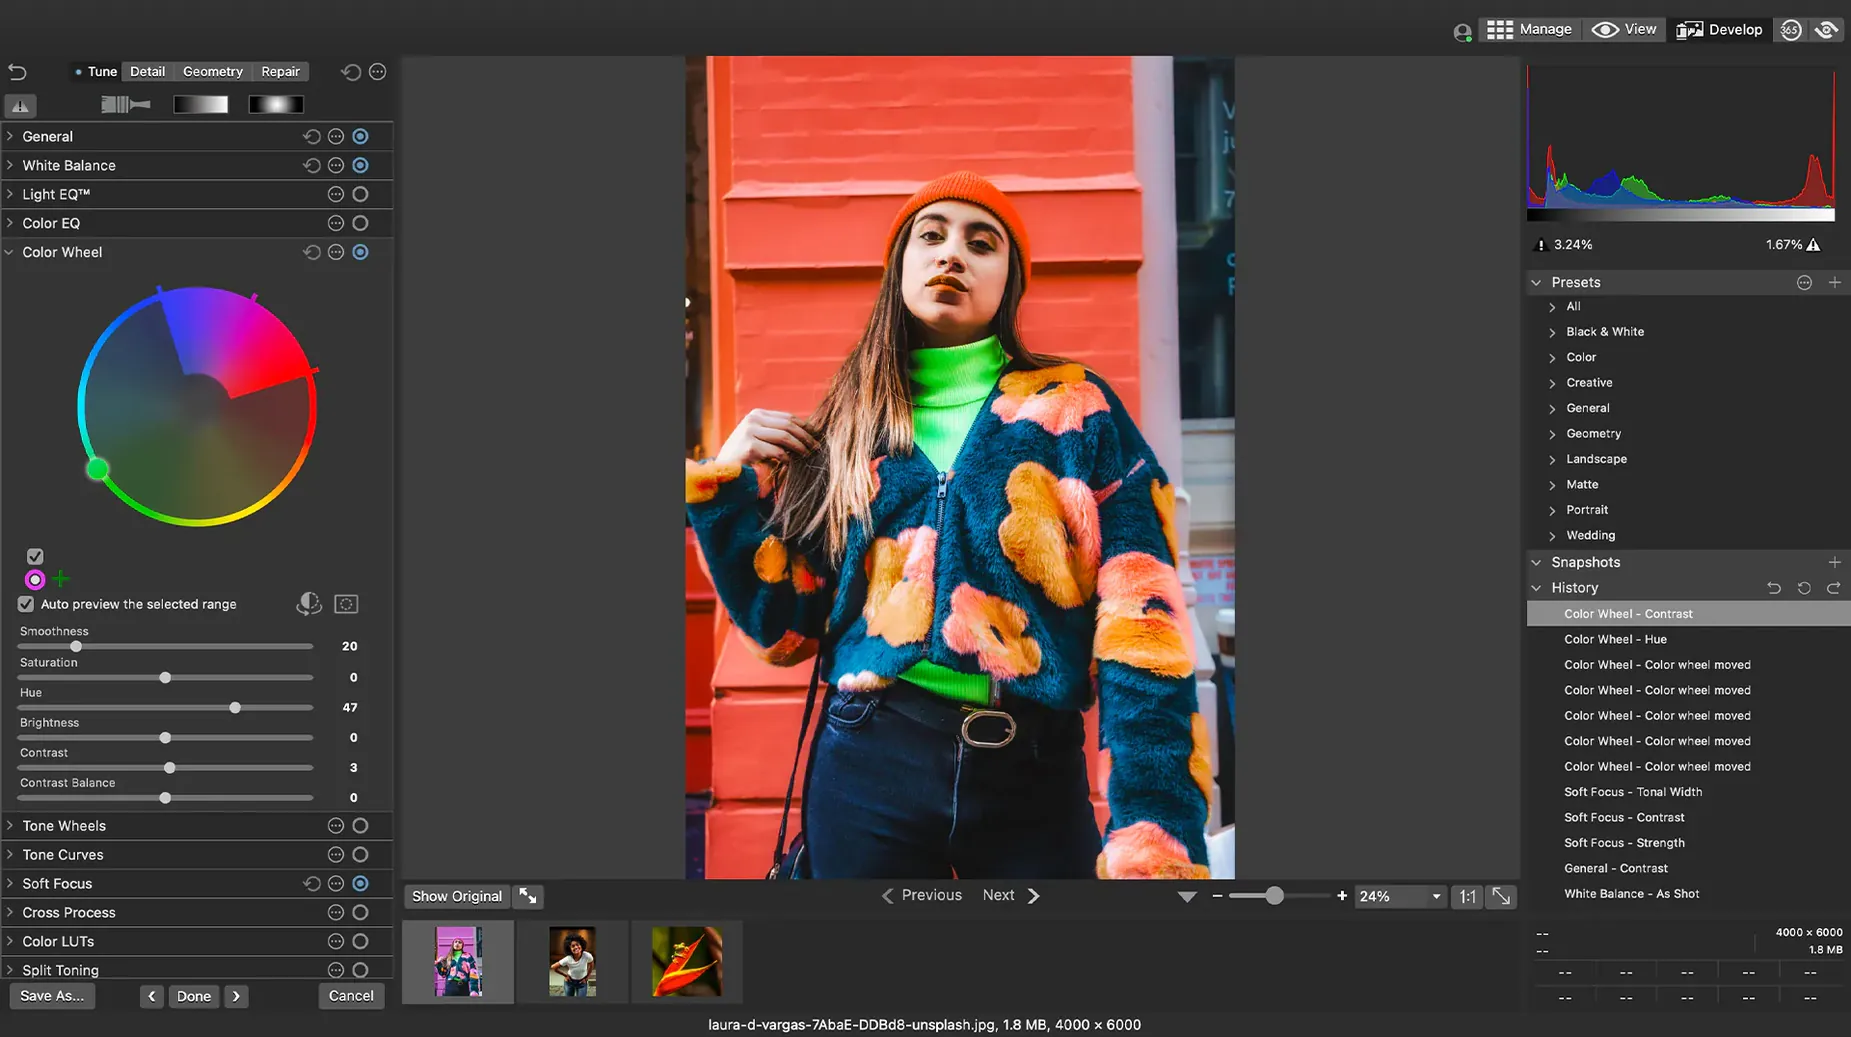
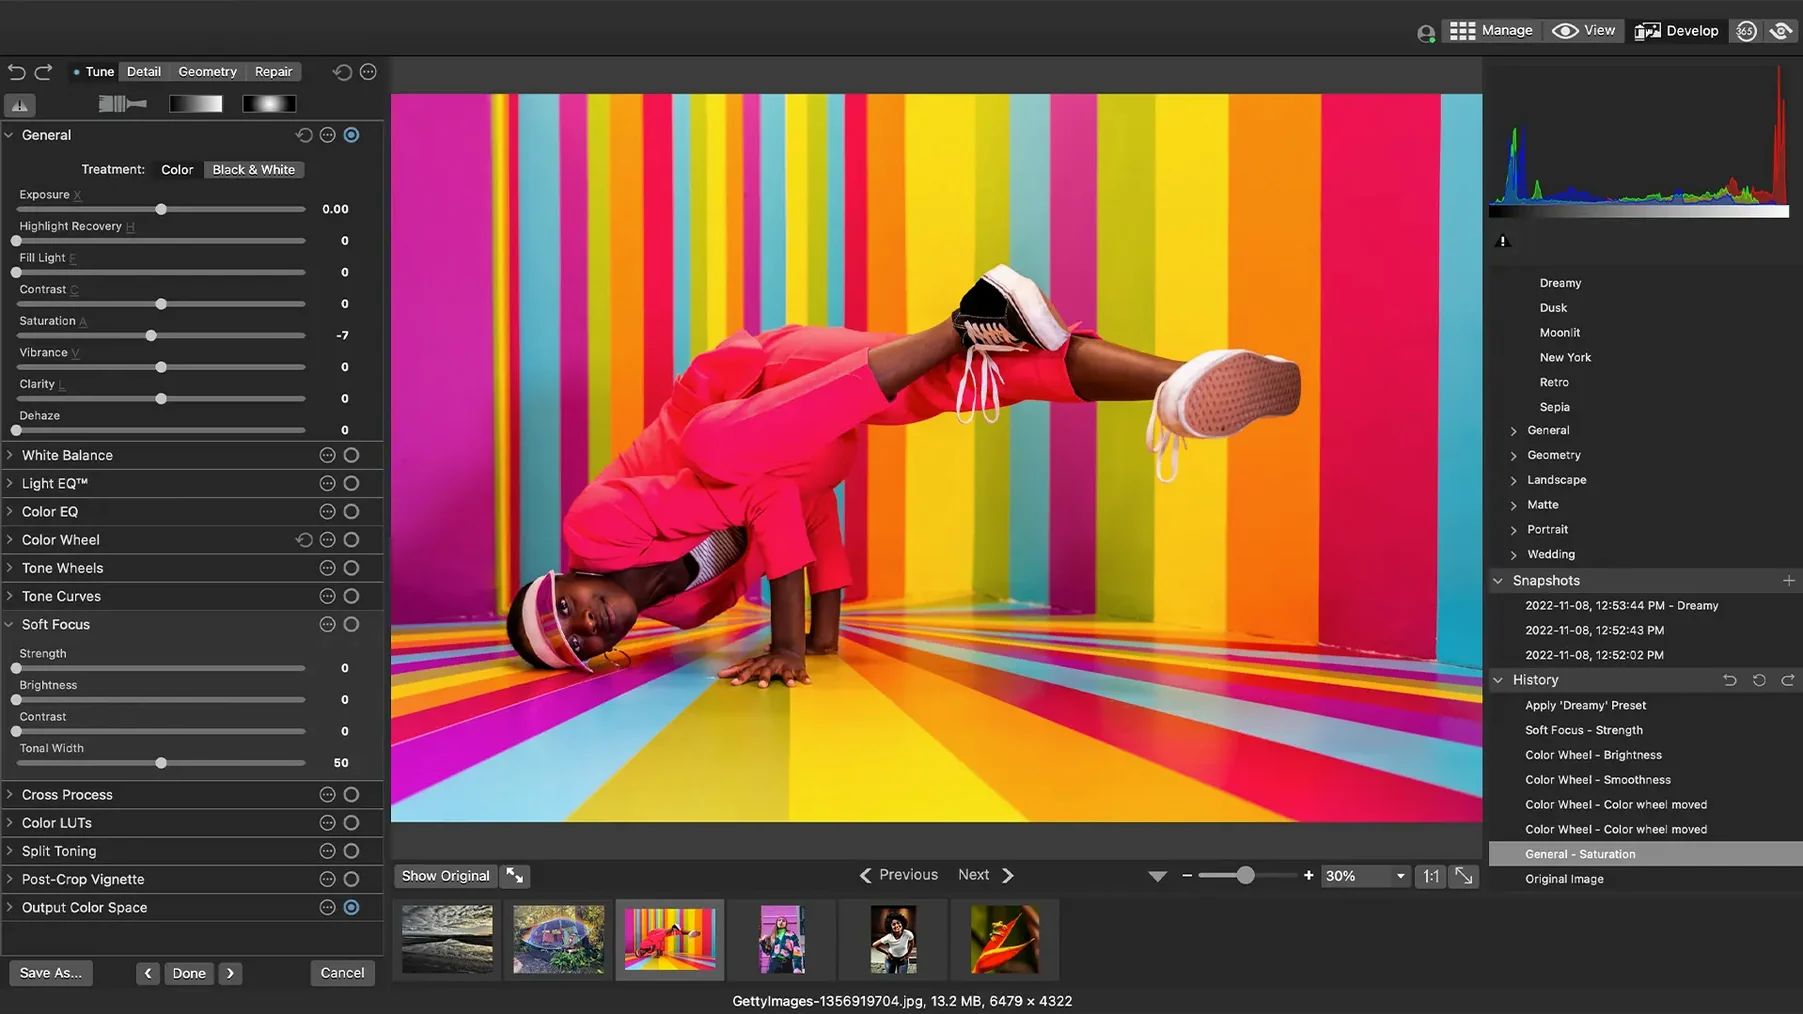
Pick your favourite frame and enter Develop mode. The RAW file — from a Fuji X-T5, say — opens with the default profile. Pull the highlights slider left to recover a blown sky, nudge the shadows right to open up a shop doorway, and add a touch of clarity. The adjustments are non-destructive instructions, so you can copy them across to the other shortlisted frames with the ‘Paste develop settings’ command. Tweak individually where needed, but the batch gets you 80% of the way there.
Finally, export the shortlist as full-resolution JPEGs to a ‘Deliverables’ subfolder, leaving the original RAWs untouched. The whole process — cull, rate, tag, adjust, export — fits into a single session without opening another application.
Clearing a neglected import folder in forty minutes flat
It’s Tuesday evening. You’ve got forty minutes before dinner, and a folder called Misc Imports that has been sitting neglected since Christmas. Here’s how the session plays out.
You launch the app and see the browser default to the last folder you worked in. A quick click in the folder tree jumps to Misc Imports, and thumbnails begin populating — a mix of iPhone snaps, a cousin’s wedding JPEGs, and some old RAW files from a borrowed Nikon. You drag the date column to sort chronologically, and immediately spot a cluster of images from the same weekend trip that never got tagged.
You select the cluster, open the batch rename tool, and give them a prefix like Cotswolds_2025_ with a three-digit sequence. Then you apply a ‘Cotswolds’ category and a ‘landscape’ keyword across the lot. The app responds instantly — no progress bar, no waiting. You notice a couple of files where the camera’s clock was wrong, so you select them, open the Adjust Time Stamp dialogue, and shift the EXIF date by exactly eleven hours. The thumbnails re-sort themselves into the correct spot in the timeline.
One of the RAWs catches your eye — a frosty field at sunrise, underexposed by a stop and a half. You double-click into Develop mode, lift the exposure, and the histogram stretches right without clipping. A gentle nudge to the white balance warms the frost from blue towards gold, and you save the adjustments. The original file remains exactly as the Nikon captured it.
Before you close the app, you run a quick duplicate scan on the Misc Imports folder. It finds three JPEGs that are resized versions of RAWs you’ve already kept. You delete the smaller copies, confirm the deletions, and the library feels a little lighter. Forty minutes well spent, and dinner’s on the table.
Version 26.0.3.3479 is a maintenance release that tidies up the organisational tools. The key changes:
- Fixed a crash that could occur when adding a new keyword or category in a particular editing scenario.
- Editing a keyword or category name now commits correctly when you click away, rather than leaving the field in limbo.
- RAW file ratings are read more accurately in certain edge cases.
- iCloud integration is more stable, so browsing synced folders no longer trips over the previous glitch.
- macOS 14 or later
- Runs natively on both Apple Silicon and Intel Macs
Questions from the class 0
Sign in or join the class to ask a question.
Nobody has asked anything yet. If you have used it on a real job, say what the file did.
Also on the Mac Apps shelf
The whole Mac Apps shelf Adguard
Blocks ads and trackers across your browsers and apps.
Adguard
Blocks ads and trackers across your browsers and apps.
 A Better Finder Attributes
Corrects mangled file dates and EXIF timestamps in batches.
A Better Finder Attributes
Corrects mangled file dates and EXIF timestamps in batches.
 1Password
Watches your vault for weak, reused or breached passwords.
1Password
Watches your vault for weak, reused or breached passwords.
 Adobe Premiere Rush
Trims phone footage into a finished video with minimal fuss.
Adobe Premiere Rush
Trims phone footage into a finished video with minimal fuss.
 Affinity Designer
Turns rough sketches into crisp, scalable vector artwork and layouts.
Affinity Designer
Turns rough sketches into crisp, scalable vector artwork and layouts.
 Affinity Photo
Edits photos nondestructively with selective adjustments and raw processing.
Affinity Photo
Edits photos nondestructively with selective adjustments and raw processing.
 Affinity Publisher
Lays out multi-page documents combining text and high-res images for print.
Affinity Publisher
Lays out multi-page documents combining text and high-res images for print.
 AI Transcription
Converts batches of spoken recordings into searchable written text.
AI Transcription
Converts batches of spoken recordings into searchable written text.