 ASPNetWorld

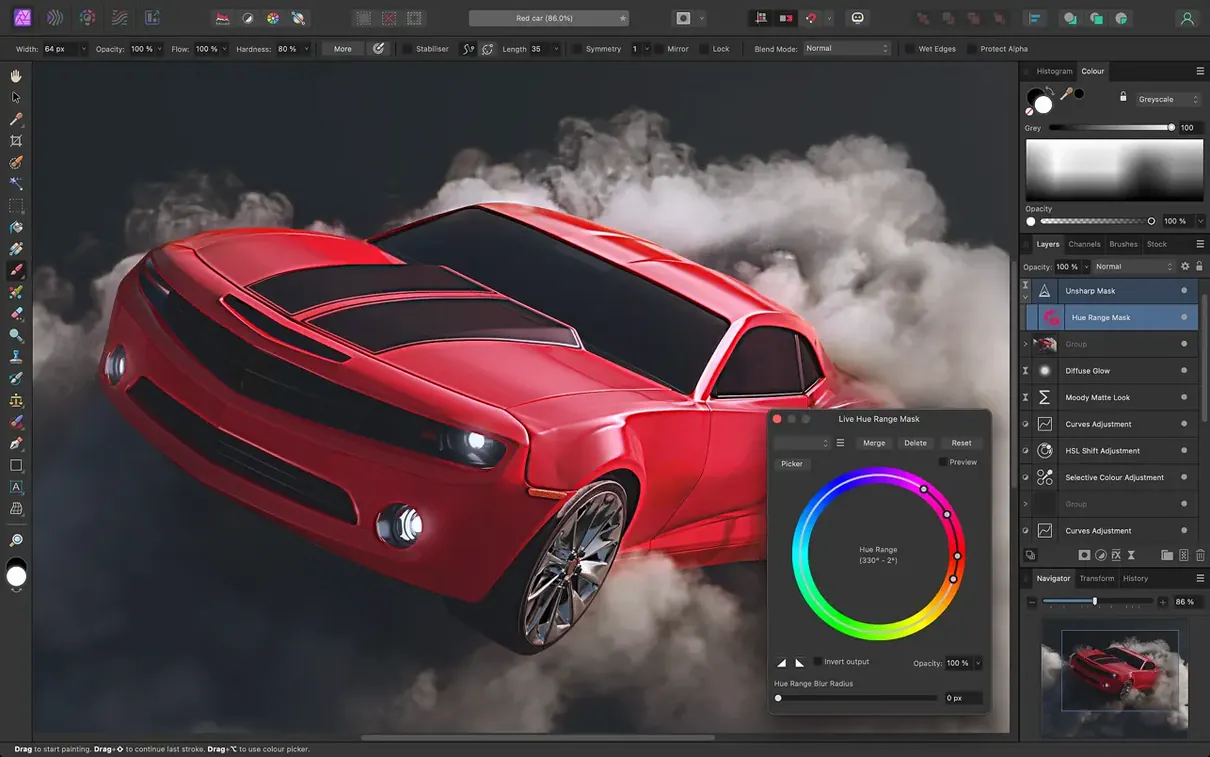
A photographer opens a raw file from a morning shoot, pushes the shadows a little, and then paints a curves adjustment across just the sky — without touching a single pixel in the original image. That kind of selective, nondestructive workflow is what draws people to Affinity Photo, and it's usually the first thing they ask about before they try installing it.
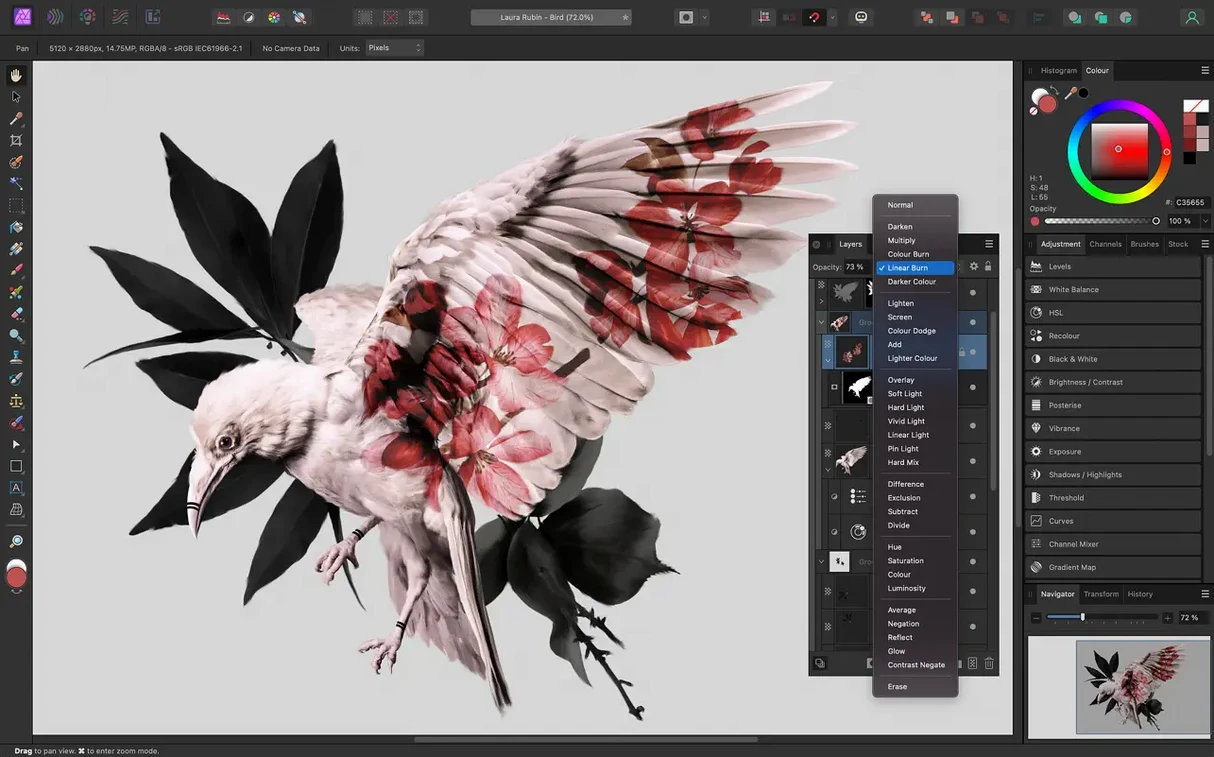
One of the recurring questions is whether the app can handle the files people already have. It opens, edits, and saves Photoshop PSD files, and its own format carries live filters, masks, blend modes and adjustment layers that stay editable between sessions — so there's no pressure to flatten anything until you're ready to export.
Another question that comes up early is about hardware. The application supports graphics tablets from the first launch, including Wacom's pressure, tilt and shortcut buttons, with a real-time brush tip preview that shows size and hardness before the stroke lands. Selection tools tuned for fine details like hair mean you spend less time fighting a lasso and more time actually retouching.
On a technical level, the current version 2.6.5 works with 16-bit and 32-bit images per channel and runs natively on both Apple silicon and Intel Macs, requiring macOS 10.15 Catalina or later. The interface speaks English, German, Spanish, Italian, Simplified Chinese, Portuguese, French and Japanese, which covers most setups without extra language packs. And for anyone wondering about lens issues from a particular camera body, the built-in corrections cover distortion, chromatic aberration, fringing, vignetting and noise reduction in one pass.
I’ve used Affinity Photo alongside a handful of other creative apps for a couple of years now, and what I notice most in daily work is how little it interrupts the flow. On an Apple silicon Mac it launches in about three seconds, and a layered document with thirty‑odd live filters opens without a progress bar you have time to read. Memory pressure stays low enough that I routinely keep it open next to a web browser, a reference image viewer, and sometimes a DAW, and the system doesn’t start paging out. That’s partly down to the Metal compute back‑end Apple introduced years ago, which Affinity Photo leans on heavily for panning, zooming, and live previews. Even a 16‑bit panorama merge only spins the fans briefly toward the end.
Stability has been surprisingly dull — in the best way. I can count the crashes I’ve had on one hand, and each time the recovery panel brought back the document with the layer stack intact. The one quirk worth knowing is that when you pile up several live liquify layers, canvas refresh can feel a beat slower on integrated graphics. On a machine with discrete GPU memory, it’s imperceptible.
Pass layered documents between Affinity Photo, Designer and Publisher
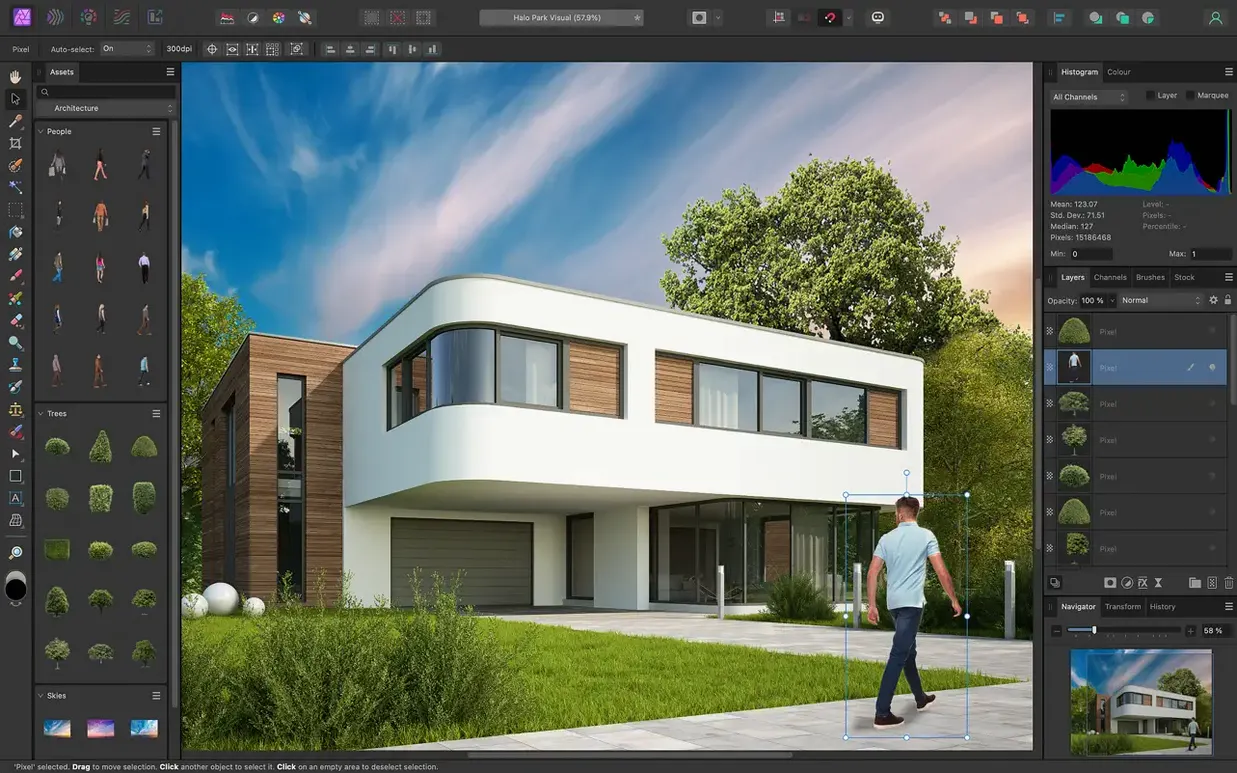
Affinity Photo doesn’t try to lock you into a walled garden. Because it’s part of the same family as Affinity Designer and Affinity Publisher, you can pass a layered document between all three apps through the File > Edit in Designer or Edit in Publisher commands, and the layers, masks and adjustment settings survive the round‑trip. That makes it genuinely useful to start a poster in Publisher, push a photo into Photo for frequency separation, and then hand the whole thing back without flattening a thing.
On the macOS side, Quick Look previews work for the .afphoto format, so Finder is a usable browser. I keep a stack of layered source files in a folder and skim them with the spacebar before deciding which one to open. The app also respects your system colour profiles — it reads the calibrated display profile set in System Settings and uses it for the canvas, which means prints from the soft‑proofed CMYK view match what I see on screen. That’s one of those small touches that saves a call to the print shop.
First settings I change
Out of the box, Affinity Photo is tuned for a generic workspace, and a few tweaks make it feel far more personal. Here are the ones I reach for straight after installing:
- Darken the interface. Go to Affinity Photo > Settings > User Interface and set the UI style to Dark. The icons stay crisp and the canvas reads more accurately against a neutral grey.
- Switch the tool handle behaviour. Under Tools, set the move tool to drag the object, not the bounding box handles. It stops those accidental resizes when you’re nudging layers around.
- Enable “Save History With Document”. In File > File Recovery, tick this on. It adds a few megabytes to the file size but means you can step backwards through every edit tomorrow morning, which is priceless when a client changes their mind.
- Set external editor formats. If you ever round‑trip to another app, set the default format to PSD (preserve layers) in Settings > General — it makes interoperability painless.
- Adjust the performance preferences. In Performance, I set the RAM usage limit to around 70% of the system total and leave display set to Metal. If you have an external GPU, you can select it here too, and the app will use it for compositing.
A portrait retouch workflow from start to finish
Let me walk through a common task — cleaning up a headshot — because it shows where the nondestructive model really earns its keep. Imagine you’ve just opened a raw file from a portrait session and you want a polished but natural result without baking anything into the pixels.
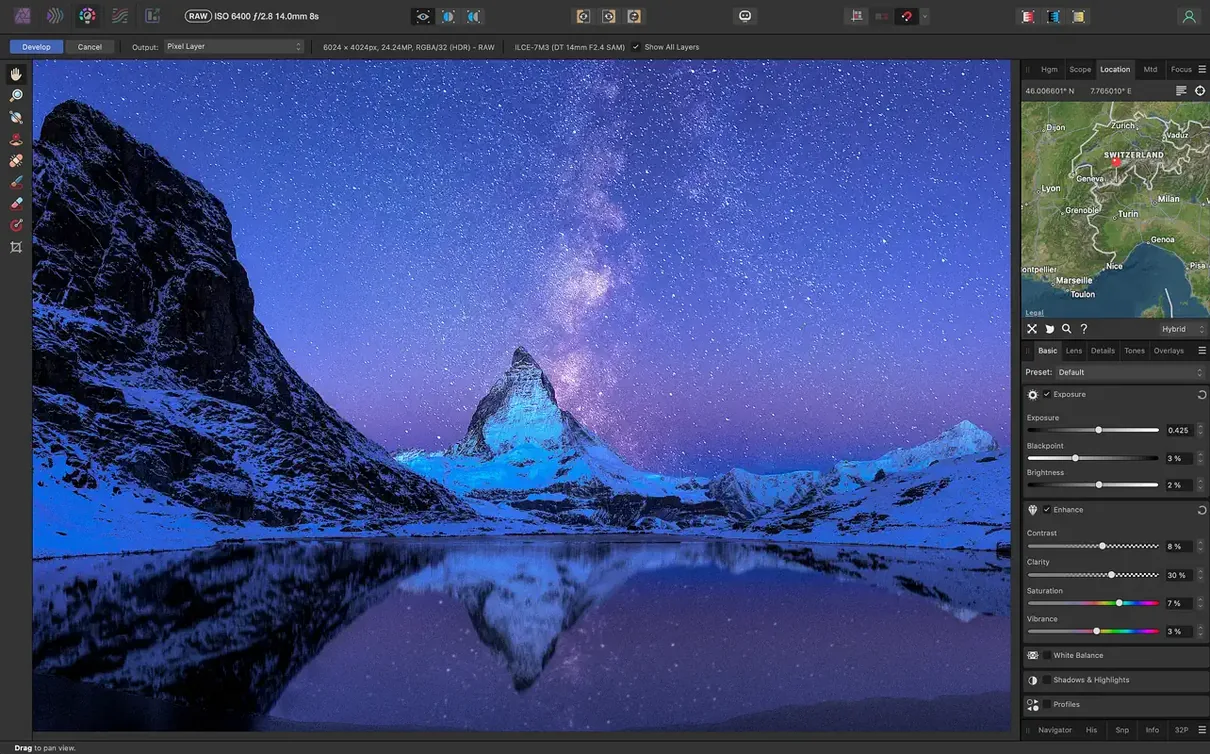
- Develop the raw. The file opens in the Develop persona. I pull the highlights down slightly to keep detail in the forehead, lift the shadows a touch, and set the white balance with the picker on a neutral grey area of the background. I leave sharpening off here — I’ll add it later where it matters. Hit Develop to move into the Photo persona.
- Frequency separation for skin. I duplicate the background layer twice. On the lower copy I apply a Gaussian Blur set to around 8 pixels — that holds the colour and tone. On the upper copy I run Apply Image, subtract the blurred layer, and set the blend mode to Linear Light. Now the high‑frequency layer carries texture only. With a soft healing brush on the low‑frequency layer, I smooth out colour blotches without wrecking pores.
- Dodge and burn with curves. A curves adjustment layer set to Screen brightens the iris and catchlights; I invert its mask and paint with a low‑flow white brush. A second curves layer set to Multiply deepens the cheekbone shadows the same way. Both stay editable forever.
- Inpainting stray hairs. The Inpainting Brush, set to Current Layer & Below on a new pixel layer, removes the couple of flyaways that cross the temple. Because it samples from the surrounding area, it blends without smearing.
- Sharpening for output. At the very top of the stack I add a live Unsharp Mask filter. I set a radius of 1.2 pixels and a factor of 0.8, then mask it so it only hits the eyes and mouth. The rest of the skin stays soft, which is the whole point.
- Export. I use File > Export and save a full‑resolution TIFF with layers for the archive, then a downsized JPEG with sRGB profile for the client proof. Because the document history is saved, I can reopen the layered file a week later and tweak the dodge mask if they want slightly brighter eyes.
The workflow takes about five minutes once you know the tools, and nothing is permanent. That’s the quiet strength of Affinity Photo — it encourages you to experiment because you can always dial an adjustment back or repaint a mask. If you’re hunting for a Mac photo editor that feels at home in a multi‑app pipeline and won’t buckle under heavy files, version 2.6.5 is worth clearing space for.
- macOS 10.15 Catalina or later
- Apple silicon or Intel Mac
- Graphics tablet support for Wacom devices (pressure, tilt, shortcut buttons)
- Interface languages: English, German, Spanish, Italian, Simplified Chinese, Portuguese, French, Japanese
Questions I keep hearing
Does Affinity Photo 2.6.5 open Photoshop files?
Yes. It opens, edits and saves PSD files, preserving layers where the features map between the two applications.
Which Macs can run the current version?
Version 2.6.5 runs on any Mac with macOS 10.15 Catalina or newer, with native support for both Apple silicon and Intel processors.
Is there lens correction built in?
Yes. It includes automatic and manual controls for distortion, chromatic aberration, edge fringing, vignetting and noise reduction.
Questions from the class 0
Sign in or join the class to ask a question.
Nobody has asked anything yet. If you have used it on a real job, say what the file did.
Also on the Mac Apps shelf
The whole Mac Apps shelf Affinity Designer
Turns rough sketches into crisp, scalable vector artwork and layouts.
Affinity Designer
Turns rough sketches into crisp, scalable vector artwork and layouts.
 Affinity Publisher
Lays out multi-page documents combining text and high-res images for print.
Affinity Publisher
Lays out multi-page documents combining text and high-res images for print.
 Adobe Premiere Rush
Trims phone footage into a finished video with minimal fuss.
Adobe Premiere Rush
Trims phone footage into a finished video with minimal fuss.
 AI Transcription
Converts batches of spoken recordings into searchable written text.
AI Transcription
Converts batches of spoken recordings into searchable written text.
 Aiarty Image Enhancer
Cleans up noisy or soft photos with targeted detail reconstruction.
Aiarty Image Enhancer
Cleans up noisy or soft photos with targeted detail reconstruction.
 Aiarty Video Enhancer
Lifts old, grainy video into clearer, watchable footage.
Aiarty Video Enhancer
Lifts old, grainy video into clearer, watchable footage.
 AirBuddy
Shows your AirPods battery status instantly in the menu bar.
AirBuddy
Shows your AirPods battery status instantly in the menu bar.
 Airflow
Queues up local video files for uninterrupted, hands-off playback.
Airflow
Queues up local video files for uninterrupted, hands-off playback.