 ASPNetWorld
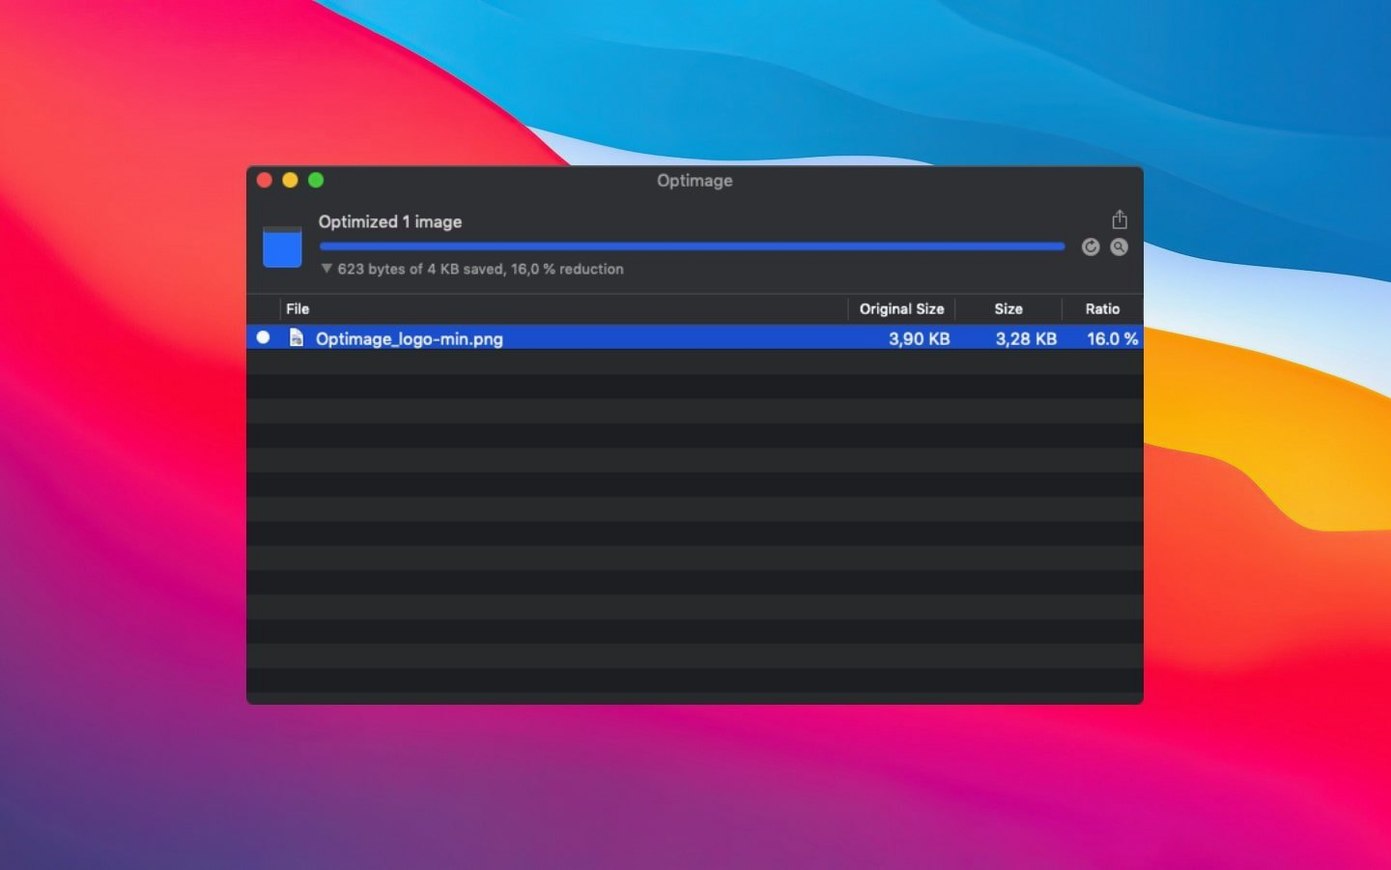
Every megabyte you shave off an image file, without visibly hurting its quality, is a megabyte you do not have to push across a network. Optimage is a desktop compression tool built around that simple equation.
Image compression — the process of rewriting a file so it takes up less space. Lossless compression preserves every pixel perfectly; lossy compression trades away some detail the eye is unlikely to miss.
Chroma subsampling — a technique that stores colour information at a lower resolution than brightness. Optimage can apply it automatically where it helps, and it will also convert images to sRGB or strip colour entirely when true grayscale makes a file smaller.
ICC colour profiles — embedded data that tells a screen or printer how colours in a file should actually look. The app respects these profiles rather than discarding them, so compressed images still match the original intent.
Exif-aware rotation — photos sometimes arrive sideways because the orientation flag in the metadata says so. Optimage reads that tag and rotates the picture losslessly, so it always lands the right way up.
Beyond stills, the app can scale video and adjust frame rate, which turns out to be handy when you are trimming down animations for the web. A command-line client is included for anyone who prefers scripting their workflow, though most people will work through the regular Mac interface. This is an independent research project by Vlad Danilov, aimed at websites, apps, storage and general sharing.
Drag in RAW files and a JPEG portfolio page starts coming together before lunch
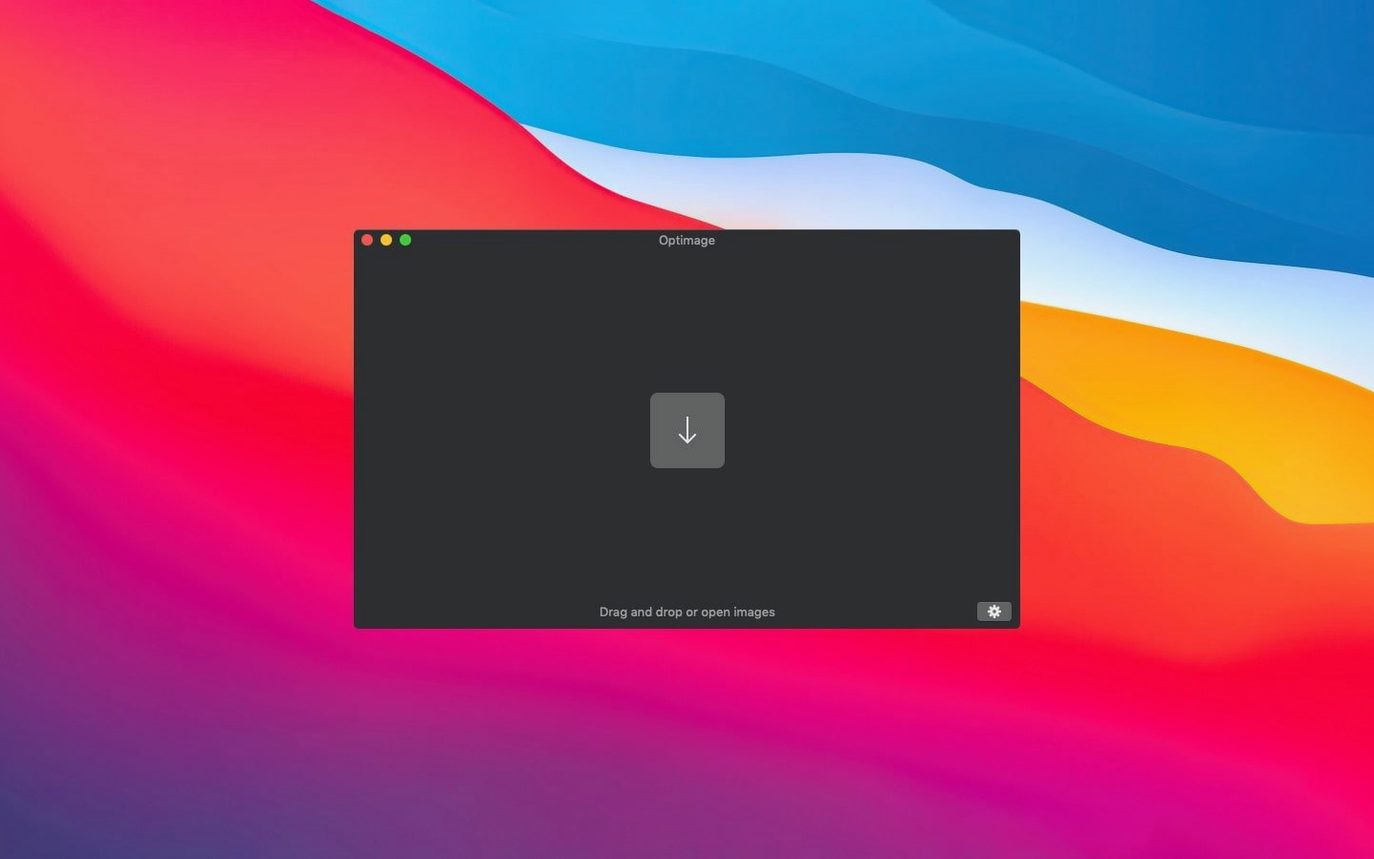
You come back from a shoot with a card full of RAW files and a handful of hastily pulled JPEGs you need to get into a portfolio page by lunchtime. Opening Optimage feels uneventful — a clean, single-window interface with a drop target that practically hums “put something here.”
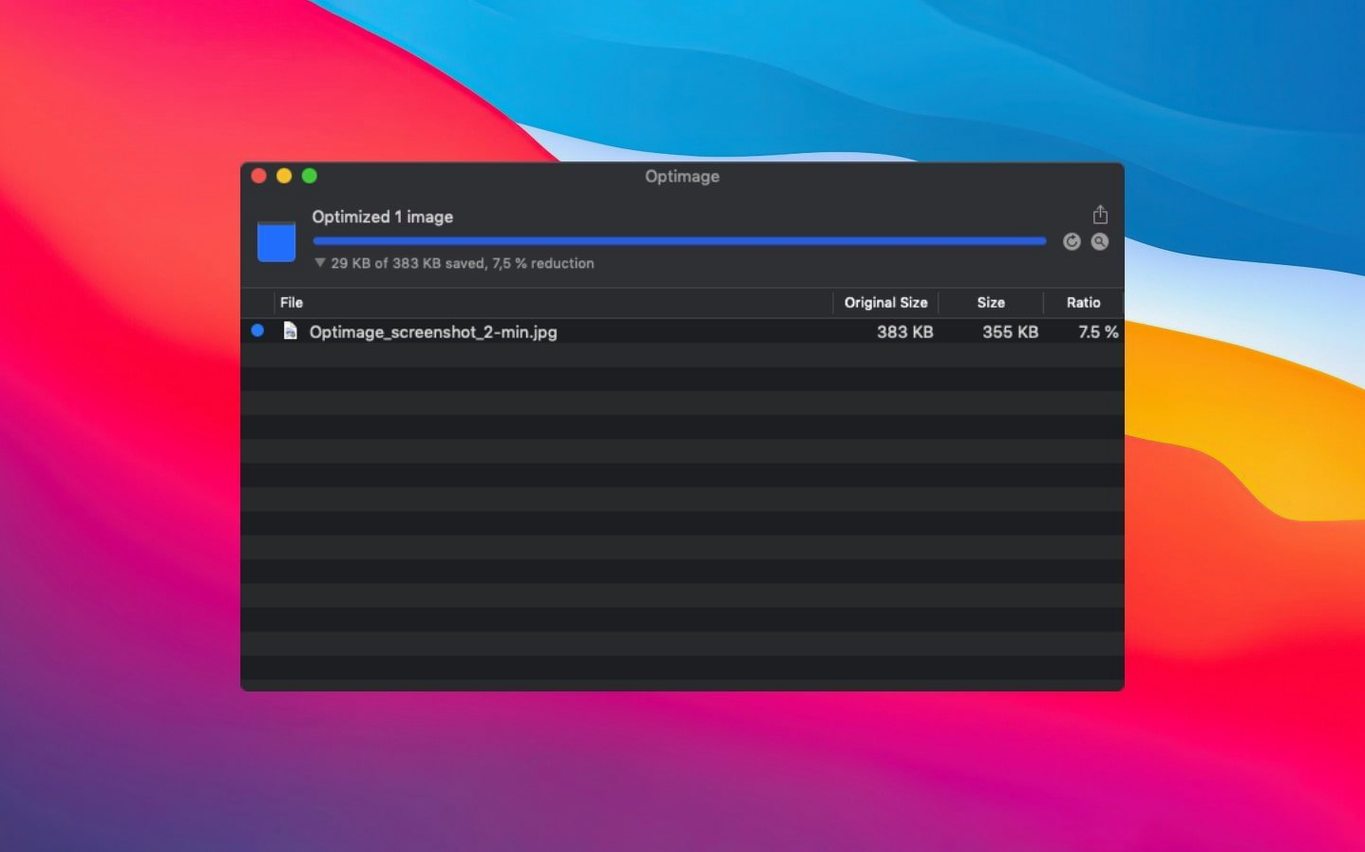
You drag in the first batch. The app chews through them in a few seconds, showing a thumbnail grid with the original size, the compressed size, and a percentage saved. What stops you in your tracks is the side-by-side preview: a vertical split slider you can drag across each image to compare before and after. On the JPEGs, you honestly cannot see where the 40% saving went.
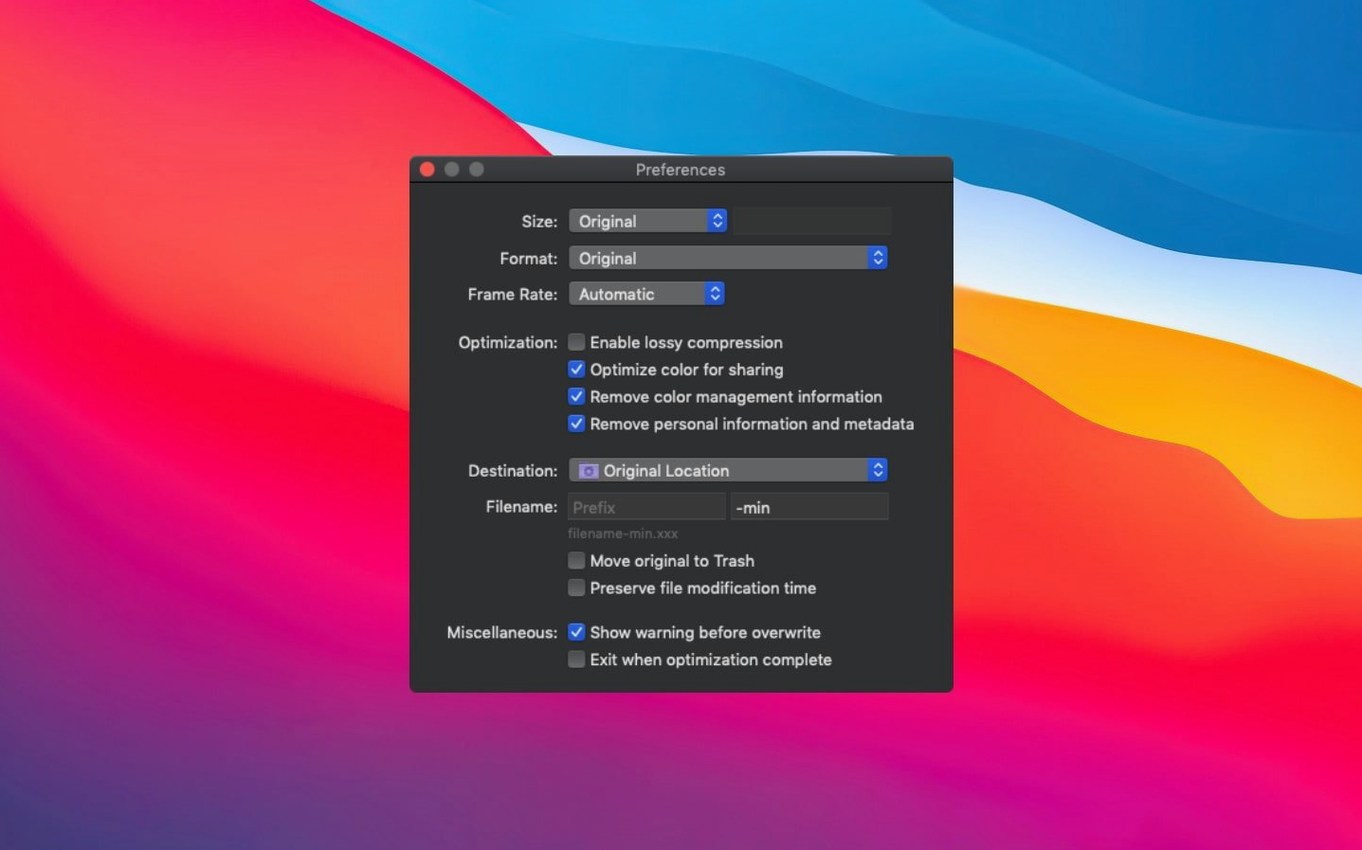
One portrait of a market stall has come in sideways. You expect to right-click and fix it manually, but Optimage has already read the Exif orientation tag and spun it upright — no rotation dialogue, no second step. You tick the box to strip the GPS coordinates (you were standing in the vendor’s doorway, and that is nobody’s business but yours), then hit Optimise. The bar fills, the files overwrite, and the portfolio folder shrinks by a third.
Later, a developer on your team asks for the same photos as WebP with grayscale thumbnails. You drop the folder in, switch to lossy, set WebP as the output format, and tick Convert to grayscale on the thumbnail preset. The whole thing takes forty-five seconds, and half of that was deciding on the quality slider setting by squinting at the preview. You email the folder before the kettle has boiled.
The default preset might not save every pixel untouched
Confusing lossless and lossy presets. It is tempting to leave the app on its default and assume it is saving every pixel untouched. It might not be. If you need pixel-perfect archival copies, switch explicitly to lossless before you drop files in — Optimage remembers your last setting, and that setting may have been “tiny WebP at 70% quality” from yesterday’s web project.
Stripping metadata too early. Yes, the checkboxes to remove Exif, XMP, IPTC, comments and thumbnails are right there and they feel satisfying to tick. But if you later need to prove copyright or find a photo by its capture date, that data is gone. Many beginners nuke everything on the first pass, then realise the client wanted embedded credit lines. Consider keeping a metadata-rich master folder and only stripping the copies destined for public-facing use.
Ignoring colour space. A photographer friend once ran an entire wedding gallery through Optimage, delighted by the file sizes, then sent the images to a print lab that expected Adobe RGB. The app had dutifully converted everything to sRGB, and the prints came back flat and undersaturated. Before you batch-process, check whether you need the Convert to sRGB option on or off for that particular job.
Forgetting the video scaler is on. If you have been shrinking an animation for a mobile hero banner and later drop in a client’s final-cut video, the frame-rate and resolution settings from the previous job are still live. It is an easy one to miss until the client asks why their 4K masterpiece is now a postage stamp.
Hold Option while dragging the quality slider for a real-time preview
Hold Option while dragging the quality slider and the preview updates in real time — no need to release the mouse and re-render. It is the kind of thing you either stumble on by accident or never find at all.
The thumbnail grid has a hidden trick: double-click any thumbnail and the split comparison zooms to full size. Useful when you are trying to judge whether that faint texture in the background is still there or has been smoothed into oblivion by the lossy algorithm.
If you are the sort who likes to keep things tidy, the output folder naming can be locked to a pattern. Set it once — say, a subfolder called “optimised” next to the originals — and every batch lands there without you navigating again. The app does not advertise this loudly, but it saves a startling amount of clicking over a week of regular use.
From the command-line side, the CLI client accepts wildcard paths, so optimage *.jpg in a directory will process everything without a shell loop. People who script their asset pipelines often overlook this because the documentation mentions the GUI first.
And a tiny thing: pressing Space on any selected thumbnail invokes Quick Look, so you can check the compressed file in isolation without leaving the window. It feels obvious once you try it, yet plenty of users go months opening Finder separately.
Version 3.5.1 fixes a detection issue that could trip up HEIF files, the high-efficiency format Apple adopted a few years back. The update is a targeted bug fix with no change to the core compression engine.
- macOS 10.11 (El Capitan) or newer
- Intel processor (runs on Apple Silicon via Rosetta 2)
Questions from the class 0
Sign in or join the class to ask a question.
Nobody has asked anything yet. If you have used it on a real job, say what the file did.
Also on the Mac Apps shelf
The whole Mac Apps shelf One Switch
Flicks common Mac settings like Dark Mode or Do Not Disturb on and off from a single menu bar panel.
One Switch
Flicks common Mac settings like Dark Mode or Do Not Disturb on and off from a single menu bar panel.
 ON1 Photo RAW
Manages a local photo library and develops raw files with layered, non-destructive edits.
ON1 Photo RAW
Manages a local photo library and develops raw files with layered, non-destructive edits.
 Pacifist
Extracts a single file from a .pkg installer without running the whole package.
Pacifist
Extracts a single file from a .pkg installer without running the whole package.
 OmniPlayer: MKV Video Player Pro
Plays almost any video file you throw at it, fetches subtitles online, and streams web clips.
OmniPlayer: MKV Video Player Pro
Plays almost any video file you throw at it, fetches subtitles online, and streams web clips.
 Paragon NTFS
Lets your Mac write, copy and delete files on Windows-formatted drives.
Paragon NTFS
Lets your Mac write, copy and delete files on Windows-formatted drives.
 Parallels Desktop
Runs Windows and Linux apps alongside macOS without rebooting your Mac.
Parallels Desktop
Runs Windows and Linux apps alongside macOS without rebooting your Mac.
 OmniGraffle Pro
Builds precise diagrams, wireframes, and site maps from a deep library of draggable stencils.
OmniGraffle Pro
Builds precise diagrams, wireframes, and site maps from a deep library of draggable stencils.
 Paste
Keeps a searchable visual timeline of everything you copy on your Mac.
Paste
Keeps a searchable visual timeline of everything you copy on your Mac.