 ASPNetWorld
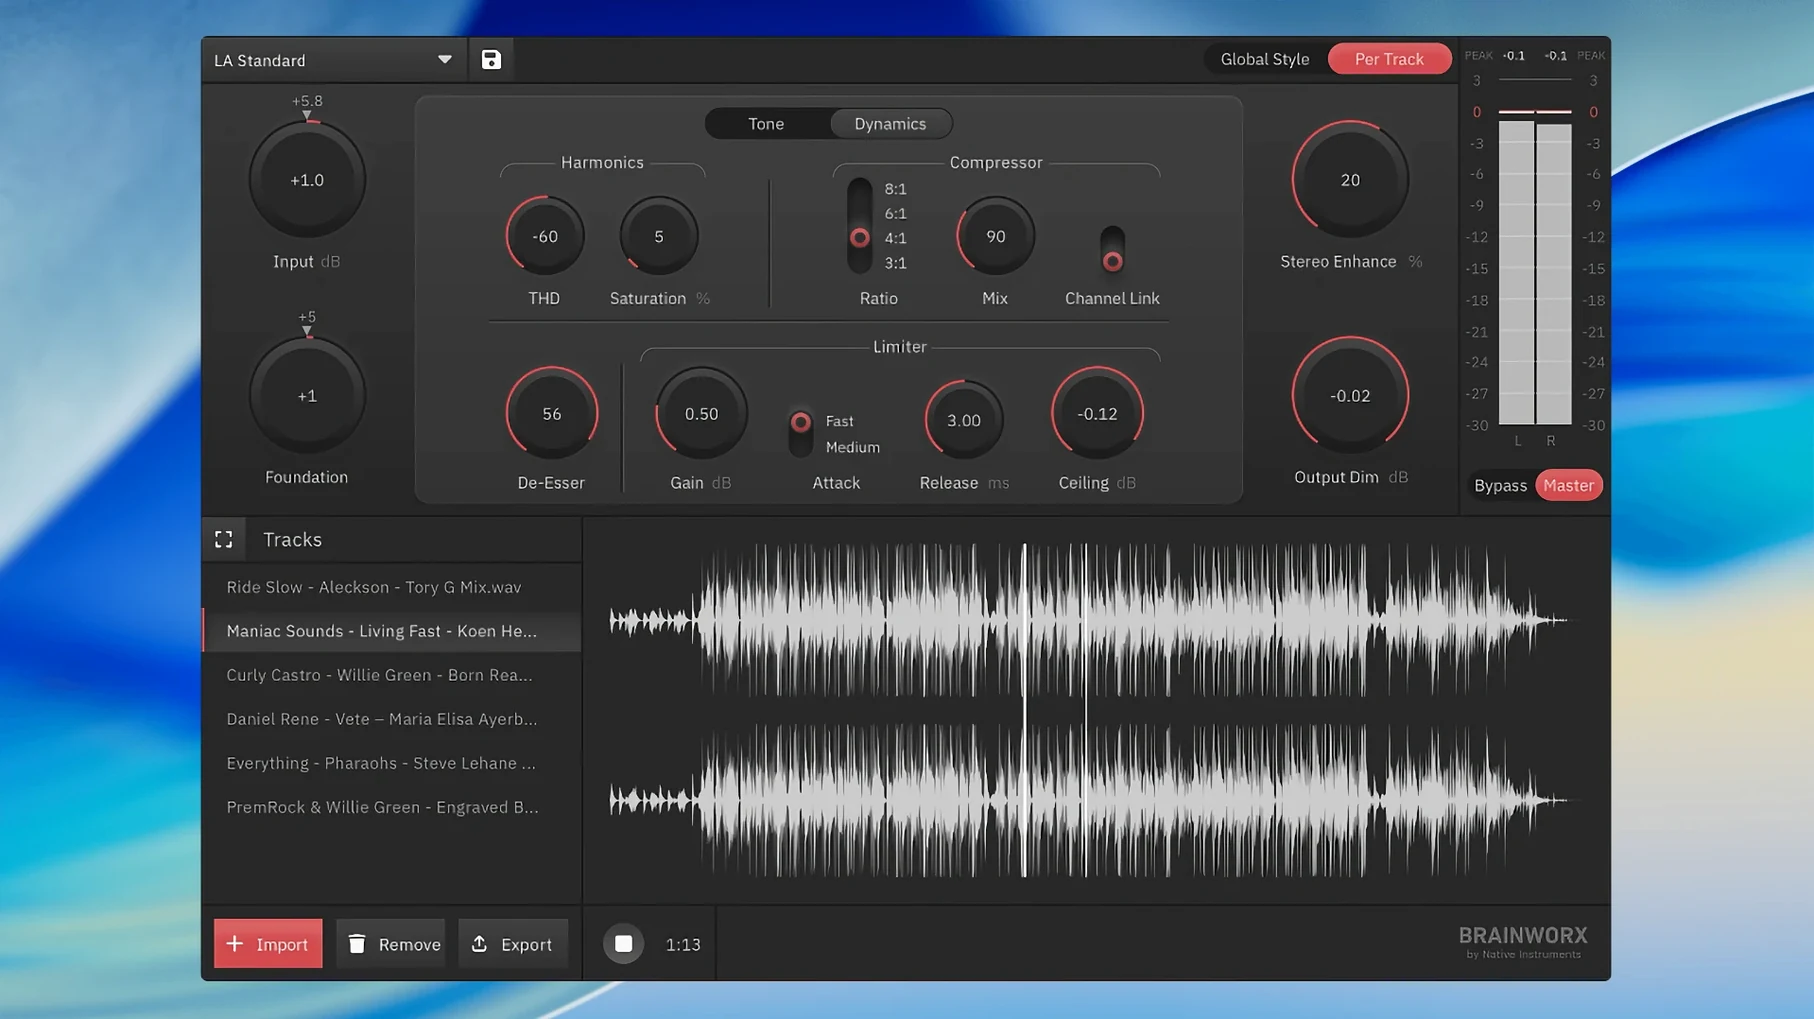
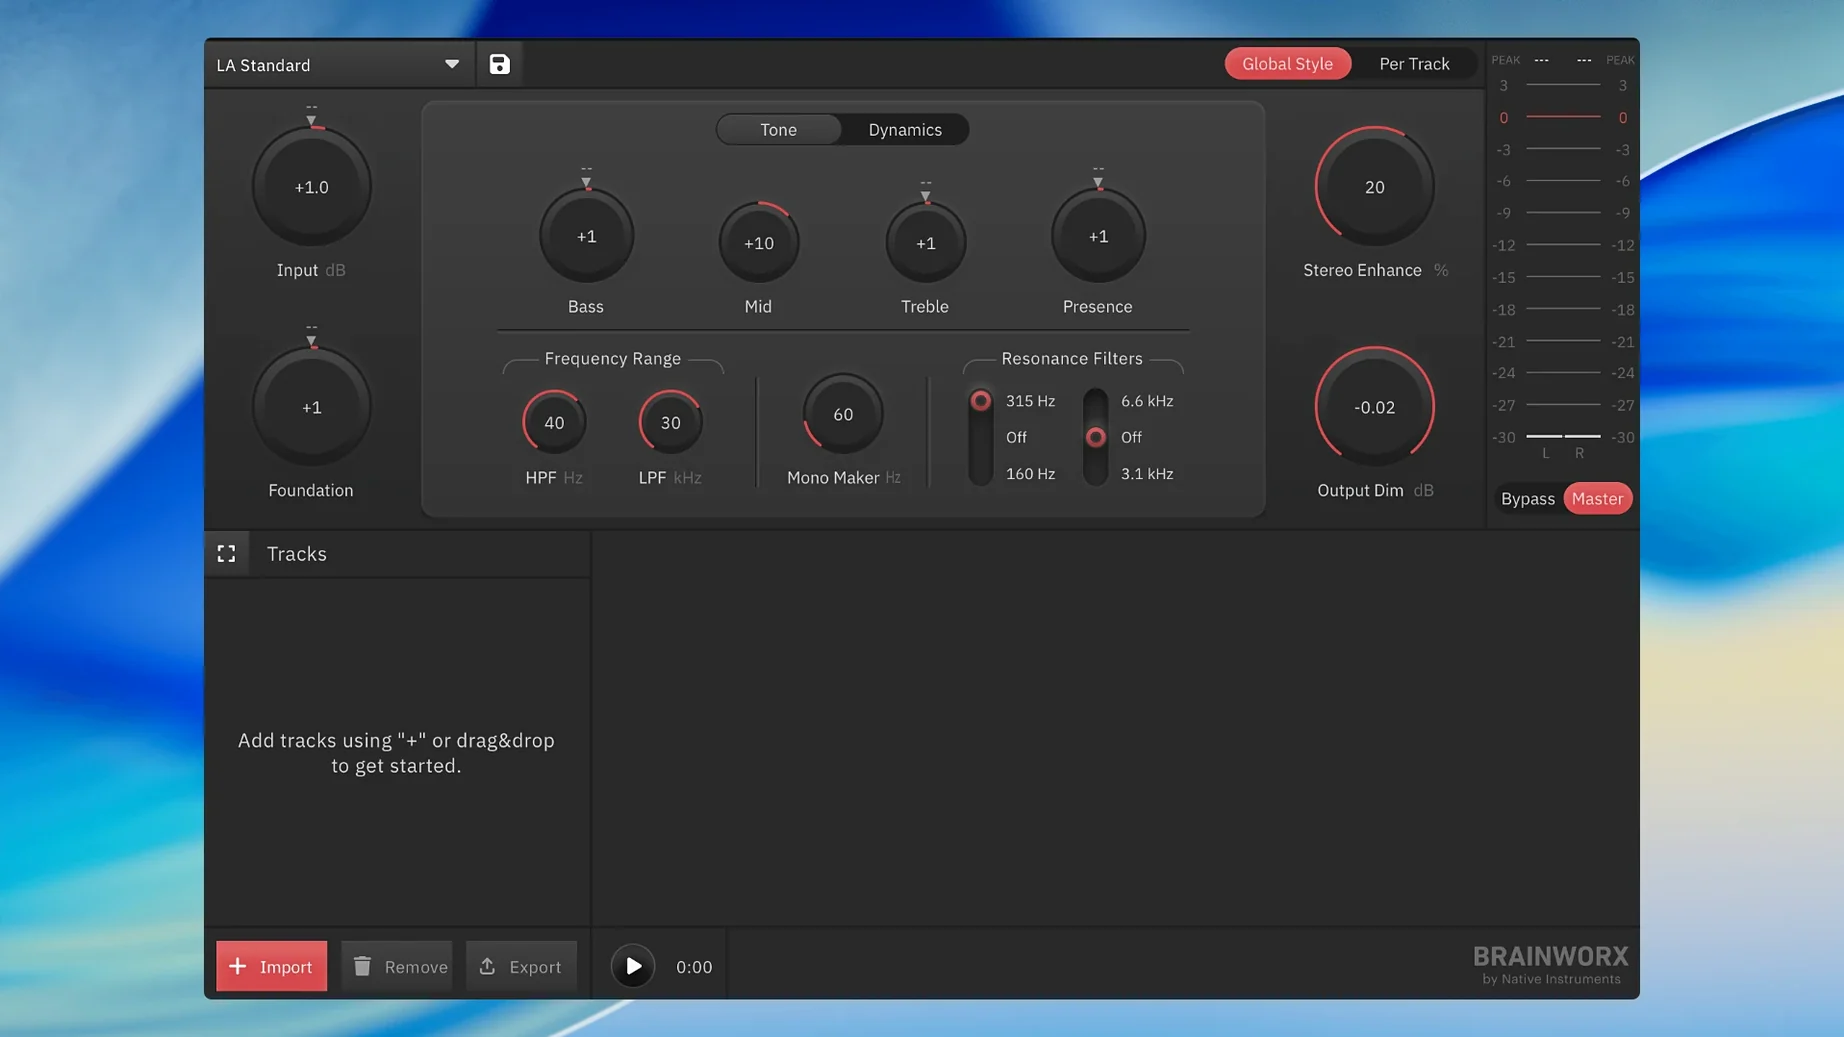
You've just finished a mix in GarageBand, and the arrangement feels solid, but comparing it to a commercial release reveals a gap in loudness and polish. You don't need a full DAW-based mastering chain; you just need to get the track release-ready without leaving the desktop.
What people check before they install
- Does it run without a host DAW? It's a standalone Mac application, so you launch it directly.
- Is there a cap on how many tracks you can process? There's no practical ceiling — it's built for an unlimited number of masters.
- What's doing the work under the bonnet? The processing uses algorithms derived from analysis of notable masters, automating decisions that would otherwise need a chain of processors.
A direct route to a streaming-ready master from GarageBand
Because it's the standalone successor to mastering.studio, it's aimed squarely at people working in less advanced DAWs like GarageBand who want a direct route to a finished file. The output targets streaming levels, so you get a master that translates sensibly to Spotify or Apple Music without extra metering guesswork.
Kitchen-table demo makers find the fastest finish here
Thinking about the people I've shown this to, the sweet spot isn't the engineer with a treated room and a rack of outboard gear. It's the songwriter who records demos at the kitchen table and suddenly needs to submit something for a playlist pitch by Thursday. The podcast producer who records interviews in a less-than-ideal space and wants voice to sit at a consistent, competitive level without learning about LUFS metering. And the content creator who edits video soundtracks in iMovie and can't face exporting stems just to run them through a separate mastering chain.
What these users share is a need for streaming-ready output without the intermediate steps. They're not trying to learn a new discipline; they're trying to finish a project. The app's analysis-based approach means you don't have to know what a multi-band compressor's crossover points should be — the processing is derived from patterns observed in commercially released masters, and it applies those patterns to your material.
If you're the sort of person who already owns a collection of Brainworx channel strips and builds your own mastering chains, bx_mastering studio will feel like a simplification of what you already do. You might use it for quick reference masters — the version you send to a collaborator for feedback before you commit to a full session. The real value, though, lands with people who don't have that background at all.
LANDR leans on genre AI while bx_mastering takes a different automated path
A natural comparison is LANDR's desktop mastering application, which follows a similar automated model. LANDR evolved from a web-based service and offers style-based processing driven by machine learning trained on genre-specific material. The difference, in practice, is that LANDR tends to push you toward its ecosystem of distribution and collaboration tools, whereas bx_mastering studio stays focused on the single task of producing a finished file. People searching for a landr mastering plugin mac torrent are often looking for exactly that — a way to get the automated mastering outcome without the platform overhead.
Then there's iZotope Ozone, which can run standalone but really shines as a modular suite inside a DAW. Ozone gives you surgical control: you can adjust the attack time of a single band in the dynamic EQ or tweak the stereo width curve. bx_mastering studio takes the opposite approach. It's not a collection of processors you assemble; it's a decision engine you guide with style choices. Where Ozone asks you to become a better mastering engineer, bx_mastering studio asks you to describe what you want the result to sound like.
Interestingly, searches for a landr mastering plugin pro torrent suggest people want that algorithmic approach but as a plug-in they can drop into a mix session. bx_mastering studio sits in the middle — it's the full standalone application rather than a DAW insert, but it comes from the same analysis-based philosophy and carries the Brainworx pedigree in its processing algorithms.
A start-to-finish workflow for a singer-songwriter demo
Let's walk through a concrete scenario. You've got a three-minute acoustic track — vocal, guitar, a touch of reverb — exported from GarageBand as a 24-bit WAV peaking around -6 dBFS. The performance is good, but the overall level is low and the low end feels a little boomy when you play it back on earbuds.
Step one: Launch bx_mastering studio and drag the WAV straight into the waveform display. The app analyses the file's spectral balance and dynamic profile — this takes a few seconds and you don't need to configure anything beforehand. Step two: Browse the built-in mastering styles. For acoustic material, you might audition the 'Natural' and 'Warm' presets first, toggling between them while a representative section of the track loops. The style creator is essentially a curated set of processing profiles derived from reference masters, so switching styles changes the broad equal-loudness contour and dynamic behaviour rather than swapping out individual processors. Step three: Listen on two different playback systems — studio headphones and a Bluetooth speaker, say — and settle on the style that keeps the vocal intimate without letting the guitar's body notes overwhelm the mix. Step four: Hit render. The output is already levelled for streaming, so you get a file that sits comfortably in a Spotify playlist without triggering the platform's loudness normalisation to yank it down. You can then send that file straight to your distributor or share it with a playlist curator.
Adjust the output ceiling before your first pass
The default configuration works well enough, but a couple of adjustments make a noticeable difference if you're working on material with specific characteristics.
First, check the output ceiling. The app ships with a sensible true-peak limit already set, but if you're preparing files for a platform that specifies an exact ceiling (some podcast hosts, for example), you'll want to confirm that value before you render an entire batch of episodes. A quick test render of thirty seconds of speech lets you verify with a loudness meter that the integrated LUFS and peak levels match what the platform expects.
Second, spend ten minutes auditioning styles across contrasting sections of your track. The style that sounds great on a dense chorus can make a sparse intro feel thin, and vice versa. The app lets you loop different regions while browsing styles, so you can find the compromise that serves the whole arrangement rather than one moment.
Third, if you're working with material that already has a lot of low-end energy — electronic productions with sub-bass elements, for instance — pay attention to how the style interacts with that region. Some styles apply a low-end shaping curve that may not suit a track where the sub information is a deliberate creative choice. You can hear this most clearly by A/B comparing the processed and unprocessed signal around drop sections, where sub frequencies carry a lot of the impact. If a style feels like it's softening the weight you intentionally put in, try a more transparent profile.
- macOS 12 or later
- Apple Silicon or Intel processor
Questions I keep hearing
Can I use this without a DAW?
Yes, it is a standalone mastering application for macOS and Windows, so you open it like any other desktop program.
Does it work with GarageBand?
It's described as suitable for users working with less advanced DAWs such as GarageBand, since you bounce your mix and load the file directly into the app.
Is the output ready for streaming?
It supports streaming-ready mastering output, so levels are suited to platforms like Spotify and Apple Music.
Questions from the class 0
Sign in or join the class to ask a question.
Nobody has asked anything yet. If you have used it on a real job, say what the file did.
Also on the Audio shelf
The whole Audio shelf QLab
Controls audio, video and lighting cues for live performances.
QLab
Controls audio, video and lighting cues for live performances.
 Serato DJ Pro
Plays two or more audio tracks in sync and lets you blend them with hardware decks.
Serato DJ Pro
Plays two or more audio tracks in sync and lets you blend them with hardware decks.
 Serato Studio
Builds beats and full arrangements around your existing DJ library and its stem-separated parts.
Serato Studio
Builds beats and full arrangements around your existing DJ library and its stem-separated parts.
 Native Instruments Reaktor
Gives you a workbench to build your own synths and effects from oscillators, filters, and envelopes.
Native Instruments Reaktor
Gives you a workbench to build your own synths and effects from oscillators, filters, and envelopes.
 SoundSource
Gives you a menu-bar panel to adjust the volume and output of every app on your Mac individually.
SoundSource
Gives you a menu-bar panel to adjust the volume and output of every app on your Mac individually.
 Steinberg Nuendo
Edits dialogue and sound for film and games.
Steinberg Nuendo
Edits dialogue and sound for film and games.
 Studio One
Streamlines music production with drag and drop.
Studio One
Streamlines music production with drag and drop.
 Swinsian
Plays and organises local music files.
Swinsian
Plays and organises local music files.