 ASPNetWorld

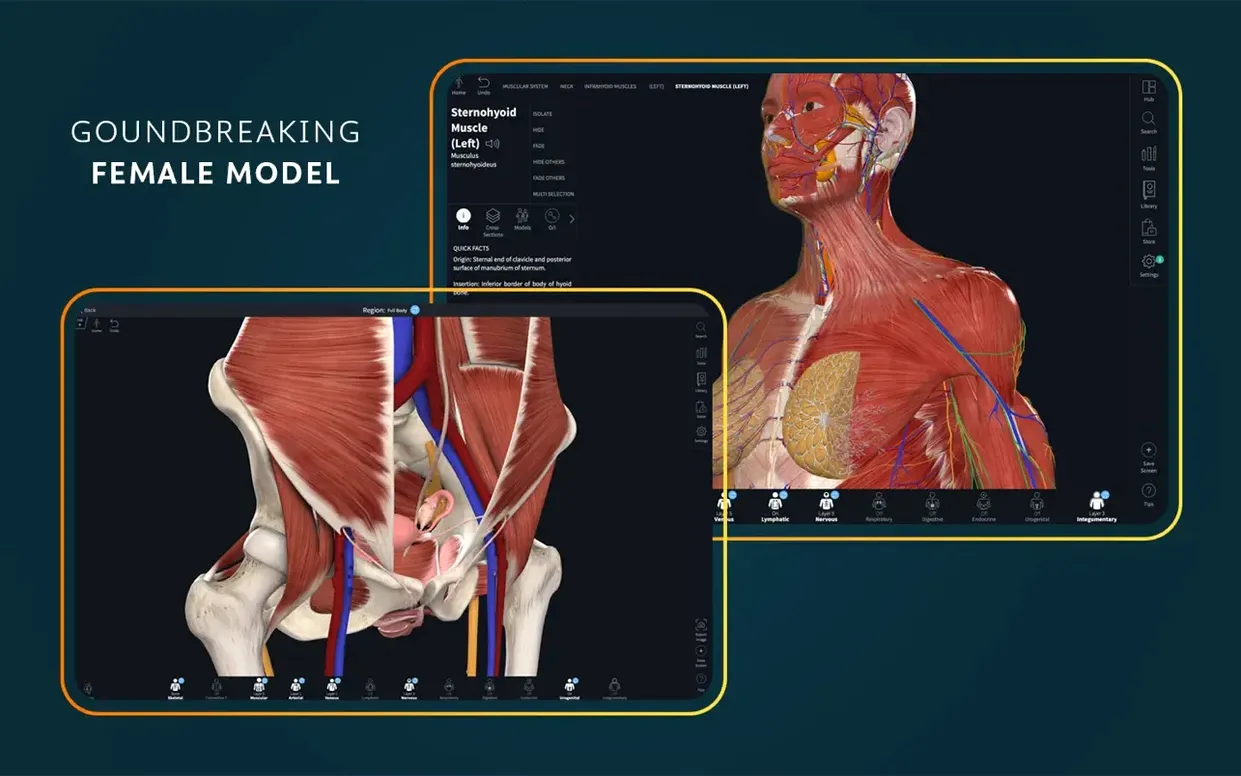
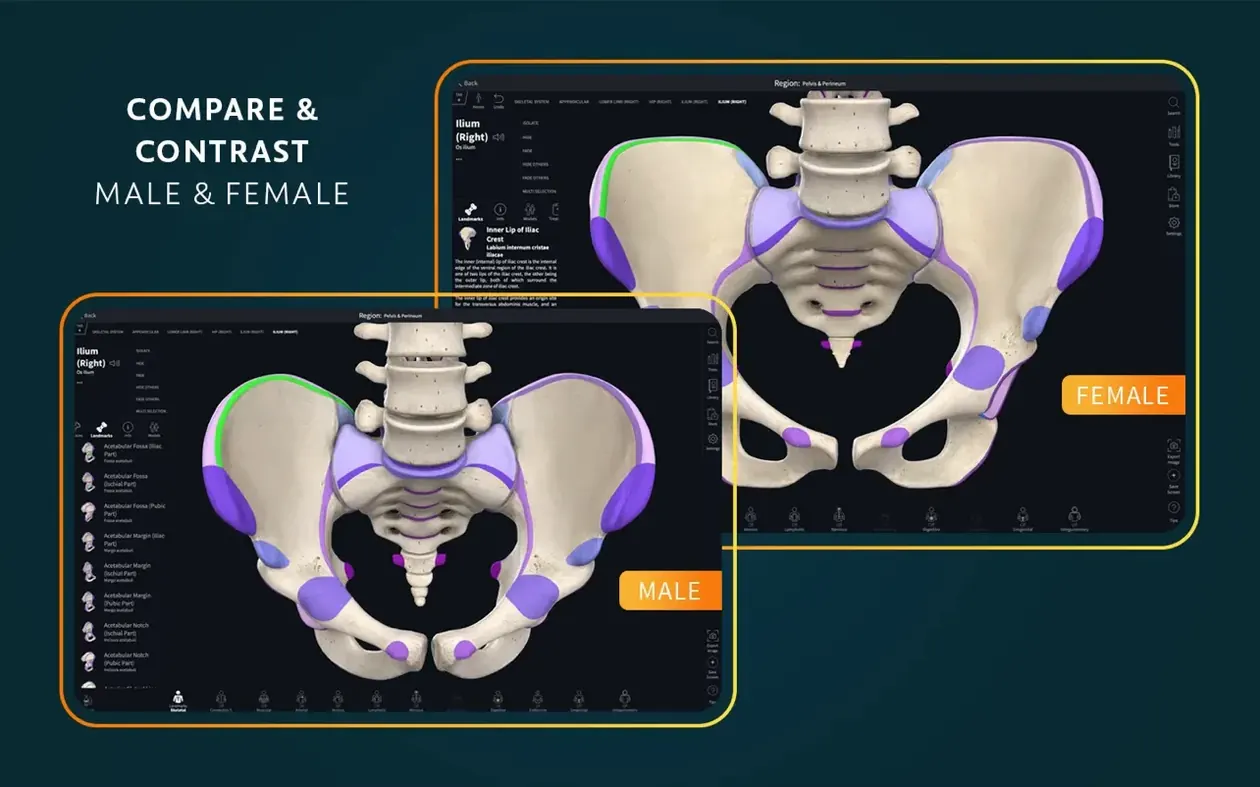
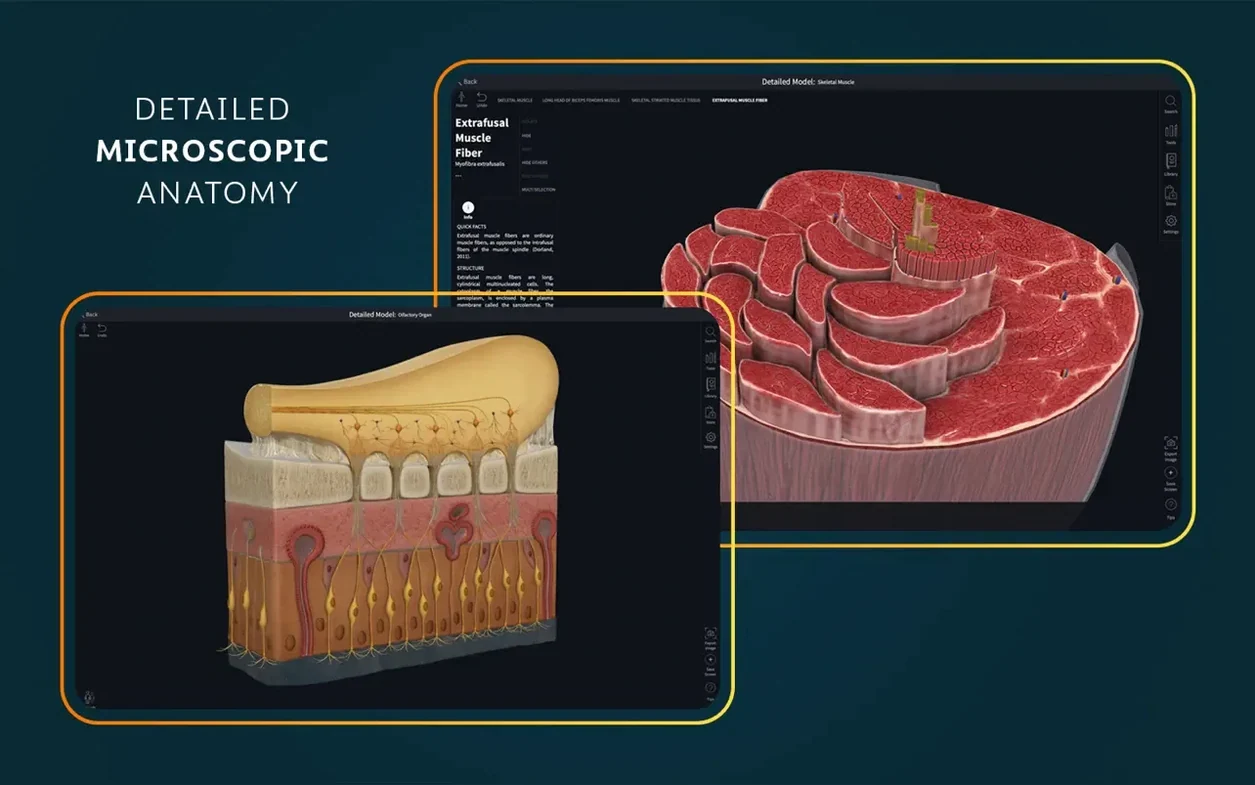
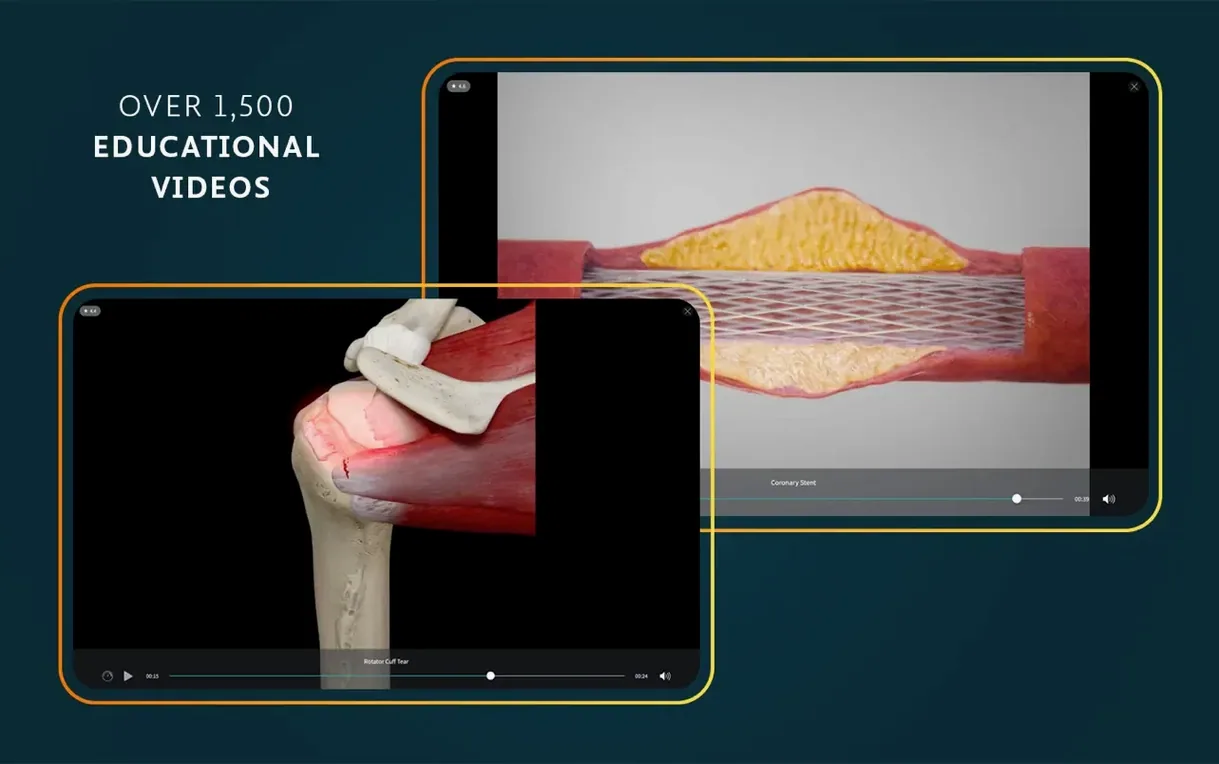
It is the platform a medical student turns to when the textbook illustration doesn't quite capture the spatial relationship of the facial nerve, or the tool a clinician opens to walk a patient through an upcoming procedure. Beyond the beautifully rendered bones and muscles, Complete Anatomy holds a set of deeper tools that reward the time you spend learning them.
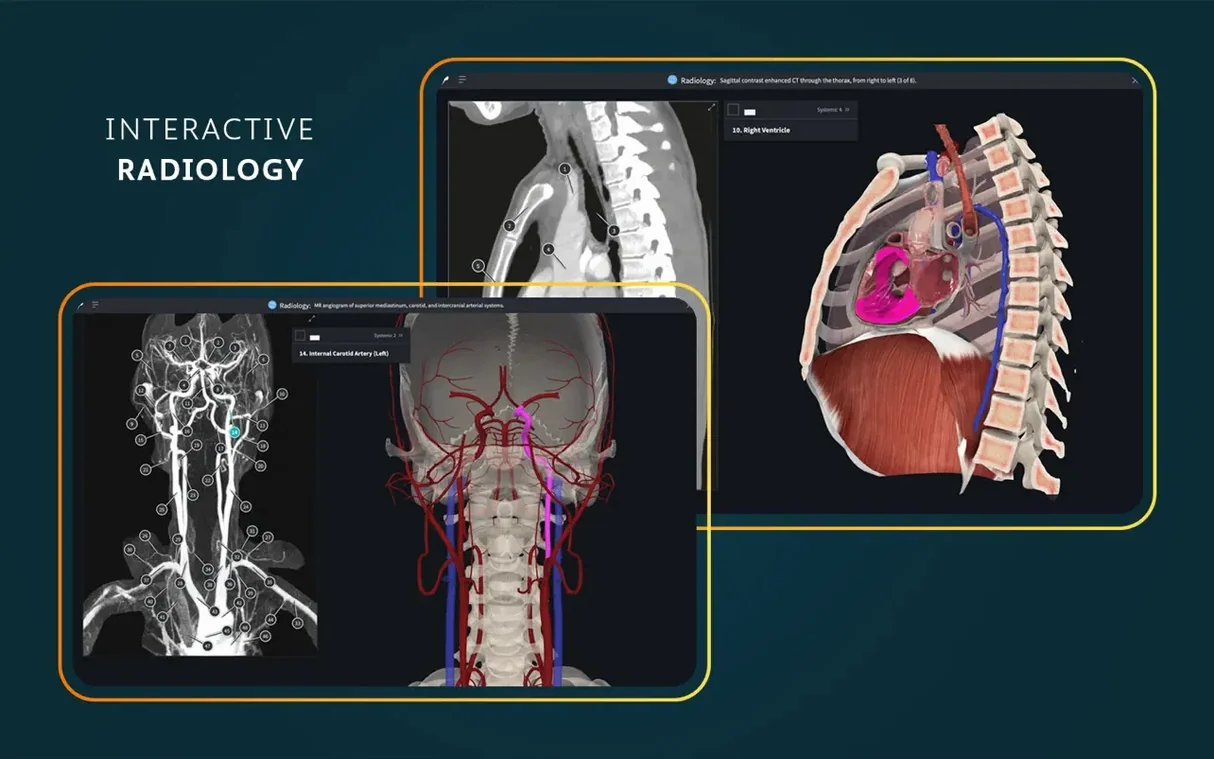
Radiology view — A side-by-side pairing of the interactive 3D model with a corresponding radiological image (MRI or CT). You move the model, and the scan slice follows, or vice versa, building that mental bridge between gross anatomy and the greyscale world of a PACS workstation.
Clinical correlations — Short, embedded text snippets that connect the structure you have selected to common pathologies and procedures. Not just what it is, but why it matters when it goes wrong.
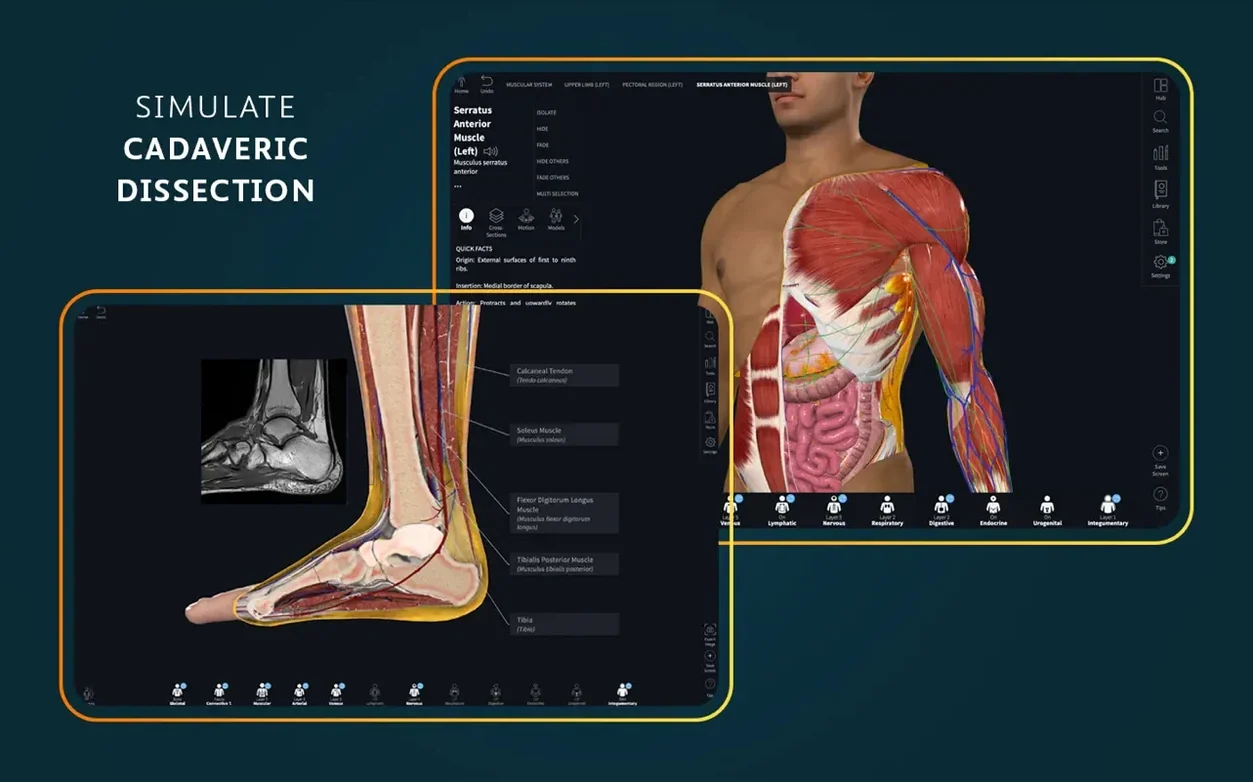
Dissection courses — Layered, guided walkthroughs that simulate the blade. You work through regions in stages, stripping away skin, fascia and muscle in the correct order, which is a far cry from simply rotating a pre‑separated model.
AR mode — Places a virtual model in the space around you rather than inside a flat window. For spatial understanding, seeing a structure anchored in a real room makes a surprising difference.
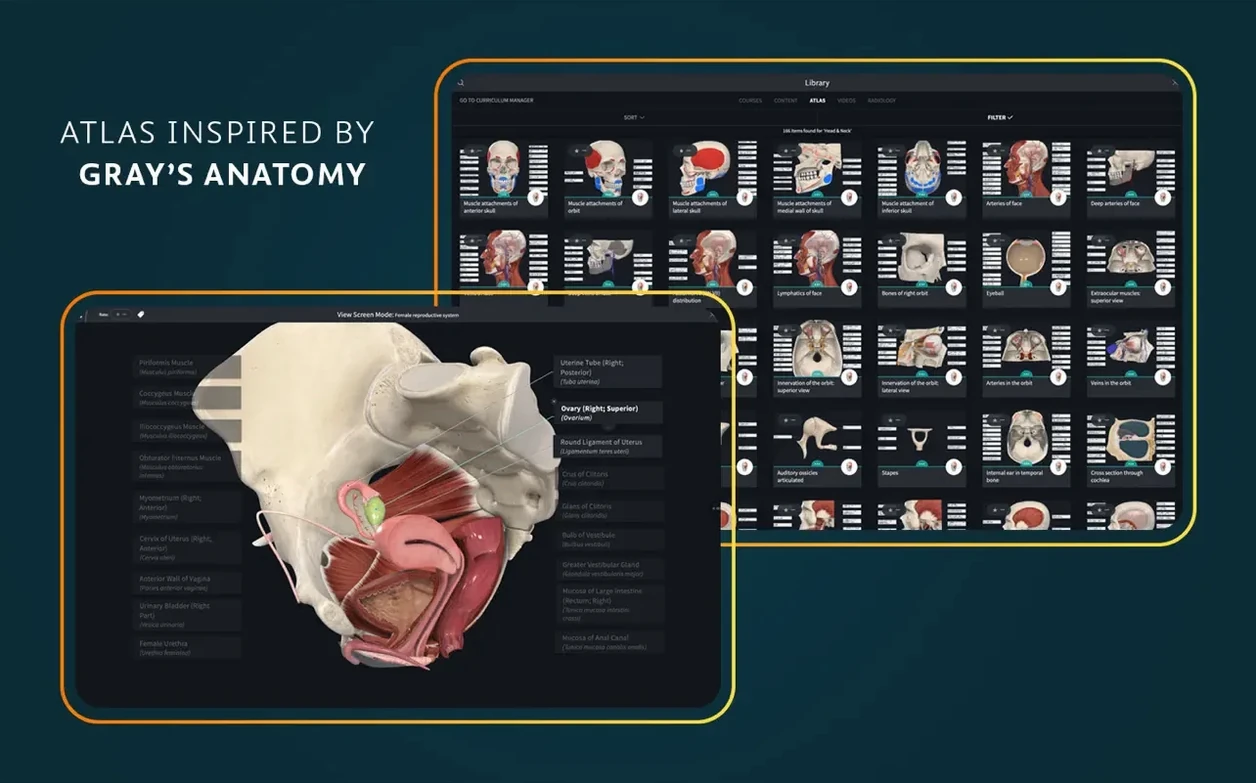
Atlas screens — A curated library of over 700 annotated, high-resolution screens capturing specific views and dissections. A quick reference when you need a trusted ‘textbook’ angle without waiting for the full model to load.
The first time you open Complete Anatomy, you land inside a male full-body model, a tools palette, and a library that can feel as vast as the subject itself. A handful of settings, changed early, make the hours that follow noticeably smoother.
Switch off the balanced preset if you have a discrete GPU
Open Preferences (⌘,) and head straight to the Performance tab. The app defaults to a balanced preset that suits an M1 MacBook Air, but if you are on a machine with a discrete GPU—an M2 Pro or better, or an Intel Mac with a Radeon inside—slide the quality preset to High or Ultra. The difference in specular highlights on cartilage and the smoothness of muscle-fibre rendering is genuinely useful when you are trying to identify the gracilis at a glance. While you are there, tick Limit frame rate to 60 fps unless you enjoy a warm lap; the uncapped frame rate pushes thermal headroom for no educational gain.
Switch to the Controls tab and set Rotation to Trackball if you come from a CAD or 3D-modelling background. The default turntable mode constrains rotation to the vertical axis, which makes sense for a standing figure, but trackball frees you to roll the model into any orientation with a single drag—helpful when you are following a vessel through a twisted path.
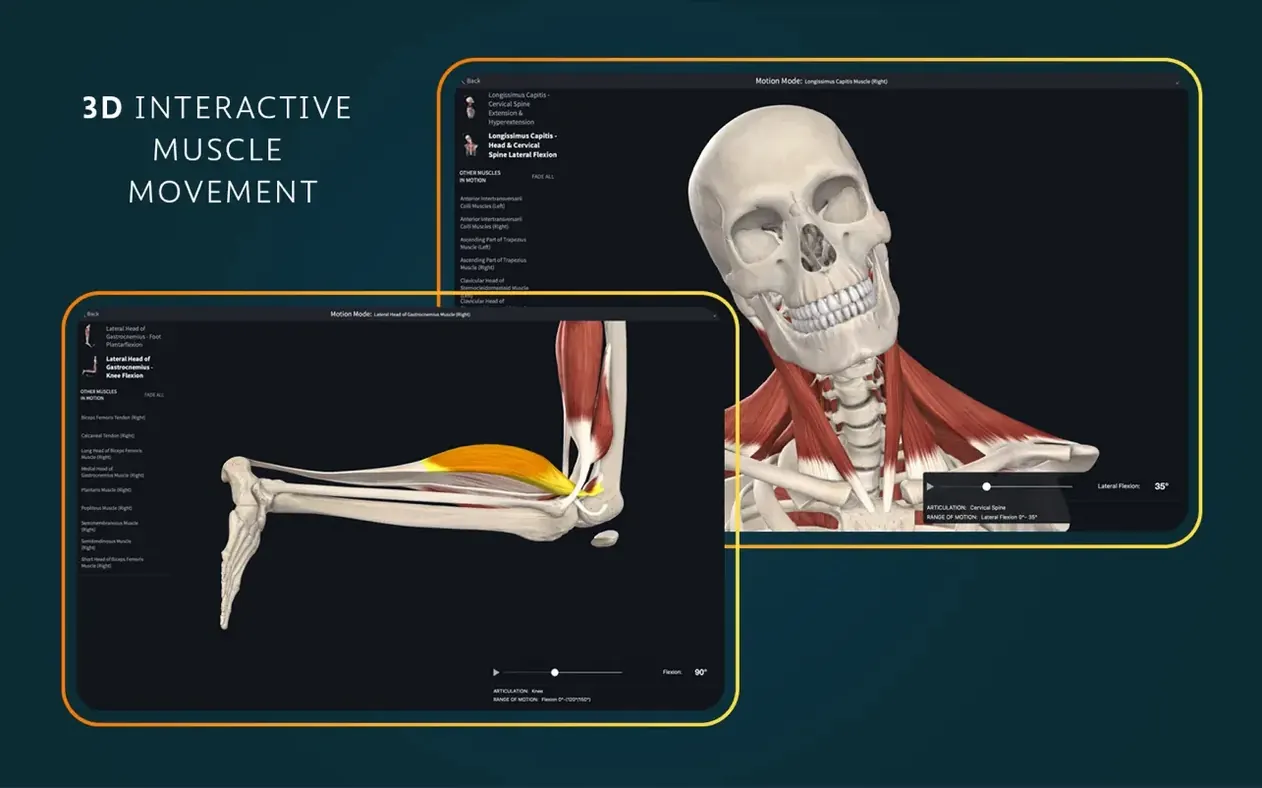
In General, turn on Show muscle origin and insertion points. It adds small coloured markers to every attachment site, turning the skeleton into a map of biomechanical pull. Students who leave this off tend to redraw the same diagram three times before the relationship sticks.
Open the Info panel instead of stopping at a label
The most common early misstep is treating Complete Anatomy like a static atlas. You select a structure, read its label, rotate once, and move on. The platform rewards interrogation. After selecting a muscle, open the Info panel and scroll past the name to the Relations section—it lists every neighbouring structure, ranked by proximity. Tapping one jumps the camera to that neighbour. Ten minutes spent hopscotching through relations builds a mental map that passive scrolling never will.
Another habit that stalls progress: ignoring the Tools palette beyond the scalpel. The Pen tool lets you draw directly onto the model surface, and the marks stick to the geometry as you rotate. Use it to sketch surgical margins or trace a nerve path. The marks save with your session, so you return to a model that remembers your thinking.
Beginners also tend to leave every system turned on—skeletal, muscular, nervous, vascular, lymphatic—and end up staring at a multicoloured tangle. The app loads the full set by default. Immediately after opening a region, open the Systems tray and strip back to the two or three systems relevant to the session. You can always re-add a system later; starting from a clean view is harder to unlearn than it sounds.
Spend day one learning how skin retracts with the scalpel
Day one, spend twenty minutes with the Tools alone. Take the scalpel and make a single cut across the anterior thigh; watch how the skin retracts. Undo it, then cut layer by layer using the dissection slider. The muscle fibres beneath have direction and texture that the pre‑separated models hide. Next, switch to the Heart model—the live, beating version, not the static one—and slow the cycle to quarter speed. Follow a single valve leaflet through a full beat. The motion teaches the mechanics in a way that a diagram of pressure gradients never could.
Day two, pair the 3D model with radiology. Pick any bone—the scapula is a good start—and open Radiology view. Drag the CT slice slowly through the structure while watching the corresponding plane cut through the model. After ten minutes, reverse the control: move the model and watch the scan slice track it. That reversal is where the mental bridge between textbook colour and clinical greyscale starts to form.
Day three, build a Screen collection. Navigate to a view you know you will need again—the branching pattern of the coeliac trunk, say—and save it with a descriptive name. Do this five times. By the end of the week you have a personal reference deck that loads faster than any search, and the act of naming each screen forces you to verbalise what you are looking at, which sharpens recall.
Tap the Move tool when the model stops rotating after a cut
The model won't rotate after a dissection cut. You have accidentally switched from the Move tool to the Select tool. Look at the toolbar: if the arrow icon is highlighted, the app is waiting for you to tap a structure. Click the hand icon to return to free rotation. The shortcut V toggles between them.
Labels disappear when you zoom in. The label engine culls text that would overlap at close range. Pinch out slightly or, better, switch to the Info panel view where the selected structure's name stays fixed in the sidebar regardless of zoom level.
The AR mode places the model at an awkward scale. Floor detection sometimes picks up a rug edge or a desk leg and sets the anchor point too high. Tap the Recenter button in the AR toolbar, point the camera at a clear stretch of floor, and wait for the grid to appear before placing. If the model still floats, slowly pan the camera across the floor once—the sensor needs a moment of lateral motion to recalibrate depth.
Signed-in account prompt blocks access to saved content. An Elsevier account is required for Screens, notes and course progress to sync. The prompt appears once after an update. If it reappears, the local token has expired; signing in again restores everything, and no local data is lost in the process.
Performance dips when the radiology view is open alongside the full model. Rendering two high-resolution volumes simultaneously is heavy. In Preferences → Performance, drop the Radiology quality slider one notch. The scan remains diagnostically clear, but the frame rate recovers.
Version 11.5.0, released on 5 September 2025, is primarily a maintenance update that keeps Complete Anatomy running smoothly on the latest Apple operating systems.
- Optimized support for iOS 26.
- General bug fixes and performance improvements.
- macOS 11.0 or later
- Runs on both Intel (x86 64-bit) and Apple Silicon (ARM)
- Signed-in account required for full access
Questions I keep hearing
Can I run Complete Anatomy on an older Intel Mac and an Apple Silicon machine?
Yes, the application is a universal binary that runs natively on both x86 64-bit and ARM architectures, so it works across Intel and Apple Silicon Macs without emulation.
Do I need an account to use the software?
A signed-in account is required for full functionality, which ties together your access to the courses, atlas and any personal annotations across devices.
Questions from the class 0
Sign in or join the class to ask a question.
Nobody has asked anything yet. If you have used it on a real job, say what the file did.
Also on the Office shelf
The whole Office shelf Cardhop
Lets you search, add, or email a contact by typing a single plain-English sentence.
Cardhop
Lets you search, add, or email a contact by typing a single plain-English sentence.
 DjVu Reader Pro
Opens and lets you read archived DjVu documents and scanned books reliably.
DjVu Reader Pro
Opens and lets you read archived DjVu documents and scanned books reliably.
 Bear
Writes and organises private notes in plain Markdown, with optional formatting preview and flexible tags.
Bear
Writes and organises private notes in plain Markdown, with optional formatting preview and flexible tags.
 EndNote
Collects, organises, and cites your research references inside a word processor.
EndNote
Collects, organises, and cites your research references inside a word processor.
 Final Draft
Formats your screenplay as you type, keeping character names and cues tidy.
Final Draft
Formats your screenplay as you type, keeping character names and cues tidy.
 Antinote
Captures fleeting thoughts and performs inline maths from a floating scratchpad.
Antinote
Captures fleeting thoughts and performs inline maths from a floating scratchpad.
 GoodNotes
Brings your handwritten iPad notes to the Mac desktop for editing and organising.
GoodNotes
Brings your handwritten iPad notes to the Mac desktop for editing and organising.
 GrandTotal
Creates clean, custom invoices and estimates free of spreadsheet clutter.
GrandTotal
Creates clean, custom invoices and estimates free of spreadsheet clutter.