 ASPNetWorld

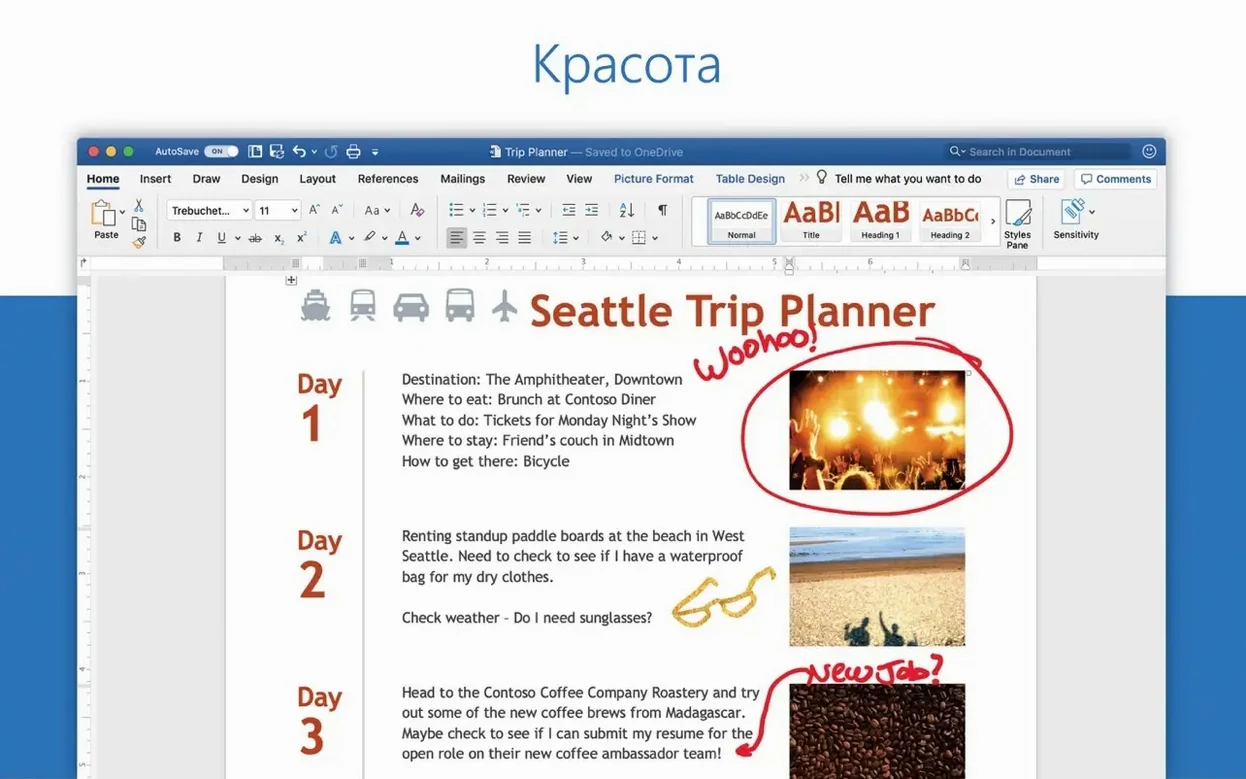
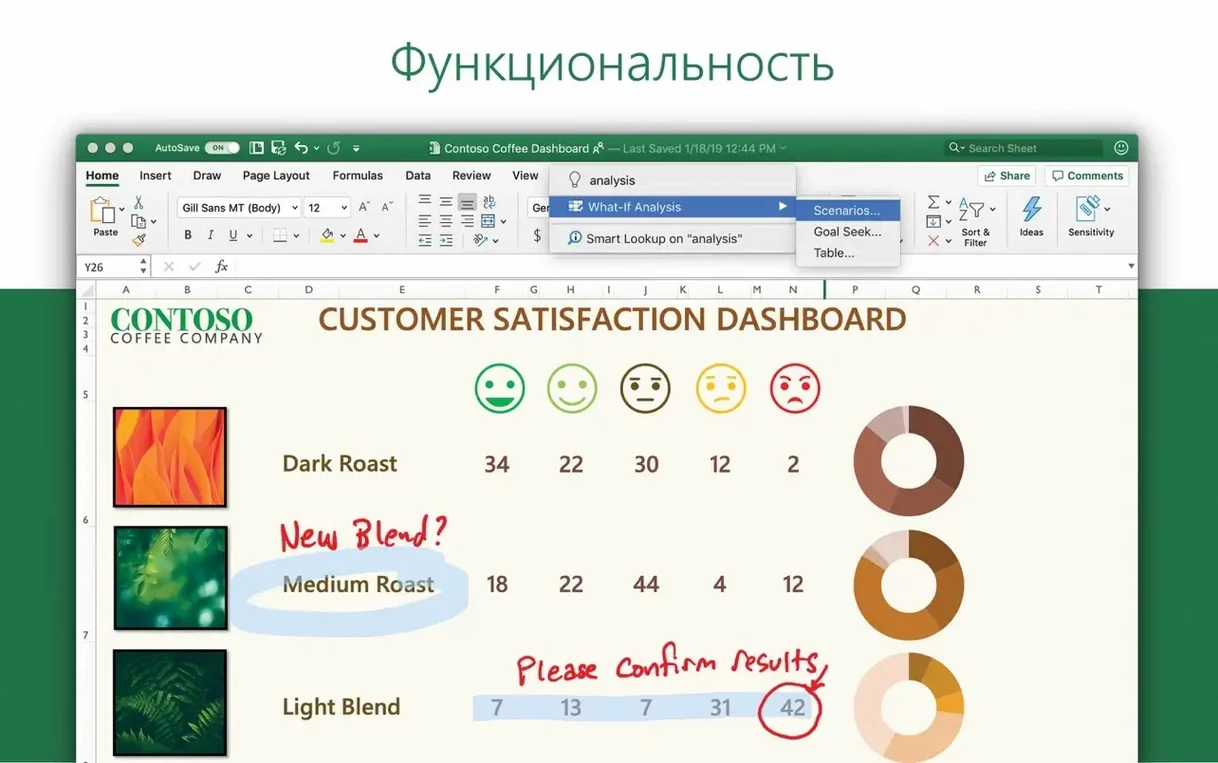
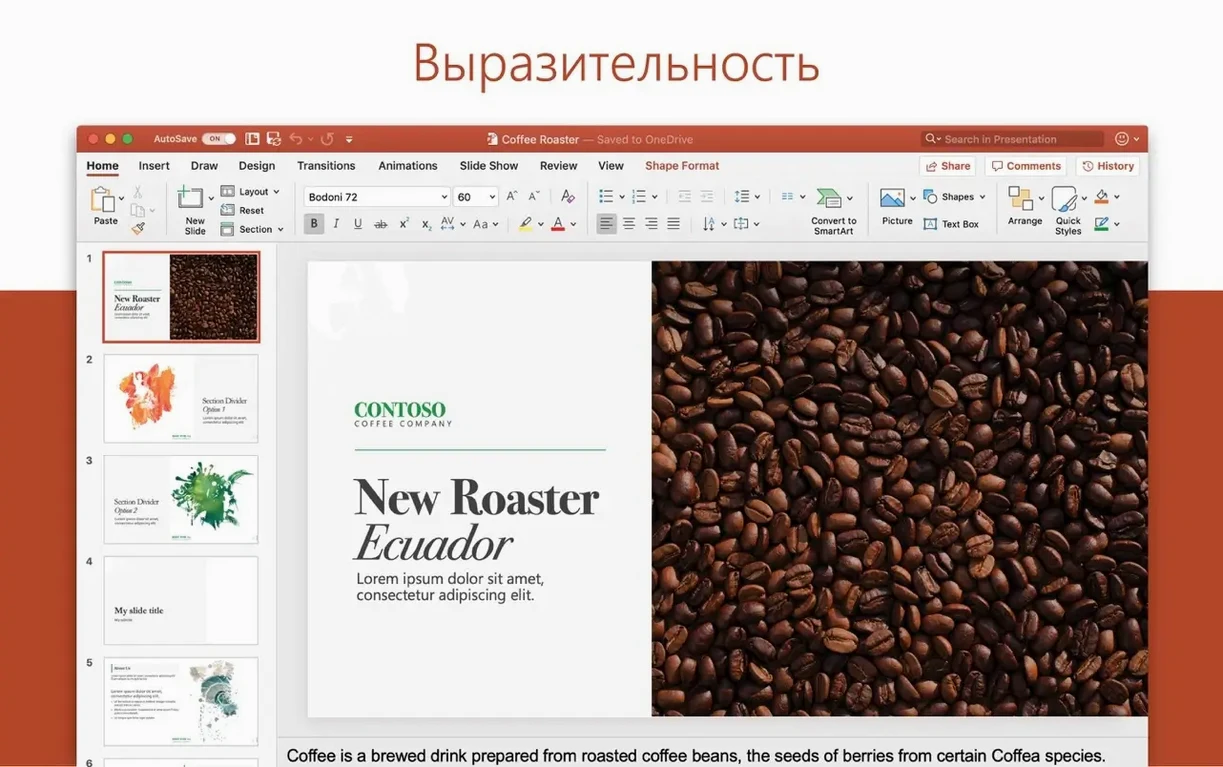
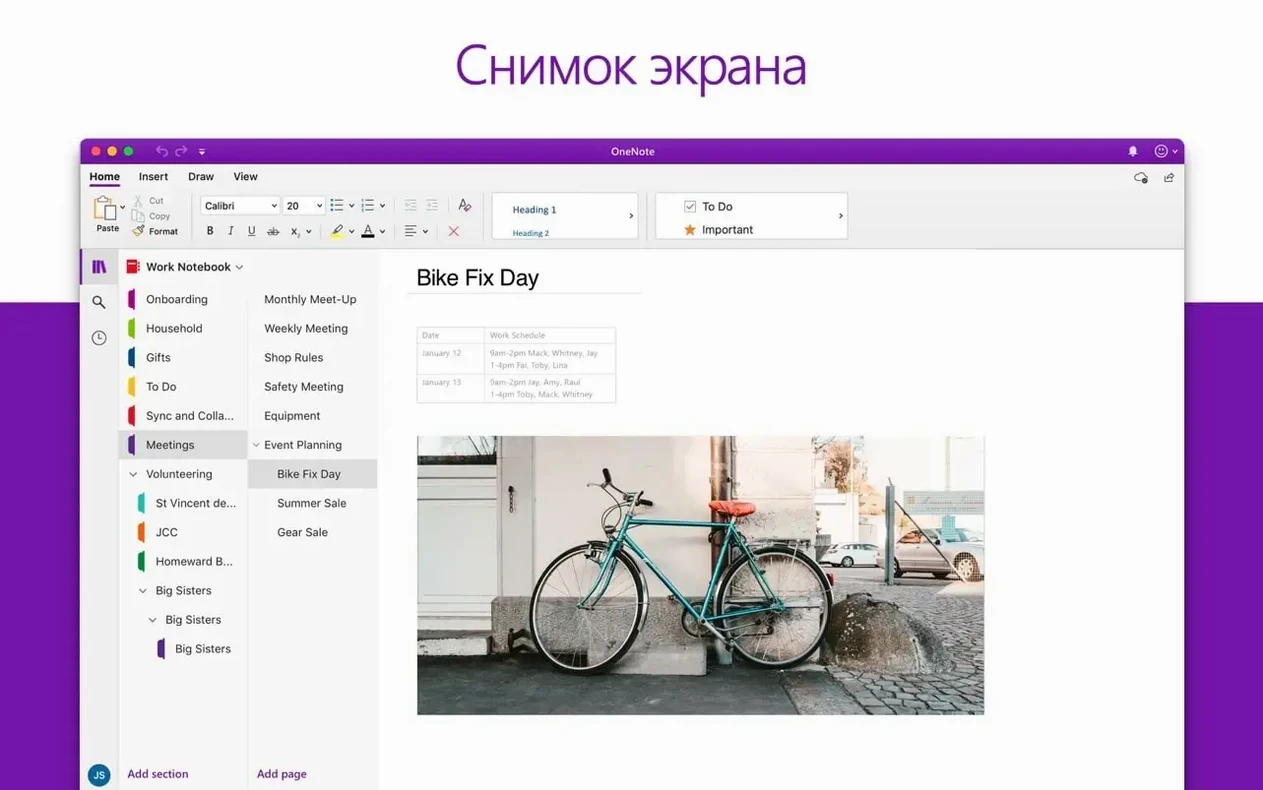
Microsoft PowerPoint is the long-standing presentation application for building and delivering slides on a Mac. If you have used it for years, you already know the ribbon, so let's skip to the parts of the workflow that reward a careful, repeatable setup.
- Set up a custom theme with Slide Master. The Slide Master is the hidden template behind every slide. Define font pairings, bullet spacing and footer elements there once, rather than nudging text boxes slide by slide, and every slide built on it inherits the same baseline.
- Build your own layouts inside the master. Add a few custom layouts, perhaps a two-column comparison or a blank layout with a subtle draft watermark. They then appear as options every time you add a new slide.
- Name objects in the Selection Pane. On a dense slide with layered shapes, text and media, give each object a short, descriptive name. When you add animations later, the Animation Pane shows those names, which makes fine-tuning the sequence far less frustrating.
None of these steps is flashy, but together they turn PowerPoint into a disciplined layout tool rather than a quick slide editor. Version 16.93, part of Office LTSC Standard for Mac 2024, needs macOS 13 or later, runs on Intel and Apple Silicon, and its interface is localised into 21 languages, including Japanese, Polish and Turkish.
Switch on font embedding and higher-resolution output immediately
A handful of preferences tucked away in PowerPoint’s menus can quietly improve the quality of your output and the responsiveness of the app. Most of them live under PowerPoint → Settings (or Preferences, depending on your macOS language).
First, check Save and tick Embed fonts in the file. This is off by default, yet it’s the single setting that stops a carefully chosen typeface from collapsing into a generic substitute when the file travels to another Mac. The trade-off is a slightly larger file size, but for anything due on a client’s screen or a conference machine, it’s worth it.
Next, visit General and raise the number of recent presentations to at least ten. The default is tiny, and having a longer list means you can bounce between a slide deck, a source document, and a reference deck without hunting through Finder.
Under AutoCorrect, switch off automatic fractions and the auto-capitalisation of the first letter of every line in a text box. Slide text often starts mid-phrase, and PowerPoint’s well-meaning capital-letter habit breaks the visual flow of bullet points that continue a sentence from the slide title. While you are there, consider disabling AutoFit body text to placeholder; it’s the feature that shrinks your carefully sized 18pt text to 12pt when you add a fourth bullet. Keeping it off forces you to edit for conciseness instead of relying on shrinking text that nobody in the back row can read.
Drag a live Excel chart onto a slide to keep it updatable
PowerPoint on a Mac doesn’t live in isolation. It talks to the rest of Office, of course, but it also leans on several macOS services that people often overlook.
Dragging a chart from Excel straight onto a slide creates a live link. Right-click that chart and choose Edit Data, and the original spreadsheet opens, letting you revise numbers without leaving the slide context. This is far cleaner than re-exporting graphics. For written reports that feed into a deck, Word documents can send content via the Insert → Object route, though in practice it’s smoother to outline in Word, paste into PowerPoint’s Outline view, and let the heading styles map to slide titles and body text.
Outside the Office bubble, QuickTime screen recordings drop directly onto a slide for software demos. The Photos library appears in the media browser, so an image from a recent shoot is never more than two clicks away without leaving the app. And if you use Continuity Camera, you can right-click a slide placeholder, choose Take Photo or Scan Document from the iPhone submenu, and the result lands on the slide instantly—useful for capturing a whiteboard sketch during a meeting break.
macOS’s built-in Accessibility features feed into PowerPoint as well. When VoiceOver is active, the Selection Pane order doubles as the reading order, so objects you’ve named become navigable landmarks for screen-reader users. It’s a small thing that makes a deck usable well beyond the conference room.
Apply a custom theme to your blank file before adding a single word
Imagine you have a two-page research summary in Word and forty minutes to turn it into slides for a team stand-up. Here’s a repeatable path that leans on features already set up.
Open a new blank presentation and immediately apply the custom theme you built on the Slide Master. The font pairings and muted background colour are already in place, so you can concentrate on structure. Switch to Outline view in the left pane. Copy the four key findings from your Word document one at a time, pasting each as a top-level heading. PowerPoint turns each heading into a slide title. Now select the bullet points under the first finding in Word, copy them, click into the slide body area in Outline view, and paste. They appear as first-level bullets. Repeat for the remaining slides. You have a rough deck in under three minutes.
Now switch back to Normal view. For the slide with a key statistic, use Insert → 3D Models (the stock library has a decent arrow or chart-like shape) and place it beside the number. Apply a subtle motion path animation—just a short line moving left to right—to draw the eye during delivery. Name the 3D model in the Selection Pane so the Animation Pane reads sensibly later.
If a finding compares two approaches, add a slide using your custom two-column layout from the Slide Master. Drop a QuickTime screen recording into one column and a static diagram into the other. Set both to appear on a click using Appear animations, staggered. Finally, open Slide Show → Rehearse Timings and run through the deck once. The timings save to the file, and you can use them later with Record Slide Show if the presentation needs to be sent to someone who missed the meeting.
Consultants who reuse the same polished deck can lock down an exact template
PowerPoint’s feature set is deep enough that different groups lean on entirely different corners of the application, and knowing which camp you fall into helps you ignore the tools you won’t need.
Business presenters and consultants who deliver the same deck to multiple audiences benefit most from the Slide Master and custom layout workflow. When every deck shares a consistent grid and font scale, the only thing changing between Monday’s client update and Thursday’s board review is the content, not the hours spent realigning text boxes.
Academics and conference speakers tend to live inside the animation and media tools. Motion paths, the ability to embed video without external players, and the Morph transition between slides—where a shape moves and resizes automatically—let them visualise processes and data changes without resorting to jargon-heavy static diagrams.
Students assembling a thesis defence or seminar often overlook Outline view, but it’s the fastest route from notes to a structured deck. The group that thrives here are those willing to spend twenty minutes learning the Selection Pane; once object naming becomes a habit, complex slides with layered citations, diagrams and callouts become manageable rather than maddening.
Cross-platform teams where half the group works on Windows and half on Mac will find the Mac version’s file fidelity solid, especially when fonts are embedded and media is inserted via the ribbon rather than drag-and-drop from unsupported locations. The collaboration features—co-authoring, threaded comments—work identically across platforms, so a Mac user annotating a slide at home sees the same comment thread as a Windows user in the office.
Build and save your own PowerPoint template file within the first week
Once the package is in place and activated, a few deliberate habits in the first week prevent the slow drift back to chaotic slide-building later.
Spend an hour building a personal theme file and save it as a PowerPoint Template (.potx) in your user Templates folder. macOS respects that location, and when you choose File → New from Template, your custom template appears alongside Microsoft’s built-in ones. Give the theme a sensible name, not “Presentation1,” and include at least three custom layouts: a title slide with your preferred subtitle spacing, a dense content layout with reduced white space, and a blank layout with a faint grid or draft mark.
Pin the Selection Pane button to the Quick Access Toolbar. It’s buried under Home → Arrange by default, and you will want it visible on every dense slide you ever build. Similarly, add Animation Pane to the toolbar so it’s a single click away during sequence editing.
Resist the urge to drag images straight from a web browser onto a slide. Instead, use Insert → Pictures → Photo Browser for local media, and for web images, download them to a project folder first. Dragging from a browser can embed a low-resolution preview plus a fragile link, and the image vanishes when the link breaks a month later. A downloaded file is stable and can be compressed via File → Compress Pictures if the file size balloons.
Finally, test your default theme file on a different Mac, ideally one running a different screen resolution or macOS version, within the first two days. Open the file, check font substitution warnings, and confirm that custom layouts survive the round trip. Finding a font embedding gap early is far easier than discovering it when a colleague opens your deck on a loaner laptop ten minutes before a pitch.
Common Questions in the First Week
Why does my text shrink when I add another bullet point?
AutoFit is the culprit. Turn it off in PowerPoint → Preferences → AutoCorrect → AutoFormat As You Type by unchecking AutoFit body text to placeholder. From then on, overflowing text stays at the size you chose, and you decide whether to trim the words or add a second slide.
Can I work on the same deck with someone on Windows?
Yes. Co-authoring works through OneDrive or SharePoint, and the file format is identical. Embedding fonts helps preserve the look; just note that some Windows-only fonts won’t embed on Mac and vice versa, so sticking to the cloud fonts bundled with Office or openly licensed typefaces avoids surprises.
Where did the Morph transition go?
Morph is available under Transitions from PowerPoint 2019 onward, including version 16.93. It works best when you duplicate a slide and then move, resize, or recolor objects on the second copy; PowerPoint calculates the in-between states automatically. No manual motion paths required unless you want very specific trajectories.
Version 16.93 arrives as part of the broader Office suite release for Mac, keeping PowerPoint aligned with the rest of the LTSC Standard for Mac 2024 package.
- Office suite 16.93 includes PowerPoint, with ongoing stability and compatibility improvements.
- macOS 13 or later
- Apple Silicon or Intel processor
Questions I keep hearing
Can I use my own font pairings across every new presentation?
Yes — set the heading and body fonts once in the Slide Master, and every slide that uses that master will inherit them automatically.
Does the Selection Pane help with animation ordering?
Absolutely. Renaming objects in the Selection Pane makes the Animation Pane read clearly, so you can sequence complex builds without guessing which rectangle is which.
Questions from the class 0
Sign in or join the class to ask a question.
Nobody has asked anything yet. If you have used it on a real job, say what the file did.
Also on the Office shelf
The whole Office shelf Microsoft Outlook
Manages your email, calendars and contacts in one place.
Microsoft Outlook
Manages your email, calendars and contacts in one place.
 Microsoft Word
Writes and formats long documents with styles and tracked changes.
Microsoft Word
Writes and formats long documents with styles and tracked changes.
 Microsoft Office
Brings together the core apps for documents, spreadsheets and email.
Microsoft Office
Brings together the core apps for documents, spreadsheets and email.
 Microsoft Excel
Organises numbers and data into spreadsheets for analysis and charts.
Microsoft Excel
Organises numbers and data into spreadsheets for analysis and charts.
 Money Pro
Tracks personal finances, budgets, and bills across all your accounts in one place.
Money Pro
Tracks personal finances, budgets, and bills across all your accounts in one place.
 Nitro PDF Pro
Lets you edit text, swap images, and sign documents right inside a PDF without converting it first.
Nitro PDF Pro
Lets you edit text, swap images, and sign documents right inside a PDF without converting it first.
 Notebooks
Holds all your writing, notes, and task lists inside a single personal organiser that also handles PDFs.
Notebooks
Holds all your writing, notes, and task lists inside a single personal organiser that also handles PDFs.
 Numbers Creator Studio
Builds spreadsheets, charts, and pivot tables with Apple’s clean, collaborative workbook environment.
Numbers Creator Studio
Builds spreadsheets, charts, and pivot tables with Apple’s clean, collaborative workbook environment.