 ASPNetWorld

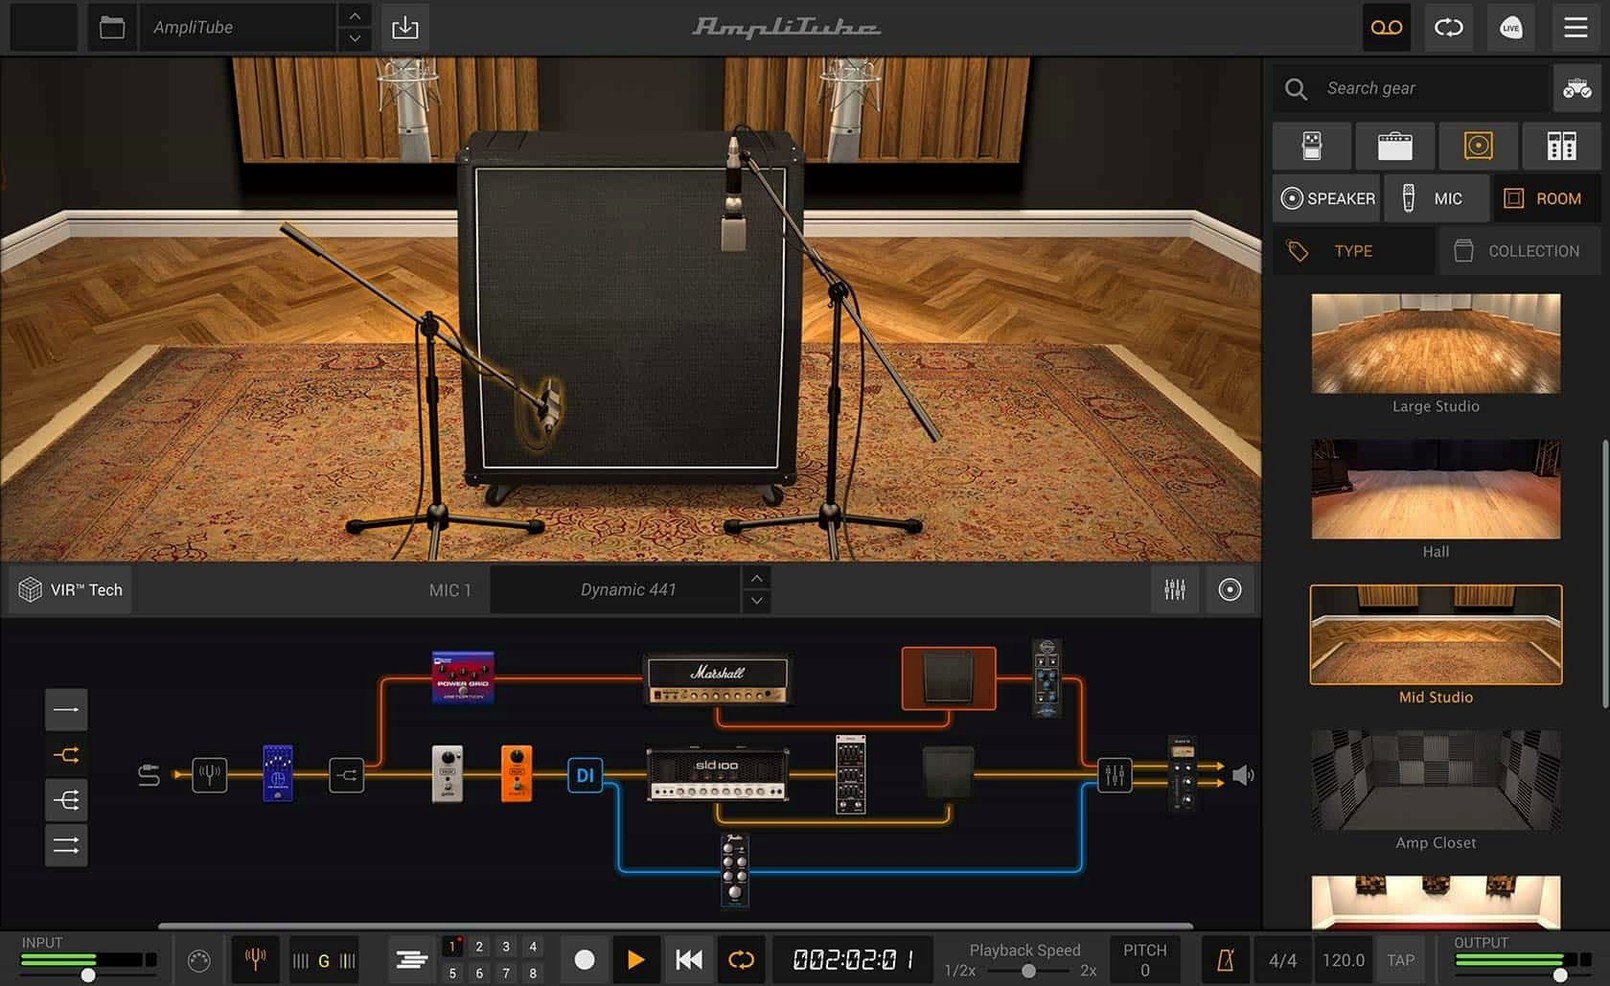
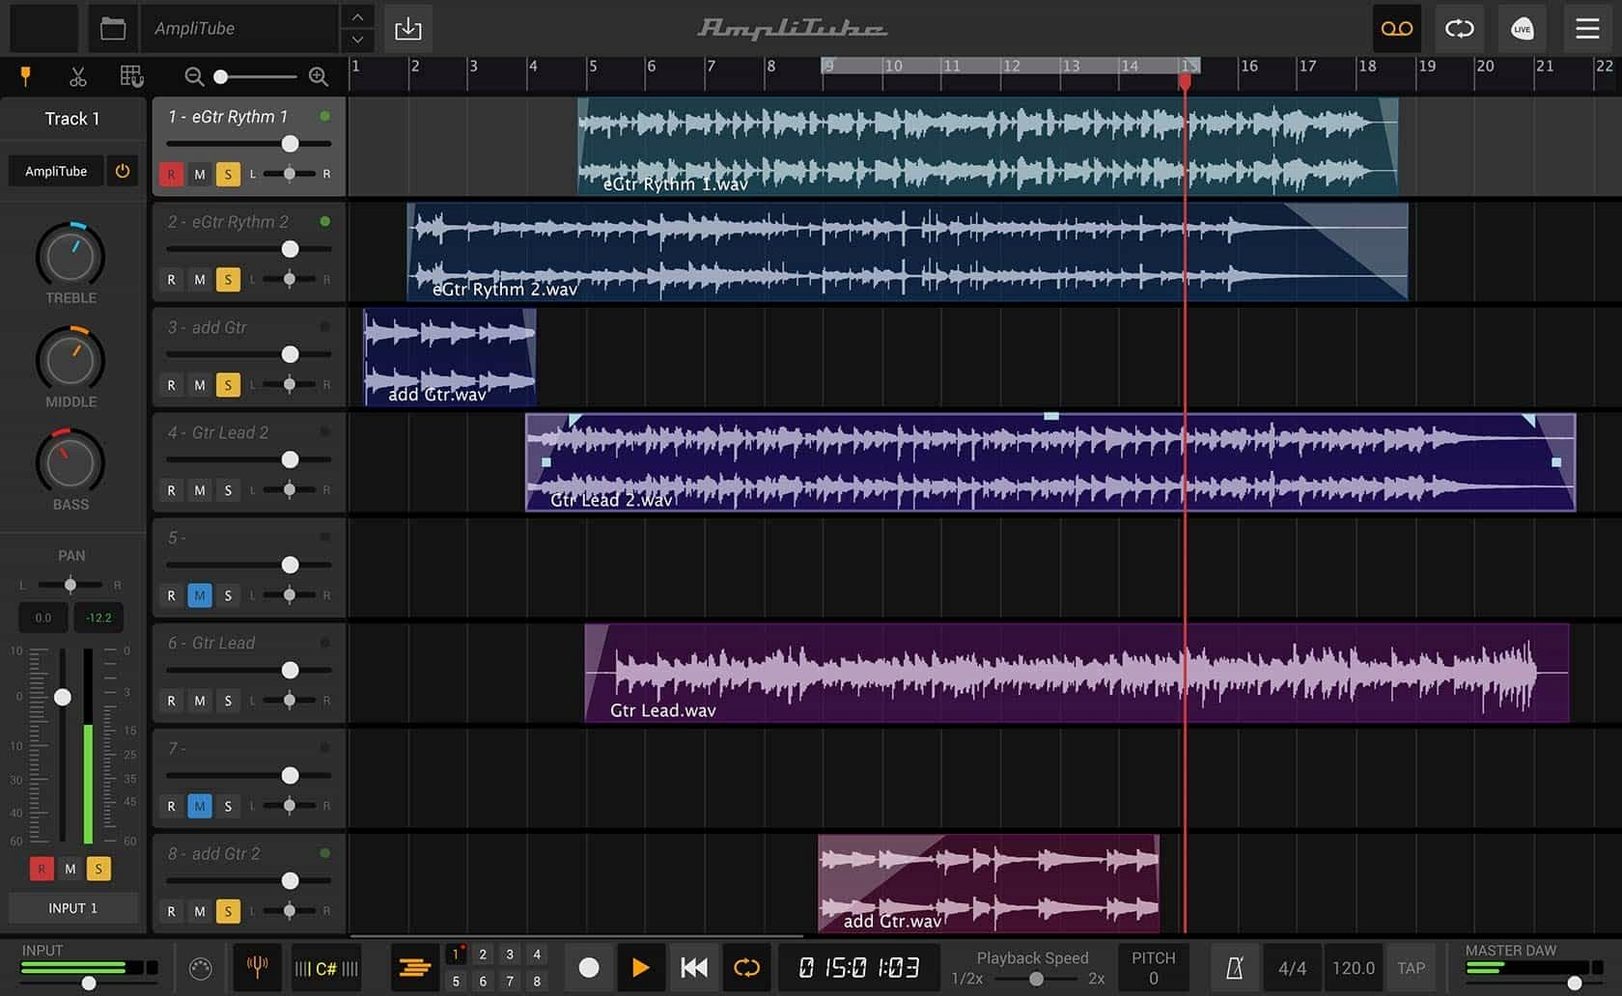
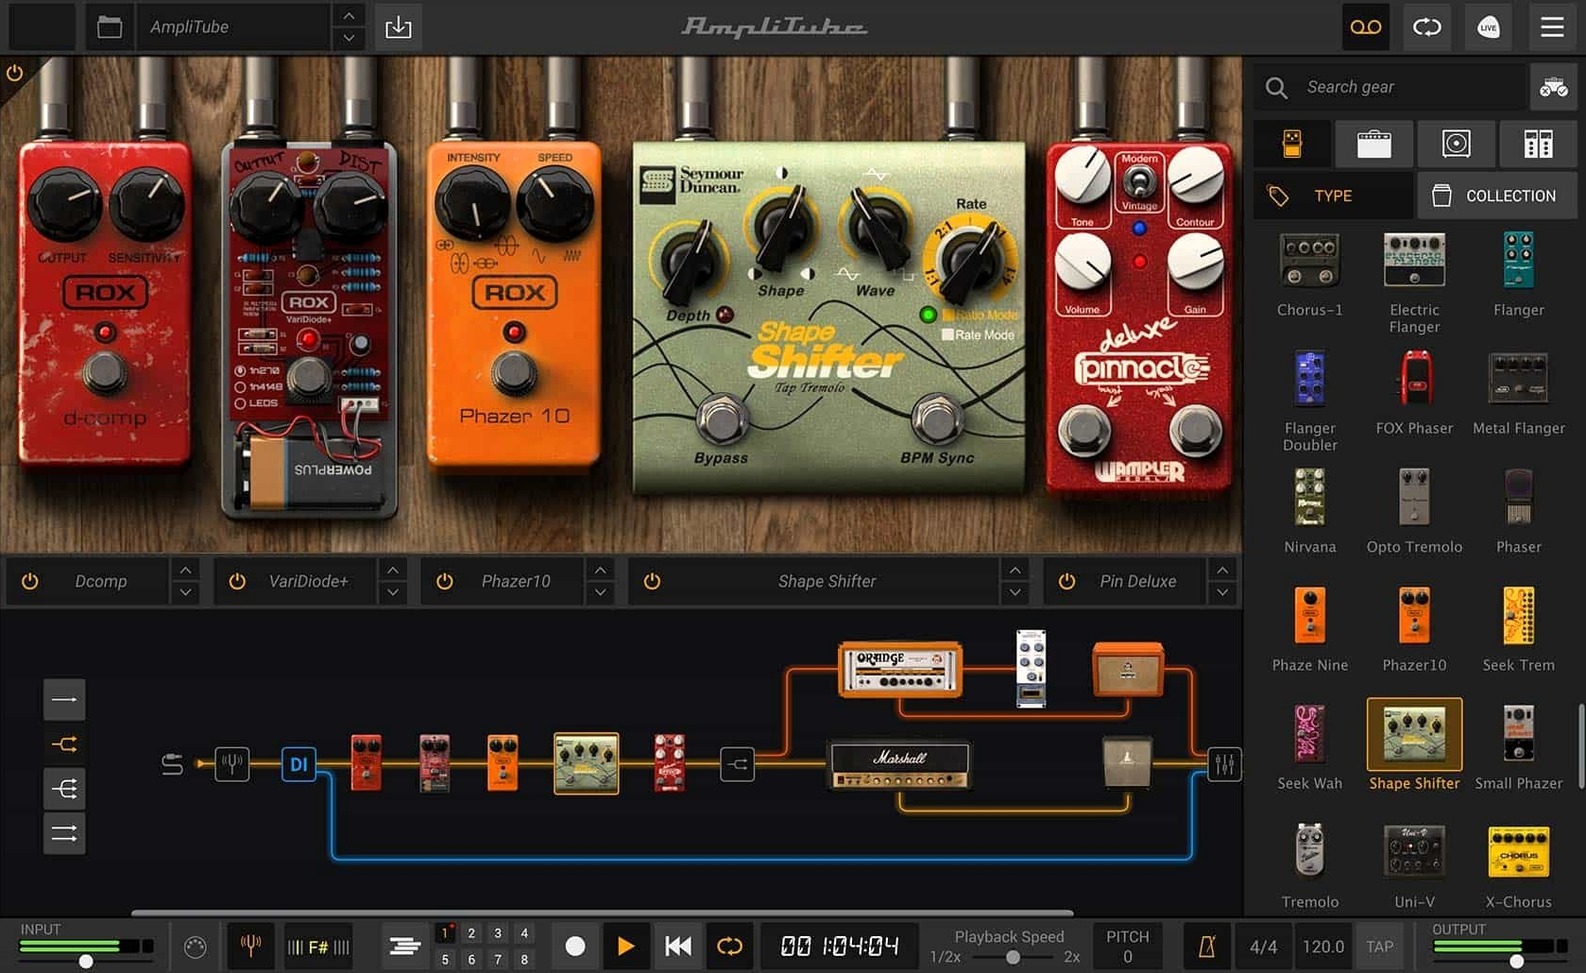
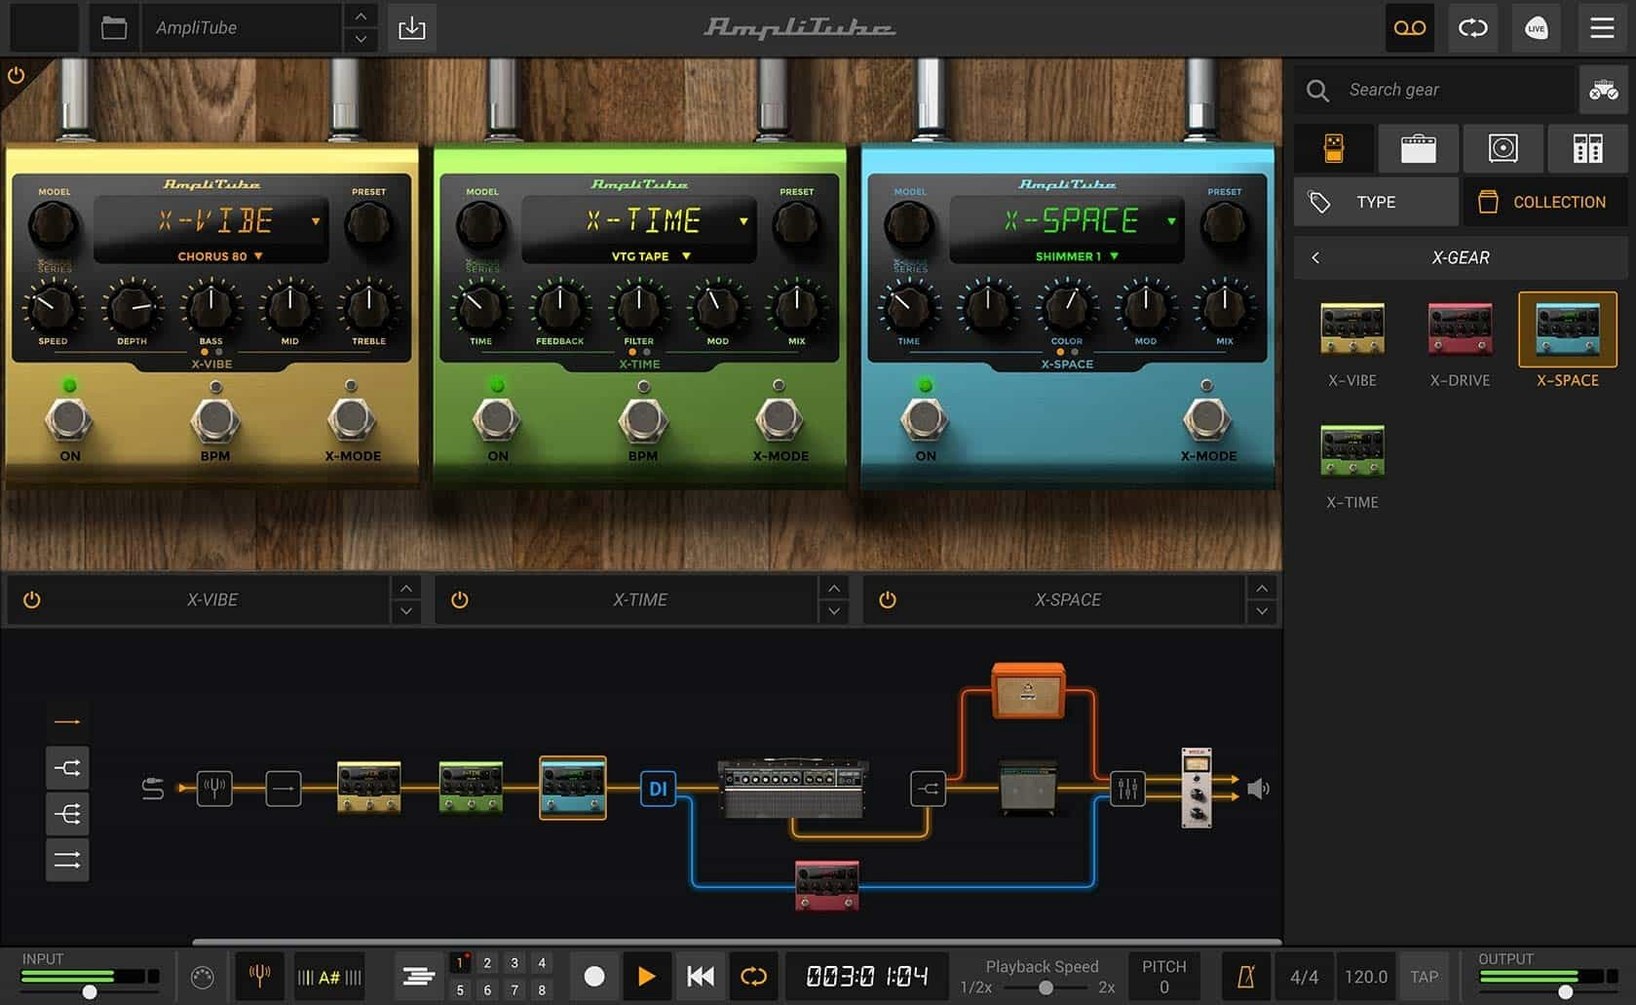
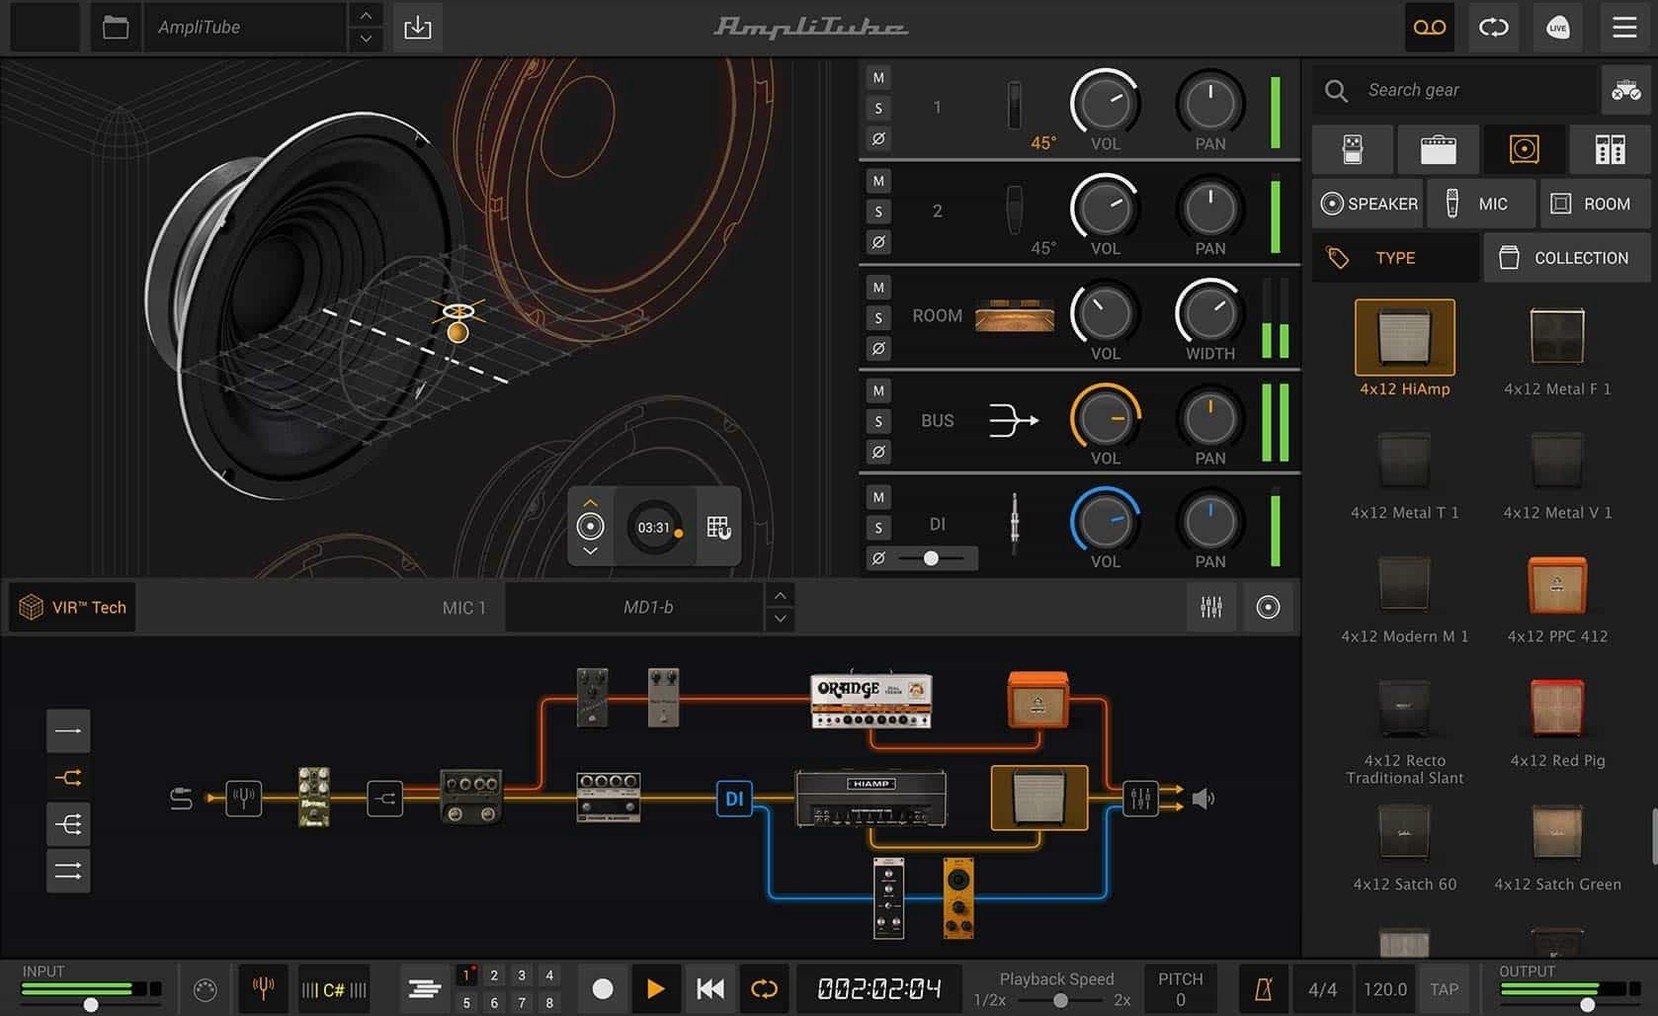
A custom impulse response loaded into the redesigned cabinet section is where the real sculpting begins. That moment when a third-party IR slots into the VIR™ technology and the soundstage seems to shift a foot to the left is one of the quiet rewards of the updated engine. If you are weighing up whether the software will settle into your current setup, the technical baseline is straightforward: a 64-bit application built for both Intel and Apple Silicon processors, asking for macOS 10.15 Catalina as a minimum. It installs as a standalone application and slots into a DAW via AAX, VST or AU plug-in formats.
The workflow once you are past the system check is refreshingly direct.
- Start by building a signal chain. The current version introduces drag-and-drop routing that lets you run amps in series or parallel, with a mixed DI signal feeding the path.
- Choose a cabinet. Over a hundred cabinets have been redesigned, and two new room environments colour the space around the speaker.
- Route through the mixer, which now carries its own suite of built-in effects rather than standing as a simple level control.
- Layer in the expanded model library. More than 130 new additions sit alongside the classic gear, giving the rig a broader tonal palette from the first preset.
Because the software reads custom IR files, you are never locked into the stock cabinet collection. A third-party impulse response behaves exactly like the factory set, responding to mic placement changes and the new room reflections without any additional conversion step. It is a platform that expects you to bring your own taste to the table, provided your Mac clears that low, quiet hurdle of the operating system version.
Let’s walk through building a clean-to-mean bass rig that sits well in a busy mix, because the routing flexibility introduced in this version makes that a much tidier job than it used to be.
Open the standalone app or insert the plug-in on a fresh track and clear the default signal chain so you are staring at an empty rack. The input section at the left edge should show your audio interface; give it a quick strum to confirm the meter is dancing around –18 dB, which leaves plenty of headroom for the gain stages ahead. Now pull a bass amp model from the library. The Ampeg-style B-15N works beautifully for a rounded, pillowy foundation, but anything with a healthy midrange character will do. Set the amp gain so the loudest notes nudge the output meter into the yellow but never clip the red, then dial the bass control back a notch further than your ear tells you. Close-mic’d bass cabinets often hype the low end in a way that falls apart once the kick drum enters the picture.
Next comes the cabinet section, and this is where the VIR™ technology earns its keep. Open the cab module and audition a few of the redesigned 4x10 or 1x15 enclosures. The two new room environments are worth experimenting with early, because the room reflection setting affects the perceived size of the bass without adding any synthetic reverb tail. Pick a tight, treated-room ambience — less than 20% on the room mix control — and park a dynamic mic offset slightly from the dust cap. The goal is a sound that feels solid and present without masking the upper harmonics that let the bass speak in a dense arrangement.
With the core tone established, drag a compressor from the rack effects collection into the post-amp slot. The new rack FX library runs surprisingly deep, and a smooth optical-style compressor with a 4:1 ratio and a medium attack will glue the dynamics without squashing the life out of the performance. Add a second parallel path by dragging a split point before the amp, placing a clean DI signal on the upper lane and the amp chain on the lower. Blend the two at the mixer stage. The mixed DI feature keeps note definition intact even as the amp side saturates, which is a lifesaver for fingerstyle players whose articulation vanishes when the gain climbs.
The redesigned mixer is the last stop. Its built-in effects mean you can apply a subtle high-pass shelf around 40 Hz to clean up subsonic rumble, then add a whisper of the mixer’s own plate reverb — set to 100% wet at a level so low you only notice it when you bypass it. Bounce a test clip and play it back against a reference track. The bass should sit behind the vocal, lock with the kick, and retain enough harmonic edge to register on small speakers. That is the promise of a 57-model chain distilled into a practical, repeatable template.
A bedroom producer’s late-night discovery
Maya records indie-pop demos in a flat where the walls are thin and the neighbours are not sympathetic to a dual-rectifier at eleven. Her MacBook Air runs AmpliTube 5 as an AU plug-in inside Logic Pro, and the whole rig lives on a small desk beside a single-channel interface. For months she treated the software like a glorified pedalboard, dropping a Tube Screamer in front of a preset and calling it done. The sounds were fine, but they lacked the three-dimensional quality she heard on commercial records.
One evening she started digging into the cabinet section with a pair of decent headphones. She loaded a custom impulse response captured from an old Fender 2x12 — something a friend had shot in a dry studio — and began moving the virtual microphone in tiny increments. The VIR™ technology responds to mic position with an almost physical sense of space, and as she nudged the mic laterally across the speaker cone she heard the midrange character shift from nasal to throaty to scooped. When she blended a second mic, a ribbon placed a few feet back and angled off-axis, the sound opened up in a way she had previously needed a stereo room reverb to approximate. She saved the configuration as a user preset and built a dozen songs through that single cabinet IR over the following weeks. The discovery was not a new amp or a flashier effect; it was understanding that the cabinet module is where the personality of a recorded guitar actually lives.
Switch off the default noise gate and cab sim bleed first
Fresh out of the box, the software makes a few assumptions that are sensible for a quick audition but less helpful once you start building your own sounds. A handful of tweaks at the start will make every subsequent session feel more like your own space.
Input level calibration. The input trim is easy to overlook because the factory default tends to be generous enough to produce a signal. Spend three minutes playing your loudest chord or pluck and watching the input meter. Adjust the gain in the audio setup pane until the peaks land around –12 dBFS. The amp models respond dynamically, and overdriving the input before the first model hits the same way as jamming a boosted pedal into the front of a real amp — sometimes desirable, but only when you choose it deliberately.
Default room behaviour. The two new room environments are engaged by default on many cabinet presets, and while they add a lovely sense of dimension, the mix level often sits higher than you would use in a dense mix. Drop the room mix to 15% and save that as your starting-point cabinet preset. You can always bring it up when a track needs the extra air.
Oversampling on the output stage. Tucked into the global settings is an oversampling toggle that applies to the final output processing. It is not on by default. Engaging it nudges the CPU load but cleans up the very top end in a way that is audible on high-gain patches, where aliasing artefacts can make cymbals in the backing track sound slightly gritty. If your Mac can handle it, switch it on and forget about it.
GUI scaling and standby. The interface is dense with skeuomorphic detail, and on a smaller screen — say a 13-inch MacBook — the default scaling can feel cramped. There is a zoom control in the view menu that does not simply magnify pixels; it redraws the vector elements at a larger size. Find a setting between 120% and 140% that balances legibility with screen real estate. Also, knock the standby switch off the virtual amps when you are not actively monitoring. It will not save electricity, but it will stop the modelled power-amp hum from seeping into your headphones during arrangement work.
How AmpliTube 5 plays with other apps and macOS features
The software is not an island. Its value multiplies when you treat it as one component in a wider ecosystem of Mac audio tools, and the plug-in formats it supports dictate how smoothly that integration works.
As an AU plug-in, it slots into Logic Pro with full parameter automation. You can draw gain changes, reverb sends and even mic position movements as automation curves, which turns a static guitar tone into something that evolves across a song section. In GarageBand, the same AU works with a slightly reduced control surface but remains entirely usable for songwriting. VST support opens the door to Cubase and Nuendo, where the drag-and-drop routing between AmpliTube and other VST processors feels particularly fluid. AAX support means Pro Tools users can run it natively without a wrapper, and the session recall is rock-solid — open a mix from six months ago and the amp settings return exactly as you left them.
Standalone mode connects to macOS’s Core Audio layer directly, which means it plays nicely with aggregate devices set up in the Audio MIDI Setup utility. If you use a multi-channel interface alongside a digital mixer, you can route AmpliTube’s output to a discrete pair of channels for processing external hardware effects in real time. The standalone app also respects macOS’s microphone privacy settings; first launch will prompt for permission, and if you ever lose audio input, that privacy pane is the first thing to check.
For recording workflows, the plug-in works inside an audio track’s insert chain and as a send effect on an aux bus. The aux method is less common but genuinely useful: place a clean amp patch on a bus, send multiple guitar tracks to it at varying levels, and you have a shared room sound that glues layered parts without duplicating the CPU load of a full amp chain on every track. The mixer’s built-in effects perform well in this role because they add spatial width without eating into your DAW’s own reverb resources.
Custom IR files live in a user-accessible folder inside the Mac’s Library directory, and AmpliTube rescans that folder on launch. This means you can manage impulse responses with the Finder — copy, rename, organise into subfolders — and the software will reflect the changes without needing a separate import dialog. It also means Time Machine backups automatically capture your IR collection alongside the rest of your user data, which is a small but real reassurance when you have spent months curating the perfect cabinet library. If you use the amp sim in a live setup with MainStage, the same IR folder structure is visible from both apps, keeping your stage and studio patches consistent.
What trips up beginners (and how to sidestep it)
Most early frustrations with AmpliTube 5 come from treating it like a physical rig rather than a studio environment. The mistakes are predictable, and they are all fixable once you know what to look for.
Chaining too many gain stages. The library of 130-plus new models encourages experimentation, and the natural instinct is to stack an overdrive pedal, a cranked amp and a saturated rack compressor in series. The result is a fizzy, indistinct wall of noise that sounds impressive in isolation but disintegrates in a mix. The fix is to treat each gain stage as a deliberate choice: if the amp is already heavily distorted, a clean boost in front will tighten the low end more effectively than another distortion pedal. Back the pedal gain down to zero and use only its level control to push the amp’s input. The tone tightens up immediately.
Ignoring the mixer entirely. Because the mixer sits at the end of the signal path and does not look like a traditional amp component, newcomers often leave it at its flat default. That is a missed opportunity. The built-in EQ on each mixer channel can correct frequency imbalances that the amp and cabinet combination introduced, and the stereo width control can spread a mono guitar into a wide image without phase issues — something that would require a dedicated plug-in in many DAWs. At the very least, engage the high-pass filter on every channel to shave off the sub-bass rumble that real guitar cabinets never produce.
Forgetting that cabinet choice outweighs amp choice. A common pattern is to spend forty minutes auditioning every British-flavoured amp head in the collection while running through the same default 4x12 cabinet. Swapping the cabinet — or loading a custom IR — changes the frequency response more dramatically than switching between two similar amplifier models. Beginners who learn to audition cabinets first, amps second, tend to find their sound faster.
Leaving the tuner active on a live input. The onboard tuner mutes the signal path when opened, but if you leave it in an always-on state while tracking, the software still processes the muted signal through the full chain, which wastes CPU cycles without producing any output. Close the tuner after you have intonated.
Running the standalone app at the wrong sample rate. If your interface is set to 48 kHz in Audio MIDI Setup and AmpliTube’s standalone engine fires up at 44.1 kHz, pitch and timing drift subtly. The software does not always alert you to the mismatch. Before a recording session, check that the sample rate in the app’s audio preferences matches the rate your interface and DAW are using. The plug-in versions inherit the host’s sample rate automatically, so this issue only bites in standalone mode.
Once these early bumps smooth out, what remains is a modelling platform that rewards curiosity. The signal chain grows with your understanding, and the same interface that felt overwhelming on day one becomes a familiar workshop where the tools stay out of the way of the music.
Version 5.8.2 refines the core tone-shaping tools. The signal chain now supports drag-and-drop routing with a mixed DI signal, the cabinet section adopts IK's VIR™ technology for more spatial depth, and the onboard mixer arrives with its own set of built-in effects rather than relying on external processing.
- macOS 10.15 Catalina or later
- Intel or Apple Silicon processor (64-bit native)
Questions I keep hearing
Can AmpliTube 5 run as a plug-in and a standalone app?
Yes, it works as a standalone application and also loads inside any DAW that supports AAX, VST or AU plug-in formats.
What is the VIR technology in the cabinet section?
VIR stands for Volumetric Impulse Response; it captures the three-dimensional sound radiation of a speaker cabinet, allowing more realistic mic placement and room interaction than a static IR.
Questions from the class 0
Sign in or join the class to ask a question.
Nobody has asked anything yet. If you have used it on a real job, say what the file did.
Also on the Video Downloaders shelf
The whole Video Downloaders shelf 4K YouTube to MP3
Strips the audio from an online clip and saves it locally.
4K YouTube to MP3
Strips the audio from an online clip and saves it locally.
 4K Video Downloader
Fetches and saves online video so you don't need browser tools.
4K Video Downloader
Fetches and saves online video so you don't need browser tools.
 Downie
Grabs a video file from almost any website when you paste its link.
Downie
Grabs a video file from almost any website when you paste its link.
 Folx Pro
Manages all your downloads and torrents in one queue.
Folx Pro
Manages all your downloads and torrents in one queue.
 HarborDrop
Takes over downloading so you control exactly how files arrive on your Mac.
HarborDrop
Takes over downloading so you control exactly how files arrive on your Mac.
 iDownerGo
Grabs the media stream the moment you press play on a supported site.
iDownerGo
Grabs the media stream the moment you press play on a supported site.
 iTubeGo
Grabs online video and audio and saves it to your Mac in a format you choose.
iTubeGo
Grabs online video and audio and saves it to your Mac in a format you choose.
 Musify
Downloads music from streaming platforms and saves tracks as playable offline audio files.
Musify
Downloads music from streaming platforms and saves tracks as playable offline audio files.