 ASPNetWorld
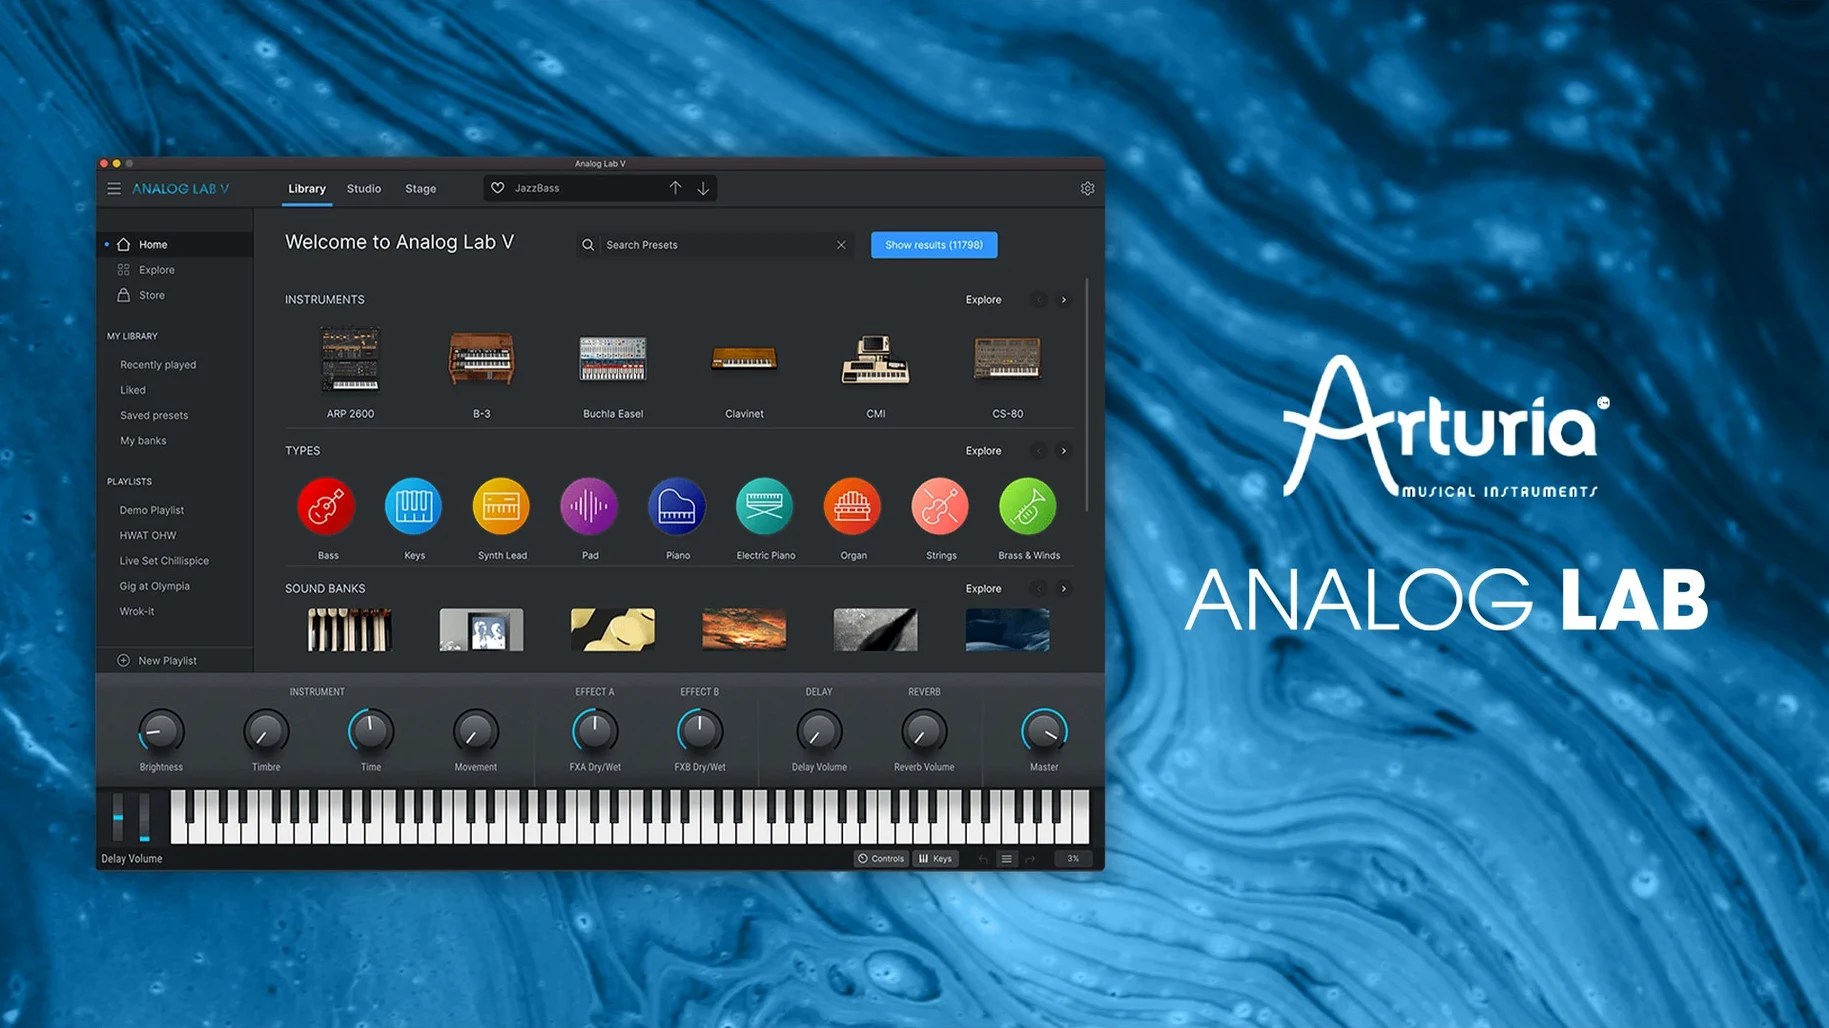
Take a preset with a sharp attack transient—a punchy bass or a staccato synth—and pull the 'Attack' macro down. You are not just making it softer; you are physically pushing the waveform back behind the beat, creating a pocket for the drums to sit in without touching a fader. This is the kind of tactile, musical reshaping that defines the browsing experience in Analog Lab V.
The four central macro knobs—Brightness, Timbre, Time, and Movement—are not simply filter sweeps. 'Brightness' often blends parallel processing, adding harmonic excitement without losing the fundamental, while 'Timbre' can warp the waveform itself, turning a polite string pad into a brittle, lo-fi texture. It is a remarkably direct way to audition how a sound will behave in a dense arrangement.
When you load a multi-layered pad and push the 'Movement' macro, you are typically controlling a mixture of internal LFOs, arpeggiator rates, and stereo tremolo. The result is a sound that breathes and shifts across the stereo field, instantly transforming a static chord into a rhythmic element. It sidesteps the need to build complex automation lanes just to test an idea.
The real benefit is this immediate, musical translation of a complex multi-instrument engine. You are not diving into Arturia's classic synth interfaces; you are playing the preset as a finished, malleable instrument, where a single parameter change can rebalance a whole section of your mix.
Hidden Shortcuts That Change How You Browse
Most users open Analog Lab V, spin the macro knobs and click through Type filters. That works, but it is also the slowest route through a library of this size. The browser has several shortcuts that are easy to miss because Arturia never quite draws attention to them.
When you hover over the preset name at the top of the interface, a small downward arrow appears. Click it and you get an instant list of similar-sounding presets—not based on tags, but on the internal sound engine's analysis of spectral content. It is essentially a "you might also like" feature that works across instrument categories, so a Moog-style bass might point you toward a distorted key patch that shares the same harmonic footprint. I have watched students spend twenty minutes scrolling through Banks, completely unaware this menu exists.
Another habit worth forming: after selecting a Sound Designer in the filter sidebar, hold Shift and click a second name. The browser now shows presets from both designers simultaneously. This is particularly useful when you know you like the work of, say, two sound designers but cannot remember which one made that particular patch. The same Shift trick works on Instrument Type tags, so you can combine "Keys" and "Pad" to catch hybrid patches that sit somewhere between the two.
The right-click context menu on any preset tile reveals a "Show in Finder" option that exposes the actual preset file. Advanced users sometimes build a folder of favourites outside the plugin, which is handy for backing up custom tweaks before a major update. That same menu also lets you copy a preset to a personal playlist without leaving the browser, something the drag-and-drop interface does not make obvious. You can build a "Live Set" playlist of a dozen sounds and step through them with MIDI program changes during a gig, no laptop screen required.
Scoring a 90-second emotional shift from nostalgic to cold
Imagine it is Tuesday evening and you are building a cue for a short film. The director wants something that shifts from warm and nostalgic to tense and cold over ninety seconds. You open Logic Pro, add an instrument track, and load Analog Lab V.
You start by typing "felt" into the search bar—not a technical term, but the kind of word you associate with soft, woolly textures. The browser returns a handful of patches, many tagged with "Pad" or "Keys". You audition a patch called "Worn Tape Keys" and immediately hear something promising: there is a slight pitch warble and a gentle hiss layer that sounds like a cassette left in a damp basement. You pull the Timbre macro up a quarter turn, which introduces a subtle bit-crush artefact, pushing the sound slightly further from its polished origins.
Rather than adding a second track, you duplicate the instrument and switch the copy to a different preset: "Cinema Strings Swell". Now you have two instances of Analog Lab V on separate tracks, and you begin automating the first track's Movement macro to slowly introduce a rhythmic tremolo that pulses against the swelling strings. The director's brief was "nostalgic to cold", and you are getting there without a single external effect plug-in.
By the end of the session, you have four instances running: the tape keys, the strings, a sub-bass patch that only enters at the sixty-second mark, and a granular-sounding texture that fades in during the final bars. Total CPU load is modest because Analog Lab V runs sample-based and modelled engines efficiently under the hood. You have not touched a synthesizer interface once, and yet each part feels like a bespoke sound because the macro knobs gave you enough sculpting control to pull each preset away from its factory state.
Beginner Traps Worth Sidestepping
A new user often assumes the macro knobs are identical across all presets, as though "Brightness" always does the same thing. It does not. The sound designer for each patch maps those four controls to whatever parameters serve that particular sound best. On a bass patch, "Time" might control envelope decay; on a pad, the same knob might control reverb tail length. The solution is simple: glance at the small text labels beneath each macro knob when you load a new sound. They change per preset and tell you exactly what you are adjusting.
Another common mistake: relying on the main Browser view alone. The "Stage" view, accessible from the top toolbar, reorganises the interface into a performance-friendly layout with larger controls and a minimal preset list. If you are playing live or recording a part with a MIDI controller, switching to this view removes the visual clutter and reduces the temptation to keep hunting for a "better" sound instead of committing to the one you already have.
Beginners also tend to ignore the output routing options. Analog Lab V can send each of its internal layers to separate outputs in your DAW, but this is not enabled by default. If a preset has a strong bass layer and a bright top layer, splitting them to two mixer channels lets you process them independently—compressing the bass while adding delay only to the treble. This is a feature you configure in the instrument's settings panel, not on the main interface, so it often goes unnoticed for months.
Finally, do not treat the "Type" filter as a set of rigid categories. Many patches sit in "Keys" but behave like pads, or live in "Bass" but function as leads. The filter is a human-made tag system applied by Arturia's team, and it is imperfect. Searching by descriptive words—dark, short, evolving, dusty—often yields more interesting results than clicking category buttons alone.
Building an organic rotting industrial sting from an abstract brief
Consider a theatrical sound designer tasked with creating a thirty-second sting for a dystopian play. The director wants "industrial but not metallic—something organic rotting." That is an abstract brief, and scrolling through standard Bass or Lead categories would be an exercise in frustration.
Instead, the designer opens Analog Lab V and types "distorted" into the search field. Among the returned presets is a patch called "Broken Organism", which combines a physically modelled wind instrument body with a ring-modulated layer. The Movement macro is tied to the ring modulation frequency, creating a queasy, shifting overtone series. The designer pushes the Timbre knob up to introduce additional harmonic folding, producing a sound that feels unstable, as though the instrument itself is failing.
She records a slow three-note motif, deliberately playing slightly out of time to avoid a quantised feel. The result lands somewhere between a foghorn and a bowed metal pipe—organic enough to avoid sounding like a synth, but too strange to identify as any real acoustic source. The director approves it within minutes. The designer never once opened a full synthesizer interface or reached for a third-party effect; the entire job happened inside Analog Lab V's macro system and a single preset search. That speed is the real value when you are billing by the hour and the brief is one sentence long.
Practical Advice for the First Week
On day one, do not try to audition all the presets. You will exhaust your ears and retain nothing. Instead, pick a single category—"Keys", for example—and spend thirty minutes playing each patch, adjusting only the Brightness and Time macros. This builds muscle memory for how the control ranges feel and which settings translate well to your specific keyboard or pad controller.
Set up your own Playlist early. Even if you only save five or six presets that suit your current project, the act of curating creates a personal starting point that is far faster than the full browser. Playlists can be exported as files, so you can back them up or share them between machines without relying on Arturia's cloud sync.
Experiment with the built-in arpeggiator on a pad patch during your second session. Many users do not realise it is there because it only appears when you click the "Arp" button in the lower toolbar. A slow, evolving pad with a gentle arpeggiator pattern can become a rhythm section in its own right, blurring the line between harmonic and percussive elements. Tie the arpeggiator rate to the Time macro if the preset allows it, and you have instant tempo-synced variation under a single control.
If you are using a Mac with Apple Silicon, the plug-in runs natively and tends to be well-behaved even in large sessions. One tip: when loading Analog Lab V for the first time in a fresh DAW project, give it a few seconds to finish its library scan before you start playing. The scan is quick but not invisible, and interrupting it can cause the browser to display an incomplete preset list. Once the scan completes, subsequent loads are near-instant. If you ever need a fresh start with the library, arturia v collection crack installs that rebuild the database file can also resolve occasional missing-preset quirks without re-downloading anything.
- macOS 11.0 or later
- Works on both Intel and Apple Silicon Macs
- Available as Audio Units, AAX, VST2, and VST3
Questions I keep hearing
Does Analog Lab V work on the latest Macs with Apple Silicon?
Yes, it runs natively on both ARM and x86 64-bit Macs and works as a standalone application, plus Audio Units, AAX, VST2, and VST3 formats.
Is the current version of the software still called Analog Lab V?
It is now called Analog Lab Pro in Arturia's product line, though the software and plugins themselves still use the Analog Lab V name.
Questions from the class 0
Sign in or join the class to ask a question.
Nobody has asked anything yet. If you have used it on a real job, say what the file did.
Also on the VST Plugins shelf
The whole VST Plugins shelf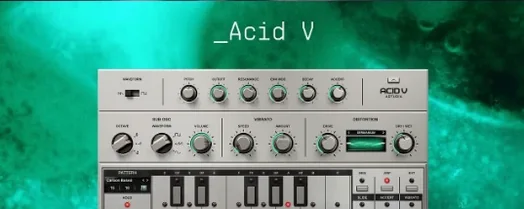 Arturia Acid V
Builds squelchy, sequenced basslines from a single init patch and a handful of knob turns.
Arturia Acid V
Builds squelchy, sequenced basslines from a single init patch and a handful of knob turns.
 Arturia Efx AMBIENT
Generates evolving, three-dimensional backgrounds from any static input signal.
Arturia Efx AMBIENT
Generates evolving, three-dimensional backgrounds from any static input signal.
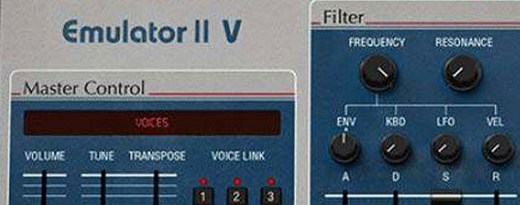 Arturia Emulator II V
Recreates the crunchy, grainy character of an early 8-bit sampling keyboard.
Arturia Emulator II V
Recreates the crunchy, grainy character of an early 8-bit sampling keyboard.
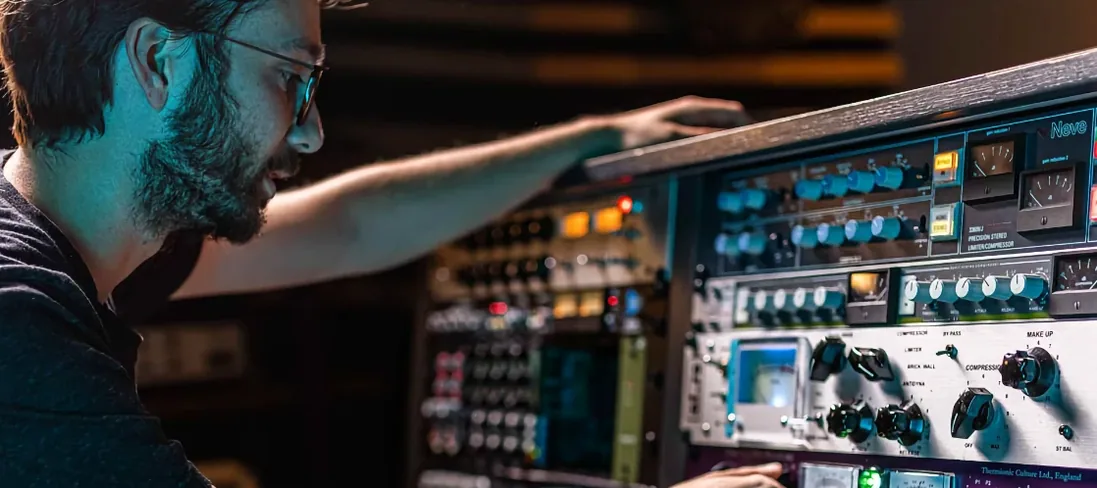 Arturia FX Collection
Bundles over thirty precise modelled processors, from studio classics to creative oddities.
Arturia FX Collection
Bundles over thirty precise modelled processors, from studio classics to creative oddities.
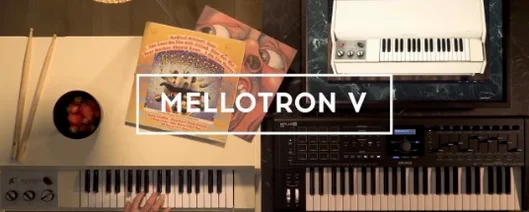 Arturia Mellotron V
Summons the breathing, unstable tape textures of the original Mellotron without the maintenance.
Arturia Mellotron V
Summons the breathing, unstable tape textures of the original Mellotron without the maintenance.
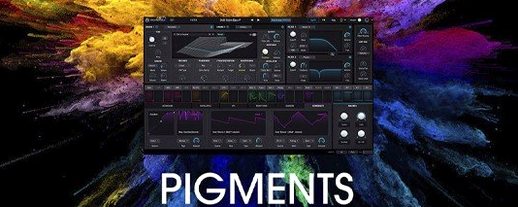 Arturia Pigments
Rewards sound designers with a deep, semi-modular engine for building patches from scratch.
Arturia Pigments
Rewards sound designers with a deep, semi-modular engine for building patches from scratch.
 Arturia Tape MELLO-FI
Degrades a clean signal into a wobbling, softened, tape-aged version of itself.
Arturia Tape MELLO-FI
Degrades a clean signal into a wobbling, softened, tape-aged version of itself.
 Ample Sound Ample Guitar LP III
Recreates the sound of a classic electric guitar with built-in amps and effects.
Ample Sound Ample Guitar LP III
Recreates the sound of a classic electric guitar with built-in amps and effects.