 ASPNetWorld
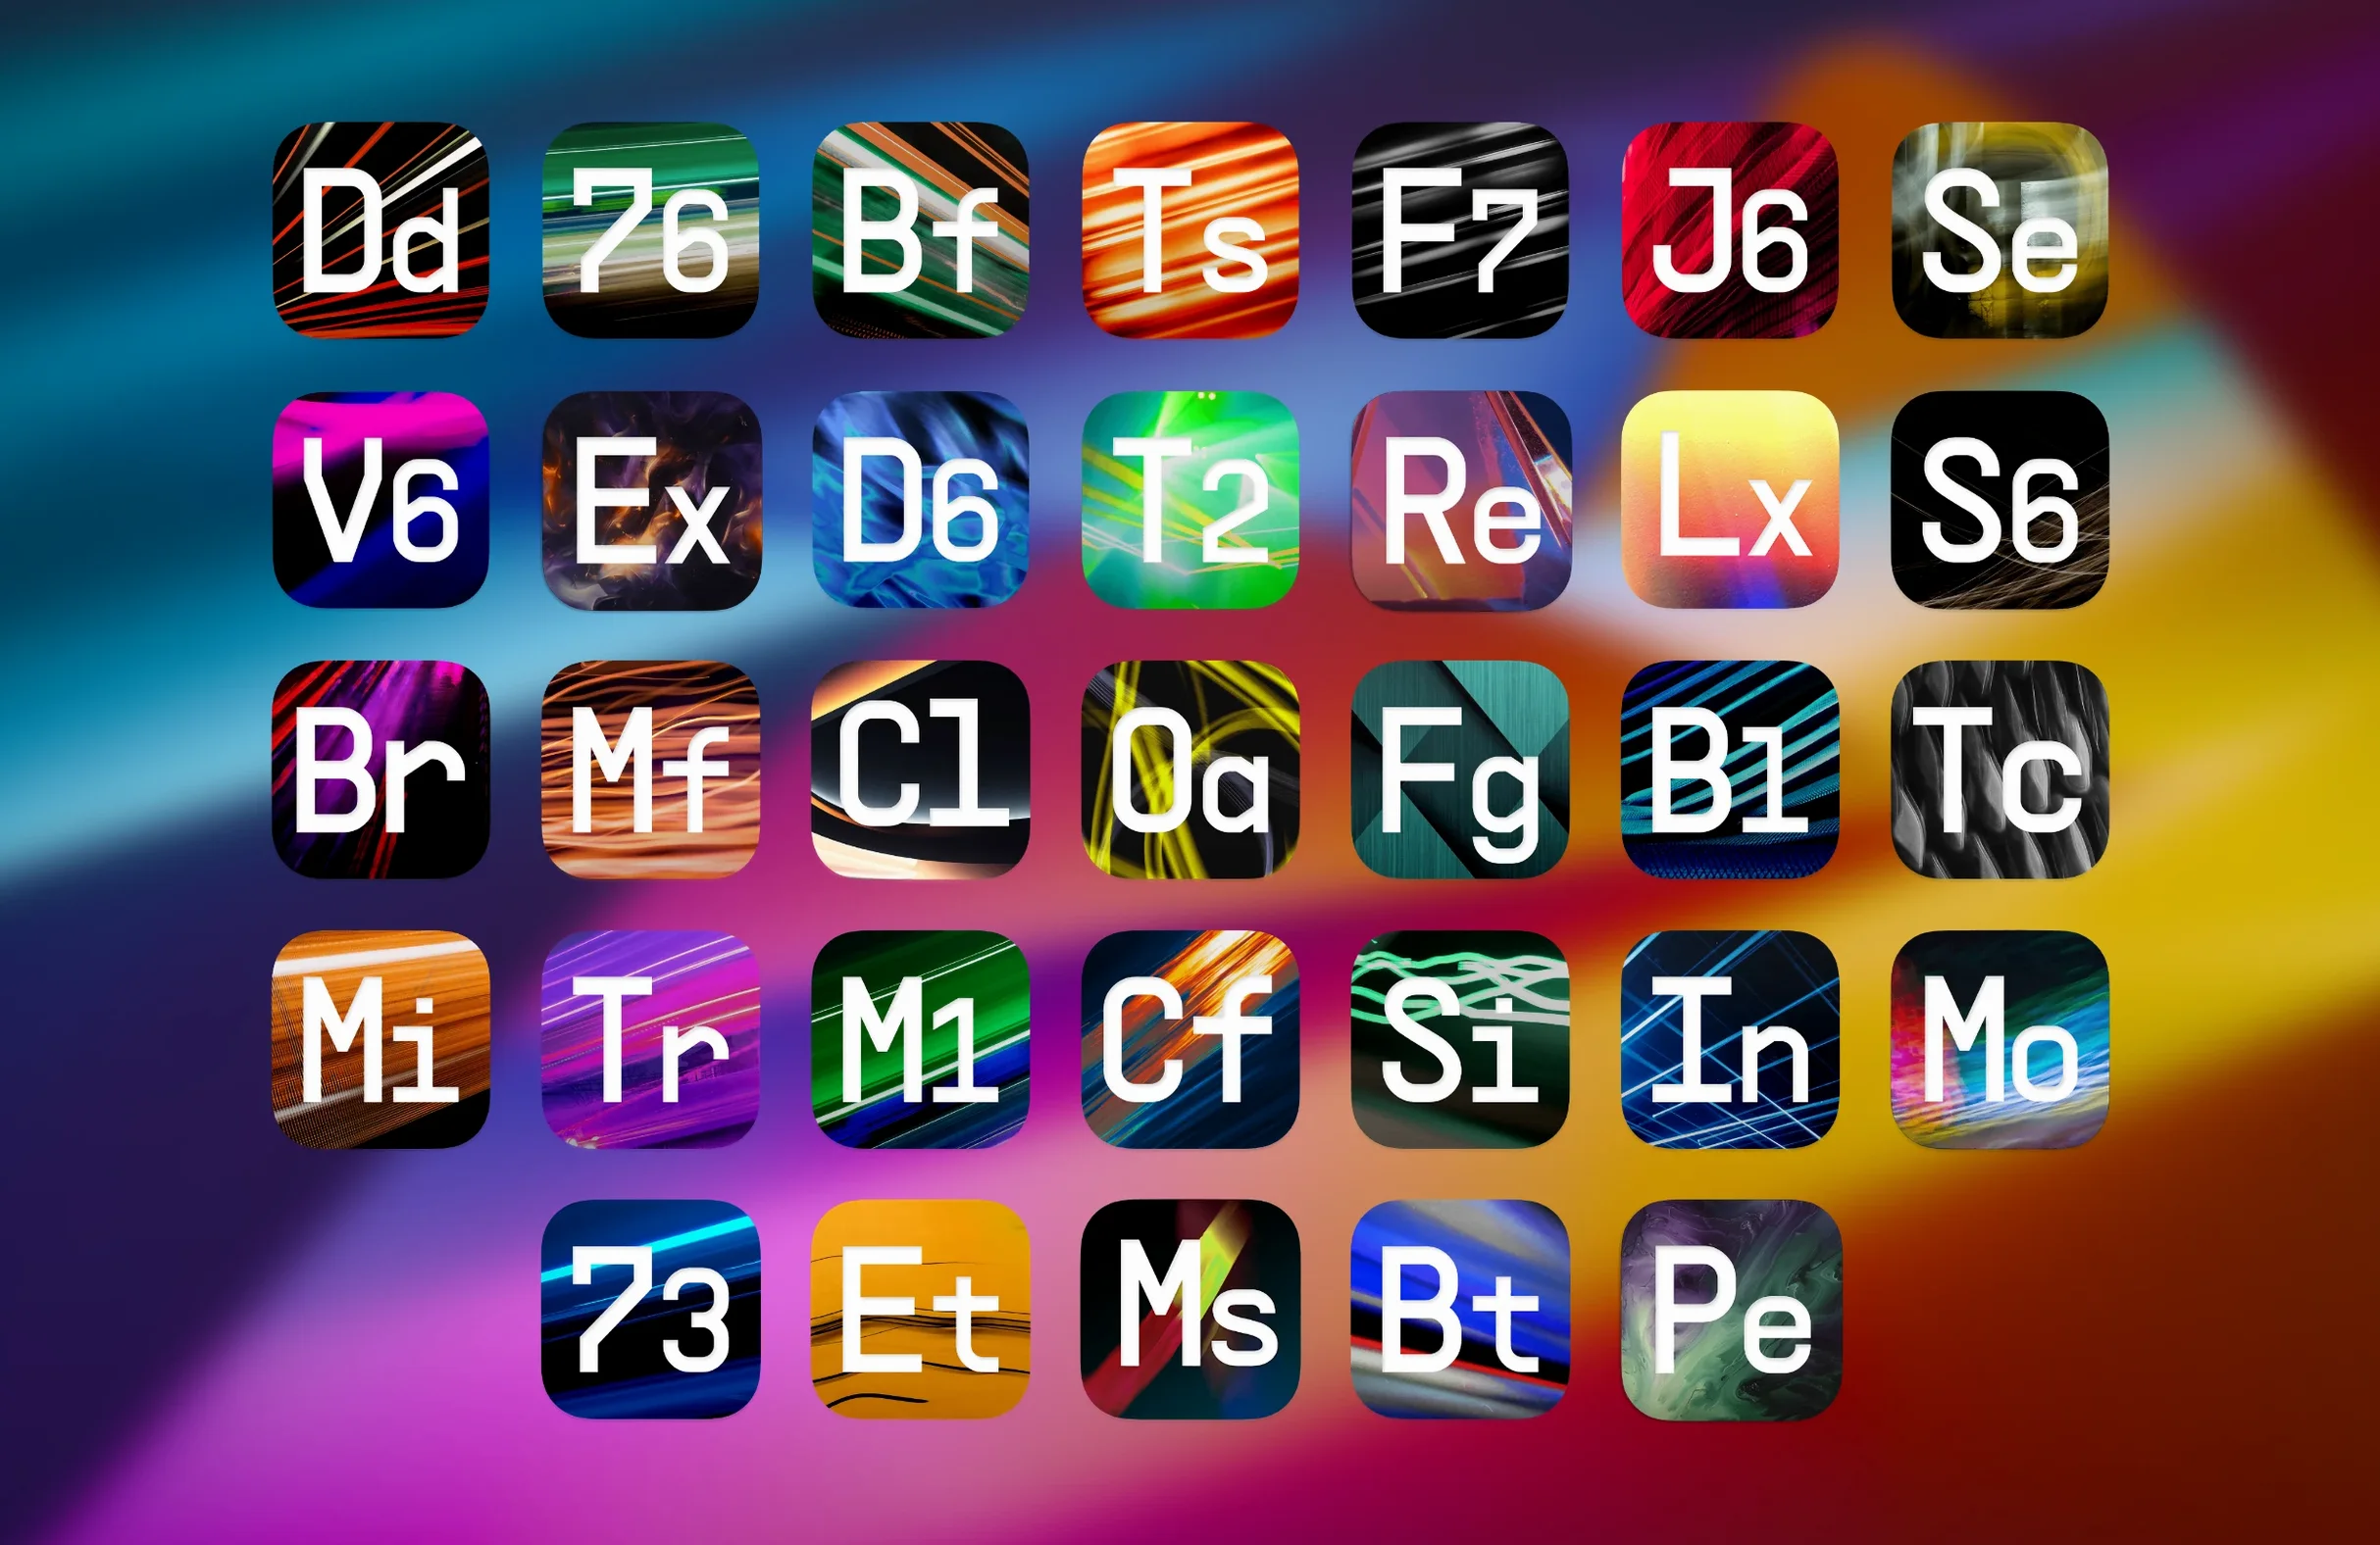
The 2026.02 release of this collection lands with 34 individual processors, each one a self-contained unit of signal manipulation. That number matters because it tells you the palette has grown again, and the newest colours are particularly interesting: a drum-focused channel strip, a pitch shifter that wears its digital heritage on its sleeve, and an ambient wash generator that feels more like an instrument than an insert effect.
- The compressors and equalisers lean into the behaviour of classic hardware — pushing the needle on an 1176-style FET or sweeping a Pultec-style passive EQ band gives you the same interplay of phase and harmonic shift that engineers chase.
- Reverbs and delays range from convincing spring and plate models to clean digital lines with modulation paths you can nudge into self-oscillation without touching a single automation lane.
- The modulation section — choruses, flangers, phasers — gets the unstable, slightly drifty character right, the kind that adds width without pulling the centre image apart.
- Distortion and saturation models cover everything from gentle console-style warming to full wavefolder destruction, and the important thing is how the gain staging reacts a few decibels either side of the sweet spot.
- New arrival Mix Drums bundles transient shaping, EQ, and parallel compression into a single view that understands kick-snare-hat relationships, so you work the balance rather than fighting three separate plug-ins.
- Pitch Shifter-910 and Efx Ambient round out the update — one for harmonised shifts and grainy octave jumps, the other for long, evolving textures that you feed with a dry signal and get back as a pad.
The whole set runs AU and VST3, and it is fully at home on Apple Silicon as well as Intel Macs from macOS 11 onward, so the only real ceiling is how far you want to push a single snare hit through a chain of five or six modules before it becomes something else entirely.
Mistakes Beginners Make with It
The first one is treating every instance like a preset jukebox. The 1,400-plus presets are excellent study material — load one, then bypass each module in turn and listen to what it contributes — but leaving them untouched means you never learn how the gain structure of a 165-style compressor differs from the FET model sitting next to it in the menu. Click the Advanced button on any plugin panel. Behind the simple view, extra parameters like sidechain filtering, stereo linking percentages, and detector circuit tweaks sit waiting, and they are the difference between a preset that sort-of works and one that sits inside the arrangement.
A second common misstep is piling on too many instances too early. When every channel strip has a modelled console preamp, a tape sim, and a vintage EQ, the cumulative phase shift and noise floor builds up into a mix that feels sluggish before you have even touched a fader. Start with one or two colour pieces on busses, then build outward once the balance holds together clean. Watch the output meters on the saturation-heavy modules, too — driving a Tube STA model 12 dB past its comfort zone might sound great in solo, but the top end hardens in the full mix.
The third mistake is assuming that because a plugin emulates hardware, the best setting is always a moderate one. The Dist Tube Culture and Filter MS-20 models, in particular, reward aggressive input levels and extreme resonance settings that would be impractical or destructive on the original hardware. Push past the polite range, and you start getting compression artefacts and filter ringing that sound more like a synth voice than an effect.
How It Compares with Similar Mac Apps
Set Arturia's collection next to Soundtoys, and the difference is breadth versus depth. Soundtoys builds fewer plugins — around 20 in the full bundle — but each one is a deep, idiosyncratic device that rewards long sessions of knob-turning. Arturia's approach gives you 34 processors, many of them laser-focused on a single task, so you reach for them knowing exactly what they will do. The Soundtoys approach is more playful but less efficient when you need a Pultec-style EQ right now and you do not want to explore three alternative signal paths to get there.
Against the Universal Audio UAD ecosystem, the comparison shifts to consistency. UAD's emulations, running on their own DSP hardware or natively, are often the reference against which others are measured, but they tie you to a platform and, for the DSP versions, to a physical unit. Arturia's plugins run natively on any modern Mac, so your laptop can carry the entire collection to a session without extra hardware. The UAD 1176 and LA-2A models capture more of the unit-to-unit variance of the originals, but Arturia's versions get you 90% of the way there with a lighter CPU footprint and the same preset system across every module, which speeds up recall.
Then there is FabFilter, whose Pro-Q and Pro-C are the benchmark for clean, transparent digital processing. FabFilter plugins do not model vintage circuits — they give you surgical control, spectrum analysers built into the display, and a visual language that makes complex EQ curves readable at a glance. Where Arturia's equalisers and compressors add character, FabFilter's strip it away. A sensible mixing setup often pairs both: FabFilter for corrective work and bus duties, Arturia for the colour slots.
Small Conveniences and Shortcuts That Are Easy to Miss
Double-click any knob to return it to its default value. This works across the entire collection and saves you from the "what was it set to before I started auditioning?" anxiety that creeps in at hour three of a mix session. The default value is almost always a musically sensible starting point, so you can reset, listen, and push again with a clear reference.
Hold Option while dragging a control, and it enters fine-adjust mode — the movement slows by roughly a factor of four, which is essential when setting attack times under 10 milliseconds or dialling in a stereo width parameter where half a degree changes the image. On the modelled EQs, Shift-drag locks the gain while you sweep frequency, so you can hunt for a resonant peak without the level jumping around and misleading your ears.
The preset browser has a star-ratings system and a tag filter, but the feature people overlook is the user preset folder shortcut. Save any tweak with Command-S, and it writes to a local folder that the browser indexes by plugin type and by the tags you assign. Tag a handful of go-to settings with "vocal" or "drum bus", and they all appear under a single click later, even if the original presets came from different plugins. You can also drag a preset file directly from Finder onto a track in Logic or Ableton, and the correct plugin loads with the settings applied, which is faster than opening the browser and scrolling.
The wet/dry mix control on every plugin — it sounds obvious, but because many of the modelled units did not have one in hardware form, people forget it is there. Parallel compression on a drum bus without setting up an aux send is two seconds of dragging that slider to 50%, and the phase relationship stays coherent because the dry path is sample-accurate.
A Workflow for a Specific Task: Vocal Thickening and Widening
Take a lead vocal track that sounds clear but thin — recorded on a large-diaphragm condenser, properly gained, but lacking weight and stereo spread. Here is a chain that turns it into a wide, textured centrepiece without resorting to double-tracking.
Insert Comp FET-76 first. Set the ratio to 4:1, attack at its slowest position, release fast. Drive the input until the needle shows 5–7 dB of reduction on the loudest phrases. This gives you the classic FET grab — the first few milliseconds of each word punch through, then the body clamps down. The all-buttons-in trick (press every ratio button simultaneously) is worth trying here; it skews the attack shape in a way that sounds almost like a different compressor entirely.
Next, add EQ SITRAL-295. This is the broadcast console model, and its curves are broader than a surgical EQ. Boost 2 dB at 100 Hz with a wide bell, and cut 1.5 dB at 400 Hz. The low boost fills out the chest resonance of the voice, and the low-mid cut removes the boxiness that the FET compressor sometimes brings forward. Do not touch the high shelf yet — the next stage handles the top end.
Now insert Pitch Shifter-910. Set one voice to +7 cents, another to -9 cents, and pan them hard left and right. Mix them in at 30% wet. The tiny pitch discrepancies create a stereo spread that feels natural — unlike a chorus, there is no modulation cycle, so the image stays locked in place. Engage the high-pass filter on the shifted voices at 300 Hz to keep the low end mono and centred.
On a send, not an insert, place Efx Ambient. Feed it the post-compressor, pre-pitch-shifter signal so the reverb does not get the stereo widening. Choose a long, evolving preset — something with slow attack and a tail above three seconds — and filter its return so only frequencies above 600 Hz pass through. Bring the send fader up until the reverb is almost inaudible, then back it off 2 dB. The voice now sits in a space that feels large but does not pull attention away from the words.
Finally, route all of this to a bus and insert Tape
The 2026.02 release adds three new processors that expand the collection's reach into drum shaping, pitch manipulation, and textural sound design.
- Mix Drums — a dedicated drum channel strip with transient control, EQ, and parallel compression tuned for kit pieces.
- Pitch Shifter-910 — a digital-style harmoniser and pitch engine for octave jumps, shifted doubles, and grainy artefacts.
- Efx Ambient — an ambient texture generator that turns any input into evolving pads and washes.
- macOS 11 or later
- Apple Silicon or Intel processor (64-bit)
- AU and VST3 host software
Questions from the class 0
Sign in or join the class to ask a question.
Nobody has asked anything yet. If you have used it on a real job, say what the file did.
Also on the VST Plugins shelf
The whole VST Plugins shelf Arturia Emulator II V
Recreates the crunchy, grainy character of an early 8-bit sampling keyboard.
Arturia Emulator II V
Recreates the crunchy, grainy character of an early 8-bit sampling keyboard.
 Arturia Mellotron V
Summons the breathing, unstable tape textures of the original Mellotron without the maintenance.
Arturia Mellotron V
Summons the breathing, unstable tape textures of the original Mellotron without the maintenance.
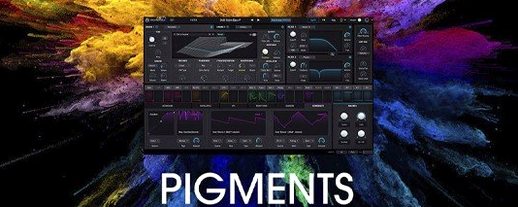 Arturia Pigments
Rewards sound designers with a deep, semi-modular engine for building patches from scratch.
Arturia Pigments
Rewards sound designers with a deep, semi-modular engine for building patches from scratch.
 Arturia Efx AMBIENT
Generates evolving, three-dimensional backgrounds from any static input signal.
Arturia Efx AMBIENT
Generates evolving, three-dimensional backgrounds from any static input signal.
 Arturia Tape MELLO-FI
Degrades a clean signal into a wobbling, softened, tape-aged version of itself.
Arturia Tape MELLO-FI
Degrades a clean signal into a wobbling, softened, tape-aged version of itself.
 Arturia Analog Lab V
Gives you thousands of production-ready presets you can shape with simple macro controls.
Arturia Analog Lab V
Gives you thousands of production-ready presets you can shape with simple macro controls.
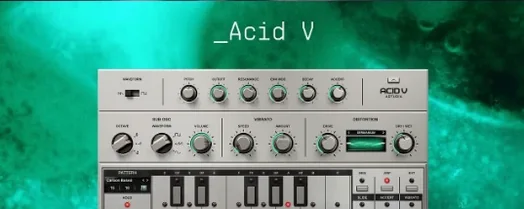 Arturia Acid V
Builds squelchy, sequenced basslines from a single init patch and a handful of knob turns.
Arturia Acid V
Builds squelchy, sequenced basslines from a single init patch and a handful of knob turns.
 Ample Sound Ample Guitar LP III
Recreates the sound of a classic electric guitar with built-in amps and effects.
Ample Sound Ample Guitar LP III
Recreates the sound of a classic electric guitar with built-in amps and effects.