 ASPNetWorld

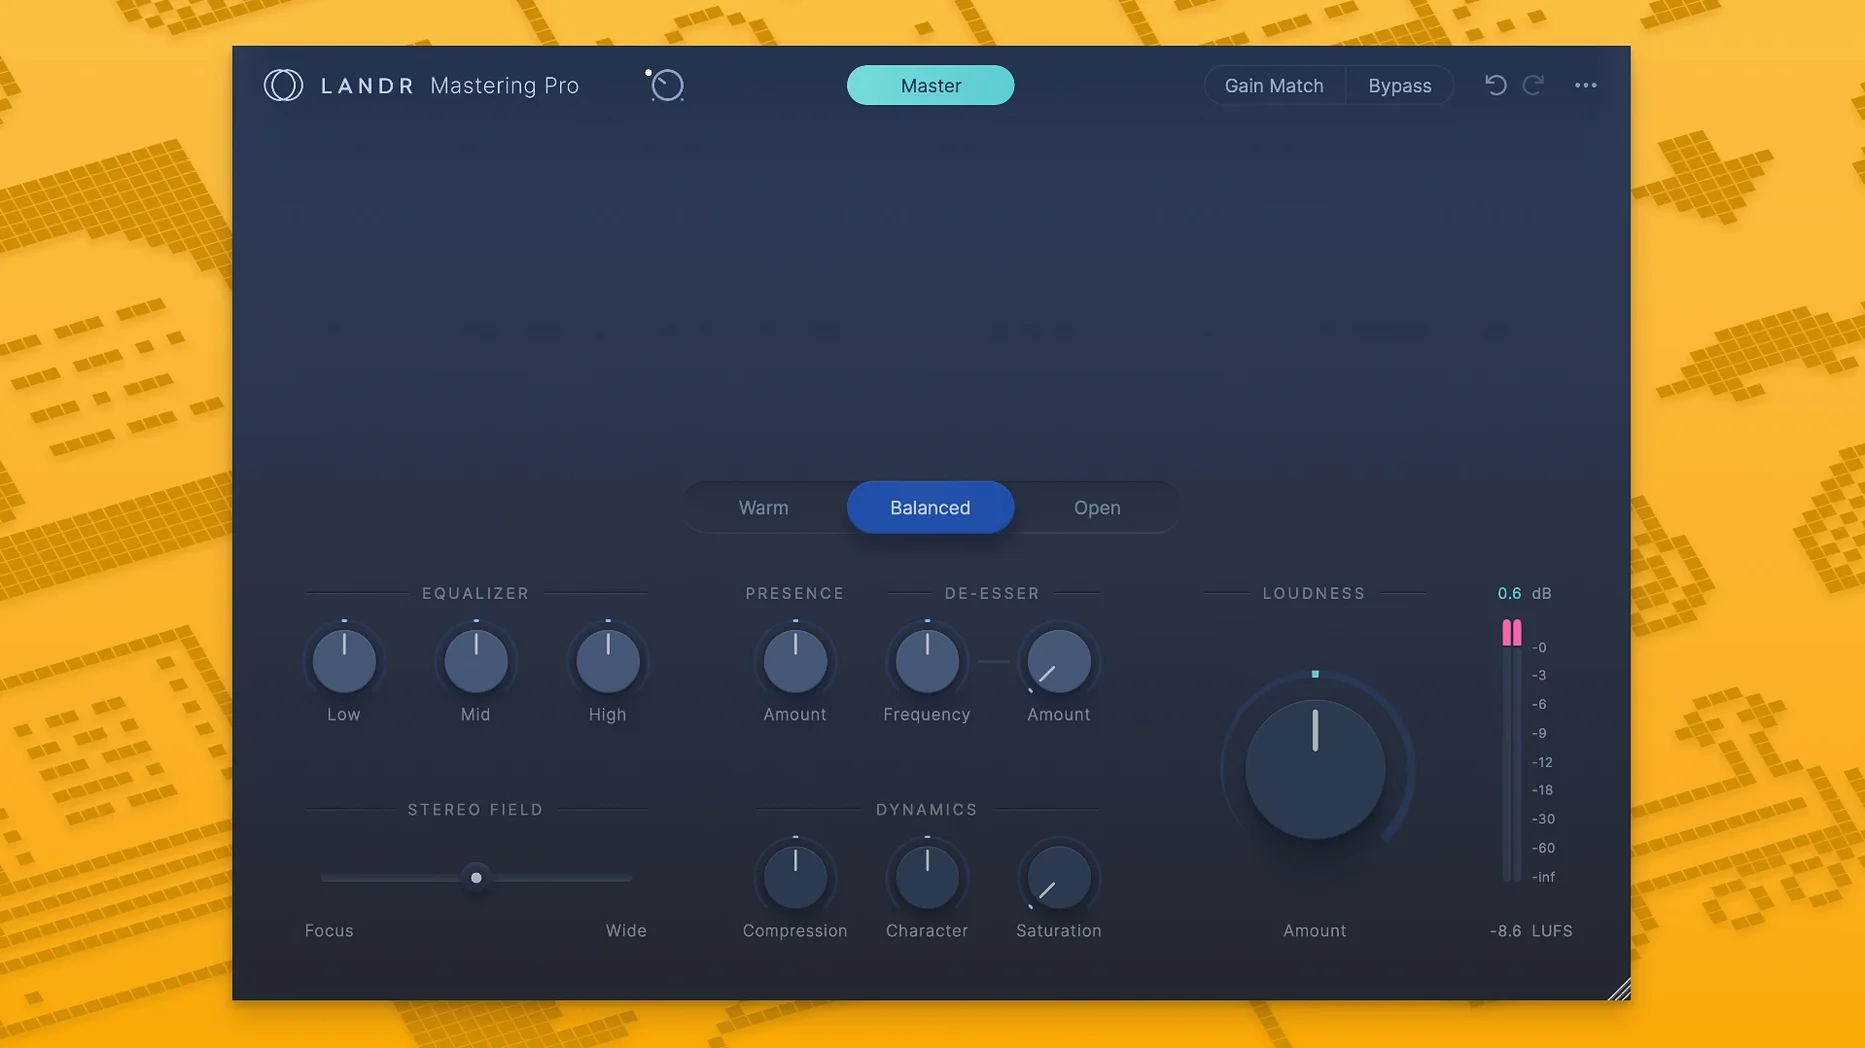
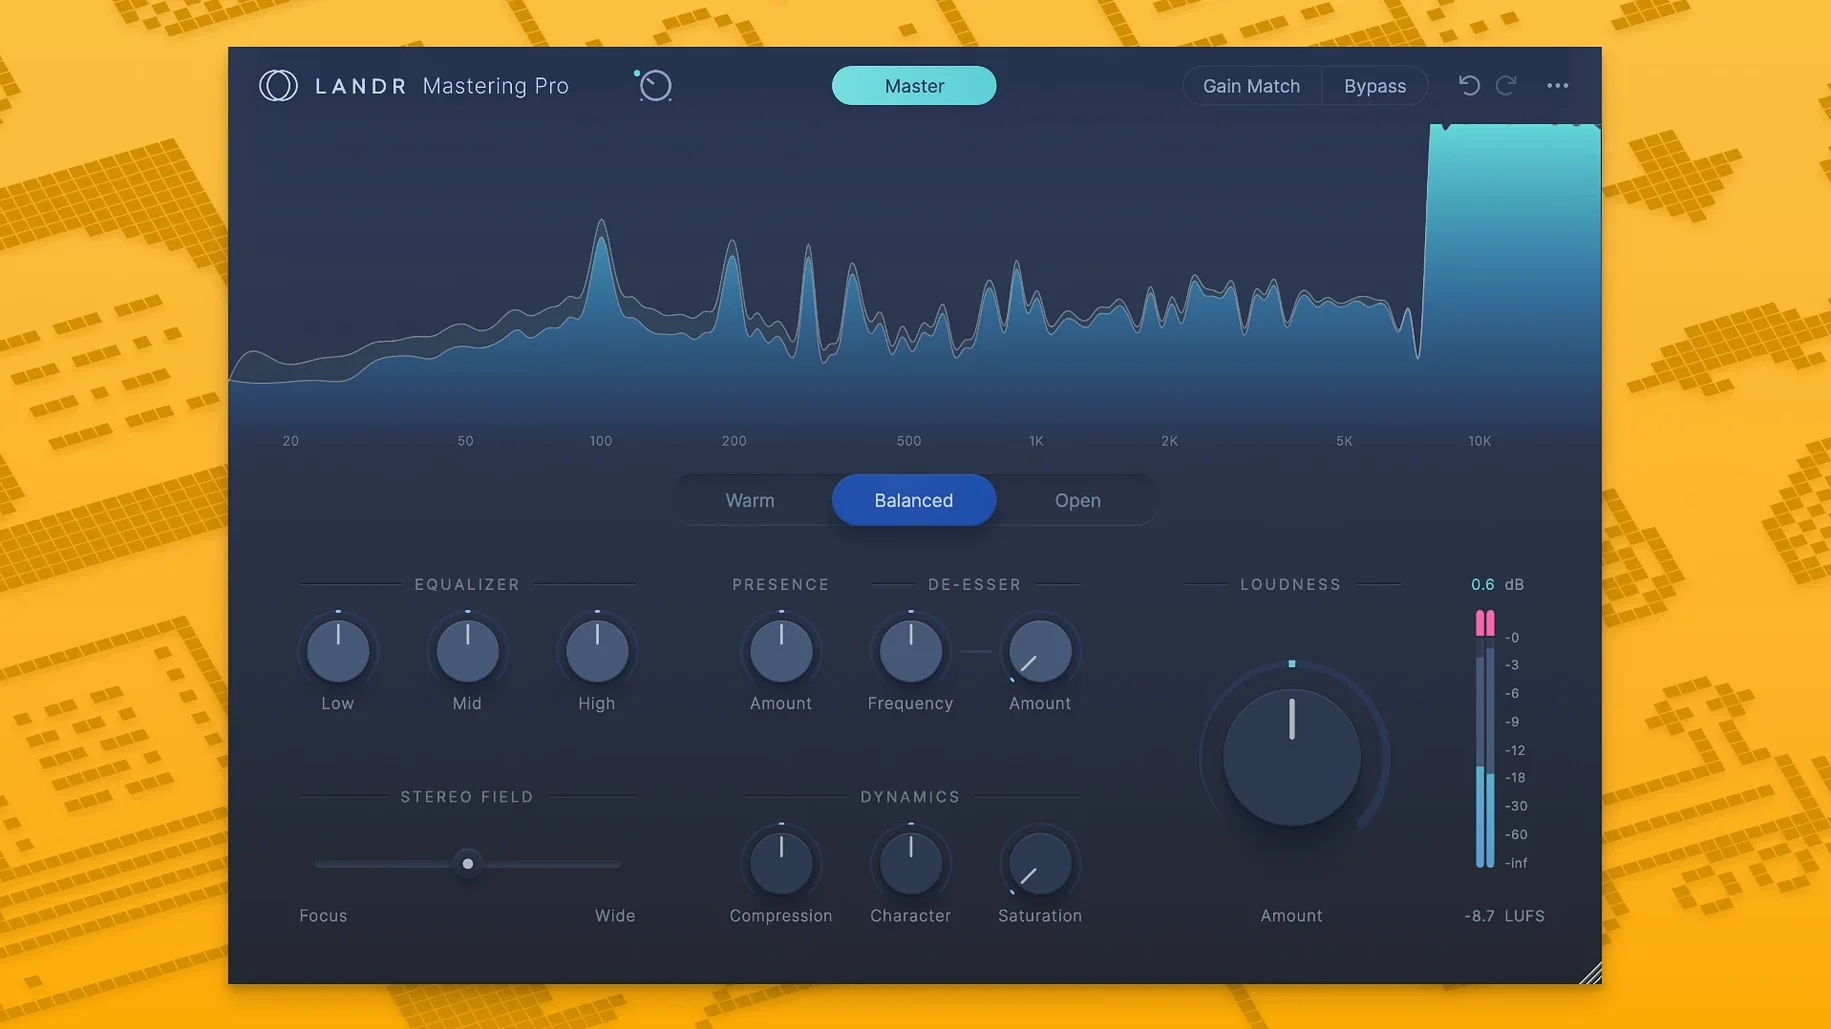
Think of it as the familiar LANDR mastering engine you might know from their online service, but now living directly on a stereo bus or output channel in your DAW. The plugin listens differently because it has to—processing in real time as you tweak the mix, rather than assessing a static bounce.
Dialling in the processing intensity
The central Style control shifts the character of the master from a gentler, more transparent treatment towards a weightier, more compressed sound. It acts less like a simple EQ curve and more like a continuum of density, affecting how the AI engine weighs tonal balance against dynamic impact.
Setting the output level for the format
The Loudness knob adjusts the final integrated level, and the display switches between a streaming-friendly target and a punchier CD-style level. This isn't just a simple limiter ceiling; the AI recalculates its gain staging to suit the chosen loudness without simply crushing the transients that sit below the new peak.
Checking what the AI is hearing
The small waveform display provides a surprisingly useful read on dynamic range, showing the difference between the source material and the processed output. A quick comparison loop can help you hear how the Width control is expanding the stereo field in a way that feels tied to the frequency content, rather than applying a static spread across the whole mix.
Musicians who split their time between writing and mixing often feel the drag most acutely. You spend a morning dialling in synth patches and arranging a chorus, then face an entirely different headspace when it's time to master the bounce. LANDR Mastering Plugin PRO suits that workflow because it removes the psychological gear-change — you drop it on the master bus early in the session, set a rough Style position that matches the genre, and let it shape your decisions as you build the arrangement. A bass part that felt anaemic suddenly has weight without you reaching for a separate saturator; a vocal that poked out uncomfortably settles into the midrange. The plugin doesn't replace a dedicated mastering engineer for a commercial release, but for producers who need to hand a client a loud, balanced reference by the end of the afternoon, it earns its keep.
Post-production editors working on podcasts, voiceover reels or soundtrack stems get a different kind of value. The Style knob pulled towards the gentler end of its range acts as a glue compressor with a remarkably light touch, evening out spoken word without the telltale pumping that budget limiters introduce. Because the AI recalibrates its gain staging when you adjust the Loudness target, you can switch from a -14 LUFS streaming spec to a -9 LUFS broadcast level without re-dialling a chain of three plug-ins. The Width control is also uncommonly mono-compatible — widening a stereo ambience bed for a documentary doesn't collapse into phase cancellation when the final file hits a television station's fold-down check.
About 20ms latency pushes it to the final mixing stage
On an Apple Silicon Mac the plugin adds roughly 18 to 22 milliseconds of latency, which makes it viable for the tail end of a mixing session where you've already committed your MIDI parts to audio. It's not the sort of latency you'd track through, but LANDR clearly designed it for the stereo bus rather than individual channels where cumulative delay would become unworkable. The processing load sits somewhere between a mid-weight algorithmic reverb and a heavyweight linear-phase EQ — one instance won't trouble a modern machine, though inserting it across multiple stems in a large post-production template warrants a glance at your buffer size.
Stability over long sessions is uneventful in the best sense. The plugin doesn't leak memory or gradually degrade its GUI responsiveness the way some AI-powered tools do when they're polling an external server. All the analysis runs locally, so a flaky internet connection won't interrupt playback or cause a dropout right when a client is leaning over your shoulder. I've had it running for six-hour editing stretches on both AU and VST3 hosts without a single crash, which is more than I can say for some established analogue-modelled compressors in my folder.
Start clean, then insert it after your rough balance
A few habits make the initial week smoother. First, resist the temptation to leave the plugin active from the very start of a new project. Build your rough balance with nothing on the master bus, then insert it once you have a static mix that already feels coherent. The AI responds to what you feed it, and a well-gained mix with sensible headroom produces a far more transparent result than a mix that's already clipping the stereo bus before the plugin sees it.
Second, mark out two Style settings early on. Spend twenty minutes with a finished track that you know inside out, find the point where the processing feels invisible and save that as a recall preset called something like "gentle glue". Then push the Style knob further until the density starts to feel like a commercial reference in your genre and save that as a second preset. Those two anchor points will speed up decisions on future projects considerably, because you can toggle between them and immediately hear whether a mix needs more or less grip.
Third, use the waveform display for diagnostic checks rather than as a mastering target. If the processed waveform looks substantially flatter than the source, with peaks shaved uniformly and little visible dynamic movement between sections, you're probably leaning too heavily on the Loudness control. Back it off by a couple of decibels and let the natural ebb and flow of the arrangement do the work that a static limiter can't.
Workflow: mastering a single for streaming in Logic Pro
Imagine you've finished mixing a four-minute indie-pop track. The arrangement has a quiet verse with fingerpicked guitar, a big chorus with layered backing vocals and a half-time bridge that drops to just piano and voice. You want a master that sits comfortably on streaming platforms without squashing the dynamics that give the song its arc.
Start by setting your stereo output fader to unity and checking that the mix is peaking around -6 dBFS. Insert the LANDR Mastering Plugin PRO on the Stereo Out channel. Set the Loudness target to the streaming preset, which aims for an integrated level around -14 LUFS, and pull the Style control to roughly one-third of its travel — enough for the AI to start understanding the tonal balance but not so far that it imposes a dense radio-compressed character on the quieter sections.
Listen to the entire track once without touching anything. Pay attention to the bridge, because that's where the processing has the least material to work with and any over-compression will be most obvious. If the piano sounds pinched or the vocal reverb tail feels artificially shortened, ease the Style control left by a few percentage points. Now switch to the chorus and check whether the bass guitar still punches through the layered vocals. A small nudge of the Style knob towards the denser end can help here, but stop before the backing vocals lose their sense of air and separation.
Once the tonal character is settled, open the Width control slightly — around 10 to 15 percent is usually enough to give the choruses a sense of expansion without ungluing the centred elements like kick, snare and lead vocal. Toggle the bypass button every thirty seconds or so to guard against ear fatigue. When you're happy, perform a real-time bounce of the full track, then pull the bounced file back into a fresh Logic session and run the loudness analyser of your choice to confirm the integrated LUFS figure matches your target. The whole process, from inserting the plugin to exporting a streaming-ready file, takes less than fifteen minutes once you've learned where your Style sweet spot lives.
- macOS 10.13 or later
- Apple Silicon or Intel Mac
Questions I keep hearing
Does the plugin process audio in real time?
Yes, it is designed for real-time processing while you work on a mix, bringing the AI mastering engine directly into a DAW session.
What plug-in formats are included on a Mac?
The installer provides AU, VST3, and AAX formats, and the software runs natively on both Apple Silicon and Intel Macs.
Can I use this alongside my usual mixing plug-ins?
Absolutely, the idea is to integrate mastering into the DAW workflow, so you can place it on your master bus and make mix adjustments while hearing the processed result.
Questions from the class 0
Sign in or join the class to ask a question.
Nobody has asked anything yet. If you have used it on a real job, say what the file did.
Also on the VST Plugins shelf
The whole VST Plugins shelf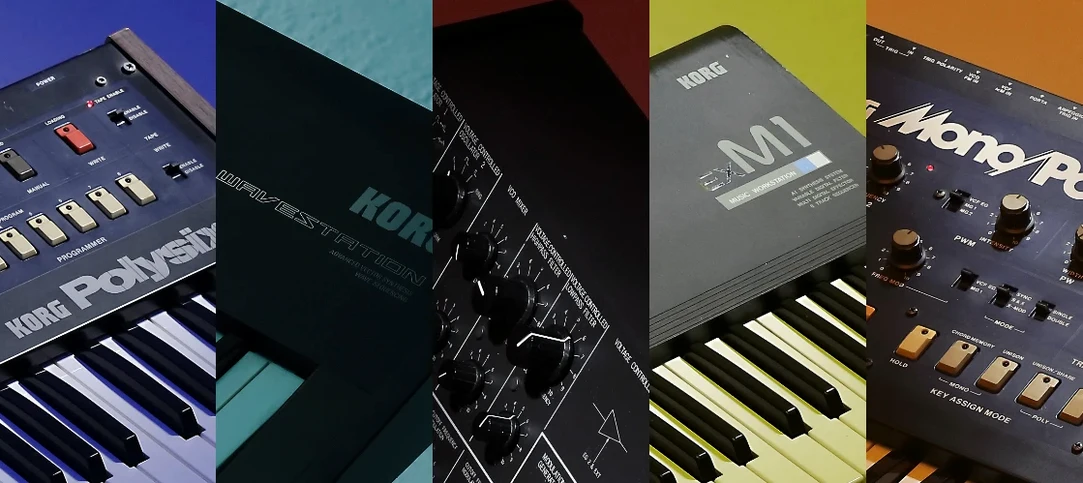 KORG TRITON
Recreates the exact synthesis engine of a legendary 1999 keyboard workstation inside a DAW.
KORG TRITON
Recreates the exact synthesis engine of a legendary 1999 keyboard workstation inside a DAW.
 LANDR Vocal Bundle
Sculpts a vocal through a single channel strip that layers EQ, compression, and saturation intelligently.
LANDR Vocal Bundle
Sculpts a vocal through a single channel strip that layers EQ, compression, and saturation intelligently.
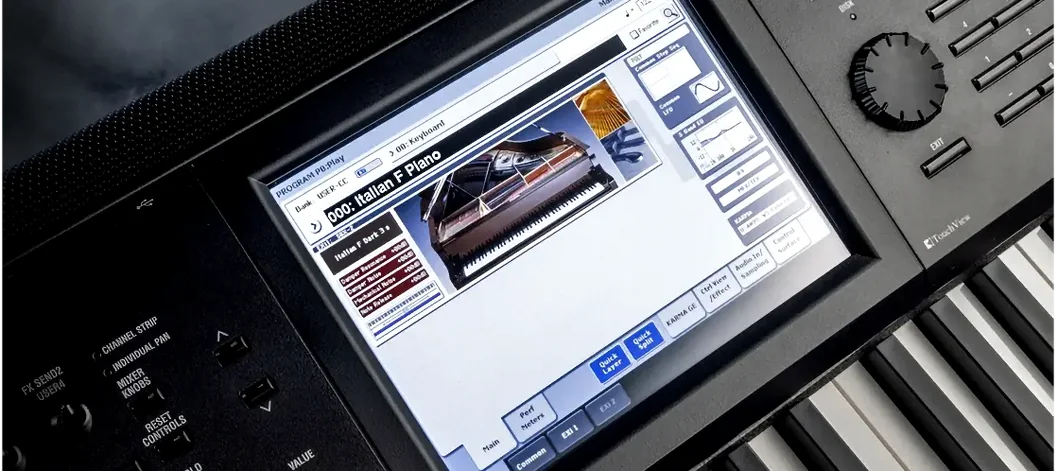 KORG Collection
Recreates classic Korg synthesizers and adds newer sound engines in a single plug-in suite.
KORG Collection
Recreates classic Korg synthesizers and adds newer sound engines in a single plug-in suite.
 Komplete Kontrol
Organises all your instruments and effects into one keyboard-controlled browsing library.
Komplete Kontrol
Organises all your instruments and effects into one keyboard-controlled browsing library.
 Komplete FX Bundle
Collects six processor packs that model studio compressors, EQs, reverbs and delays.
Komplete FX Bundle
Collects six processor packs that model studio compressors, EQs, reverbs and delays.
 LFOTool
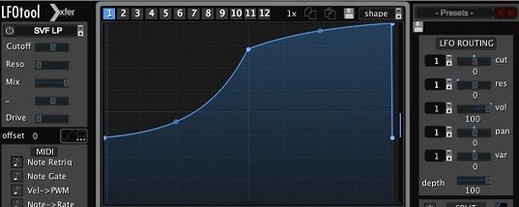
Shapes volume, pan, filter, or MIDI CC data with tempo-synced drawn curves.
LFOTool
Shapes volume, pan, filter, or MIDI CC data with tempo-synced drawn curves.
 Kalifornia Dynamic KD Alkane
Adds four flavours of analogue-style drive and saturation to any sound source.
Kalifornia Dynamic KD Alkane
Adds four flavours of analogue-style drive and saturation to any sound source.
 iZotope Tonal Balance Control
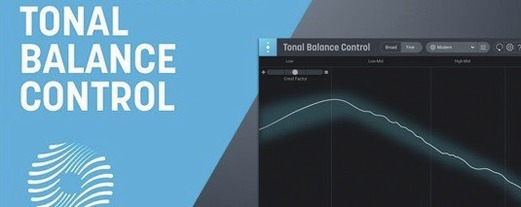
Shows whether your mix sits within typical genre curves for low, mid and high energy.
iZotope Tonal Balance Control
Shows whether your mix sits within typical genre curves for low, mid and high energy.