 ASPNetWorld
What's new in Serato Sample 2.2.0
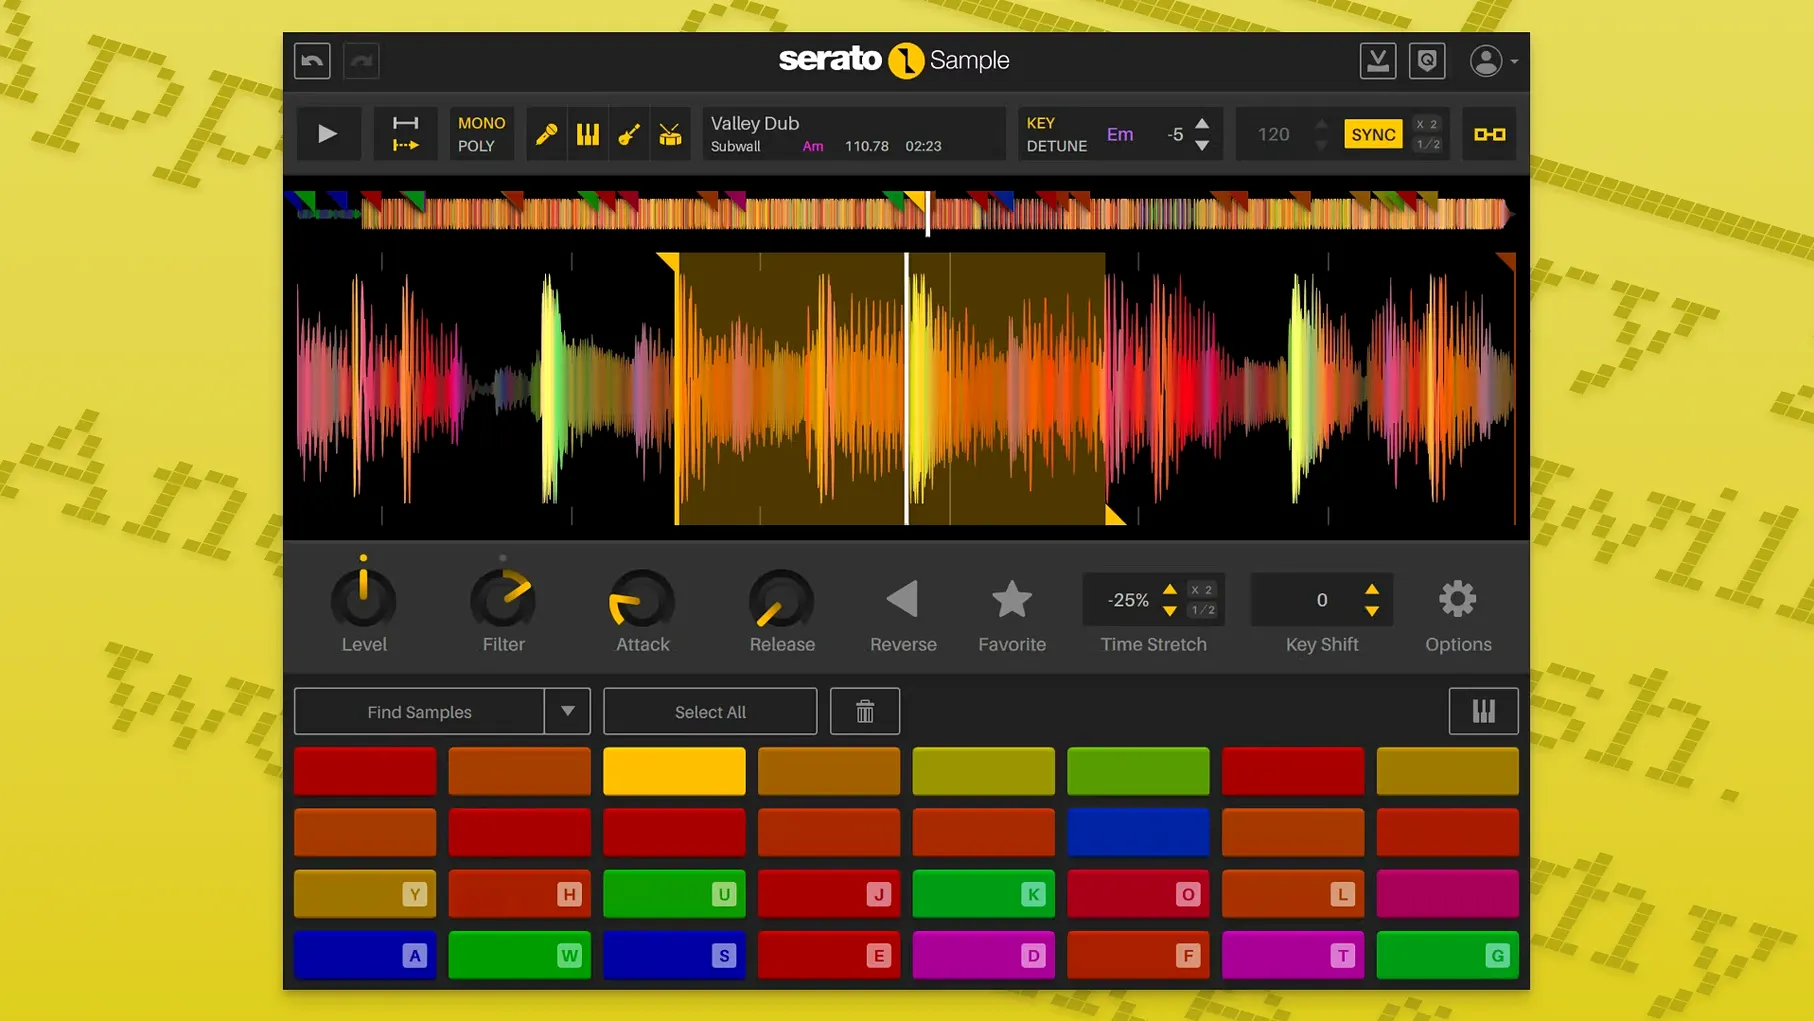
The 2.2.0 update brings individual stem-level control and proper DAW automation to the front. Instead of a single mix knob, you can now dial in the vocal, drums, bass, and melody stems independently, and your DAW can record or play back every fader move you make. There's also fresh support for AlphaTheta SLAB hardware and the latest macOS Tahoe, plus the small but welcome addition of mouse-wheel scrolling on any parameter you hover over.
A practical four-step workflow
- Load a sample onto a pad. Drop in an old soul loop, a drum break, or a full mix — the plugin reads BPM and key automatically and can match them to your project tempo, saving you the maths.
- Separate stems with Serato Stems. Click the stem mode to split the audio into vocals, drums, bass, and melody. This uses the same machine-learning separation that powers Serato DJ, so acapella extraction feels clean enough for remix work straight out of the gate.
- Set cue points and chop. Use the beatgrid to lock even unquantized recordings to your DAW's grid, then set cue points across the waveform. The grid makes it easy to trigger slices that stay in time, however loose the original drummer was.
- Automate stem levels in your DAW. Both the Stem On toggle and the four Stem Levels parameters are exposed to host automation. You can write a pass that drops the bass out of a chorus and rides the vocal up for a bridge, all as envelope data you can edit later.
The plugin runs in VST3, AU, VST, and AAX formats on macOS 11 Big Sur and later, natively on both Intel and Apple Silicon Macs. It's a creative sound-design tool that fits neatly into a producer's existing sampling routine rather than trying to replace it.
Stem separation draws you in, but the sampling engine decides if you stay
Most producers download Serato Sample because they want the stem separation, but they don't always know what they're actually getting under the hood. The biggest question I hear in my evening classes is whether this replaces a full sampler like Kontakt or Logic's Quick Sampler. It doesn't, and it isn't trying to. Serato Sample is a plugin that lives on one track in your DAW and gives you sixteen pads to work with — each pad holds a single audio file, and you manipulate that file with the toolset on screen. No multi-sampled instruments, no round-robins, no disk streaming of enormous libraries. What you do get is the best-sounding time-stretching I've heard in a plugin at this price point, plus stem isolation that often surprises people with how usable it is on a muddy stereo mix.
Another question that comes up regularly is about DAW compatibility, especially from Logic users who've been burned by AU validation issues before. The current build — serato sample 2.2.0 — ships as a universal binary, so Logic Pro running natively on Apple Silicon scans it without a hitch. The installer places VST3, AU, VST, and AAX versions, which covers everything from Ableton Live to Pro Tools. One thing worth knowing: if you're on an older Intel Mac still clinging to macOS 10.15 Catalina, you're out of luck. The minimum is Big Sur, and that floor isn't likely to move downwards in future updates.
There's also the inevitable question about whether you need an internet connection for the stem separation to work. You don't. The analysis runs locally on your machine, which means it's fast on an M-series chip and perfectly usable on a decent Intel Mac, though an i5 from 2017 will feel it. The processing happens when you hit the stem button, not in real time, so you'll wait a few seconds for a four-minute track to separate, then everything plays back instantly afterwards.
Learn the cue-point logic on a track you know bar-for-bar
Start with something you already know inside out — a track you've heard a hundred times, ideally one with a busy arrangement. Load it onto pad one, let the plugin detect the BPM, then switch on stem mode and mute everything except the drums. You'll hear the kit in isolation, and that's your first proper test of how the separation handles cymbal bleed and reverb tails. I tell my students to do this before they even think about making music, because it teaches you what the algorithm does well (kick and snare separation) and where it gets hazy (hi-hats buried in a wall of guitars).
Once you've got a feel for the stems, try this: set cue points on the vocal stem only, then switch back to the full mix. The cue points stay locked to the same positions, so you can trigger a phrase from the acapella and immediately follow it with the full arrangement on the next pad. This is a deceptively simple trick that makes your track sound like you spent hours editing when it took about ninety seconds.
Keyboard Mode deserves your attention early on. Enable it and you can play a sample chromatically from a MIDI keyboard, with Pitch 'n Time handling the formant preservation so a vocal doesn't turn into a chipmunk five octaves up. What's less obvious is that Keyboard Mode respects the stem selection — isolate the bass stem, engage Keyboard Mode, and suddenly you're playing a bassline melodically from a sample that originally had a drummer and a horn section on top of it. This is where the plugin stops being a utilitarian chopping tool and becomes a proper sound-design instrument.
Turning a polite 1970s bassline into a club foundation by Friday
Imagine a producer who's been sent a stereo WAV of a 1970s funk track and asked to deliver a club-ready remix by Friday. The drums are brilliant but the original bass is too polite, and there's a two-bar horn stab that would make a perfect hook if it could be isolated cleanly. This is exactly the kind of job where Serato Sample earns its keep.
She drops the full track onto pad one. The plugin reads the tempo — 112 bpm, slightly loose — and snaps it to the DAW's 112 bpm grid using the beatgrid editor. A couple of adjustments to the downbeat marker and the whole thing locks in. She activates stem separation, waits about eight seconds on her M1 Pro MacBook, and then mutes everything except the drums. The kick and snare are solid; there's a little ghost of the rhythm guitar in the hi-hat frequencies, but a high-pass filter at the pad level cleans that up enough for a club mix. She copies the drum stem to pad two for a safety, then pulls the bass stem up on pad three, pitches it down two semitones in Keyboard Mode, and plays a new bassline that follows the original progression but with more movement. The horn stab gets its own pad with cue points at the start of each phrase, and she triggers those manually during the drop section. By Wednesday evening she's got a working arrangement, and the only audio file she imported was the single stereo mix the client sent her.
Stems fall apart fast if you skip the downbeat check
The most common mistake I see in class is loading a sample and immediately reaching for the stem separation without checking the beatgrid first. If the downbeat marker is off — even by an eighth note — the stems will still separate, but your cue points won't land where you expect them to when you start chopping. The result is a frustrating half-hour of nudging slices around manually when you could have fixed it in ten seconds at the start. Get the grid right, then do everything else.
Another trap is treating the four stem faders like a mixing desk for a finished record. The stems are derived from a single stereo file, so pushing the vocal up by 6 dB while pulling the drums down by the same amount doesn't give you a cleaner acapella — it just changes the balance of an imperfect separation. The artefacts are always there underneath; the faders control how much of them you hear. Use the stem levels to create drops, builds, and arrangement variations, not to salvage a separation that's fundamentally struggling with the source material.
Beginners also tend to overlook the fact that every pad can hold a completely different sample with its own stem settings. You don't have to work with one track across all sixteen pads. You might have a drum break on pad one with stems off, a full song on pad two with only the bass stem active, and a vocal phrase on pad three pitched up in Keyboard Mode. Thinking of the pads as sixteen independent samplers rather than sixteen slices of the same loop opens up the plugin considerably.
Finally, new users sometimes assume the stem separation is real-time and get confused when the audio glitches during playback. The analysis is a one-time process — once the stems are extracted, playback is smooth. But if you're running a heavy session on an older machine, the initial separation can spike the CPU briefly. Bounce or freeze the track after you're happy with the stem balance, and you'll never have to think about it again.
One toggle in the gear menu stops the browser from resetting your folder
The default state works well enough for a quick play, but a few tweaks in the first ten minutes will save you a lot of minor annoyance later. Open the settings panel — the gear icon — and look for the trigger mode option. By default, pads are set to one-shot, which means a sample plays from the cue point to the end every time you hit it. If you're working with loops, switch to toggle or gate mode instead. Toggle is great for sustained stems like a bassline or a pad; gate mode cuts the audio when you release the key, which is essential for tight rhythmic chopping from a MIDI controller.
Next, check the pitch detection setting. The plugin analyses key automatically, but it will sometimes misidentify a minor track as its relative major, or get confused by a sample with no clear harmonic content. If your pitched stems sound slightly off against the rest of your production, manually set the key in the plugin before you reach for the transpose controls. It's a small correction that prevents a lot of cumulative tuning drift when you start layering stems from different sources.
The beatgrid sensitivity slider is another control that rewards a bit of attention. Dragging it to the left makes the grid less aggressive about quantising, which is useful for samples with a fluid, human tempo — old jazz recordings, live funk, anything that wasn't cut to a click. Set it too high on loose material and you'll hear the algorithm fighting the natural push and pull. Set it low on tight electronic music and you're leaving sync accuracy on the table. There's no universal sweet spot; it depends entirely on what you're sampling.
Lastly, if you use Logic Pro or another DAW with deep automation lanes, go into the host automation list and map the Stem On parameter for each pad you're using. This lets you draw in stem bypass on the arrange page, which is cleaner than relying on the plugin's internal pad mute. You can write a single automation lane that drops the drums out for exactly two bars, brings them back with a filter sweep your DAW is handling separately, and never touch a mouse during playback. Combined with the individual stem level parameters that are now exposed in version 2.2.0, this turns the plugin into something you can almost mix entirely from your DAW's timeline.
Version 2.2.0 gives you individual stem-level faders so you can balance vocals, drums, bass, and melody separately, rather than relying on one global knob. These levels — and the Stem On toggle — are now visible to your DAW as automatable parameters, which means you can write fader rides and arrange transitions right from your host. Also included: support for AlphaTheta SLAB, mouse-wheel scrolling over any parameter you hover on, and compatibility with macOS Tahoe.
- macOS 11 Big Sur or later
- Intel or Apple Silicon Mac
- VST, AU, AAX, or VST3 host
Questions I keep hearing
Can Serato Sample 2.2.0 run on Apple Silicon Macs?
Yes, it runs natively on Apple Silicon, so there's no Rosetta translation layer involved.
What stem types can Serato Sample separate?
It isolates four stems: vocals, drums, bass, and melody, using the Serato Stems algorithm.
Can I automate the stem controls in Logic Pro or Ableton?
Absolutely. Both the Stem On command and the individual Stem Levels are exposed as DAW automation parameters.
Questions from the class 0
Sign in or join the class to ask a question.
Nobody has asked anything yet. If you have used it on a real job, say what the file did.
Also on the VST Plugins shelf
The whole VST Plugins shelf Serato Hex FX
Stacks and reorders fifty effects so you can build a custom chain without a tangled signal path.
Serato Hex FX
Stacks and reorders fifty effects so you can build a custom chain without a tangled signal path.
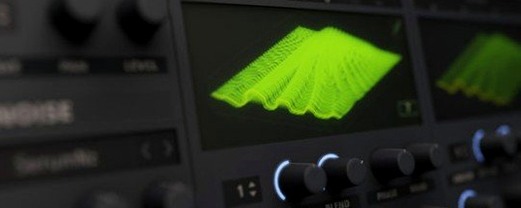 Serum
Generates and warps wavetable sounds you can sculpt from a blank waveform upwards.
Serum
Generates and warps wavetable sounds you can sculpt from a blank waveform upwards.
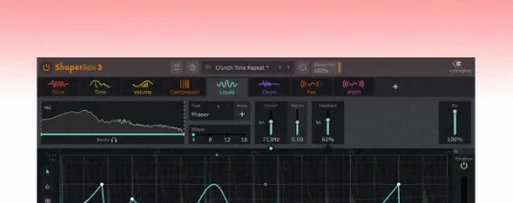 ShaperBox
Applies three bands of rhythmic effects to add movement to drums, pads or vocals.
ShaperBox
Applies three bands of rhythmic effects to add movement to drums, pads or vocals.
 Scaler 3
Detects your playing and suggests chords that will work with it.
Scaler 3
Detects your playing and suggests chords that will work with it.
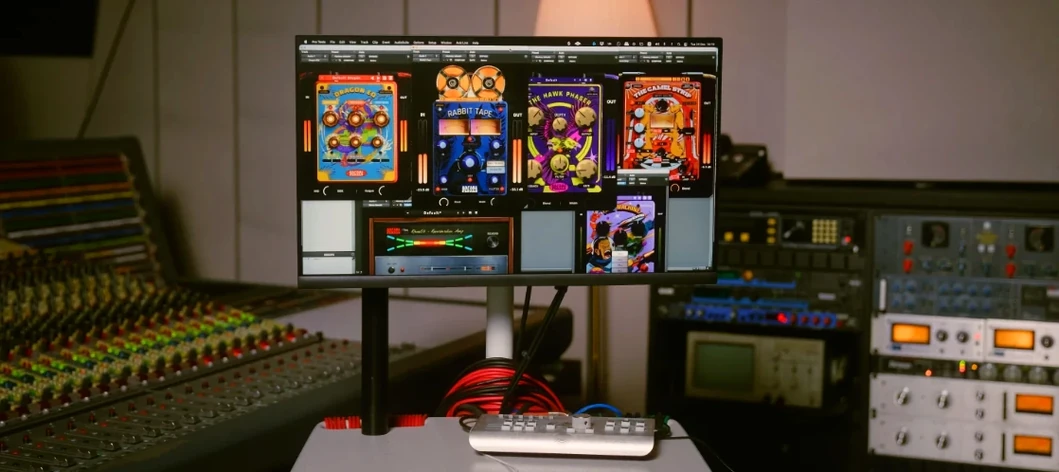 Safari Pedals Everything Bundle
Offers a collection of animal-named audio processors.
Safari Pedals Everything Bundle
Offers a collection of animal-named audio processors.
 Roland ZENOLOGY Pro
Layers four ZEN-Core tones in one multitimbral instrument.
Roland ZENOLOGY Pro
Layers four ZEN-Core tones in one multitimbral instrument.
 Roland Cloud Legendary Series
Recreates classic Roland synthesizers and drum machines.
Roland Cloud Legendary Series
Recreates classic Roland synthesizers and drum machines.
 RipX DAW Pro
Separates and edits audio into individual stems.
RipX DAW Pro
Separates and edits audio into individual stems.