 ASPNetWorld

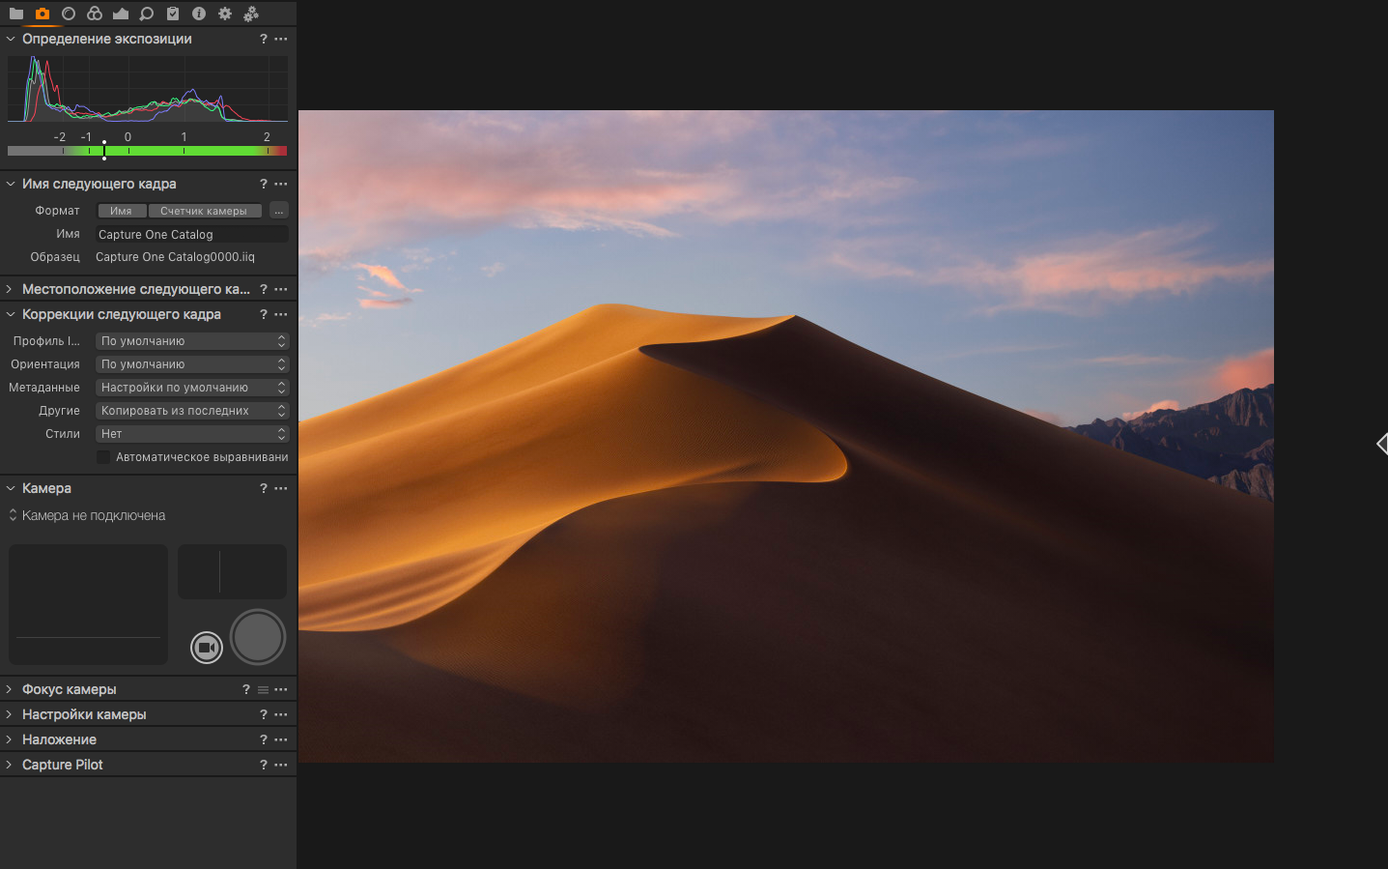
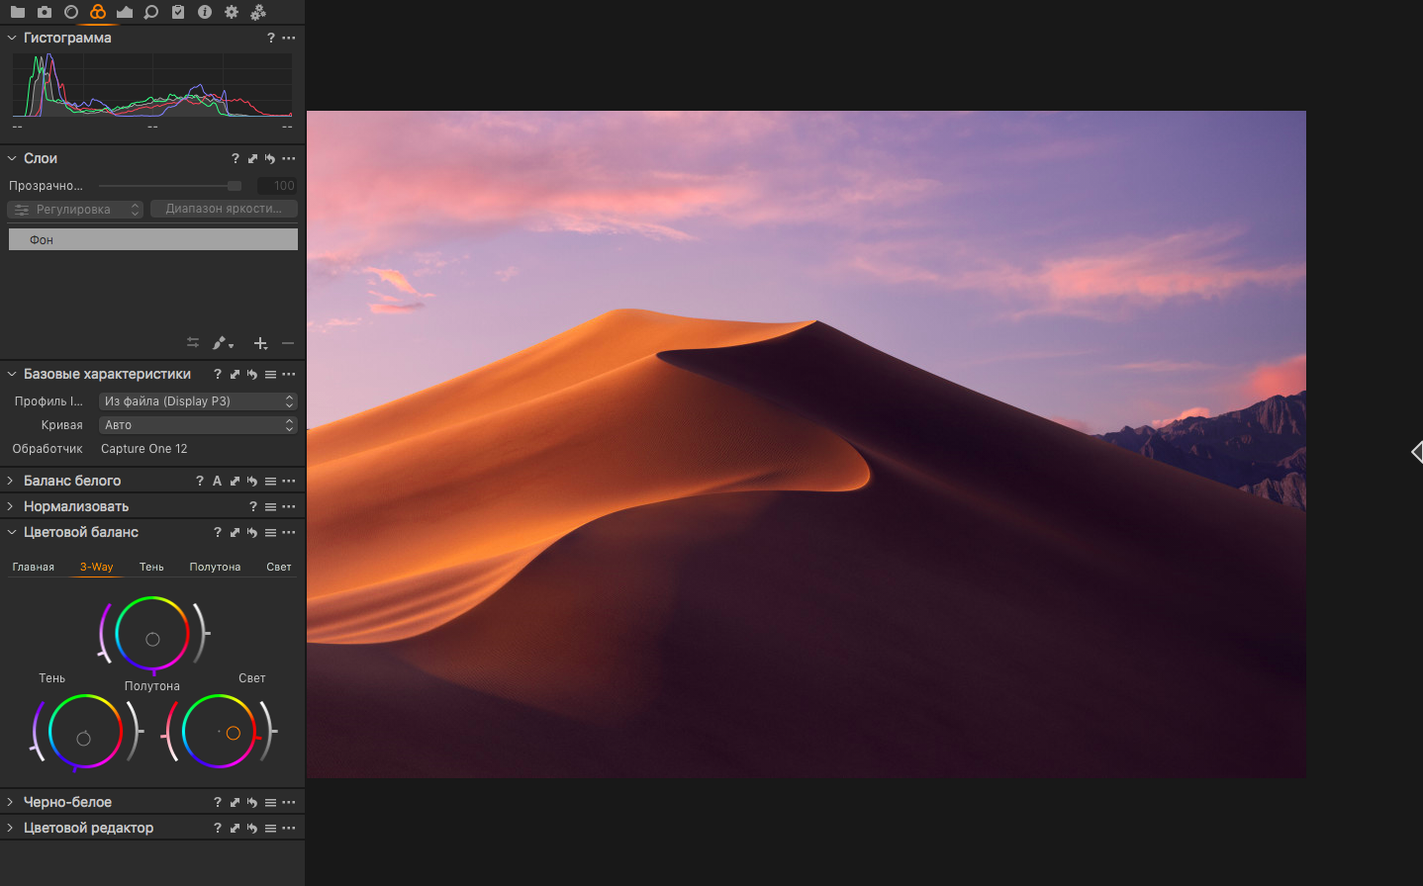
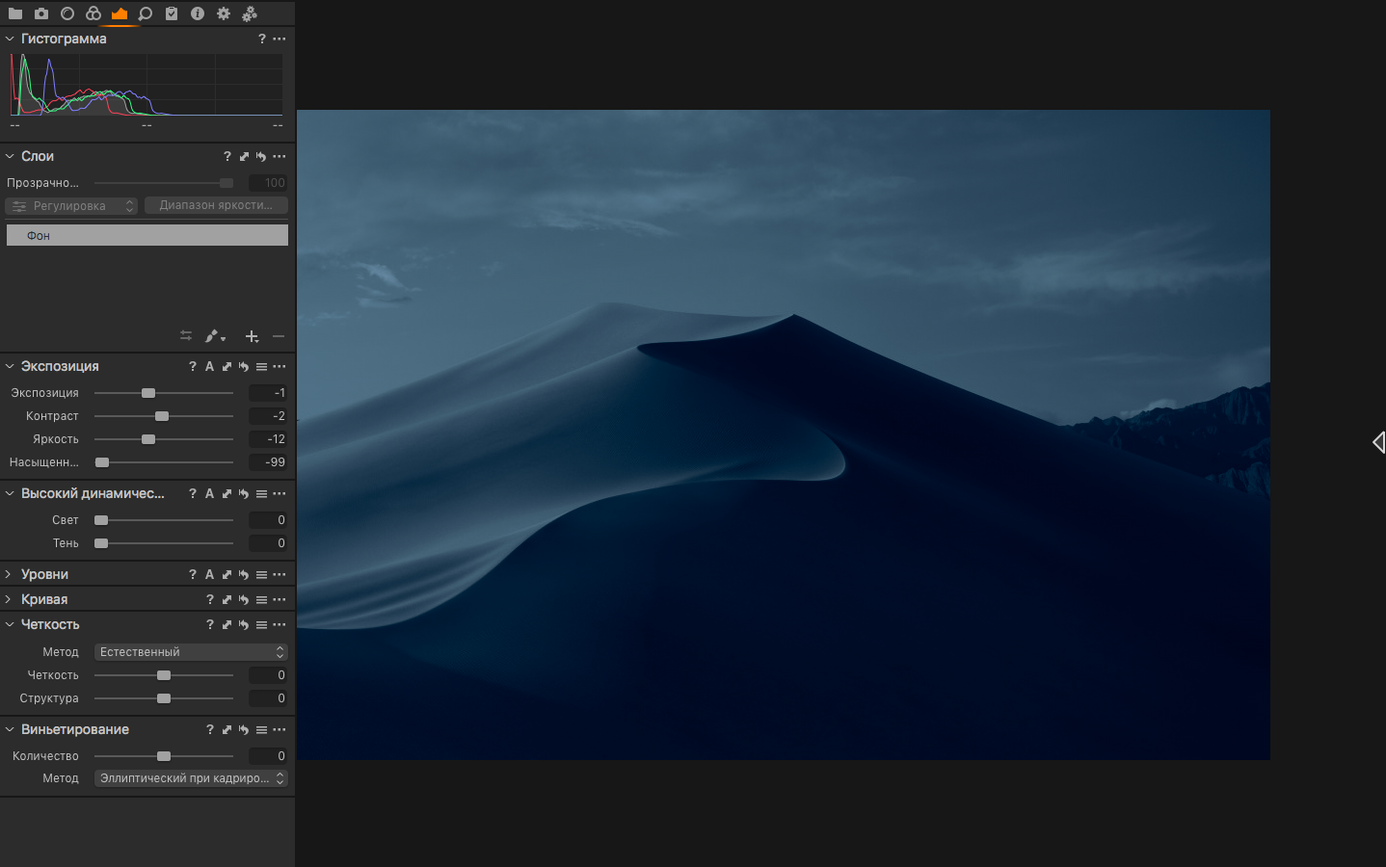
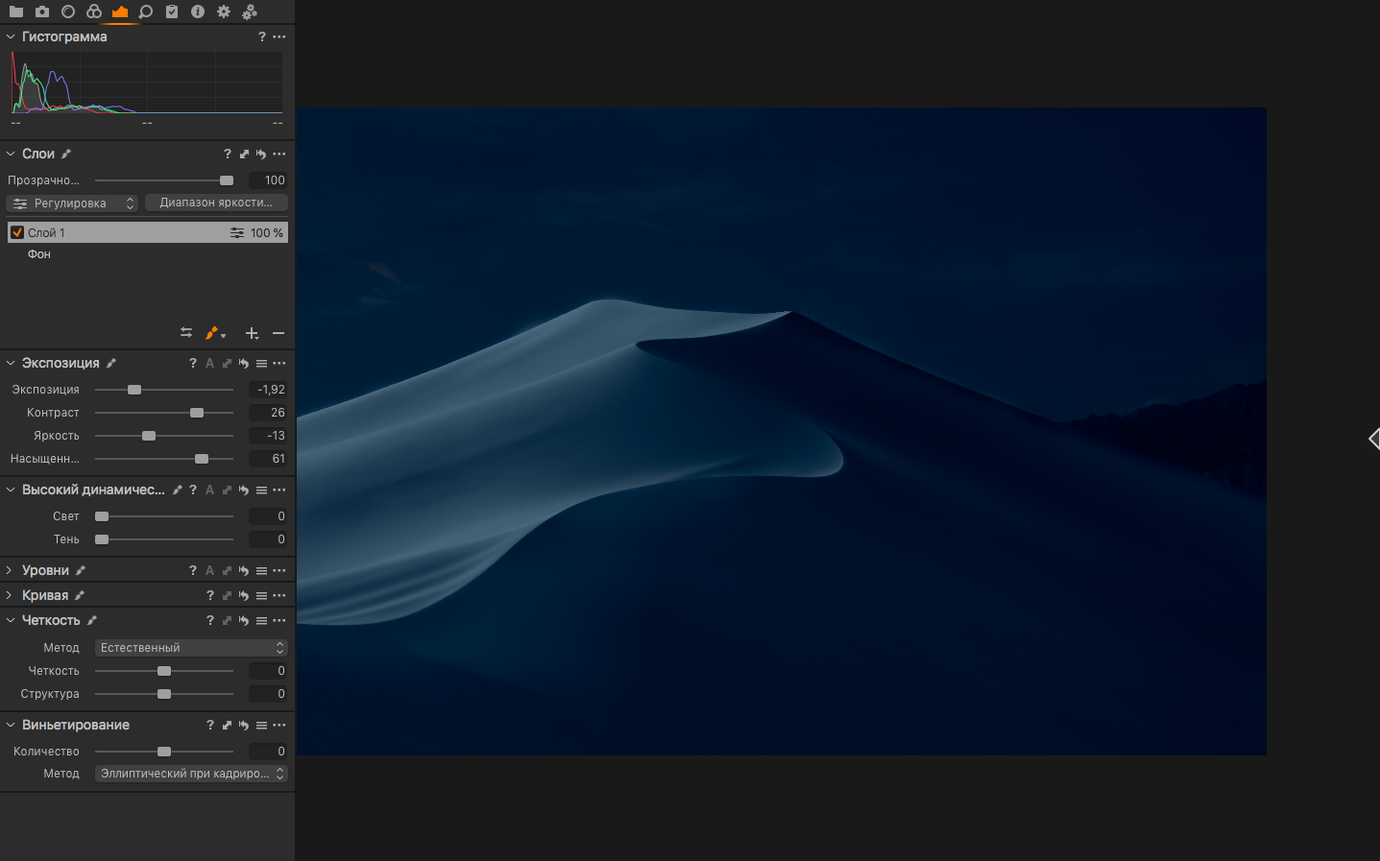
Capture One asks for macOS 12 or later, and it is equally at home on Apple Silicon and Intel Macs. That covers machines from the last several years, including the entire M-series family. If your Mac still runs Monterey, you are already inside the compatibility window.
Click a neutral grey point to anchor the entire colour pipeline
At heart, Capture One is a RAW photo converter built for people who want fine-grained authority over colour, detail, and the shooting process itself. The white balance tool works with a simple eyedropper: click a neutral grey point in the frame and the entire image rebalances around it. Sharpness adjustments sit on a separate layer of logic, so you can pull texture out of a portrait without making skin look brittle. A single image can spawn multiple correction variants — different crops, different colour grades, different stories — without duplicating the original file.
The cable becomes an extension of the shutter in tethered studios
The tethering side gives the game away. Studios where the camera feeds straight into the Mac, frame by frame, live with Capture One because it treats the cable as an extension of the shutter. Wireless tethering has improved in recent releases, and batch conversion runs alongside single-image edits without switching modes. The plug-in portal opens the door to third-party tools, but the core promise stays the same: control colour from the sensor to the exported file, without handing decisions to an auto-pilot you cannot overrule.
Before you open a single RAW file, it is worth walking through the preferences panel and making a few quiet changes that affect everything downstream. Open Capture One > Settings and head straight to the Image tab. The default preview size tends to be conservative — push it to at least 2880 pixels if your screen can handle it, because nothing slows a session down quite like waiting for a preview to catch up every time you zoom. While you are there, check the Cache location: Capture One builds a healthy preview cache, and leaving it on your main system drive can eat space you did not plan to lose. Point it at a fast external SSD and the whole browser feels snappier.
Next, visit the Exposure tab and look for the Exposure Warning thresholds. Out of the box, shadow clipping sits at 5 and highlight clipping at 250, which is sensible for most work. If you print regularly, though, tighten the highlight warning to 245 — paper cannot hold detail right up to pure white the way a screen can, and a 250 warning can give you a false sense of safety. Lastly, under General, switch Reset cursor tools after use to something that matches your brain. Some photographers want the cursor to snap back to the pointer after every single adjustment; others find it maddening. Set it to Never if you tend to work in short, repeated bursts with the same tool.
A morning sorting a few hundred frames from a portrait shoot
Let us walk through a morning with a few hundred frames from a portrait shoot, because that is where Capture One reveals its rhythm. The card arrives, you launch the app, and the first decision is the workspace. Tap Window > Workspace > Default if you are starting fresh, but many users end up building a custom layout with the browser strip along the bottom, the viewer in the centre, and the tool tabs stacked on the right. The key is to make the viewer as large as possible — everything else is secondary to the image you are evaluating.
Insert the card and do not import yet. Open the Import dialog, point it at the card, and set Destination to a session folder on your working drive. Tick Backup To and send a second copy to an archive location before you touch a single slider; Capture One can write both copies simultaneously, and the peace of mind costs you nothing extra in workflow time. In the Adjustments section of the import panel, apply a preset that includes your default sharpening and noise reduction — nothing aggressive, just enough to neutralise the camera's AA filter and give you a clean starting point. Hit import and let the thumbnails build.
Culling is where Capture One diverges from lighter-weight browsers. The preview quality is high enough that you can check critical focus at screen size without zooming, and the star ratings respond to single keystrokes. Hold the cursor over a thumbnail and tap 1–5 to assign stars, or 0 to clear. Many photographers use three stars for keepers, one for technical failures, and leave everything else blank for a second pass. The colour tag system sits right next to ratings, and a common pattern is green for selects that go to the client, yellow for alternatives, red for rejects. You can filter the browser by any combination of these, and the filter bar at the top of the browser accepts both rating and colour tag criteria in a single click.
Once you have maybe a dozen selects, pick the hero shot and work through colour and exposure. The Base Characteristics tool sets the rendering curve for your camera model — often left on Auto, but switching to Linear Response can rescue an image that looks too contrasty straight out of the gate. White balance comes next: the eyedropper is fast, but for portrait work, try the Skin Tone tab inside the white balance panel. Draw a small marquee across a cheek and Capture One adjusts temperature and tint to hit a plausible skin hue, leaving the rest of the frame to follow. It is not magic, but it is a remarkably good starting point that saves the back-and-forth of manual temperature tweaks.
Small things that hide in plain sight
Several of Capture One's best conveniences do not announce themselves. The Copy Adjustments clipboard understands partial copying: select a source image, press ⌘-Shift-C, and a dialog appears with tick boxes for every adjustment category. You can copy only the white balance, exposure, and sharpening to fifty other frames without touching cropping or spot removal. That alone can save a morning in a batch processing scenario. The clipboard also works across sessions — adjustments copied in one document can be pasted into images in an entirely different folder, as long as you do not restart the app in between.
Another quiet helper is the Normalise tool, tucked inside the Exposure tab. When you have three images shot under slightly changing light, normalise picks a reference frame and adjusts exposure and white balance across the others to match. It is not an auto-correction in the consumer-software sense; it is a utility for consistency, and consistency is what turns a set of individual photographs into a coherent series. Normalise works best when the shots share similar content and were taken within a short time window, which makes it ideal for studio sequences.
Keyboard shortcuts reward discovery. G jumps to the grid browser, E opens the selected image in the viewer, and R activates the rotation tool without a trip to the toolbar. Holding Shift while dragging a slider gives you fine control — a tenth of the normal increment — which is essential when nudging black levels or colour balance on a calibrated display. If you use a Wacom tablet, right-click on any slider and choose Edit Keyboard Shortcut to bind a custom keystroke; the shortcut editor is modal and intuitive, and you can assign keys to individual adjustment parameters, not just top-level tools.
Living with other applications
Capture One does not demand exclusivity. The Edit With command, found under the Image menu, hands a rendered TIFF or PSD to an external editor and watches for changes. When you return to Capture One, the edited file appears as a variant alongside the original RAW, and further adjustments inside Capture One are non-destructive on top of the external edit layer. This works smoothly with Affinity Photo and Pixelmator Pro, and it is the natural bridge when you need pixel-level retouching that goes beyond what a RAW converter should handle.
On the macOS side, the app integrates with the system-wide colour management without ceremony. If your display is hardware-calibrated and the profile is set in System Settings > Displays, Capture One reads it automatically and shows you a colour-managed preview. The Proof Profile drop-down in the viewer toolbar lets you soft-proof against a printer profile, CMYK press profile, or sRGB for web delivery, and the gamut warning highlights out-of-range colours in a flat grey overlay. Printing directly from Capture One is possible, but many users export a 16-bit TIFF in ProPhoto RGB and hand it to a dedicated RIP or to the macOS print dialogue — the export recipe system makes that a one-click operation once you have saved the preset.
The export recipes themselves deserve mention because they are the quiet engine of a finished workflow. Each recipe is a self-contained set of instructions: file format, colour space, resolution, sharpening for output, watermark, and destination folder. You can stack multiple recipes and run them all in a single export pass. A common setup produces a full-resolution TIFF for the archive, a downsampled JPEG in sRGB for client delivery, and a small web preview — three files, one click, zero trips back to the export dialog.
Starting a portrait project as the wrong file type locks your workflow
The most frequent early mistake is confusing sessions and catalogues. A session is a self-contained folder structure designed for tethered or single-day shoots; a catalogue is a database meant for long-term library management. If you start a portrait project as a catalogue and later want to tether into it, the workflow becomes awkward because catalogues are not optimised for the live folder-watching that tethered capture relies on. The rule of thumb: sessions for shooting days, catalogues for archiving finished work. You can import a session into a catalogue later, but untangling the reverse is painful.
Another trap is over-sharpening in the default sharpening panel without visiting the Diffraction Correction and Lens Correction tools first. Sharpening amplifies whatever detail is present, including lens softness and diffraction artefacts from narrow apertures. If you apply lens profile corrections and diffraction compensation before touching the sharpening sliders, the sharpening has cleaner material to work with and the result looks naturally crisp rather than artificially edged. It is a ten-second step that changes the character of fine detail.
Beginners also tend to trust the auto-adjust button a little too warmly. The A key triggers an automatic levels and exposure correction that works well enough as a first guess, but it ignores the creative intent behind deliberate underexposure or a moody colour cast. A safer habit is to use auto-adjust as a quick check — does Capture One see something I missed? — and then undo it immediately, building adjustments by hand from the base file. The auto function is a conversation starter, not the final word.
Finally, watch the Process Recipe selection when you export. It is surprisingly easy to leave an old recipe active and export a batch of wedding images with a black-and-white treatment meant for last week's personal project. The recipe name sits in the export panel header; glance at it before you click Export and you will save yourself a quiet moment of regret.
Quick questions
Why does Capture One feel slow when I browse large folders?
The preview size and cache location are the usual suspects. Set previews to match your display resolution and move the cache to a fast external SSD. Also, check that hardware acceleration is enabled under Settings > General — on Apple Silicon Macs this makes a measurable difference.
Can I share adjustments between my Mac and a studio machine?
Yes. Adjustments are stored in sidecar files with a .cos extension, or inside the catalogue database. For sessions, copy the image folder including the Capture One subfolder and the receiving machine sees every edit exactly as you left it. No cloud account or subscription handshake is required.
What export settings give the best balance of quality and file size for client previews?
A JPEG at quality 85 in sRGB with output sharpening set to Screen and a long edge of 2400 pixels hits the sweet spot for most screen-based viewing. The file will stay under two megabytes while holding enough detail for a critical review on a retina display.
Version 16.8 concentrated on noise, speed and studio workflow. The headline is a noticeably more effective denoise engine, plus tools that help you cull a shoot faster.
- Enhanced denoise gives cleaner shadows with less smearing.
- Assisted review speeds up the first pass through a tethered session.
- New, more flexible contact sheet layouts for comparing selects.
- macOS 12 (Monterey) or later
- Apple Silicon or Intel processor
Questions I keep hearing
Can I create more than one edit of the same photo?
Yes, Capture One lets you make multiple correction variants so you can experiment with different crops, colour treatments, or exposure balances without duplicating the original file.
Does it only work with Phase One cameras?
Not at all — it supports a wide range of cameras from Canon, Sony, Nikon, Fujifilm and others, with new models added regularly, such as the Canon EOS R6 V and Panasonic DC-L10 in version 16.8.
Can I set white balance properly without guessing?
Absolutely. You can use an eyedropper tool to click any neutral grey area in the image, and Capture One will calculate the correct white balance from that reference point.
Questions from the class 0
Sign in or join the class to ask a question.
Nobody has asked anything yet. If you have used it on a real job, say what the file did.
Also on the Mac Apps shelf
The whole Mac Apps shelf CapCut
Assembles short videos with auto-captions, effects, and a timeline that stays out of your way.
CapCut
Assembles short videos with auto-captions, effects, and a timeline that stays out of your way.
 Carbon Copy Cloner
Creates an exact, bootable duplicate of your drive so you can start up from the copy in an emergency.
Carbon Copy Cloner
Creates an exact, bootable duplicate of your drive so you can start up from the copy in an emergency.
 Cap Pro
Records your screen into a local, shareable video without touching a cloud service.
Cap Pro
Records your screen into a local, shareable video without touching a cloud service.
 Canopy
Adds an iPhone-style interactive panel to your Mac for quick glances at weather or calendar.
Canopy
Adds an iPhone-style interactive panel to your Mac for quick glances at weather or calendar.
 CCleaner Pro
Sweeps away browser caches, logs, and leftover files that macOS's own tools leave behind.
CCleaner Pro
Sweeps away browser caches, logs, and leftover files that macOS's own tools leave behind.
 Camtasia
Records your screen and camera, then gives you a timeline to trim, annotate, and export the lesson.
Camtasia
Records your screen and camera, then gives you a timeline to trim, annotate, and export the lesson.
 Camo Studio
Turns a phone or tablet into a studio webcam with manual focus and a virtual green screen.
Camo Studio
Turns a phone or tablet into a studio webcam with manual focus and a virtual green screen.
 BricsCAD
Draws and models in the DWG format so a team can share files without converting a single line.
BricsCAD
Draws and models in the DWG format so a team can share files without converting a single line.