 ASPNetWorld

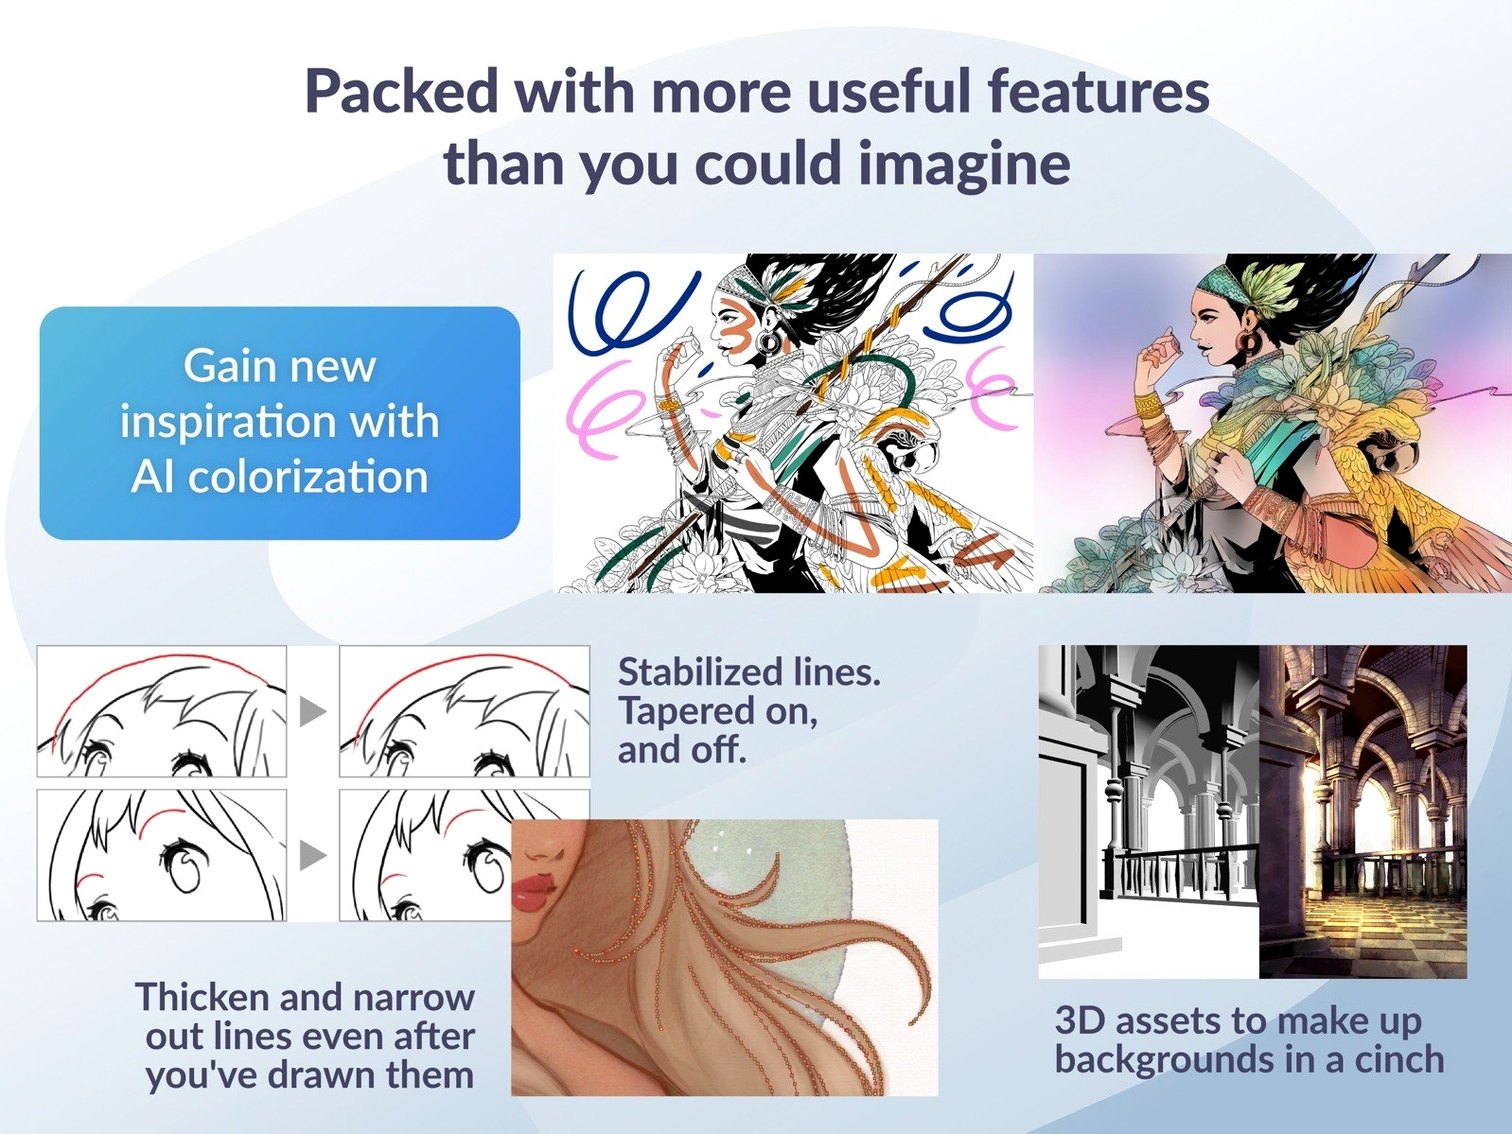
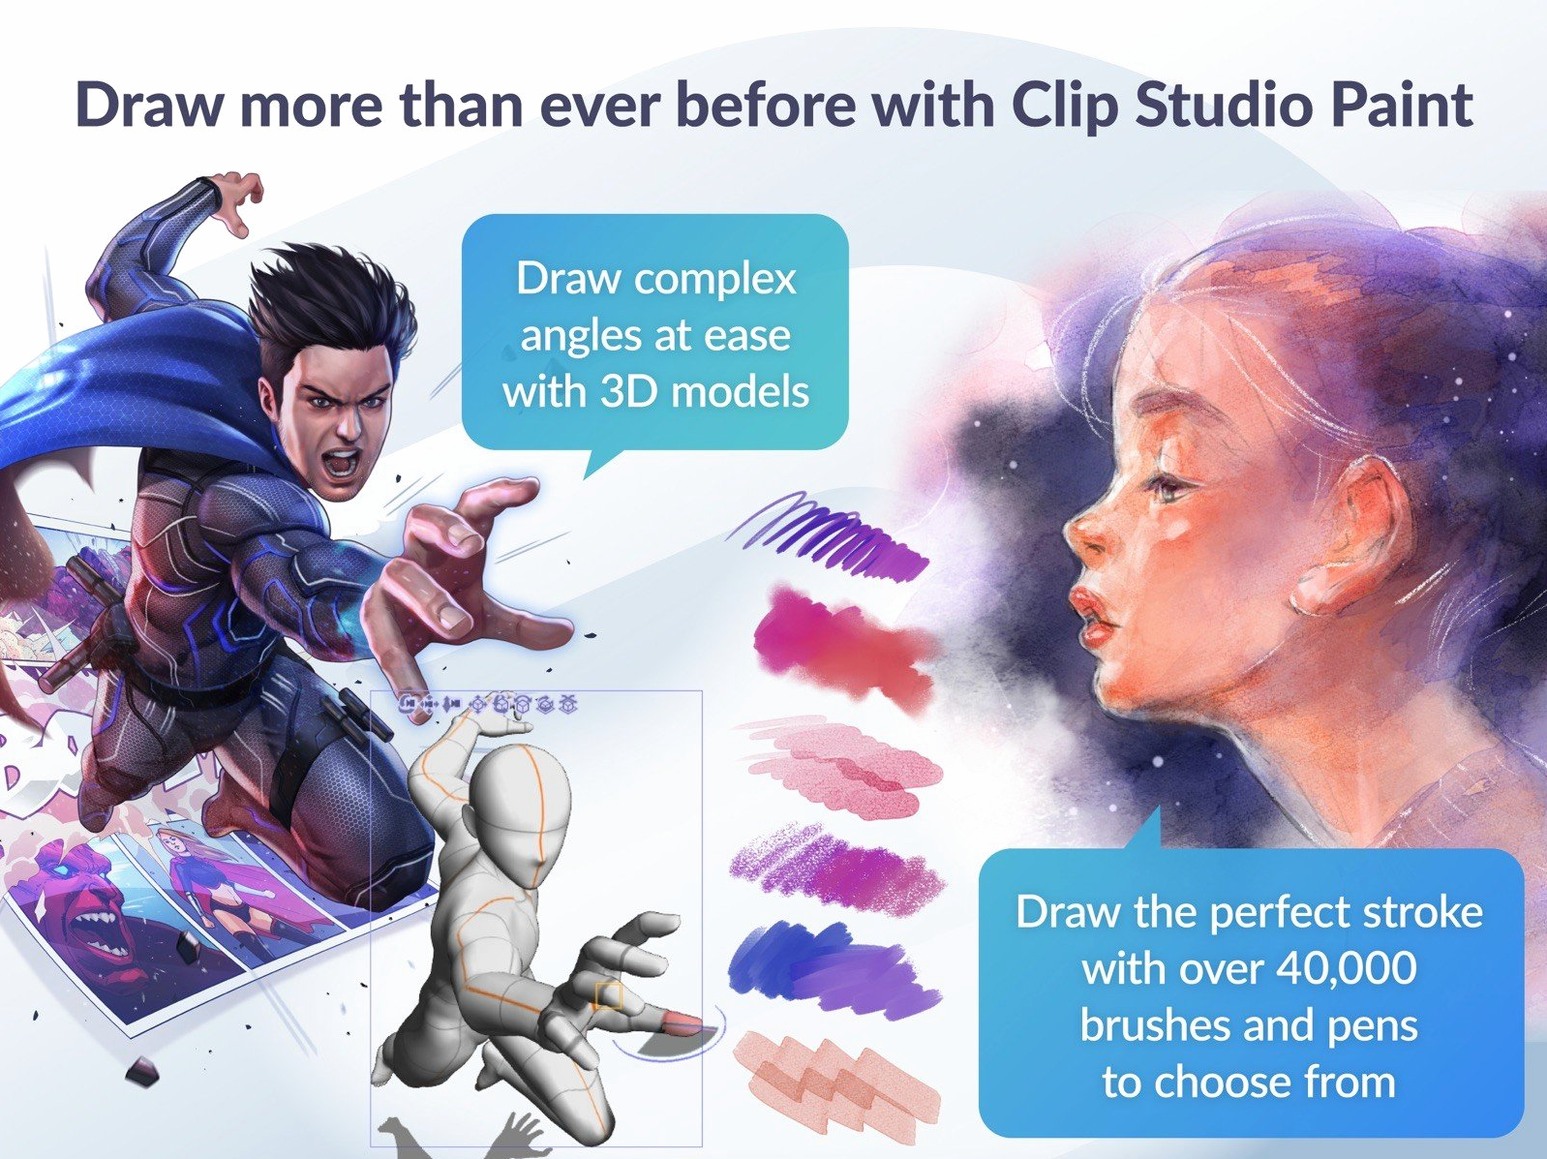
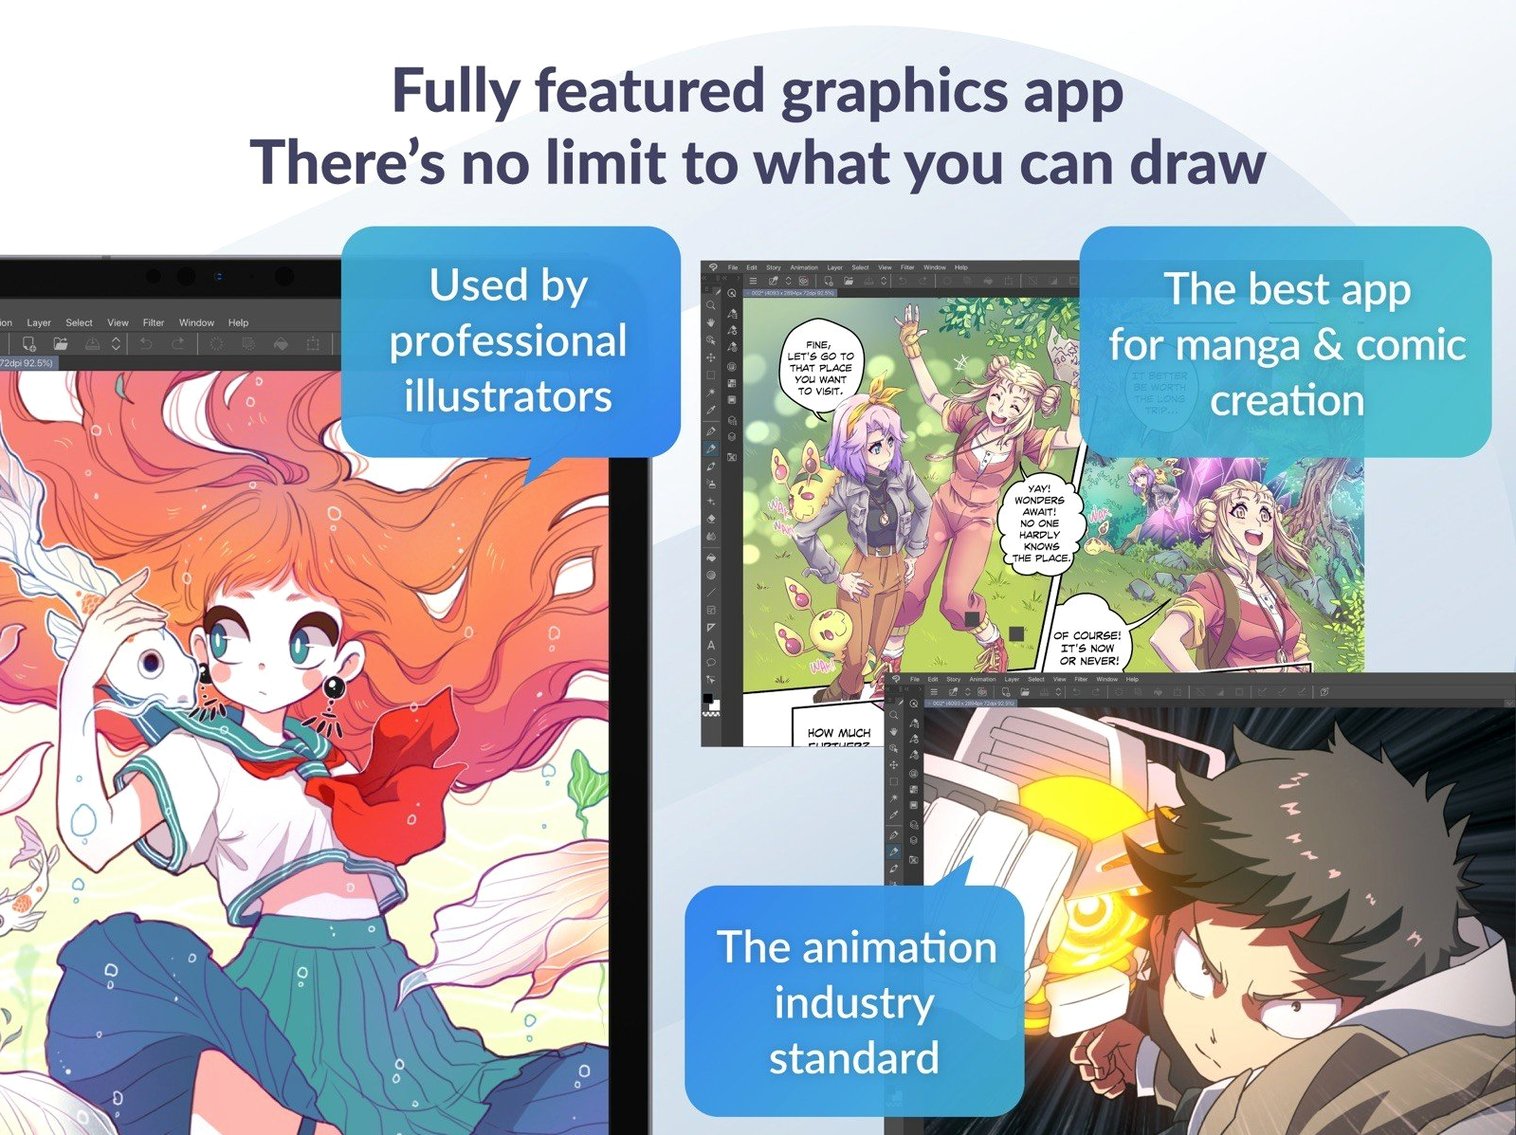
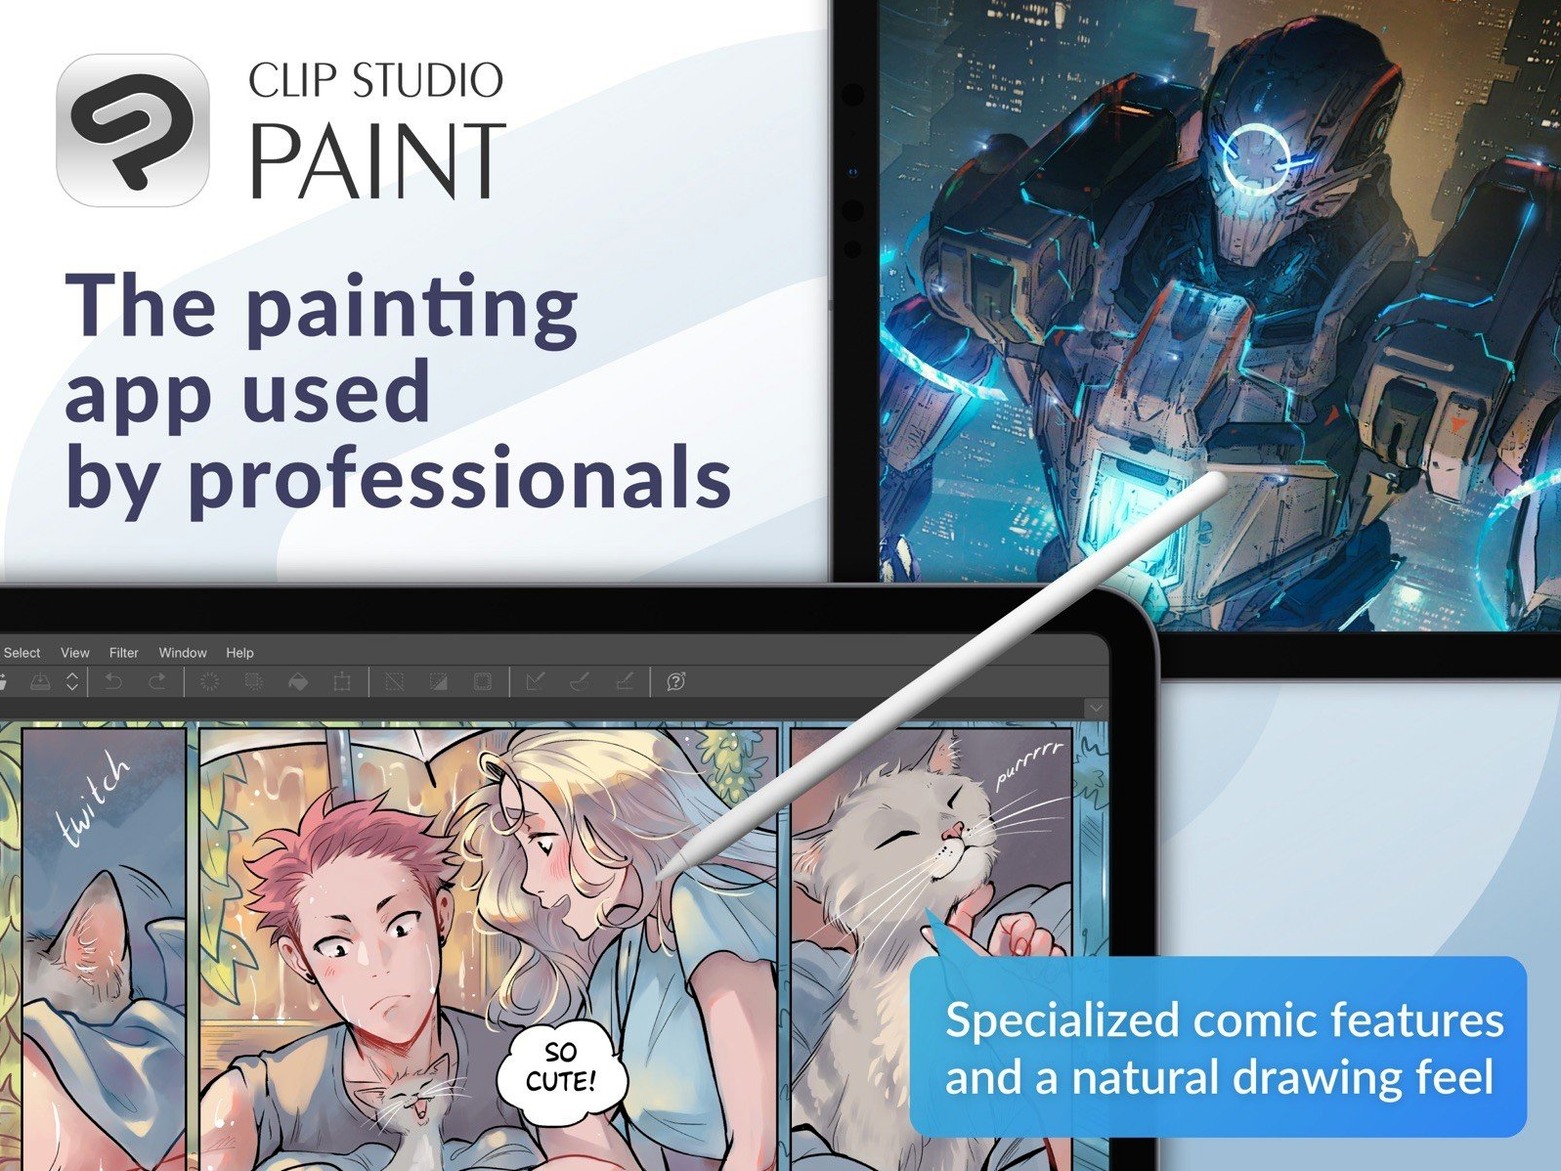
The Light Table function isn't merely an afterthought; it's a direct line to an animator's traditional past, letting you reference the drawing on a layer below as a dimmed backlight to inform your current frame. For the experienced artist, it's these deeper, sometimes overlooked tools that transform the application from a digital sketchpad into a professional story engine. The EX version, in particular, houses a collection of them:
- Multi-page story layouts: Manage an entire comic or graphic novel as a single project file, flowing text and artwork across pages without losing your narrative thread. It's built for continuity.
- Vector manipulation: The vector tools offer persistent editability, letting you adjust line weight and control points long after a stroke is laid down, which is essential for clean inking and logo work.
- 3D figure integration: Pose and place customisable 3D models directly on the canvas as a drawing reference or a structural base for complex perspective shots and character design.
- Frame-by-frame animation: A full timeline with onion skinning, where you can see several previous and subsequent frames as translucent guides, is built right in for traditional animation sequences.
- Advanced import paths: The software can open legacy files from Manga Studio 4 EX and Debut, a quiet nod to long-term professionals migrating years of archived work.
Version 4.1.4 tightens the technical details that a production artist notices. It squashes a rare edge artifact from Quick Filters and refines how 3D materials behave when dragged outside a frame folder, saving a moment of frustration. The polish on macOS 15, with improved Quick Look previews for .clip files, also means your file management stays snappy.
One comic, three deadlines: a real-world scenario
Imagine a freelance manga artist with a webcomic update due on Thursday, a print anthology submission for Friday, and a short animated teaser promised for the weekend. She starts the morning by opening her multi-page story file in Clip Studio Paint EX. The entire 24-page chapter lives as one .clip document, so she can jump from a wide establishing shot on page 3 to a tight dialogue panel on page 18 without hunting through a folder of separate files. While the kettle boils, she drags a 3D drawing figure onto the canvas, rotates the hips and shoulders into an awkward crouch, and roughs in the pose on a vector layer above it. The vector lines let her taper the character's jawline with a single control-point nudge after the coffee kicks in. By lunch, she switches to the animation timeline, sets onion skinning to show three previous frames in pale blue and two upcoming frames in pale pink, and roughs out a twelve-frame blink cycle for the teaser. The whole session moves between illustration, story layout and animation without launching another application.
Straightforward fixes for Clip Studio Paint’s most-reported trouble spots
Even a well-honed tool has its sticking points, and Clip Studio Paint is no exception. Here are the ones that crop up most often in forums and classroom chat, with straightforward fixes.
The vanishing 3D material
You drag a 3D figure onto the canvas and nothing appears, or it lands on a layer you cannot see. This often happens when a 3D layer is selected outside a frame folder. Version 4.1.4 changed the drag-and-drop behaviour for exactly this situation, but the cure is simple: check your layer palette and make sure the target is inside a visible frame or at the root of the layer stack. If the 3D object still hides, toggle the camera's "Reset pose" command; occasionally a model imports at a tiny scale or off-screen coordinates.
Quick Look previews not updating
If you are on macOS 15 and a .clip file still shows a blank or outdated thumbnail in Finder, the improved Quick Look support in 4.1.4 may need a nudge. Save the file again with a tiny change, or restart Finder by Option-right-clicking its Dock icon and choosing Relaunch. That forces macOS to re-read the preview data.
Animation cleanup after resizing clips
You trim a clip on the timeline, change the frame rate, and later discover ghost cels or orphan keyframes floating in the layer stack. The 4.1.4 fix addressed a specific case of this, but if you ever see leftover cels, open the Timeline palette menu and run "Delete unused cels." It sweeps away any frames no longer referenced by the current animation length, which is a good housekeeping habit after any major edit.
PSD export looking wrong in Finder
Some PSD exports of unusual canvas dimensions used to display oddly in macOS 15 Finder. The 4.1.4 patch corrected that, but if you still get a misbehaving preview, try exporting with "Embed ICC Profile" unchecked, or flatten the image to a single layer before export. The file itself is fine; the Finder preview renderer occasionally baulks at deeply layered PSDs with adjustment layers.
Rough pencil scan to finished comic page in about an hour
Let me walk you through a plausible hour with Clip Studio Paint, the way I might describe it to an evening-class student who has just installed it. You have a rough pencil scan of a single comic page and want to turn it into finished inks with a splash of colour.
You open the .clip file from Finder — Quick Look already shows you the right thumbnail, so you know which version is current. The scanned pencils sit on a layer set to blue-line mode and 30% opacity. You create a new vector layer above it and pick the G-pen tool. As you draw, the stroke feels responsive on a pressure-sensitive tablet; a light touch gives you a hairline, a heavier hand produces a bold contour. You overrun a line where the character's elbow meets a fold of clothing. Instead of erasing, you grab the "Correct line" sub-tool, set to "Control point," and drag the offending vector point back into place. The line thins automatically.
Halfway through inking the background, you realise the perspective on a window frame is slightly off. You open the Material palette, drag a 3D primitive cube onto a new 3D layer beneath your ink lines, and rotate it until the edges match the vanishing point you want. You lower the 3D layer's opacity to 40%, lock it, and trace the corrected window bars on a fresh vector layer. Ten minutes, and the perspective mistake is gone without redrawing the whole panel.
Next, you want a quick colour rough to show a collaborator. You create a folder of raster layers beneath the inks, block in flat colours with the fill tool, and click the "Refer other layers" option so the fill respects gaps in your vector lines. A few gradients on a shading layer set to Multiply give the page a sense of depth. You export a single-page PSD to send to a colourist who works in another application; Clip Studio Paint writes it with layers intact, and on your end the Finder preview looks correct.
Before closing, you add a new story page to the left of this one in the Page Manager, because you realised the sequence flows better with an extra establishing shot. The whole project stays in one file, pagination updates automatically, and you save it knowing the .clip preview will still look right tomorrow.
Palette arrangements and other deliberate moves that pay off within days
The first forty-eight hours with Clip Studio Paint shape your workflow for months. A handful of deliberate moves early on pay off handsomely.
Sort your workspace before you draw a single line. Open the Window menu and arrange the palettes you actually need — Layers, Tool Property, Colour Wheel, Sub View, and Timeline if you animate. Save the layout as a workspace via Window > Workspace > Register Workspace. You can switch to a different arrangement for painting, then back to your inking setup, with two clicks. It stops the interface fighting you when you are trying to stay in a creative flow.
Tune your tablet pressure curve early. Every stylus and hand is different. Go to File > Pen Pressure Settings and draw a few firm strokes followed by feather-light ones. Adjust the curve so a moderate press gives you the line width you expect from a standard pen. If you skip this, every tool feels slightly wrong, and you will blame the software instead of the setting.
Set auto-save and backup preferences immediately. Under Preferences > File, enable "Auto save recover data" and set an interval no longer than fifteen minutes. Point the backup folder to a location you can find quickly. Clip Studio Paint is stable, but a power cut or a cat on the keyboard should not cost you an afternoon's work.
Download a few free 3D materials from the Assets service. The built-in figures are fine, but a couple of hand-pose packs and a simple room set give you a jump-start when you need a tricky angle. Spend twenty minutes browsing; you do not need hundreds, just the five or six that match the kind of work you do.
Run a test export of a layered PSD and a short animation GIF. Confirm that your colour profiles and frame rates come through the way you expect before a deadline forces you to discover a mismatch. The 4.1.4 fixes to PSD export and timeline cleanup make this less risky than in earlier builds, but a five-minute test now saves a panicked email later.
How Clip Studio Paint fits with other apps and macOS
No drawing application is an island. Clip Studio Paint sits comfortably in a macOS ecosystem, and understanding how it talks to other software turns it from a solitary tool into the hub of a creative pipeline.
Photoshop and the PSD bridge. The layered PSD import and export is genuinely solid. A colourist can work in Photoshop, a letterer can use a different tool entirely, and the file comes back with layer names, masks and blending modes intact. If you collaborate across platforms, stick to RGB colour mode and avoid text objects that rely on system fonts the other person does not have; rasterise them before export.
3D modelling software. Artists working with Blender, Maya or ZBrush often use Clip Studio Paint as a layout and concepting partner. You can import an OBJ file through the 3D material system, or simply use the built-in posable figures to rough out a composition before committing to a detailed 3D scene elsewhere. The light table and onion skin features help when you are planning an animation that will eventually move into a dedicated 3D or compositing package.
Video editors and compositors. An animation exported as an image sequence or a movie file drops straight into DaVinci Resolve, After Effects or Final Cut Pro. Export at a frame rate that matches your video project — usually 24 fps for film-style work, 30 fps for web video — and name your files sequentially so the editor interprets them as a single clip. Clip Studio Paint's timeline handles this without fuss.
macOS Quick Look and Finder. With the 4.1.4 improvements, pressing the spacebar on a .clip file in Finder gives you an accurate, full-colour preview. This is more useful than it sounds when you are digging through a folder of thirty variant illustrations and need to spot the right one. The preview is also visible in Mail and Messages attachments, which saves your collaborator having to download and open the file just to confirm which version you sent.
Sidecar and tablet interoperability. If you have an iPad and a Mac, Sidecar lets you run Clip Studio Paint on the Mac while drawing on the iPad screen with an Apple Pencil. The pressure sensitivity carries through, and the workspace can live on one display while the canvas fills the other. It is not a replacement for a dedicated pen display
Version 4.1.4 is a maintenance update focused on visual fidelity and platform support. It brings smoother integration with macOS 15 and broadens its language accessibility.
- Added Simplified Chinese as a display language, welcoming a wider community of storytellers.
- Improved Quick Look previewing of .clip files, so you can see a thumbnail of your work directly in the Finder on macOS 15.
- Fixed a canvas preview artifact that could appear when using Quick Filters and Quick Effects, ensuring what you see is what you get.
- Resolved several macOS-specific, animation, and file export issues for a more stable drawing session.
- macOS 14 or later, with native support for both Intel and Apple Silicon processors.
- A minimum of 2 GB of memory, though 8 GB or more is recommended for complex, multi-layer documents.
- A graphics card compatible with OpenGL 3.3.
- A pressure-sensitive tablet and stylus are supported for a natural drawing feel.
- An internet connection is required for software license verification and to access certain functions.
Questions from the class 0
Sign in or join the class to ask a question.
Nobody has asked anything yet. If you have used it on a real job, say what the file did.
Also on the Mac Apps shelf
The whole Mac Apps shelf CLion
Maps a C or C++ codebase into a living structure you can refactor and navigate with confidence.
CLion
Maps a C or C++ codebase into a living structure you can refactor and navigate with confidence.
 CloudMounter
Mounts cloud storage and remote servers as local drives in your Finder sidebar.
CloudMounter
Mounts cloud storage and remote servers as local drives in your Finder sidebar.
 CleanShot X
Snaps a screenshot or recording, then lets you annotate, hide sensitive bits, and share the result.
CleanShot X
Snaps a screenshot or recording, then lets you annotate, hide sensitive bits, and share the result.
 Cocktail Sequoia Edition
Clears cached files, repairs permissions and sweeps away the digital clutter that slows a Mac.
Cocktail Sequoia Edition
Clears cached files, repairs permissions and sweeps away the digital clutter that slows a Mac.
 CleanMyMac
Scans for system junk, old caches, and stray files, then clears them out in one pass.
CleanMyMac
Scans for system junk, old caches, and stray files, then clears them out in one pass.
 coconutBattery Plus
Charts the invisible decline of your MacBook battery so you can replace it before it fails.
coconutBattery Plus
Charts the invisible decline of your MacBook battery so you can replace it before it fails.
 Coherence X
Creates isolated, standalone desktop apps for each of your web accounts and services.
Coherence X
Creates isolated, standalone desktop apps for each of your web accounts and services.
 Color Finale
Lets you colour-grade video directly inside Final Cut Pro without leaving the timeline.
Color Finale
Lets you colour-grade video directly inside Final Cut Pro without leaving the timeline.