 ASPNetWorld

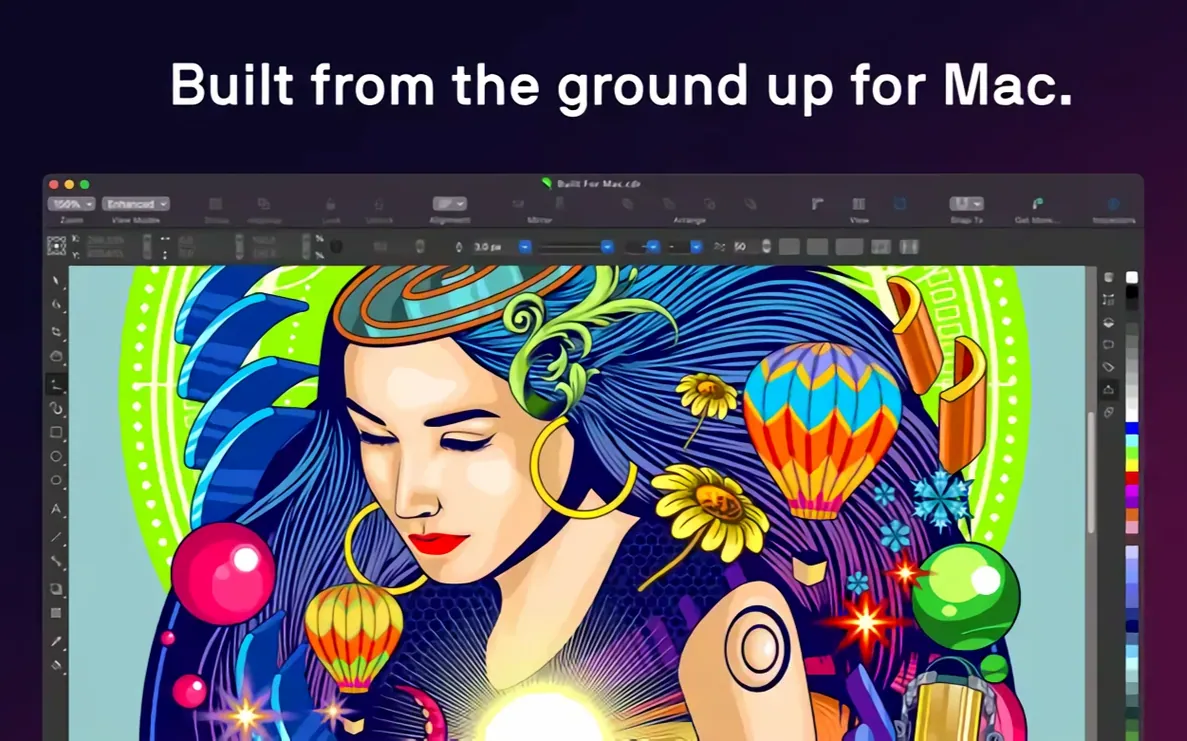
The latest macOS build clocks in as a universal binary, meaning it runs natively on both Apple Silicon and Intel processors without a Rosetta translation layer slowing things down. If you have ever watched a complex gradient redraw in real time, you will notice the difference immediately.
Where does this sit next to the apps I already own?
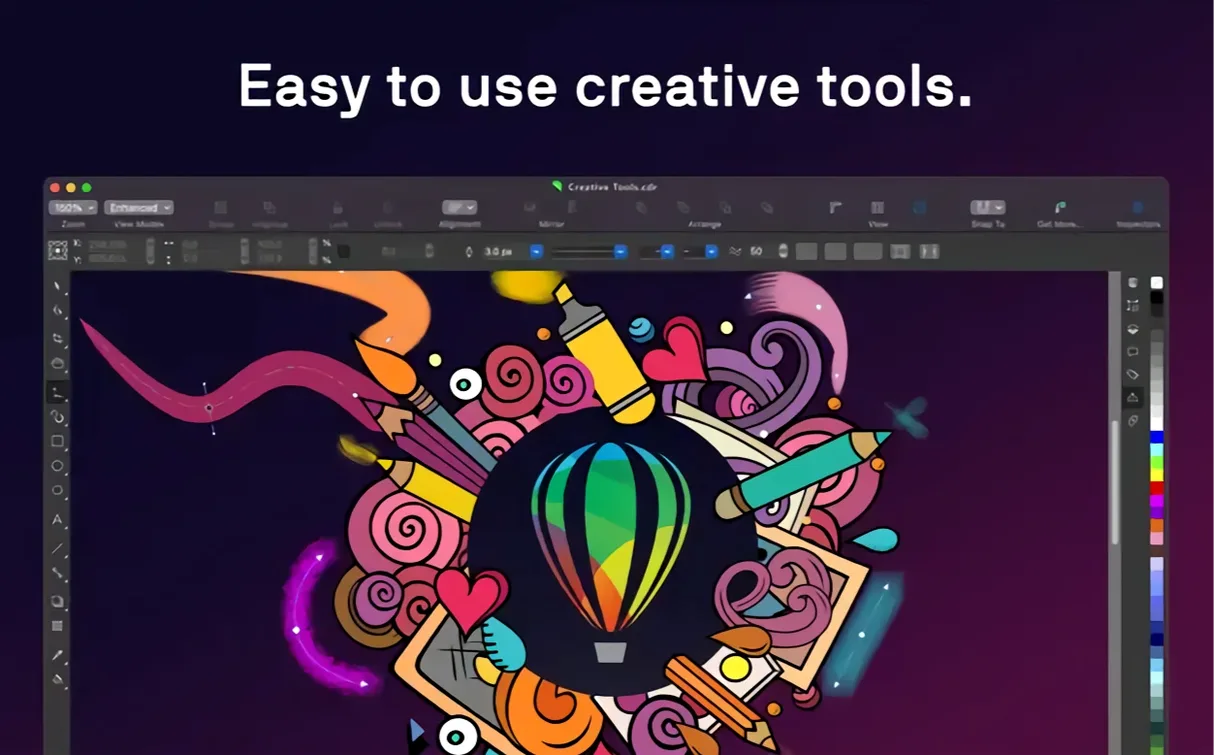
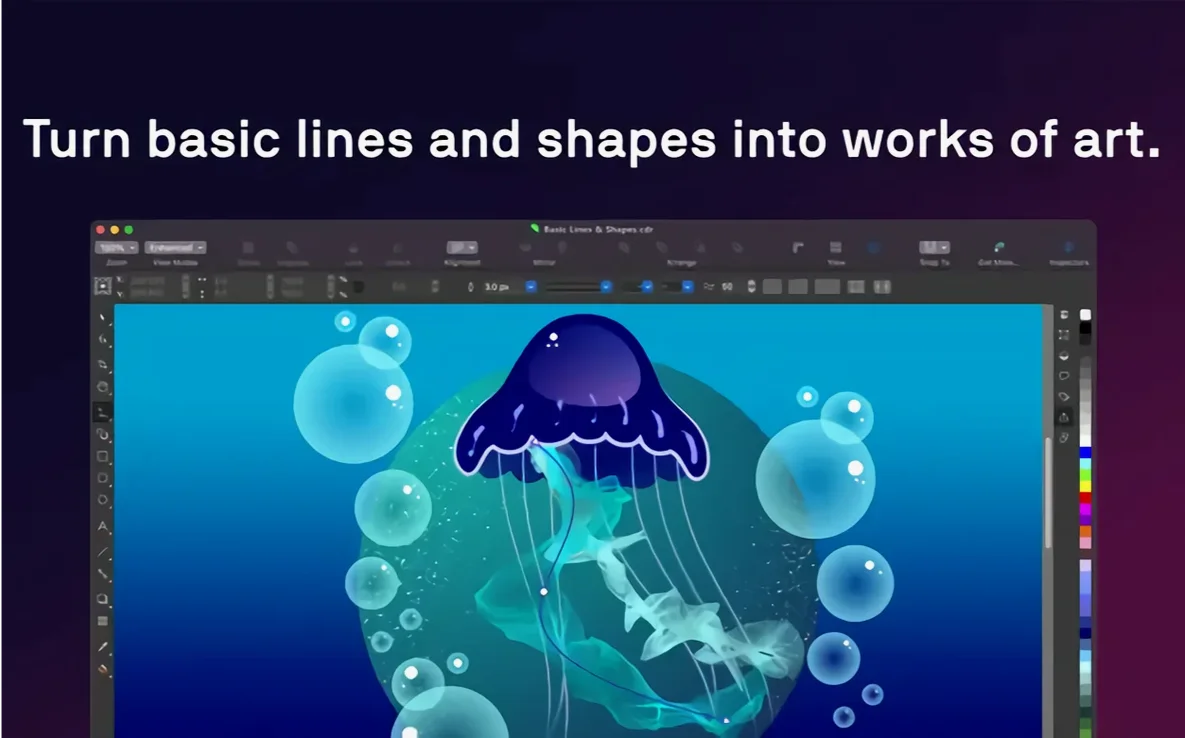
Think of it as the Swiss Army knife for vector-first projects. Where a photo editor stops at pixels, CorelDRAW lets you build sharp, scalable artwork, multi-page brochures, and typographic layouts in one file. It is less about replacing Pixelmator or Lightroom and more about filling the gap when you need precise curve control, raster-to-vector tracing, or a proper font manager alongside your editing.
Pressure-sensitive Apple Pencil drawing arrives through Sidecar
Yes, through Sidecar. You can mirror the Mac interface onto your iPad and use the Apple Pencil to draw or edit nodes directly, which feels far more natural than dragging handles with a mouse. The pressure sensitivity translates well into variable-width strokes and opacity changes.
AI upscaling and artifact removal come bundled with the suite
The suite bundles Corel PHOTO-PAINT for pixel-level retouching and Corel Font Manager to wrangle your typefaces. Recent updates also fold in quiet AI helpers—one for enlarging low-resolution images without the usual blur, and another for scrubbing JPEG compression artifacts out of old photographs.
First settings I change on a fresh install
Out of the box, CorelDRAW on macOS leans toward a light interface and a default measurement unit that may not match your workflow. I switch that straight away. Under CorelDRAW → Preferences → General, I flip the theme to Dark, which is kinder on the eyes during long evening sessions. While I am there, I set the units to millimetres for print work; if you are preparing web assets, pixels make more sense. The nudge distance—how far an object moves when you tap an arrow key—defaults to something cautious. I halve it and set a larger value for the Shift-nudge, so I can tap out fine adjustments or jump objects across the page without reaching for the mouse.
The second stop is the Text preferences tab. I disable “Auto-apply paragraph styles on paste,” because I often pull copy from emails and do not want stray formatting polluting my style sets. I also switch the default paragraph style to something with a clean baseline grid, which saves me five minutes of tidying later.
For anyone who spends half their day in the colour docker, pinning it to the right panel as a collapsed tab rather than a floating palette stops it from vanishing behind the document window. Right-click the docker tab and choose “Collapsed” from the docked appearance options.
Option-click any toolbar to build a custom floating palette
The Quick Customize panel is hidden in plain sight. If you hold the Option key while clicking any toolbar, a tiny gear icon appears; drag that onto the toolbar and you get a floating palette you can fill with your own mix of commands. I keep mine stocked with Convert to Curves, Break Apart, and the Align and Distribute presets I burn through on every job.
A shortcut I wish someone had shown me earlier: pressing F2 activates the zoom-in marquee and F3 zooms back out to the previous view. Together they let you hop between a tight detail and the full layout without scrolling through zoom levels. If you add Shift-F2, you zoom to the selected object, which is a lifesaver when you have a tiny stray node somewhere on a metre-wide banner document.
Right-clicking a colour swatch in the palette does not just set an outline—it also brings up a pop-up slider for tint strength if you hold the button for a beat. That second gesture is entirely undocumented in the tooltip, yet it has probably saved me a hundred trips to the Colour docker.
The Object Coordinates docker is another quiet powerhouse. Rather than eyeballing placement, you can type exact x/y positions, dimensions, and rotation angles. For mirroring, prepend a minus sign to one axis value and the object flips on the spot—no Transform menu required.
Scrambled fonts from Windows files resolve with a Font Manager scan
Fonts appear scrambled or missing when opening a Windows-created CDR file. This happens because the font name mapping between macOS and Windows can drift. The fix is to open Corel Font Manager first and let it scan your system fonts; CorelDRAW then maintains its own alias table. If a font is genuinely absent, the Find and Replace → Replace Objects → Fonts command lets you swap the ghost typeface across the whole document in one pass.
The Colour docker shows RGB values even though the document is set to CMYK. The docker defaults to the colour model of the last swatch you clicked. Right-click the colour bar along the top and choose “CMYK” as the document palette default; otherwise each new object can inherit an RGB fill from a stray web swatch, and you will not notice until the print proofs come back muddy.
AI upscaling produces a progress bar that stalls. The first time you run the AI image upscaler, the app downloads a small machine-learning model in the background. If your firewall blocks outgoing connections, that download never completes and the tool spins forever. The workaround is to run it once with your network enabled, let the model cache, and then it works offline thereafter.
Pasting text from a browser inserts invisible line breaks. Use Edit → Paste Special → Plain Text instead of the standard paste. That strips the web formatting and dumps clean paragraphs into your text frame. If you already pasted and your text is jumping around, select the frame and hit Ctrl-Return to remove soft returns.
The Touch Bar shows generic controls instead of the promised layer and text tools. This usually means CorelDRAW has not registered its Touch Bar entitlements after installation. A quick restart of the app forces macOS to refresh the Touch Bar configuration. If that does not stick, toggling Touch Bar support off and on in View → Touch Bar reinitialises the connection.
For those who acquired the suite through a coreldraw torrent or corel draw torrent download route, you may find the online-linked AI models do not activate at all. In that scenario, the upscaling and JPEG artifact removal simply stay greyed out. The core vector tools work independently, but you will not get the machine-learning extras.
Poster workflow traces a headline illustration to small print in one session
Let me walk you through a poster job I finished last Tuesday—an A2 event poster with a bold headline, a traced illustration, and a block of small print. It shows the rhythm of the app once the muscle memory kicks in.
Set up the page. I launch CorelDRAW and hit Cmd-N. I choose A2 from the size presets, set the colour mode to CMYK, and bump the resolution to 300 dpi for the embedded raster objects. A three-column layout guide snaps into place from the Layout menu, giving me a visual scaffold before a single shape is drawn.
Build the background. I draw a rectangle covering the bleed area and fill it with a custom gradient—three stops, deep navy to teal, angled at 45 degrees. The Interactive Gradient tool lets me drag the transition mid-points on the canvas itself rather than fiddling with sliders. I lock this rectangle on the Objects docker so it stays put.
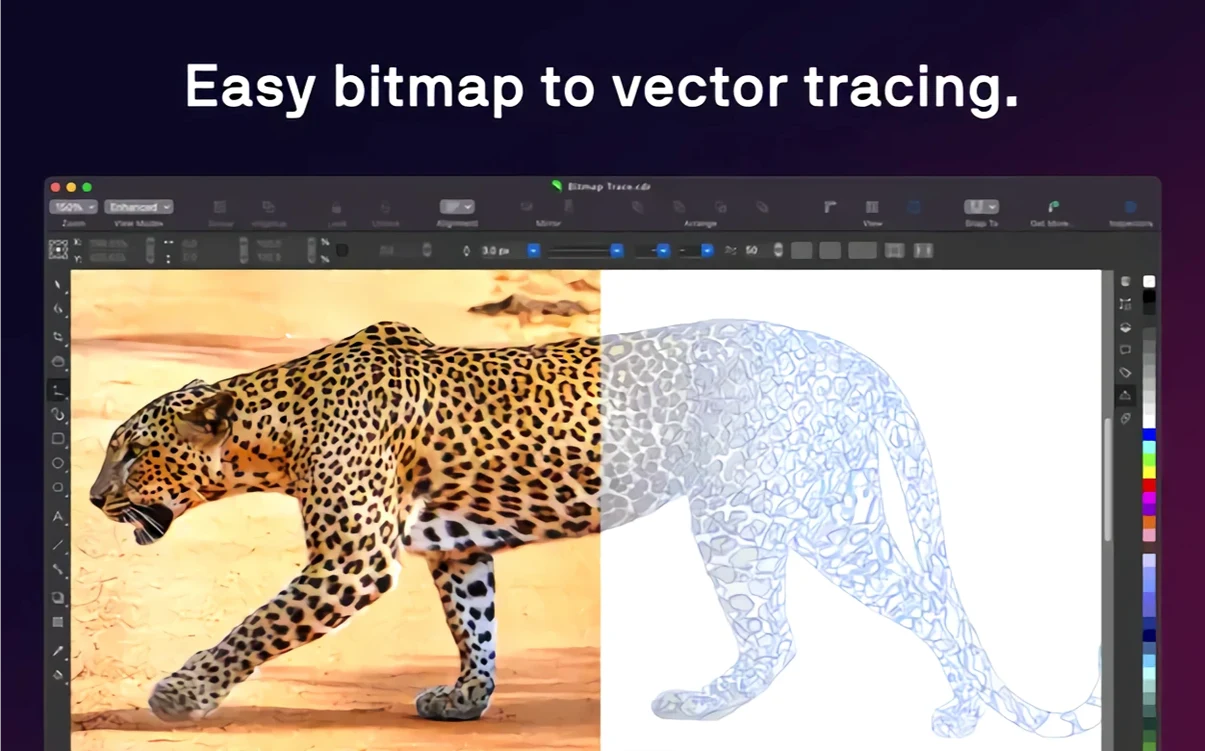
Trace the central illustration. I drag a client-supplied sketch JPEG onto the page. With the bitmap selected, I open Trace Bitmap → Detailed Logo, tweak the smoothing until the curves follow the pencil lines without wobbling, and hit OK. The result is a clean vector group sitting directly over the original. I delete the JPEG underneath and assign a warm off-white fill to the traced shapes.
Set the headline type. I tap T for the text tool and draw a frame across the top third. The font is a variable weight grotesque; I open the Text → Variable Fonts panel and slide the weight axis until the characters feel heavy enough to anchor the poster, then tighten the tracking by a few units. A subtle drop shadow—opacity 30%, distance 2 px, soft edge—gives the headline a hint of depth without turning it into a greeting card.
Pull in the body copy. I paste the event details as plain text into a two-column frame, apply my body paragraph style, and let the text reflow. The style set takes care of the font, size, leading, and hyphenation rules in one click. I spot a widow on the second column and nudge the frame height by a few millimetres with the arrow keys until the lines break cleanly.
Final alignment pass. I marquee-select the headline, the illustration, and the text frame, then open Arrange → Align and Distribute → Centre to Page. The poster snaps into perfect symmetry. I add a thin rule between the headline and body using the Pen tool, holding Shift to keep it dead horizontal, and assign the same teal from the gradient via the eyedropper shortcut (hold the colour swatch and drag onto the rule).
Export. I save the CDR file first, then go to File → Export As → PDF. I choose the PDF/X-4 preset because the printer asks for it, confirm fonts are embedded, and add a 3 mm bleed. The whole session, from blank page to print-ready PDF, clocks in at just under forty minutes.
If you grabbed the suite via a corel draw dmg installer or even a corel draw crack mac modification, the export dialogue still behaves the same—just be aware that some preflight checks rely on updated colour profiles that ship with the genuine installer package. Missing profiles can shift your CMYK output slightly, so double-check the soft proof before you send the job out.
Sidecar now preserves stroke width during fast Apple Pencil flicks
Version 27.2.0.135 tightened the integration with Sidecar considerably. Earlier builds sometimes dropped the pressure curve when the Apple Pencil moved quickly across a complex path; now the stroke width stays consistent even during fast flicks, which makes inking feel more like a native iPad app. The variable font panel also gained live sliders that preview weight, width, and optical size adjustments on the canvas without closing the dialogue—a small change that eliminated a frustrating back-and-forth.
On the photo side, the JPEG artifact removal tool now processes images at their native resolution instead of downscaling them first. That means old press photos pulled from archives clean up without losing the fine grain you want to keep. The AI upscaler received a similar quality bump; edge halos around high-contrast boundaries are far less pronounced than they were two releases ago.
For those running coreldraw for mac crack builds, the most noticeable gap is the absence of these iterative AI improvements. The machine-learning components update independently from the core application, and without a connection to the update service, you are locked to whichever model version was current at the time the installer was packaged. The vector tools and layout engine remain identical, but the photo-enhancement sharpness will lag behind.
A quieter but welcome change: the Font Manager now respects macOS font collections. If you have organised your typefaces into custom sets in Apple’s Font Book, Corel Font Manager sees those groupings and mirrors them, so you do not have to rebuild your classification system from scratch inside the suite.
- macOS 13 (Ventura) or later
- Apple Silicon (ARM) or Intel (x86-64) processor
Questions I keep hearing
Does CorelDRAW on Mac support Apple Silicon natively?
Absolutely. Version 27 runs as a universal binary, so you get full ARM-native performance on M-series chips as well as compatibility with older Intel Macs.
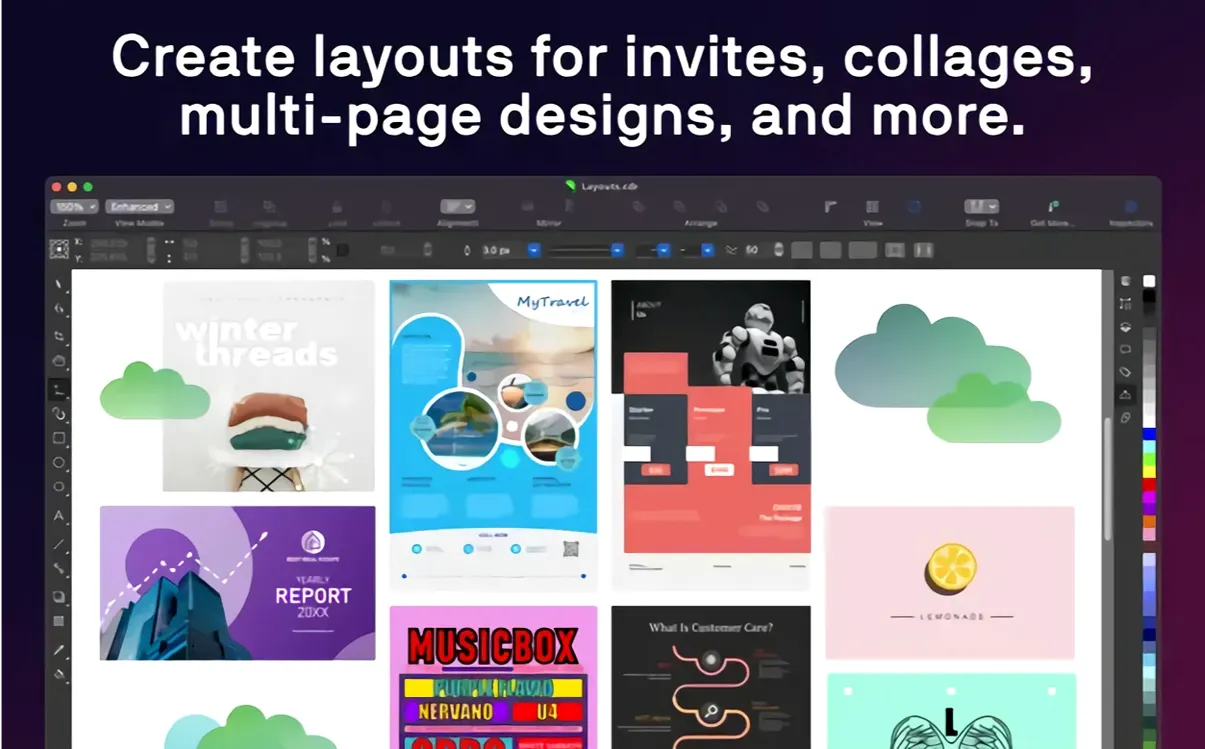
Can I use CorelDRAW for multi-page layouts like brochures?
Yes, the software handles multi-page documents with master page support and typography controls for spacing, shadows, and outlines, making it suitable for print-ready brochures.
What file formats does the raster-to-vector tracing work with?
PowerTRACE, the built-in tracing engine, converts scanned sketches or bitmap images into editable vector curves, preserving hard edges and colour transitions during the trace.
Questions from the class 0
Sign in or join the class to ask a question.
Nobody has asked anything yet. If you have used it on a real job, say what the file did.
Also on the Mac Apps shelf
The whole Mac Apps shelf CorelCAD
Produces detailed 2D technical drawings and 3D solid models on a Mac.
CorelCAD
Produces detailed 2D technical drawings and 3D solid models on a Mac.
 Compressor
Acts as a background rendering engine that other Apple pro apps hand off their export jobs to.
Compressor
Acts as a background rendering engine that other Apple pro apps hand off their export jobs to.
 CrossOver
Translates Windows software commands so a curated set of apps can run on a Mac.
CrossOver
Translates Windows software commands so a curated set of apps can run on a Mac.
 Commander One PRO
Puts two folder views side by side for dragging, copying and comparing files without flipping windows.
Commander One PRO
Puts two folder views side by side for dragging, copying and comparing files without flipping windows.
 Color Finale
Lets you colour-grade video directly inside Final Cut Pro without leaving the timeline.
Color Finale
Lets you colour-grade video directly inside Final Cut Pro without leaving the timeline.
 Cursor Pro
Highlights your Mac pointer with a configurable glow so an audience never loses it on screen.
Cursor Pro
Highlights your Mac pointer with a configurable glow so an audience never loses it on screen.
 Coherence X
Creates isolated, standalone desktop apps for each of your web accounts and services.
Coherence X
Creates isolated, standalone desktop apps for each of your web accounts and services.
 coconutBattery Plus
Charts the invisible decline of your MacBook battery so you can replace it before it fails.
coconutBattery Plus
Charts the invisible decline of your MacBook battery so you can replace it before it fails.