 ASPNetWorld

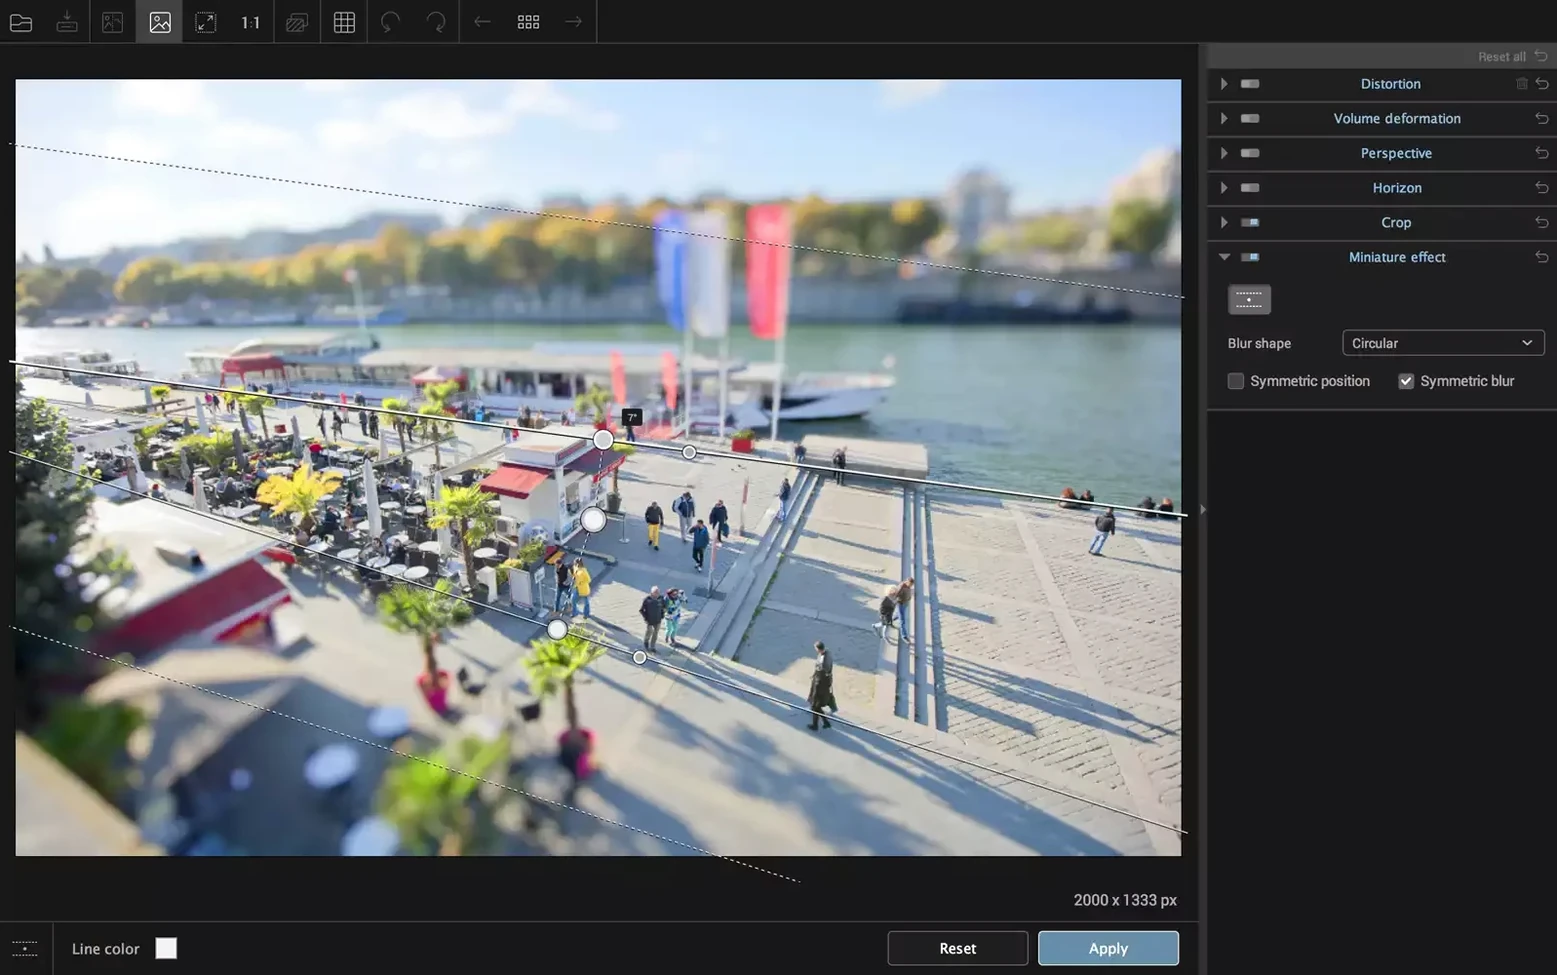
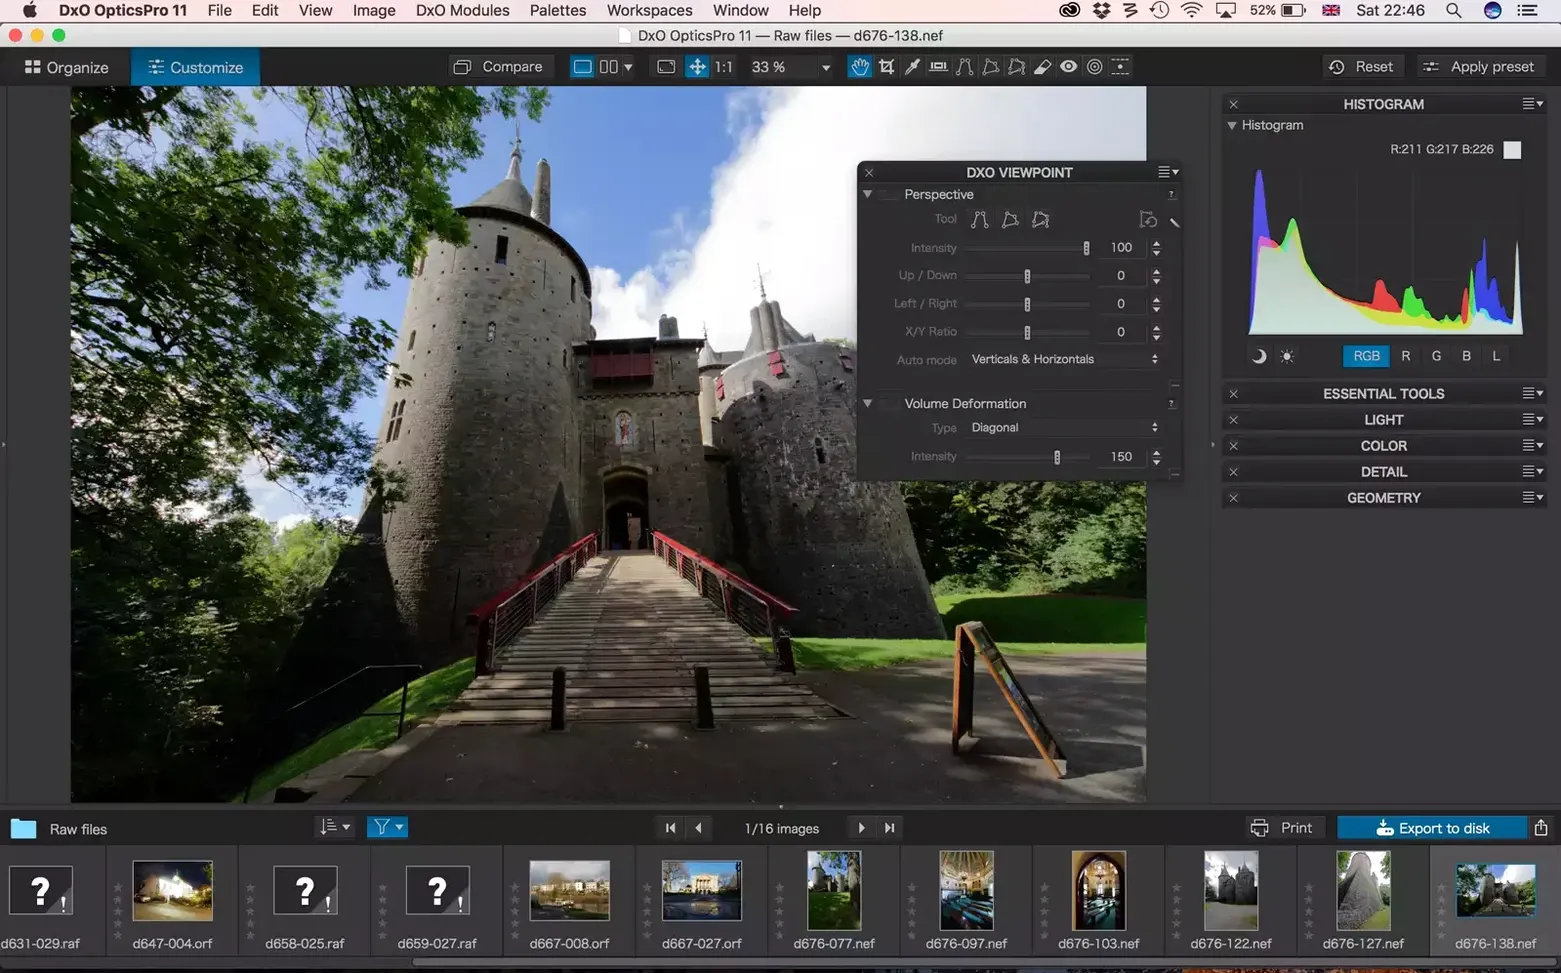
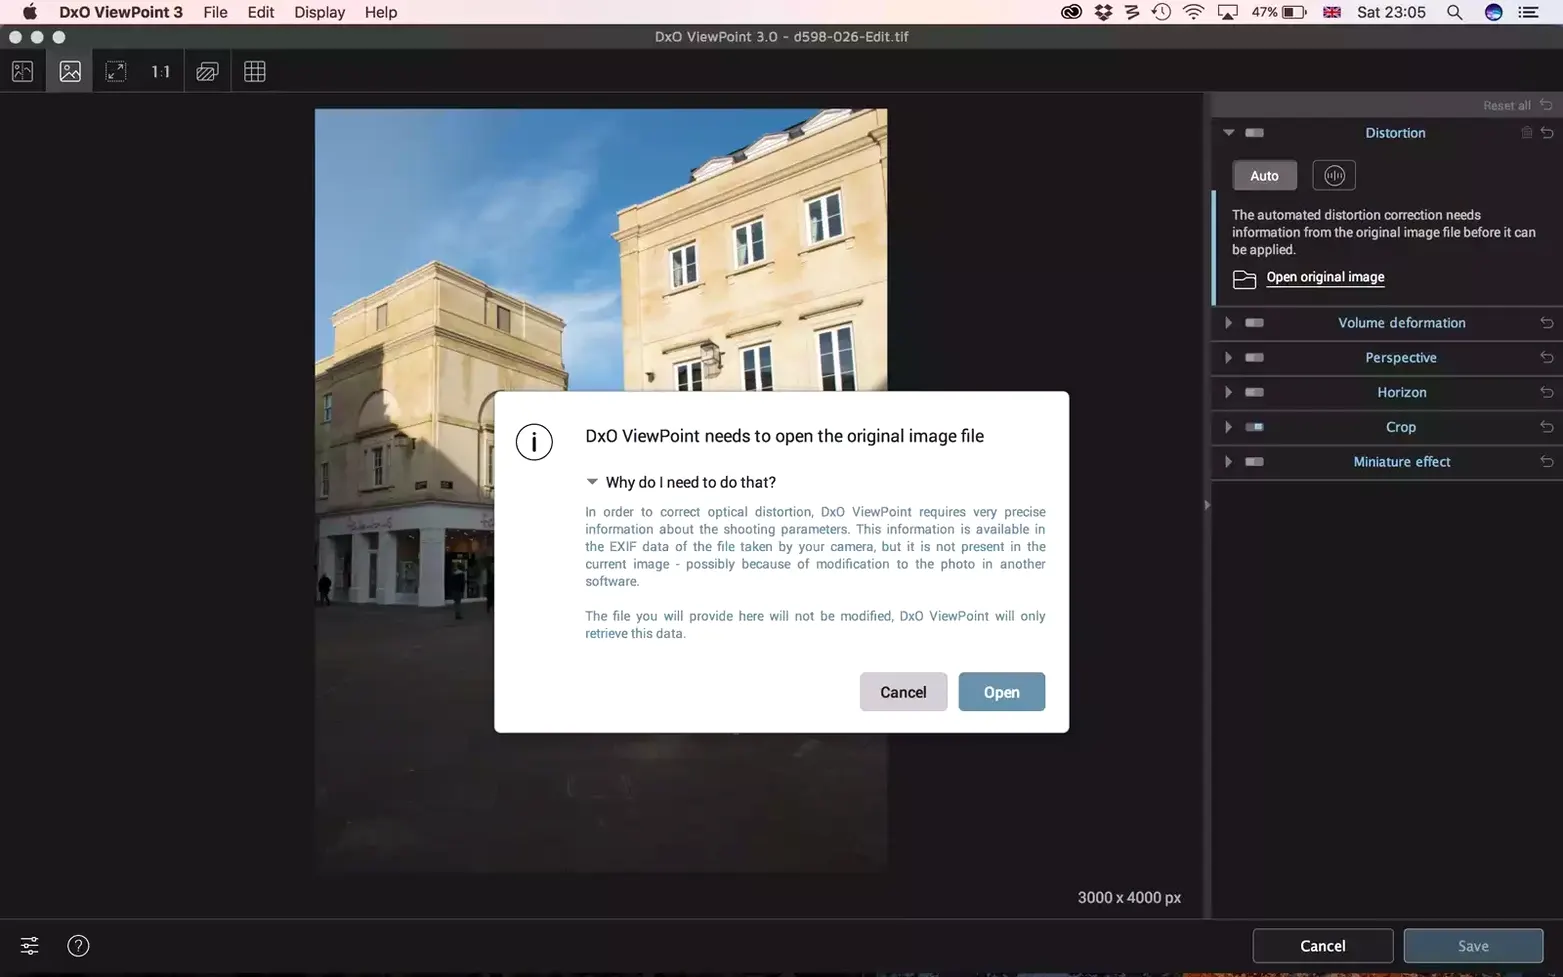
The current version — 5.15.0 — is a maintenance release that keeps ViewPoint running smoothly on recent macOS builds. No new buttons to learn, just the same geometry engine you rely on, tidied up under the hood. If you have been using it inside Adobe Photoshop or Lightroom Classic, everything carries on as before.
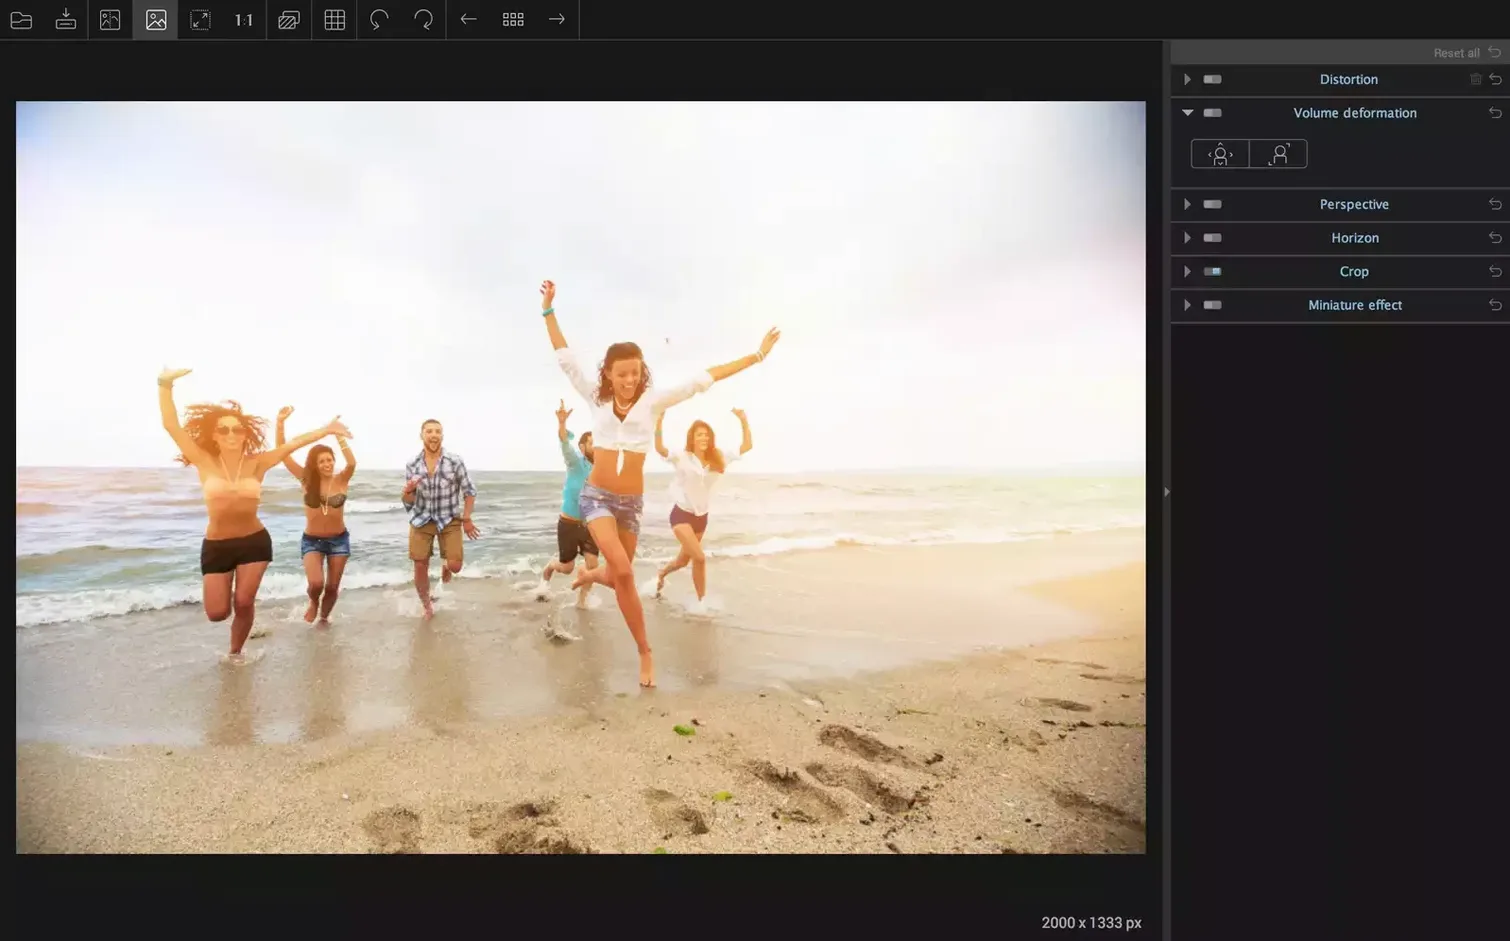
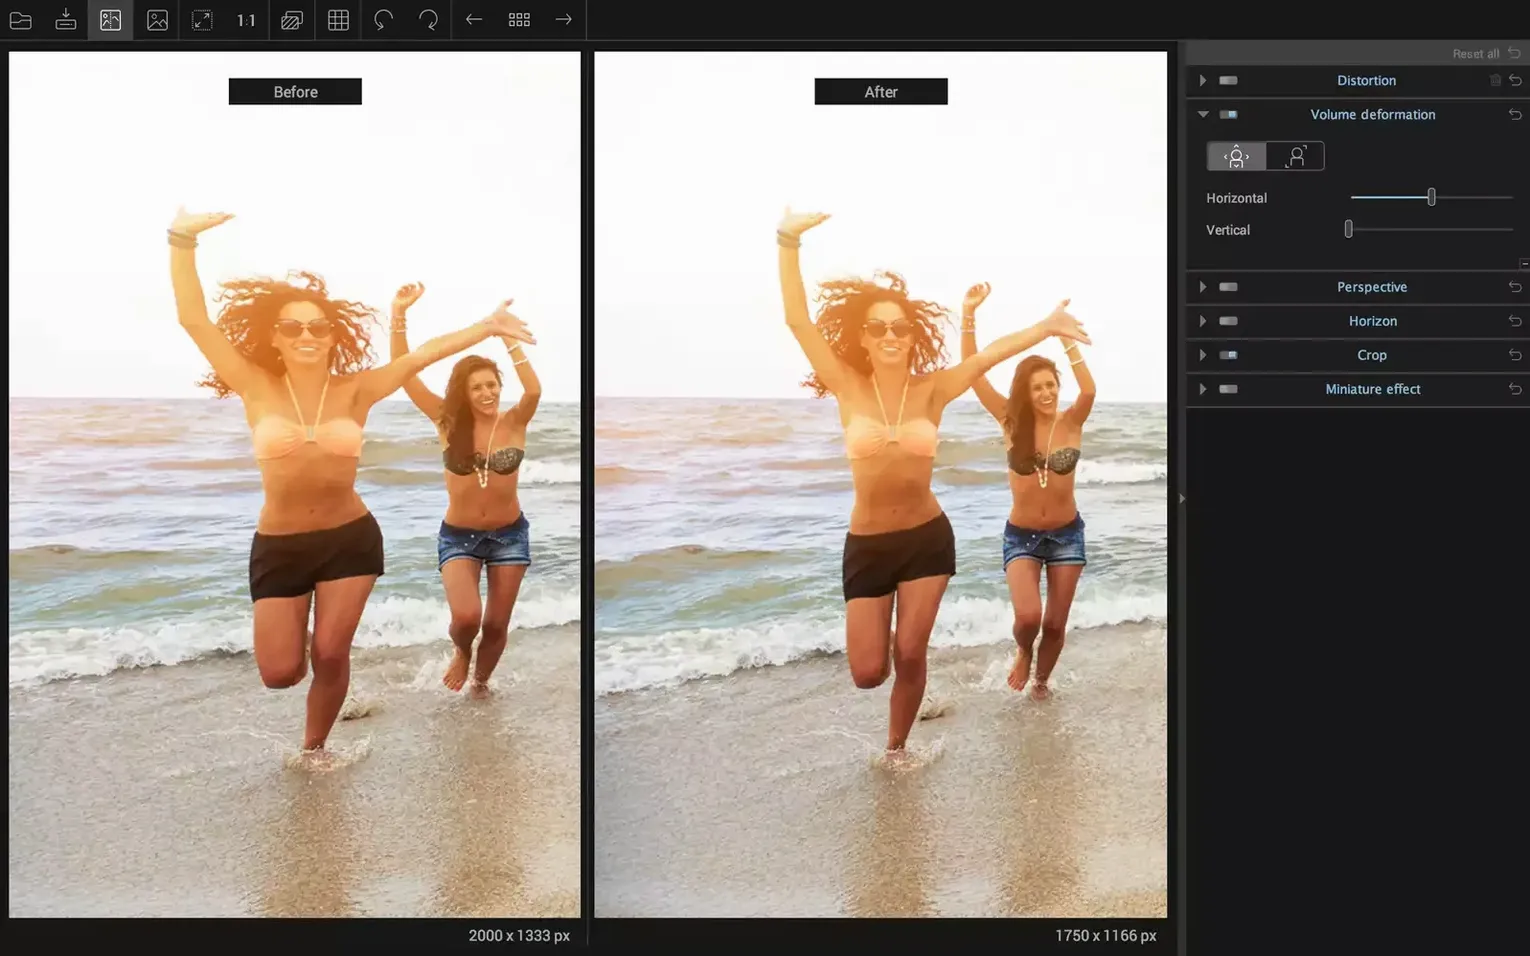
Why do faces near the edge of a wide-angle shot look stretched?
That is volume deformation, and it happens because a rectilinear lens projects a spherical world onto a flat sensor. The Volume Deformation control in ViewPoint recognises bodies and faces near the frame edge and gently compresses them back to natural proportions, so your group photo stops looking like a funfair mirror.
What makes horizon correction different from just rotating a layer?
Straightening a horizon by rotating the whole image crops the corners, and you lose picture area. ViewPoint shifts the geometry so the horizon levels without discarding content — the frame stays intact while the tilt is dialled out, which is invaluable when you have composed tightly in-camera.
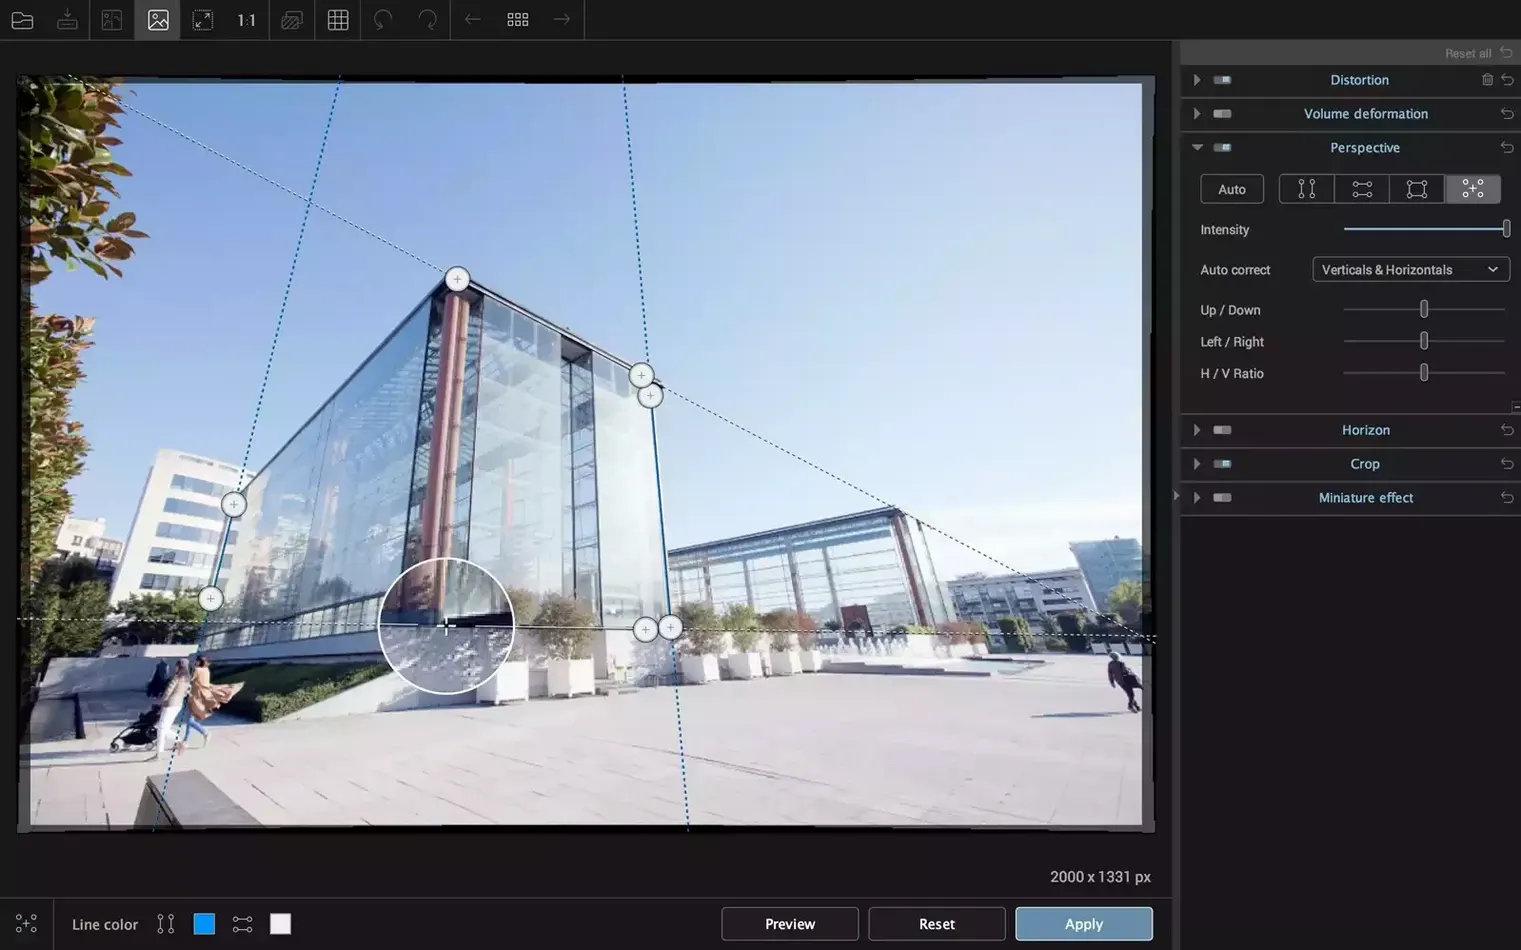
How does it handle the keystone effect on architecture shots?
Point the camera upwards at a tall building and vertical lines converge towards the top. The perspective tools let you define what should be vertical, and ViewPoint recalculates the projection so parallel lines stay parallel — essentially giving you the look of an expensive tilt-shift lens without the hardware.
Can I use it without launching another editor first?
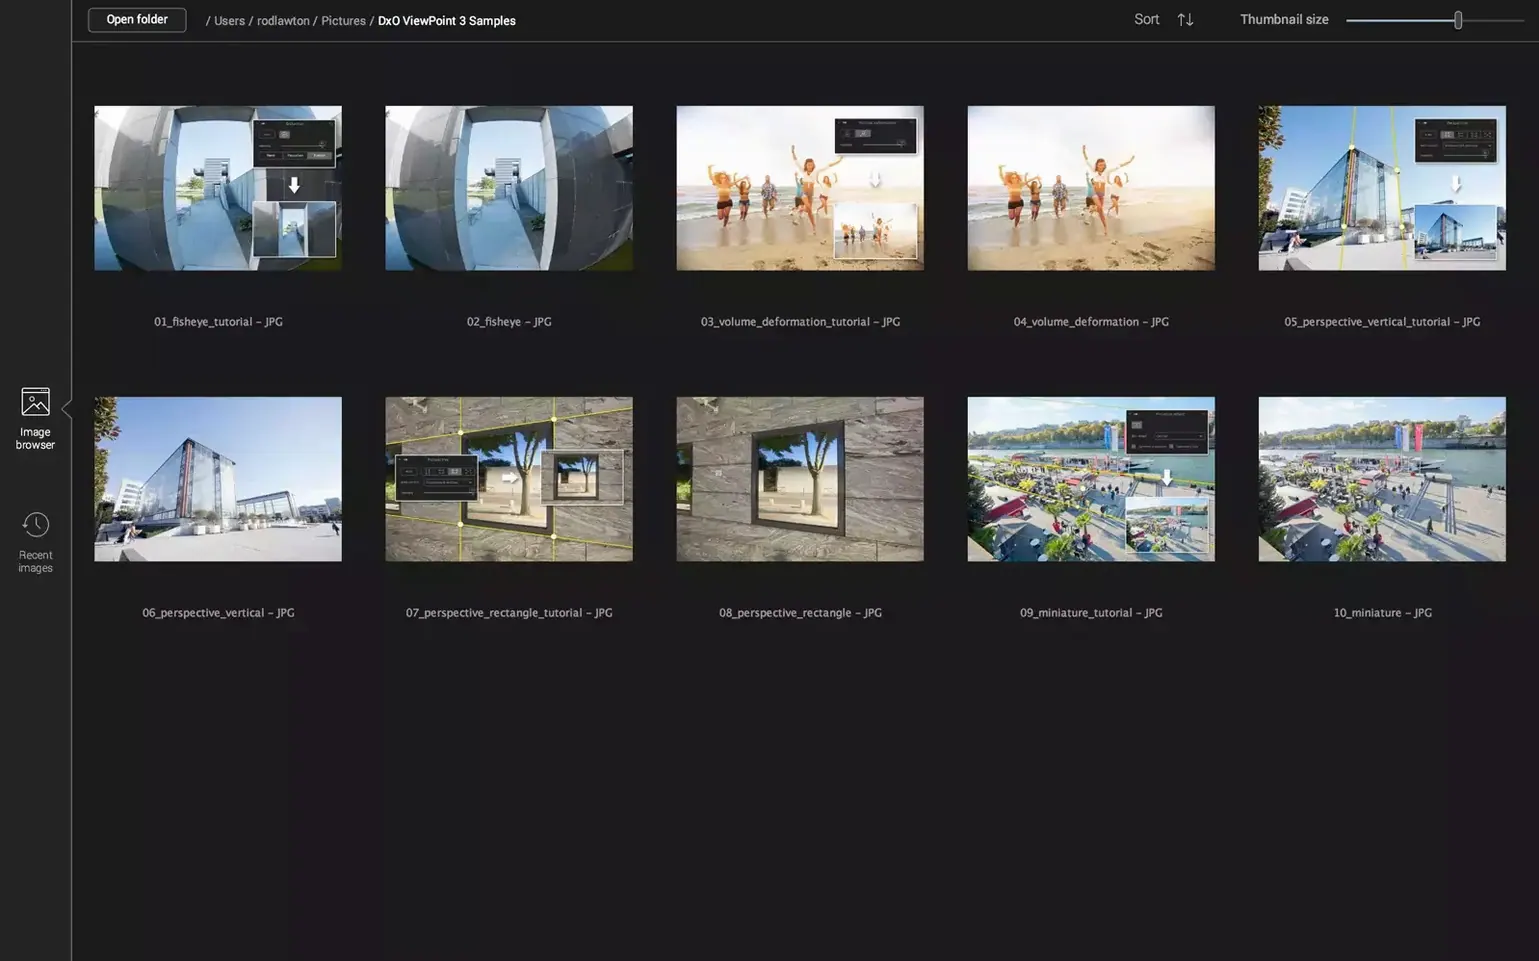
Yes, the standalone application opens JPEG and TIFF files directly — including 8-bit and 16-bit TIFFs up to 200 MB — so you can correct geometry and save the result without ever opening a host programme.
Small conveniences worth knowing about
Some of the most useful features in ViewPoint are the ones that never make it into the headline. The ReShape Fusion tool, for instance, can move, scale, or rotate any part of an image independently of the rest — handy when a group shot needs one person nudged slightly closer, or when a product photo would look better with a subtle adjustment to a single corner. It is the kind of control you discover by accident and then wonder how you managed without.
Keyboard shortcuts are another quiet time-saver. Holding Option while dragging a correction handle often gives you finer, slower movement for precise adjustments, and a double-click on a control resets it to its default. If you work with many landscape shots in one session, get used to the horizon line overlay — it appears as a draggable reference so you can match the correction to the actual scene rather than eyeballing it.
Who benefits most from this software
Architectural and real-estate photographers are the obvious audience, since converging verticals are a daily nuisance. But the software earns its keep for a much wider group. Wedding and event photographers who shoot wide in tight venues will appreciate the Volume Deformation correction on every group shot near the frame edge. Landscape photographers get a cleaner way to level a tilted horizon without sacrificing the composition they framed in-camera. And anyone who edits in Adobe Photoshop or Lightroom Classic can treat ViewPoint as a plug-in step in an existing workflow, rather than a separate application to babysit.
First days: a practical routine
Start with a folder of old wide-angle shots you know well. Open a few in the standalone application first, before involving any host editor — this helps you learn where each correction lives without the extra mental load of a plug-in pipeline.
- Correct the horizon first. It changes how every other adjustment feels, so get the image level before touching perspective.
- Then fix verticals or keystone. Work on the largest, most obvious distortion before fine-tuning smaller regions.
- Leave Volume Deformation for last. It works best once the global geometry is settled, so faces and bodies near the edges get a clean starting point.
If you edit in Lightroom Classic, add ViewPoint as an external editor rather than exporting and reimporting manually — the round trip is faster and keeps your file naming consistent. And give yourself a week of using only the automatic corrections before reaching for the manual sliders. The automatic results often surprise you, and they teach you what the advanced controls are actually for.
- macOS 11 or later
- Runs on both Intel and Apple Silicon Macs
- Interface: English
Questions I keep hearing
Does it work as a plug-in as well as a standalone app?
It integrates with Adobe Photoshop and Adobe Lightroom Classic as a plug-in, and you can also run it as a standalone application for processing JPEG and TIFF files directly.
What file types does the standalone version accept?
It processes JPEGs and both 8-bit and 16-bit TIFF files, with a maximum size of 200 MB per image.
What is volume deformation correction?
It is the automatic correction of stretched faces, bodies, and objects that appear warped near the edges of wide-angle photographs.
Questions from the class 0
Sign in or join the class to ask a question.
Nobody has asked anything yet. If you have used it on a real job, say what the file did.
Also on the Mac Apps shelf
The whole Mac Apps shelf DxO PhotoLab
Processes raw photos with lens-specific corrections and local adjustment masks.
DxO PhotoLab
Processes raw photos with lens-specific corrections and local adjustment masks.
 DynamicLake Pro
Puts a slim pill-shaped panel near your Mac’s notch for music, calendar, and system toggles.
DynamicLake Pro
Puts a slim pill-shaped panel near your Mac’s notch for music, calendar, and system toggles.
 DVDFab
Copies a DVD-9 film onto two standard DVD-5 discs while keeping the original menus.
DVDFab
Copies a DVD-9 film onto two standard DVD-5 discs while keeping the original menus.
 Duplicate File Finder Pro
Scans folders for duplicate files and helps you merge similar folders into one tidy library.
Duplicate File Finder Pro
Scans folders for duplicate files and helps you merge similar folders into one tidy library.
 Element 3D
Imports true 3D models into After Effects so you can light and animate them on the timeline.
Element 3D
Imports true 3D models into After Effects so you can light and animate them on the timeline.
 Dropover
Holds dragged files on a floating shelf so you can gather items before dropping them elsewhere.
Dropover
Holds dragged files on a floating shelf so you can gather items before dropping them elsewhere.
 Elmedia Player Pro
Plays almost any video or audio file format without needing extra codecs.
Elmedia Player Pro
Plays almost any video or audio file format without needing extra codecs.
 DriveDx
Warns you while a drive is still in the failing stage, before it dies completely.
DriveDx
Warns you while a drive is still in the failing stage, before it dies completely.