 ASPNetWorld
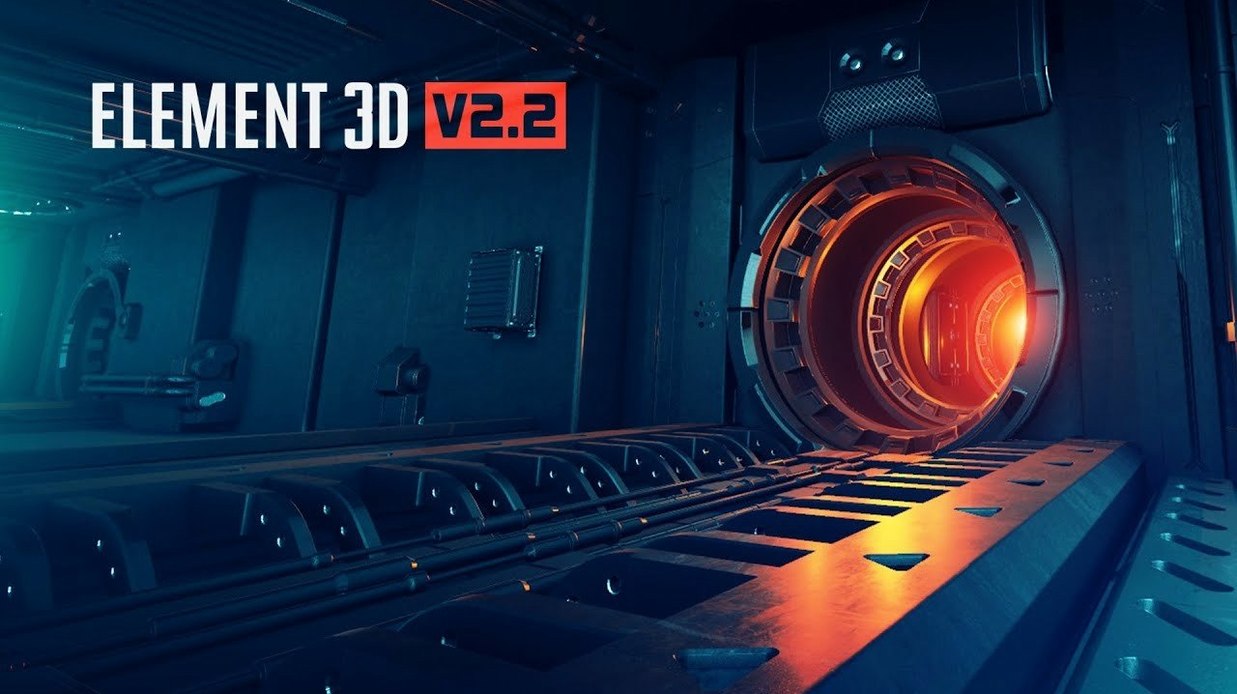
You've built a detailed model in Cinema 4D, but the client needs it integrated into a motion-graphics sequence you're already polishing inside Adobe After Effects. Rather than rendering out a flat pass and hoping the lighting matches later, you bring the actual 3D geometry straight into your timeline. That's the workflow Element 3D was designed to smooth out. It's a plug-in from Video Copilot that sits inside After Effects, giving you a high-performance OpenGL rendering engine that handles 3D objects without forcing you to leave the host application.
Compatibility is refreshingly straightforward on the Mac side: the current version 2.2.3 runs on Intel-based systems. OBJ files and Cinema 4D projects import directly, so you can pull in models from a wide range of sources. Once the geometry is inside After Effects, you're not limited to just placing a single object and rotating it — the particle array system can clone, manipulate, and distribute that model thousands of times across a scene, all while keeping the viewport responsive.
The 3D Object Groups control ties the replicator behaviour to specific models, so you can scatter one type of object across a landscape while another follows a completely different set of rules. It's a particle engine built around solid geometry rather than sprites, which means reflections, shadows, and depth-of-field behave more predictably when you start stacking effects.
Version 2.2.3 refines the existing V2.2 framework with a focus on stability for that OpenGL pipeline. It's not a flashy feature drop — it's the kind of update you install so that complex scenes keep rendering without hiccups on a tight deadline.
Settings worth changing first
After you've installed the plug-in and added your first solid layer with Element 3D applied, resist the urge to start dragging sliders at random. There are a handful of preferences and render settings that make a bigger difference to your daily experience than any single effect parameter.
Start with the Render Settings inside the plug-in's main interface. The default draw mode favours speed over quality, which is sensible for blocking out a scene, but it undersells what the engine can do. Switch to a higher quality level once your objects are roughly in place. The difference is most obvious on curved surfaces — cylinders and spheres stop showing faceted edges, and reflections pick up a lot more coherence. You can flip back to the faster mode whenever you're scrubbing the timeline heavily.
Next, open the Environment and Reflection panel and give the scene a proper environment map. By default the reflection environment is fairly neutral, which can make metallic materials look grey and unconvincing. Even a simple studio-style HDRI changes the way glints and highlights land on your geometry. If you don't have an HDR image handy, the built-in presets are a solid starting point.
For anyone working with OBJ imports, the Import Settings dialogue deserves a close look. The plug-in will often normalise model scale on import, which is helpful, but it can also merge materials in ways you didn't expect. If you've spent time assigning separate materials in Cinema 4D, make sure the import isn't collapsing them into one. Check the material assignment before you commit to the import, not after you've built a replicate layer on top.
Finally, in After Effects' own preferences, keep an eye on the disk cache. Element 3D's OpenGL previews can be large, and a healthy cache allocation means the difference between smooth playback and a viewport that stutters every time you move the playhead. It's not a plug-in setting as such, but it affects how the plug-in feels in practice.
A typical working session
Imagine a title sequence for a technology conference. You've got a logo, a short music track, and about twelve seconds of runtime to fill with something that feels substantial. You start in After Effects as usual: a new composition at 1920 by 1080, a dark background, and a camera already set up from a previous project.
You create a new solid, apply Element 3D, and open the scene setup. The first job is to import a simple geometric shape — a hexagonal prism that the client's brand guidelines use as a recurring motif. The OBJ comes in without fuss, and you spend a minute adjusting the model's scale so it sits convincingly in frame.
Now the replicator comes into play. You set the particle array to clone the prism about forty times, spacing the copies across the z-axis, and add a gentle turbulence field so the cluster doesn't look like a neat grid. This is where the plug-in earns its keep: scrubbing the timeline is still fluid, even with reflections switched on, because the rendering happens on the GPU rather than through After Effects' software rasteriser.
With the objects distributed, you start on materials. The prism gets a brushed-metal finish with a blue tint, and you lower the roughness just enough to catch the environment map you've loaded. A second material, darker and matte, is assigned to a few randomly selected clones through the group settings, which breaks up the uniformity without adding any new geometry.
Then the camera move. You keyframe a slow push from a wide shot into the centre of the cluster, and as the camera passes between prisms you add a subtle depth-of-field blur. The whole sequence renders in a few minutes, and when the client asks for a variant with the prisms in red instead of blue, you change one material and export again before the kettle has boiled. That's the loop Element 3D is built for — iterate, preview, refine, deliver.
How it compares with similar Mac apps
Element 3D isn't the only way to get 3D objects into a motion-graphics workflow, but it occupies a specific niche. Comparing it with a few alternatives helps clarify what it's for.
Against Cinema 4D Lite, the version bundled with After Effects, the difference is mainly about where you work. Cinema 4D Lite is a separate application, which means round-tripping between it and After Effects through Cineware. That works well for complex modelling and animation, but every adjustment means switching contexts. Element 3D keeps everything inside the After Effects timeline, which is faster for iterative motion design, though it won't replace a full 3D modeller for organic shapes or character rigging.
Compared with Zaxwerks 3D Invigorator, another long-standing After Effects plug-in for 3D text and objects, Element 3D feels more modern in its rendering. Invigorator is strong for extruded type and has been around for years, but its material system and viewport are less immediate. Element 3D's OpenGL engine handles reflections, shadows, and large clone counts more smoothly on the same hardware, which matters when you're dealing with particle arrays rather than single logos.
Then there's Trapcode Particular, a particle system from the same broad ecosystem of After Effects tools. Particular is superb for organic particle effects — smoke, dust, sparks, light streaks — but its particles are essentially sprites. Element 3D's particles are actual 3D geometry, which means they catch light, cast shadows, and read as solid objects when the camera moves around them. The two plug-ins overlap in some effects work, but they solve different problems. If your scene needs a thousand identical rocks tumbling through frame, Element 3D is the natural fit.
Mistakes beginners make
The most common early mistake is treating Element 3D like a standalone 3D application. It isn't one. People open it expecting modelling tools, subdivision surfaces, or a timeline for character animation, and then feel limited. The plug-in assumes you'll build your models elsewhere — Cinema 4D, Blender, whatever you like — and bring finished OBJ files into After Effects for placement, replication, and rendering. Understanding that division of labour saves a lot of frustration.
Another frequent error is ignoring the Group structure. The plug-in supports several independent 3D groups, each with its own models, materials, and replicator settings. Beginners often pile everything into Group 1 and then wonder why the particle array affects every object in the scene. Splitting models across groups is the key to having, say, a landscape in one group and a swarm of aircraft in another, each behaving independently.
Material settings also trip people up. A common complaint is that reflections look blurry or dull, and the cause is often a missing or weak environment map. Without an environment to reflect, even the most polished metallic material will look flat. Similarly, overdoing the specular intensity without adjusting the roughness produces a plastic sheen that doesn't hold up in a broadcast render.
Finally, there's the scale issue. OBJ files from different sources arrive with wildly different units — a model built in millimetres may import at a fraction of the size you expected, while another built in metres fills the whole frame. Beginners sometimes fight this with the camera instead of adjusting the model's scale in the import settings or the group transform. Fixing the scale at import, before you build replicators and animate, prevents a cascade of adjustments later.
Questions people usually ask before installing
One question that comes up often is whether Element 3D works without After Effects. The answer is no — it's a plug-in, not a standalone application, so it needs a working copy of Adobe After Effects on the same machine. It's also worth confirming that your Mac is Intel-based, since the current build is compiled for that architecture.
People also ask what kind of 3D experience they need. The honest answer is: less than you might think. If you can import a model and drag a material onto it, you're already most of the way there. The replicator system is approachable, and the plug-in's viewport gives immediate feedback. That said, knowing your way around After Effects — cameras, lights, keyframes — is assumed.
A third question is about file formats. The plug-in imports OBJ files and Cinema 4D projects directly, which covers a lot of ground. Models from Blender or Maya can be exported to OBJ without trouble. People sometimes wonder whether they can use Element 3D for Mac with models downloaded from stock sites, and the answer is generally yes, provided the file is an OBJ or C4D format. There's also curiosity around terms like Element 3D v2 Mac or Video Copilot Element 3D crack, and those searches reflect how people look for the plug-in — the installation package itself includes the activation instructions you need to get up and running smoothly.
Finally, there's the question of performance. On an Intel Mac with a reasonably capable graphics card, the plug-in handles thousands of clones without collapsing, though the exact ceiling depends on your hardware and the complexity of your models. The OpenGL engine is the same one that's made Element 3D a fixture in motion design studios, so you're unlikely to feel held back in typical title-sequence or broadcast-graphics work.
Version 2.2.3 is a maintenance update for the Element 3D V2.2 series, keeping the fast OpenGL 3D object-based particle engine running smoothly.
- Architecture: Intel
- Host: Adobe After Effects
- Language: English
Questions I keep hearing
Can Element 3D import 3D models from other software?
Yes, it can import OBJ files and Cinema 4D projects directly into Adobe After Effects, so geometry from most major 3D applications can be brought across.
Questions from the class 0
Sign in or join the class to ask a question.
Nobody has asked anything yet. If you have used it on a real job, say what the file did.
Also on the Mac Apps shelf
The whole Mac Apps shelf Elmedia Player Pro
Plays almost any video or audio file format without needing extra codecs.
Elmedia Player Pro
Plays almost any video or audio file format without needing extra codecs.
 DynamicLake Pro
Puts a slim pill-shaped panel near your Mac’s notch for music, calendar, and system toggles.
DynamicLake Pro
Puts a slim pill-shaped panel near your Mac’s notch for music, calendar, and system toggles.
 DxO ViewPoint
Corrects distorted perspective and volume deformation in wide-angle architectural shots.
DxO ViewPoint
Corrects distorted perspective and volume deformation in wide-angle architectural shots.
 Exposure X7
Lets you brush photo adjustments onto selected areas without baking them in.
Exposure X7
Lets you brush photo adjustments onto selected areas without baking them in.
 DxO PhotoLab
Processes raw photos with lens-specific corrections and local adjustment masks.
DxO PhotoLab
Processes raw photos with lens-specific corrections and local adjustment masks.
 DVDFab
Copies a DVD-9 film onto two standard DVD-5 discs while keeping the original menus.
DVDFab
Copies a DVD-9 film onto two standard DVD-5 discs while keeping the original menus.
 Duplicate File Finder Pro
Scans folders for duplicate files and helps you merge similar folders into one tidy library.
Duplicate File Finder Pro
Scans folders for duplicate files and helps you merge similar folders into one tidy library.
 Dropover
Holds dragged files on a floating shelf so you can gather items before dropping them elsewhere.
Dropover
Holds dragged files on a floating shelf so you can gather items before dropping them elsewhere.