 ASPNetWorld
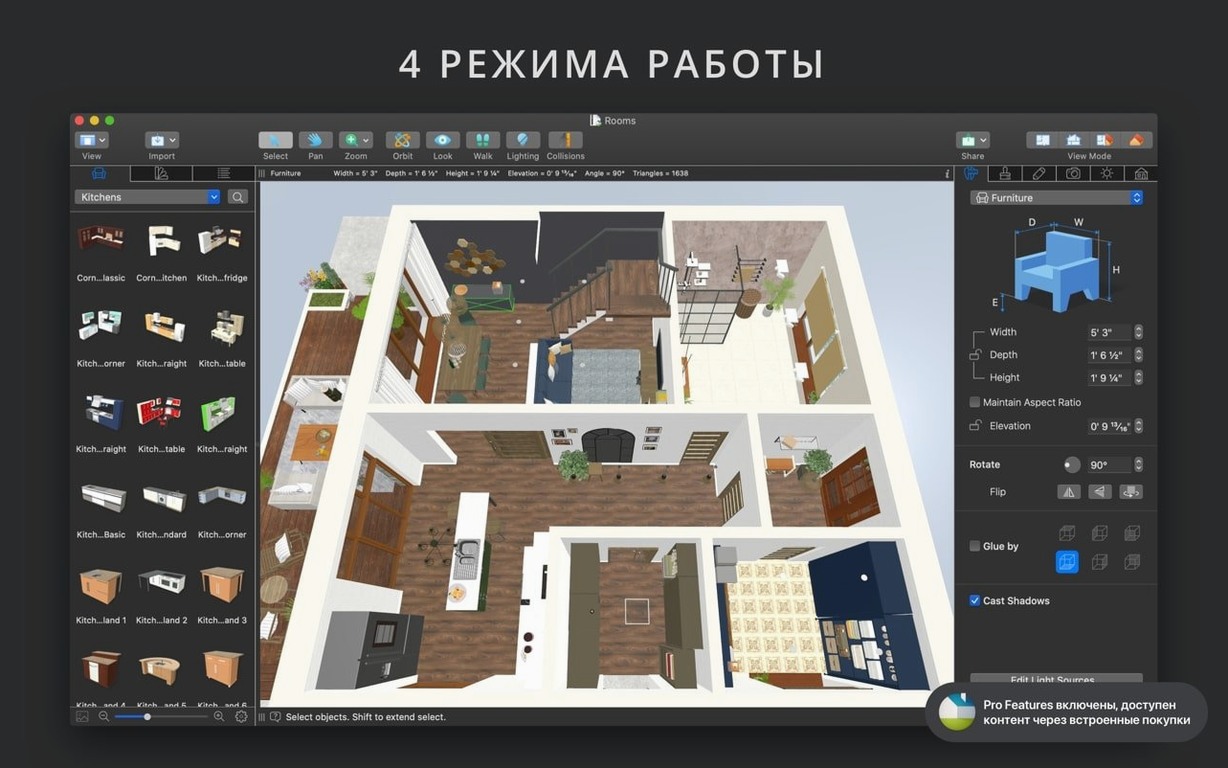
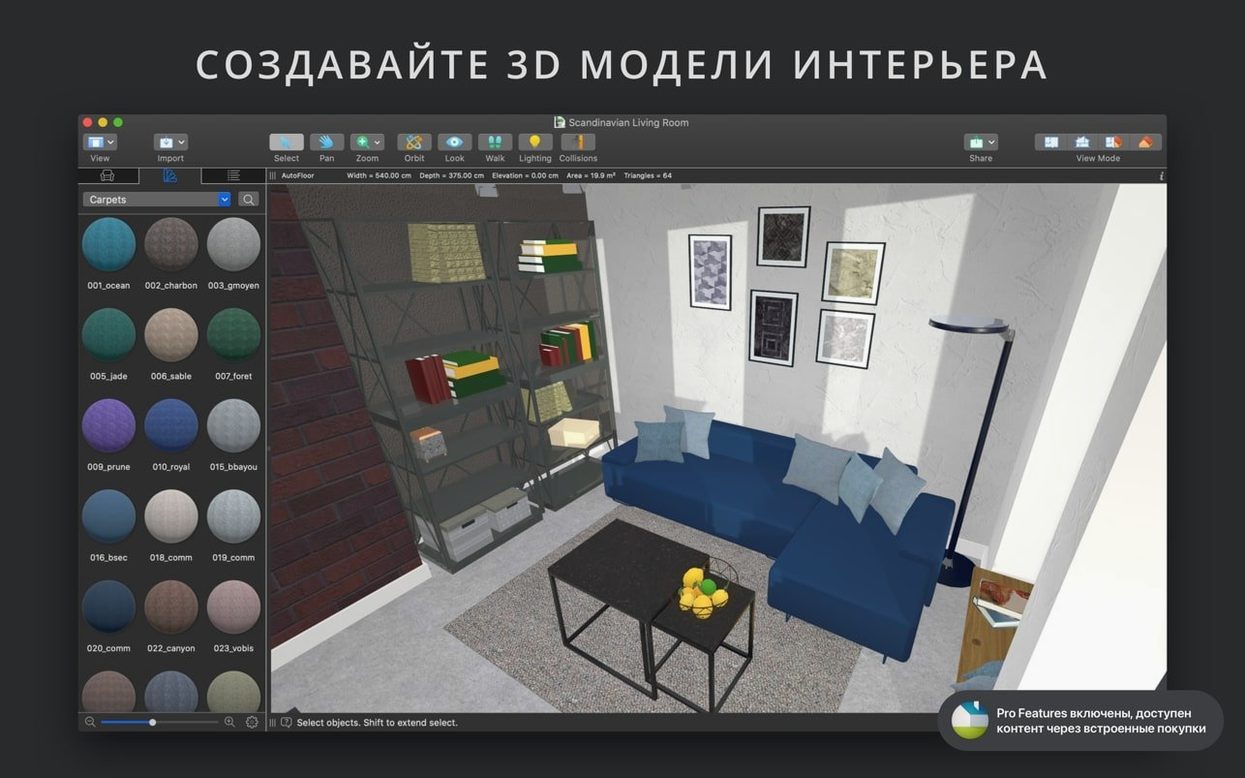
Live Home 3D Pro tends to attract two kinds of people: the homeowner who wants to test a kitchen layout before lifting a single floor tile, and the professional designer who needs elevation views and unlimited storeys without switching to a separate CAD package. It sits quite naturally alongside the other creative tools on a Mac, because its interface borrows familiar gestures—drag to place, pinch to zoom, a materials panel that behaves like any well-organised media browser.
What makes the Pro edition different from the standard version?
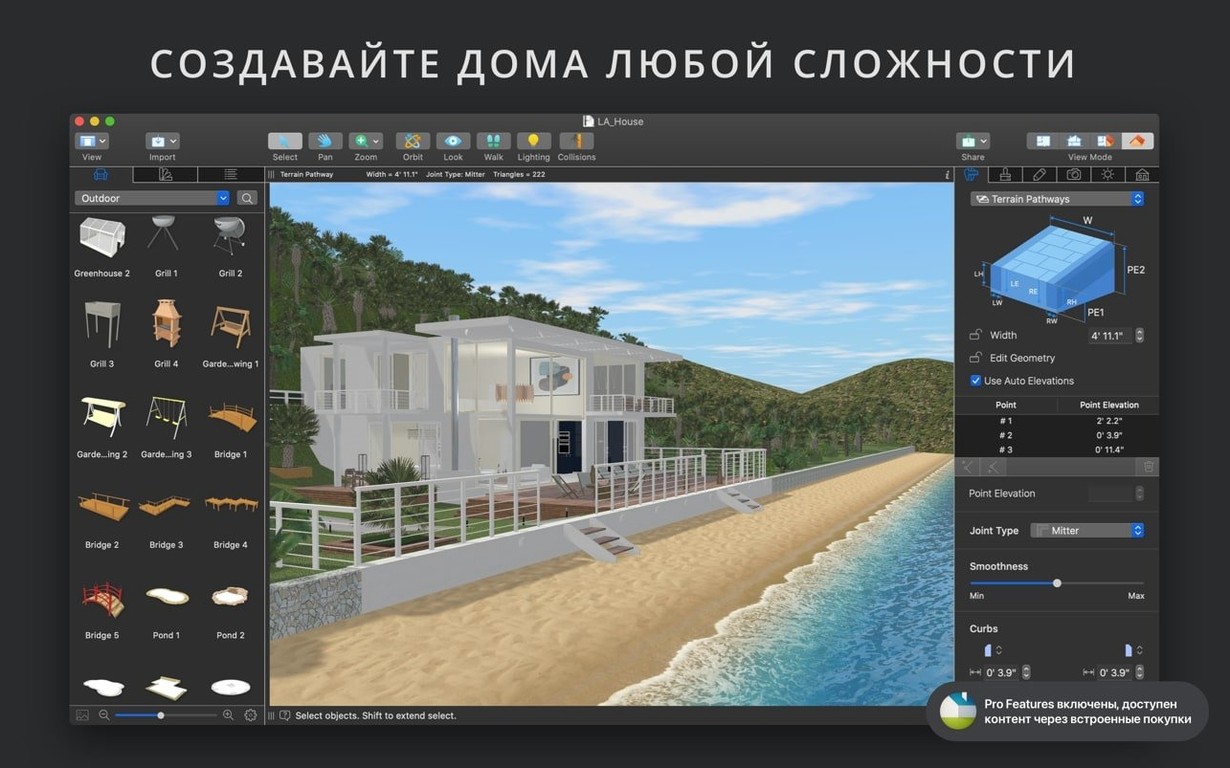
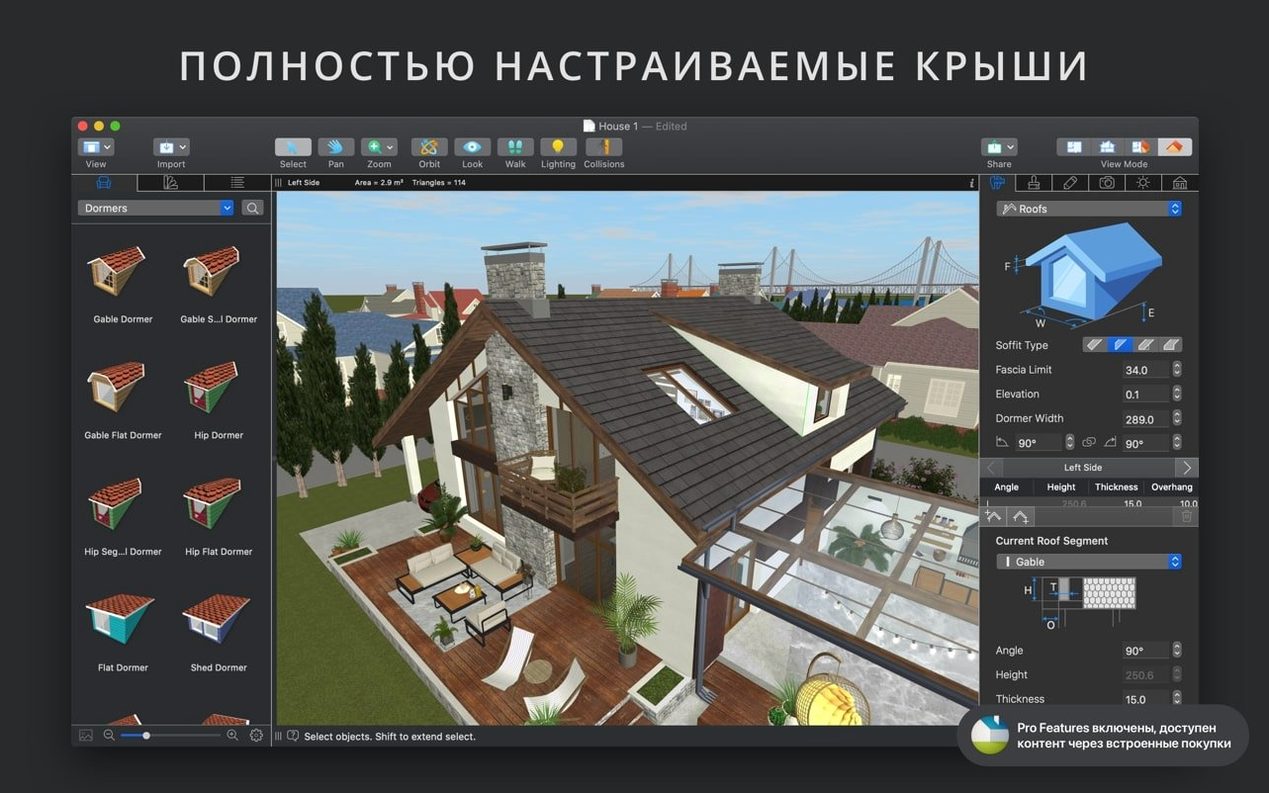
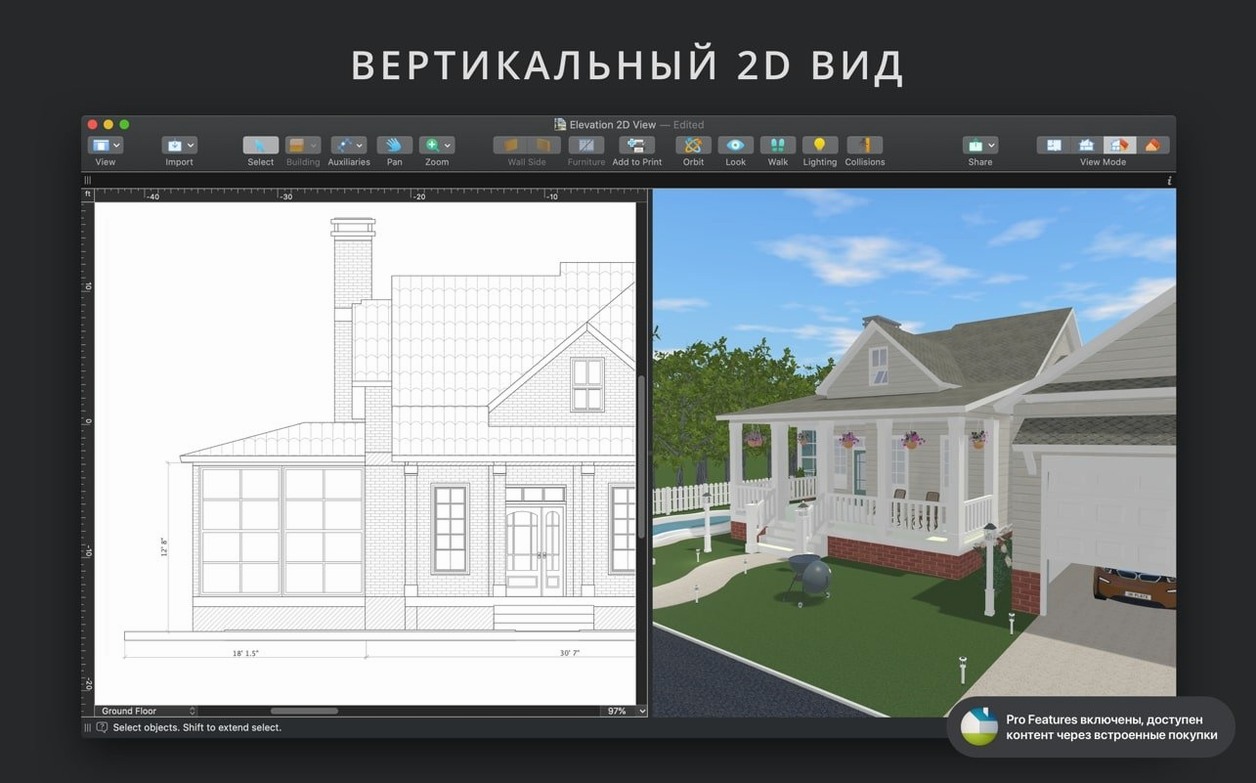
The Pro edition groups every advanced feature into one purchase rather than offering them as individual add-ons. You get an unlimited number of floors, a custom roof tool with a dozen adjustable templates, elevation view, terrain sculpting, a light source editor and a material editor that lets you build finishes from scratch.
Does it really switch between 2D and 3D in real time?
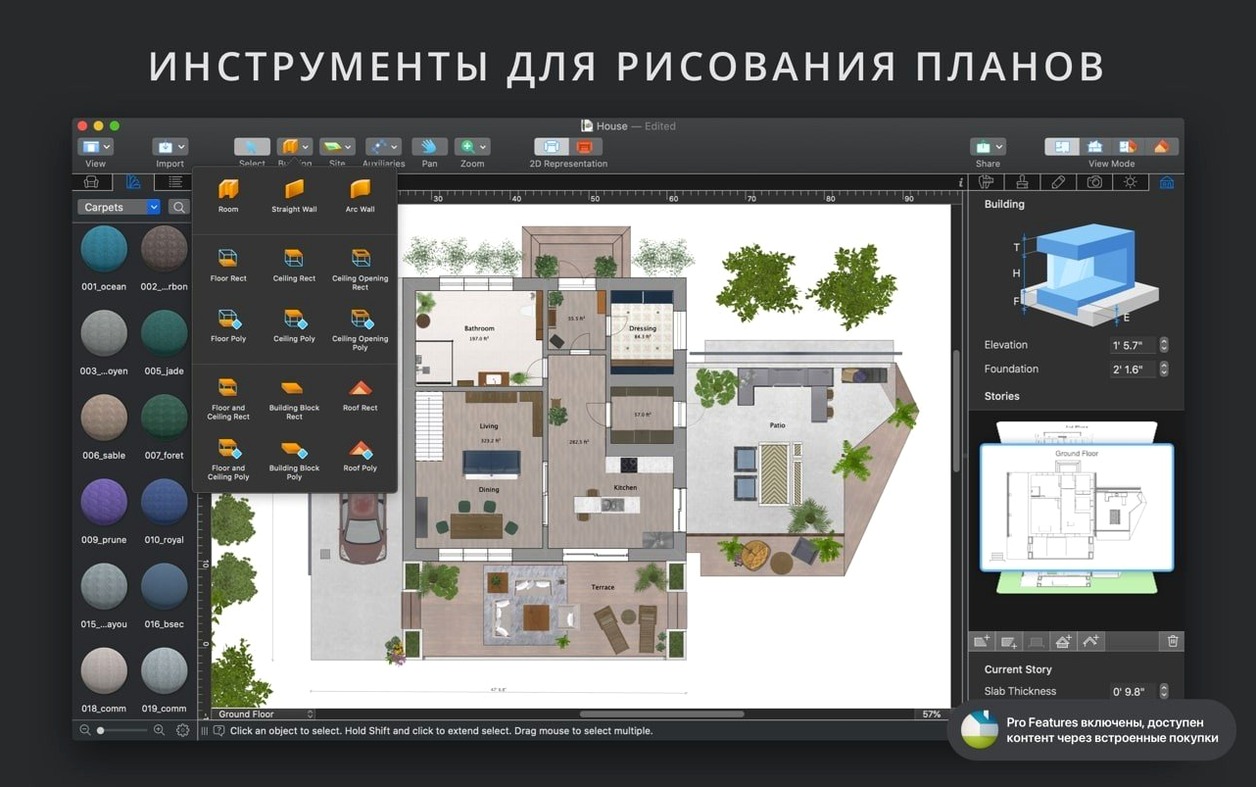
Yes, and it is one of the few things that genuinely feels immediate. Drag a window along a wall in the floor plan and the 3D view updates as your mouse moves. Furniture appears as simple outlines in the plan view automatically, so you can work in whichever perspective suits the task.
Can you produce client-ready output from it?
You can export a walkthrough video in Ultra HD resolution, which is useful when a static render does not quite convey the flow of a space. The app also lets you adjust lighting, move objects and swap materials directly inside the 3D view, so tweaking a scene for a video export feels more like staging a room than filling in dialogue boxes.
Modelling a loft’s en‑suite versus wardrobe dilemma on a Tuesday evening
Picture a quiet Tuesday evening. A couple have spent three weekends arguing about whether their loft conversion should have an en‑suite or a built‑in wardrobe along the party wall, and they have asked you to model both options before the builder returns on Friday.
You open Live Home 3D Pro and start a new project. The first decision is always measurement units — feet and inches for this job, because the original architect worked in imperial and every existing dimension note is scribbled in fractions. You set that in the project preferences, then draw the outer shell of the loft using the straight‑wall tool. As each wall segment snaps into place, automatic dimension lines appear alongside it, so you never have to pause to type a measurement twice. The couple’s surveyor measured a slight kink where the chimney breast interrupts the roofline, and the curved‑wall tool handles that in three clicks.
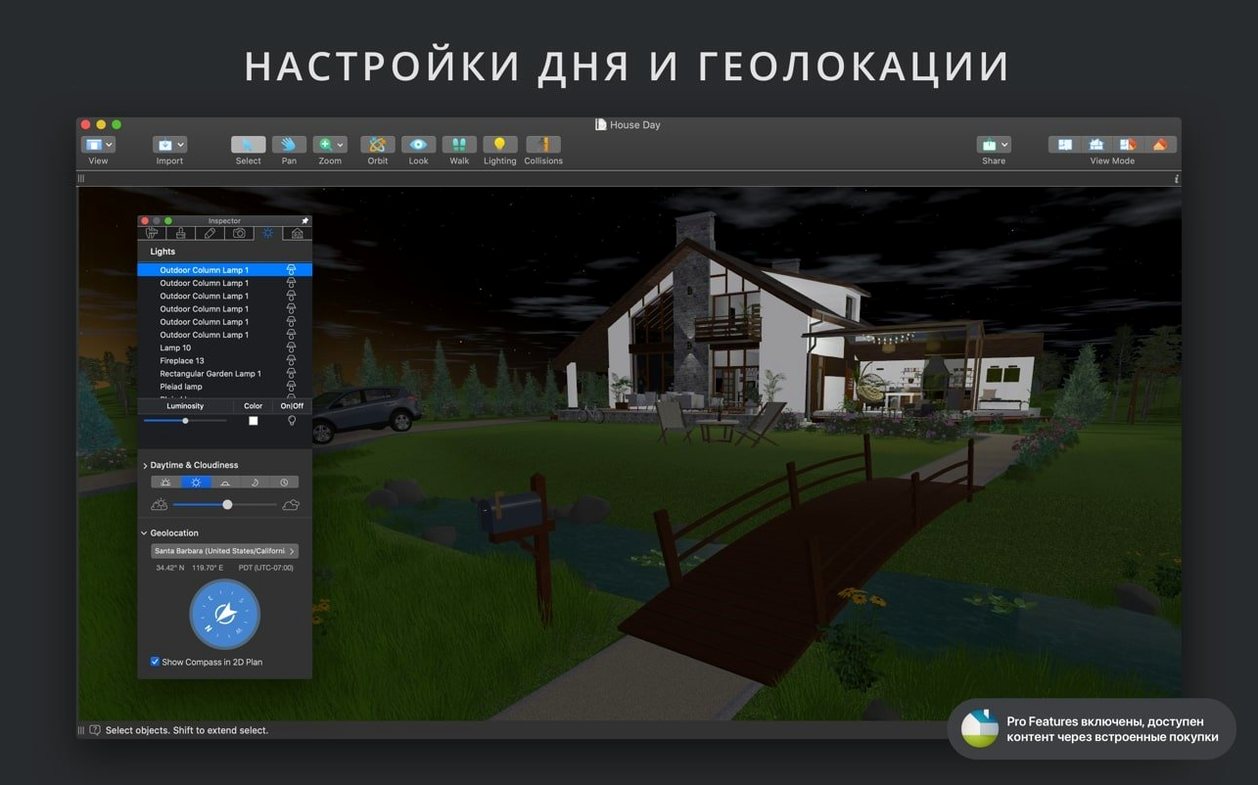
With the shell complete, you add a second floor to hold the main bedroom below — the unlimited floors in the Pro edition mean you can model the whole house without splitting the file. Then you pull open the roof assistant, pick a gable template, and drag the pitch until it matches the existing tiles visible through the Velux window. The geolocation panel is set to the house’s actual postcode, and you spin the time‑of‑day slider to 4 p.m. in late September so the light falls realistically across the new dormer you have just drawn.
Next comes furnishing. You need to show the en‑suite footprint against the wardrobe layout, so you drag a shower tray, a wall‑hung basin and a close‑coupled WC from the built‑in library. They snap to the wall guides immediately. In the 3D view you switch the camera to a wide‑angle lens, lower the eye height to five feet, and walk the client’s sightline from the top of the stairs toward the wardrobe. The real‑time rendering means you notice straight away that the wardrobe doors would strike the sloping ceiling when opened, so you nudge the partition wall back by 200 millimetres in the plan view and watch the 3D scene correct itself.
By the time you export a set of four‑k PNG stills and a short Ultra HD walkthrough clip, the couple can see exactly how the morning light pools on the landing. The file is saved to iCloud, so when the builder texts a question from site the next morning you can open the project on your laptop, spin the model around in 3D, and send a screenshot by Messages before the kettle has boiled.
Universal binary makes real‑time 3D material editing snappier on Apple Silicon
The jump to version 5 brought a quiet but meaningful shift: the app moved to a universal binary, so Apple Silicon Macs run it natively and the real‑time 3D view feels snappier during complex material editing. The shadow‑map technique introduced in the 5.x series softens the light cast by custom light sources, which matters when you are placing downlighters in a kitchen ceiling and need the fall‑off to look plausible rather than like a hard polygon.
The most recent update — version 5.0.4 — was a maintenance release that fixed a licensing handshake problem with the standalone Pro app, so the application no longer interrupts a working session to ask who you are. For anyone who leaves the app open across several days while iterating a design, that small fix removed a genuine friction point.
Earlier in the 5.x cycle, the developers tightened the import pipeline for SketchUp and FBX models. If you regularly pull furniture from Trimble 3D Warehouse, you will have noticed that complex objects with nested components now arrive with their material assignments intact more often than they did in version 4. That cuts out a repetitive clean‑up step — reassigning brass handles on every imported cabinet, for instance — and means a downloaded model lands in your scene looking as the creator intended.
The built‑in video tutorials unlock curved‑wall and roof workflows fast
Before you model anything ambitious, spend twenty minutes with the built‑in video tutorials. They are short, they live inside the app, and they cover the curved‑wall workflow and the roof assistant in ways that clicking around alone rarely reveals.
Drag a few surface images straight from Finder onto a test wall. The app accepts a photo of actual brickwork or fabric as a material, and the material editor lets you set the scale and sheen so it tiles correctly. If you are designing a real room, photograph a sample of the actual carpet or wallpaper with your phone, AirDrop it to the Mac, and drop it into the project. The result is far more persuasive than picking the nearest generic texture from the library.
Set up two or three cameras on your first proper project — one at seated eye height in the main living area, one looking down from a corner, and one outside pointing at the front elevation. Saving cameras early stops you from wasting time re‑framing the same shot every time you want to check how a change reads.
Set a secondary unit to millimetres for instant sanity checks
Open the preferences and look at the Units tab. Even if you ordinarily work in metric, having the secondary unit set to millimetres for fine placement and metres for site plans gives you a fast sanity check without converting in your head.
In the 3D View section, lower the level‑of‑detail slider slightly from its maximum if you are working on a laptop. The Pro edition lets you dial detail back while editing and push it up again for final exports, so the fan stays quiet during the messy middle hours of a project. While you are there, make sure the shadow map option is enabled — it costs very little performance on any Mac from the last few years and the difference in render quality is immediate.
If you expect to receive SketchUp models from colleagues, go to the import settings and confirm that the app is set to preserve material hierarchies. The default is sensible, but a quick check here saves you from discovering halfway through a deadline that every imported chair has arrived as flat grey plastic.
Version 5.0.4 addresses a licensing hiccup that affected users sharing a standalone Pro licence.
- macOS 12 or later
- Works natively on both Intel and Apple Silicon Macs
Questions I keep hearing
Does Live Home 3D Pro handle landscape design as well as interiors?
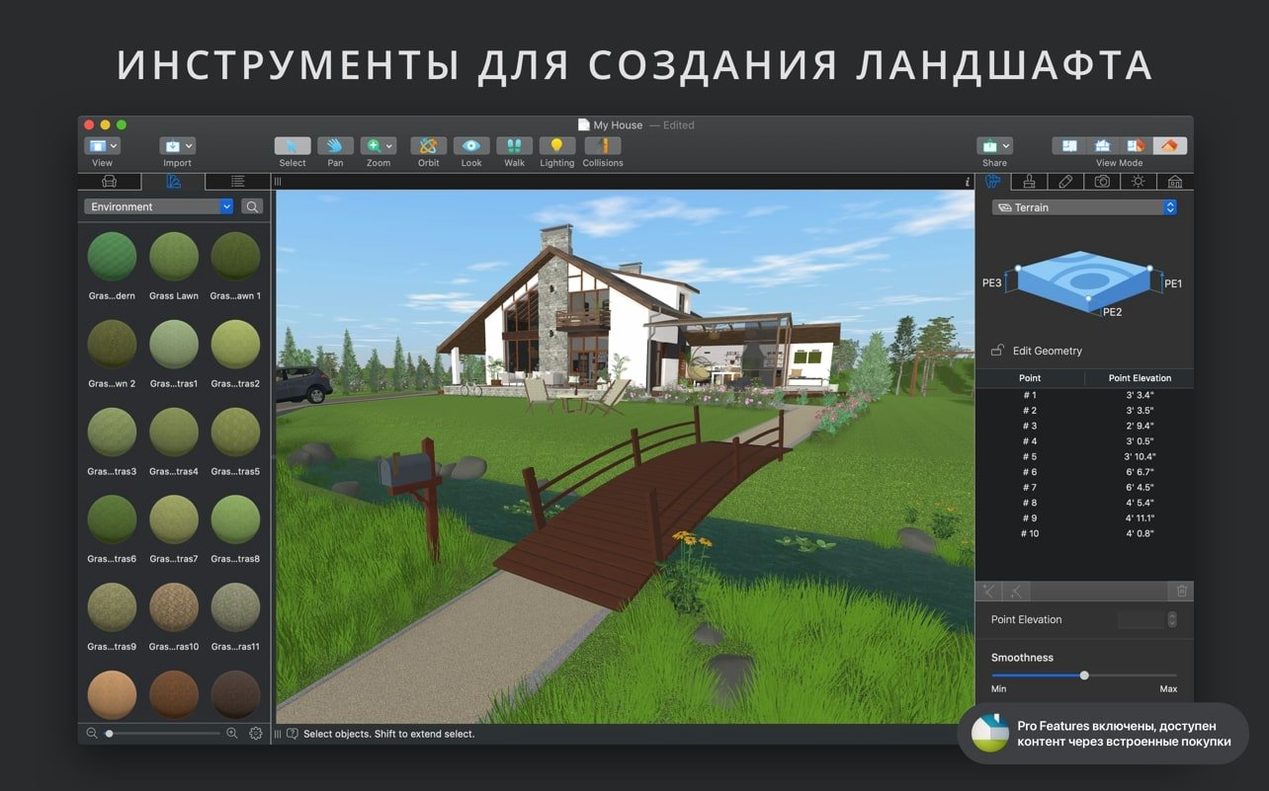
It includes advanced terrain editing tools, so you can sculpt the ground, add paths and place plants around the building. The elevation view ties the house and the land together on one drawing.
How does the roof tool work?
The roof creation assistant offers twelve customisable templates that cover common roof styles. You adjust the parameters and see the roof reshape across all your floors in the 3D view immediately.
Questions from the class 0
Sign in or join the class to ask a question.
Nobody has asked anything yet. If you have used it on a real job, say what the file did.
Also on the Mac Apps shelf
The whole Mac Apps shelf Little Snitch
Alerts you to every network connection your Mac tries to make and lets you approve or deny it.
Little Snitch
Alerts you to every network connection your Mac tries to make and lets you approve or deny it.
 Linguist
Translates text you select in any app without switching windows.
Linguist
Translates text you select in any app without switching windows.
 Logoist 5
Creates logos, icons, and vector illustrations using layers, effects, and a built-in style browser.
Logoist 5
Creates logos, icons, and vector illustrations using layers, effects, and a built-in style browser.
 LightBurn
Designs artwork and controls a laser cutter from a single application.
LightBurn
Designs artwork and controls a laser cutter from a single application.
 Luminar AI
Edits photos using templates that analyse the image and apply adjustments automatically.
Luminar AI
Edits photos using templates that analyse the image and apply adjustments automatically.
 Luminar Neo
Layers multiple AI-driven edits onto a photo and lets you relight or swap backgrounds non-destructively.
Luminar Neo
Layers multiple AI-driven edits onto a photo and lets you relight or swap backgrounds non-destructively.
 MacBooster
Finds and clears system junk, duplicate files, and privacy traces to free up disk space.
MacBooster
Finds and clears system junk, duplicate files, and privacy traces to free up disk space.
 MacCleaner Pro
Bundles app uninstallation, duplicate detection, and disk space analysis into a single toolkit.
MacCleaner Pro
Bundles app uninstallation, duplicate detection, and disk space analysis into a single toolkit.