 ASPNetWorld

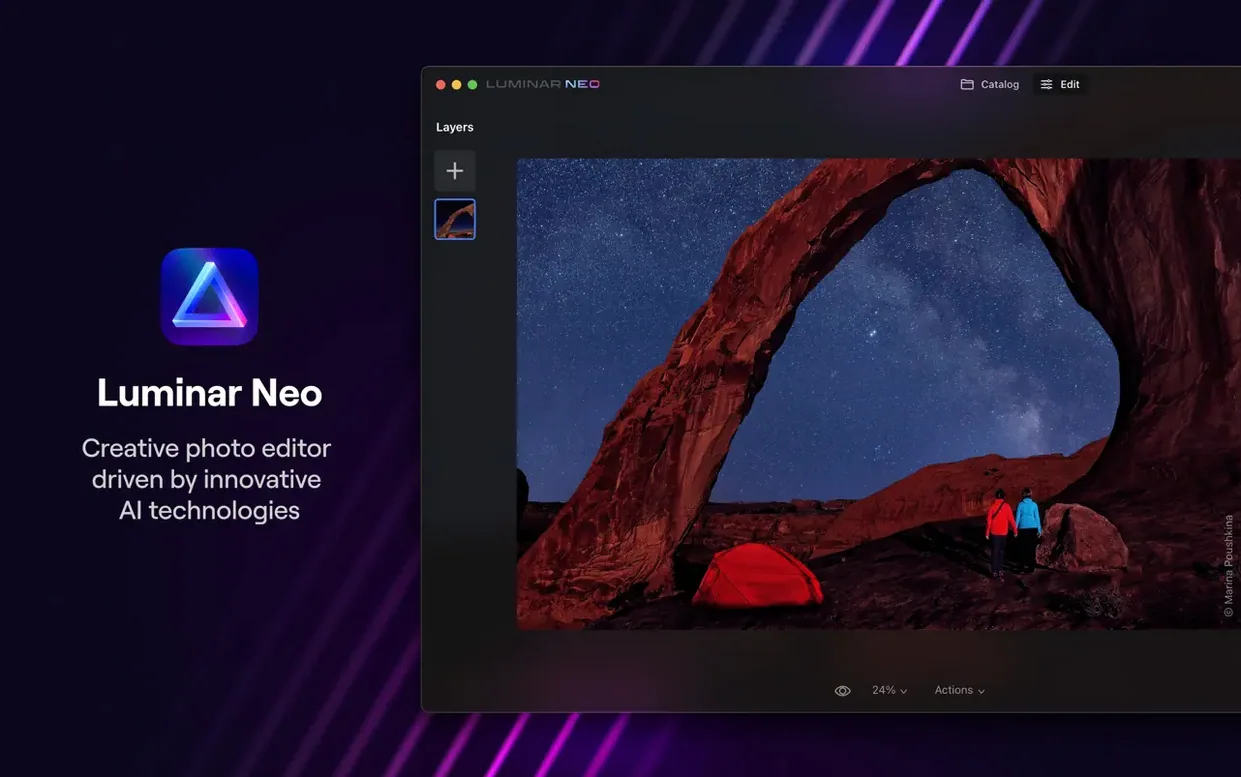
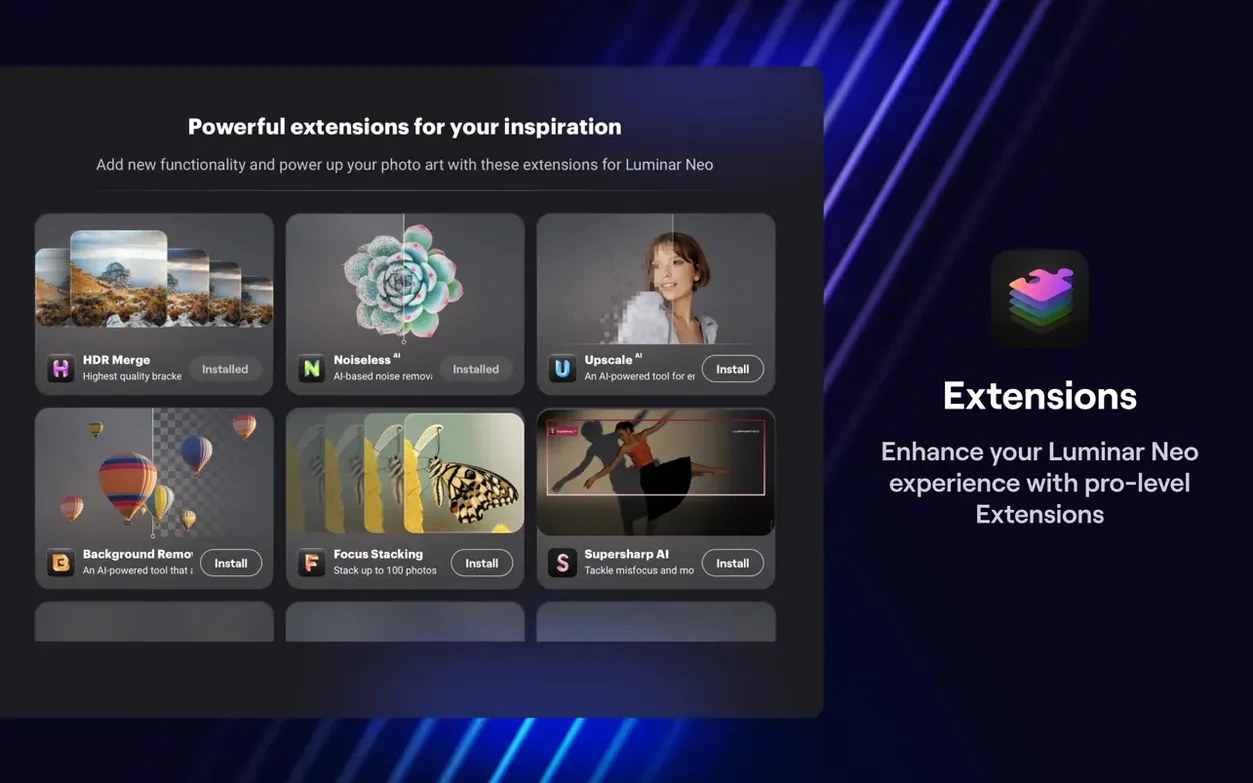
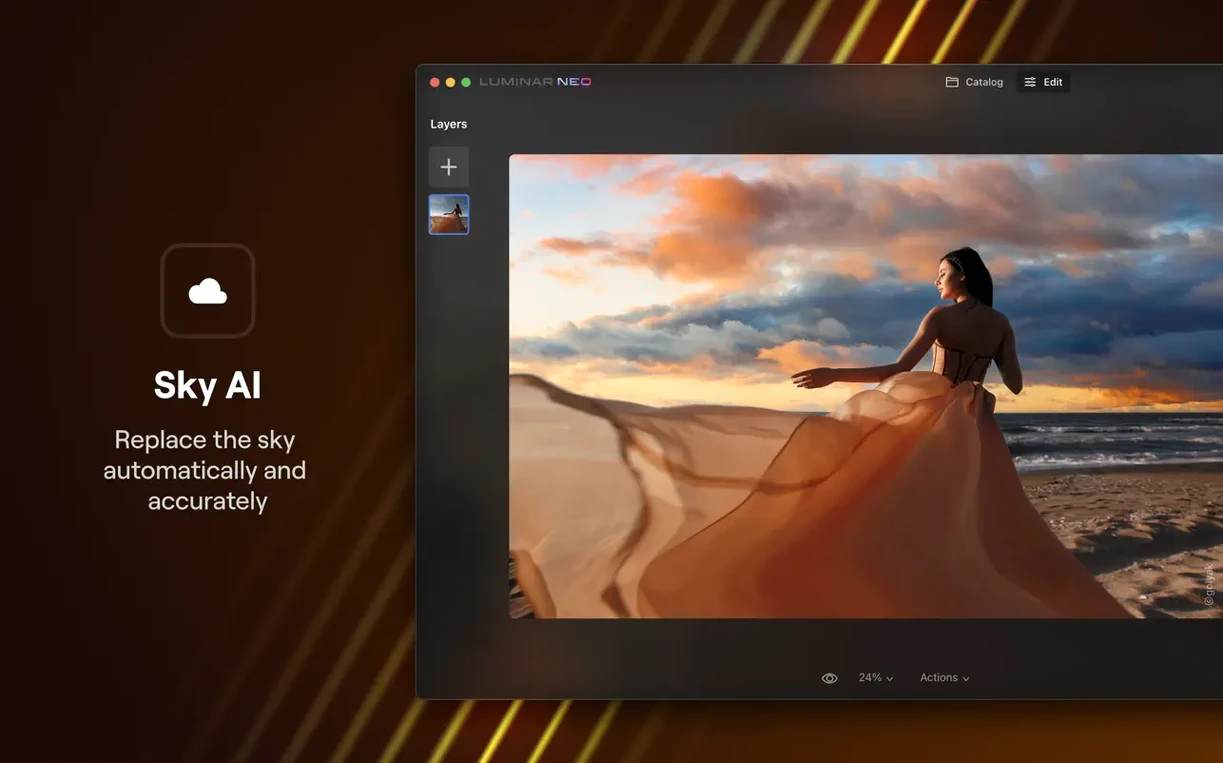
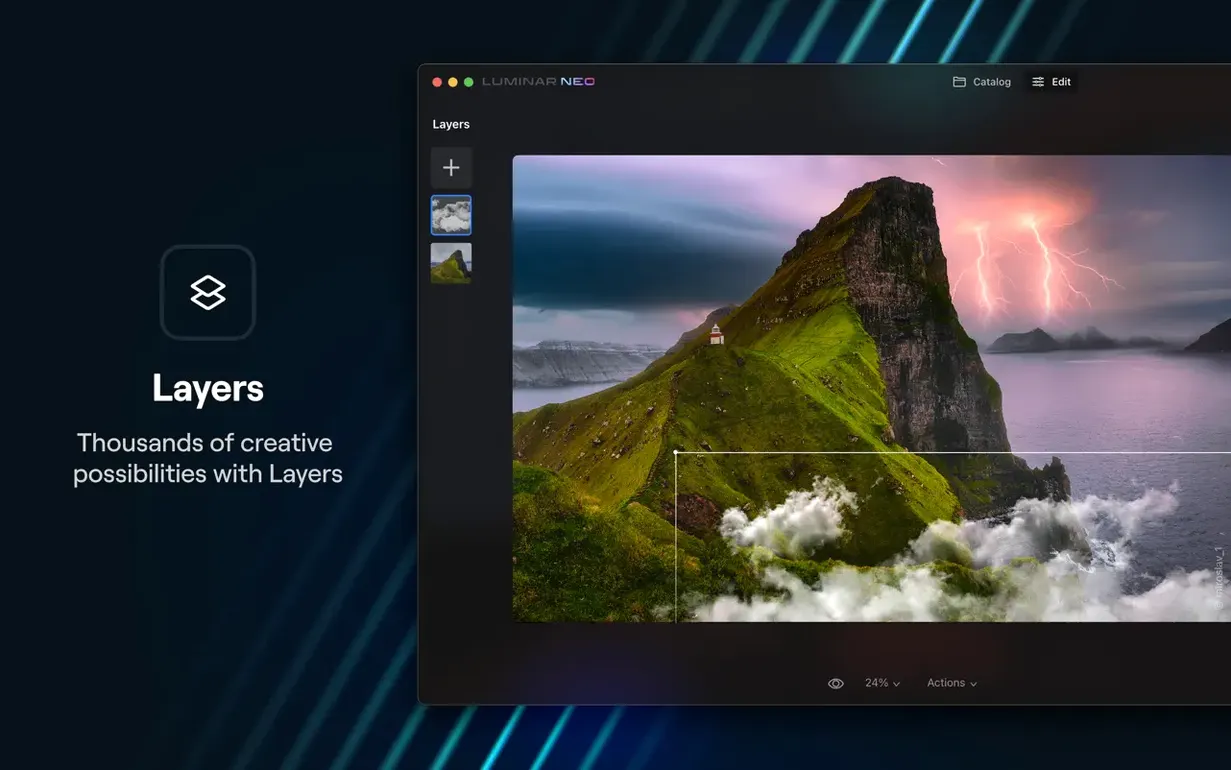
Where LuminarAI was the sharp apprentice that learned a single portrait or landscape in one go, Luminar Neo is the more seasoned partner — it keeps that same scene-analysis engine but now lets you stack edits on independent image layers, swap a background without masking, and relight a face as if you'd moved the sun. Version 1.26.0 is a major update that folds the AI Assistant directly into the Presets and Edit tabs, so the software reads your image's depth and contents before you've even touched a slider.
AI Assistant — analyses each image to determine scene depth, contents, and likely corrections, then offers a starting edit you can accept or tweak.
Relighting — a set of controls that adjust the apparent position and warmth of light sources across a photograph, calculated from the 3D map the AI has built.
Image layers — independent visual levels that can hold textures, objects, or whole exposures, blended without flattening the original file.
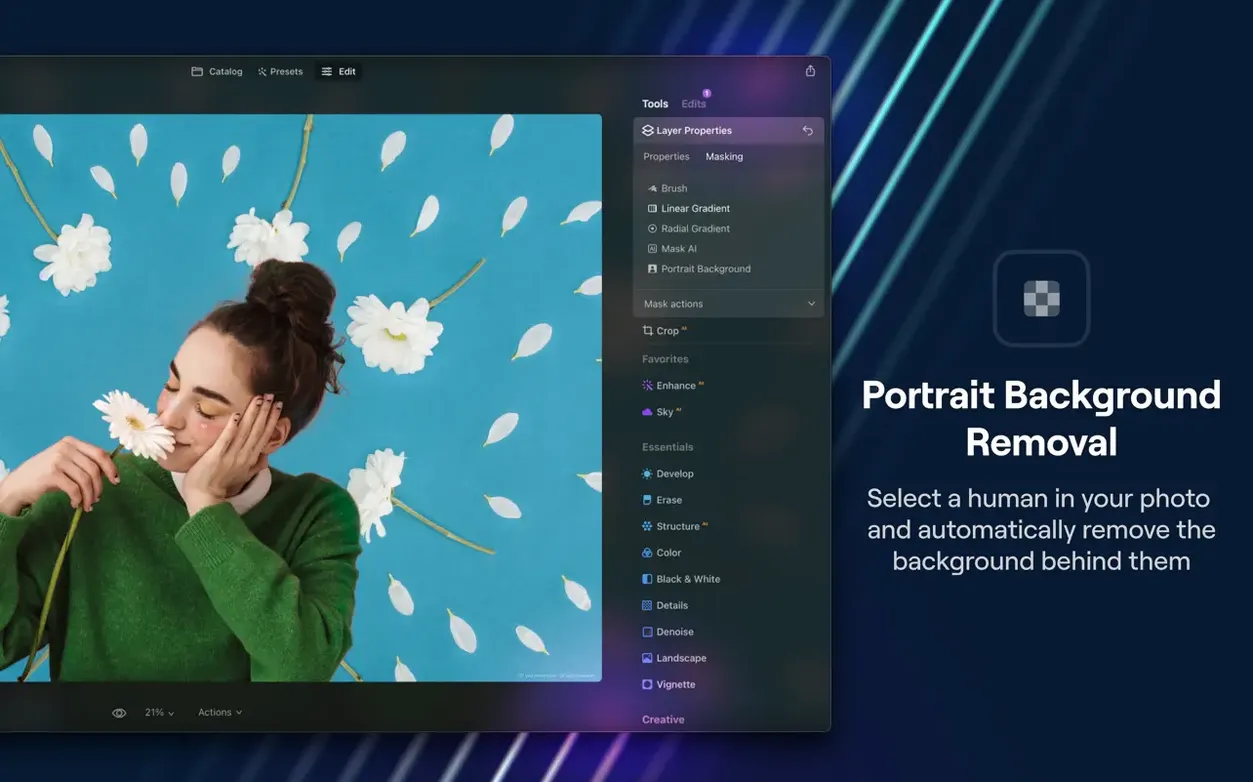
Background replacement — a tool that identifies the subject and lets you drop in a new scene behind it, using the depth map to keep edges clean.
Brightening one side of a dark-slate food shot before the morning deadline
Imagine a cookbook photographer with a morning deadline. She’s shot a tray of roasted vegetables on a dark slate surface, but the natural light from the kitchen window has left one side of the frame a little muddy while the garnish catches too much glare. She drags a single RAW file into Luminar Neo, not expecting the AI Assistant to nail the look, just to give her a sensible springboard. It reads the depth separation between the foreground peppers and the blurred background herbs, dials back the highlights on the parsley, and lifts the shadows under the aubergine slices — all before she’s taken a sip of coffee. She accepts the suggestion, then opens the relighting tool and nudges the virtual light source about twenty degrees to the left, warming its colour temperature by 300 K. The slate texture, which was almost lost, now carries a soft directional glow that makes the whole frame feel like late afternoon. With three more clicks she drops a subtle texture layer behind the vegetables — a scanned paper grain she keeps in a folder — and sets it to overlay at 30% opacity. The whole edit, from import to export, takes under four minutes. For a photographer who spends more time arranging props than studying tone curves, that speed isn’t a luxury; it’s the difference between delivering on time and apologising to an art director.
Hold the backslash key for an instant before-and-after view
Luminar Neo’s interface tends to hide its quieter tricks behind a clean facade, but a few of them repay the minute it takes to learn them.
Instant before-and-after — while any tool is active, hold the backslash key (\) to flash the original image. It feels like a darkroom blink comparator, and it works even when you’re deep inside a relighting adjustment or a colour-grading panel. No menu diving, no switching tabs.
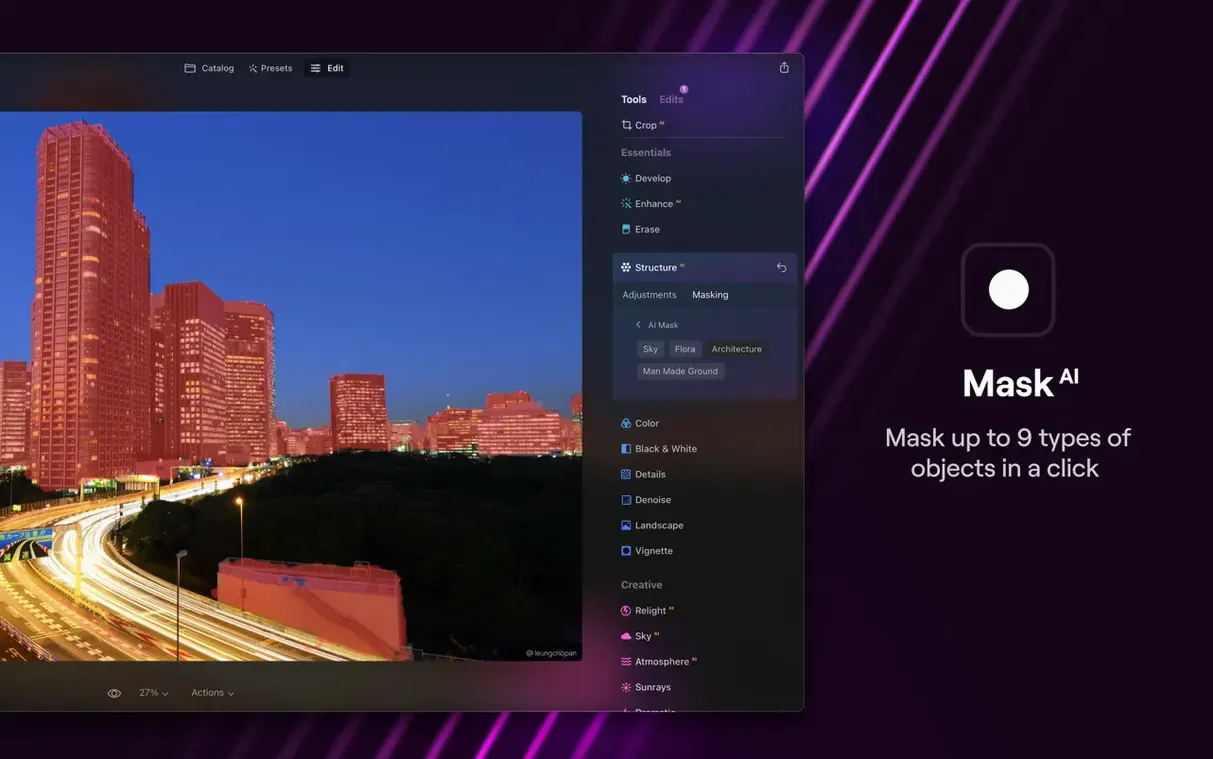
Mask AI from the layers panel — if you’ve applied an edit to a new adjustment layer, right-click the layer and choose Mask AI. The software will generate a subject or sky mask automatically, which means you don’t need to open the dedicated masking workspace just to isolate a person or a horizon. For quick dodging-and-burning workflows, that right-click can replace four or five brush strokes.
Preset strength slider — after applying a preset from the catalogue, look at the top of the Presets tab for a Strength slider that defaults to 100. Dragging it to 40 or 50 often gives you the colour grading without the heavy-handed contrast, which makes it far easier to stack a preset and manual edits without the final image looking over-processed.
Drag-and-drop texture layers — you can pull any PNG or JPEG straight from Finder onto the canvas, and Neo will create a new image layer automatically. If the file is a texture, set its blend mode to overlay or soft light immediately. No import dialogue, no placeholder layer to delete afterwards.
Quick export with last-used settings — Cmd-E exports a finished file using whatever format and dimensions you used last time, bypassing the full export dialogue. When you’re processing a batch of similar images, that single shortcut saves a surprising amount of clicking.
History scrubbing inside any tool — the History panel isn’t just a linear list. Hover over any step and the preview updates without committing, which makes it easy to audition a midpoint in your edit stack without undoing later work.
An AI-driven creative darkroom between Pixelmator Pro and Affinity Photo
Placed alongside Pixelmator Pro, Affinity Photo 2 and Photomator, Luminar Neo occupies a distinct niche — it’s less a pixel-level compositor and more an AI-driven creative darkroom. Each app draws a different line between automation and manual control.
Pixelmator Pro shares a layer-based architecture and a strong machine-learning backbone (its ML Super Resolution and automatic colour matching are genuinely clever), but its editing philosophy leans toward graphic design. Gradient maps, vector shapes and layout tools sit alongside its photo adjustments, which makes it feel like a hybrid between Photoshop and Illustrator. Luminar Neo, by contrast, stays squarely in photographic territory. You won’t find vector text tools or shape libraries here, but you will find relighting and depth-aware background replacement that Pixelmator Pro doesn’t attempt. If your day involves laying out a poster, Pixelmator Pro probably suits you better; if you’re shaping light across a face, Neo pulls ahead.
Affinity Photo 2 is the heavyweight — a full professional compositor with frequency separation, channel mixing, CMYK support and non-destructive RAW development that rivals Lightroom’s. Its learning curve is steeper, and its AI features (object selection, sky replacement) arrived later and feel more like conveniences bolted onto a traditional engine. Luminar Neo flips that relationship: AI is the engine, and manual tools orbit around it. For a retoucher who needs to build complex layer masks by hand or work in 32-bit HDR pipelines, Affinity Photo remains the more powerful choice. For someone who wants a finished look without building every mask from scratch, Neo’s AI Assistant and preset ecosystem cut the journey short.
Photomator (from the Pixelmator team) is a lighter, photo-first editor that leans heavily on machine learning for colour adjustments and denoising, but it’s designed around the Apple Photos library and a single-layer workflow. It’s fast, fluid and deeply macOS-native, yet it lacks image layers, background replacement and relighting — three tools that define a great deal of what Neo can do. Photomator feels like a polished companion for quick edits inside an existing library; Neo feels like a standalone creative workspace.
In practice, many photographers run two of these side by side — Neo for its AI-driven first pass and mood-setting tools, and Affinity Photo or Pixelmator Pro for the final pixel-level finesse. The combination works because Neo exports layered TIFFs.
A start-to-finish workflow: restoring an old scanned print
Say you’ve scanned a faded family photograph — a 1980s print on matte paper, slightly yellowed, with a dust-flecked sky and a group of people standing under a tree. The goal is a clean, natural-looking restoration without spending an afternoon cloning out every speck.
1. Open the scan and let the AI Assistant run. Luminar Neo analyses the image and usually applies a gentle contrast lift, a white-balance correction and some shadow recovery. In this case, it pulls the yellow cast back towards neutral and brightens the faces under the tree. Accept the suggestion as a starting layer.
2. Run Dust Removal. Locate the tool in the Edit tab — it uses the scene-depth analysis to distinguish between fine surface dust and genuine texture (like tree bark or fabric weave). Slide the strength to around 70 and check the preview at 100% magnification. Most of the white specks across the sky vanish immediately. Switch to the manual brush to clean up any remaining spots it missed near the edges of the branches, where the algorithm sometimes errs on the side of caution.
3. Add a new adjustment layer for the sky. Right-click the layer stack, choose Add New Adjustment Layer, then right-click that layer and select Mask AI > Sky. The mask snaps to the blown-out sky area between the leaves with impressive accuracy. On this new layer, apply a gentle blue photo filter and drop the highlights to bring back cloud detail that the original print had lost. Because the tree mask is already in place, the warm bark tones stay untouched.
4. Relight the group of people. Add another adjustment layer, mask it to the subjects (Mask AI can isolate people as a group), then open the Relighting tool. Move the virtual light source upwards and slightly to the right, so it mimics the original sunlight direction but fills in the shadowed eye sockets. A small warmth increase — perhaps 150 K — stops the effect from looking artificial.
5. Apply a subtle film grain via an image layer. Drag a grain texture file from Finder onto the canvas, set the blend mode to overlay and reduce the opacity to 15%. This ties the restored areas back into the original print’s character, so the cleaned-up sky doesn’t look unnaturally smooth next to the grain of the paper.
6. Export a TIFF with layers intact. Use Cmd-Shift-E to open the full export dialogue, choose TIFF and tick the option to preserve layers. That way, you can revisit the edit later or open the file in Affinity Photo if you want to do precise clone-stamp work on the few remaining creases.
The whole process takes under ten minutes, and the result looks like the print should have looked when it first came back from the lab — not like a heavy-handed digital overhaul.
Switch the RAW engine to match your preferred processor
Out of the box, Luminar Neo makes a few assumptions about how you’ll work, but five quick tweaks bring it closer to a professional rhythm.
Switch the RAW engine to your preference. In the top toolbar, you’ll see a RAW development engine selector — usually set to Luminar by default. If you prefer the colour science of Apple’s Core Image RAW (which tends to produce flatter, more neutral starting points), switch it before you open your first file. The difference is subtle with most cameras, but it can affect skin tones noticeably.
Turn off automatic preset previews during browsing. By default, hovering over a preset applies it instantly to the full image, which can feel sluggish on older Macs. In the Preferences pane, under the General tab, you can change the preview behaviour to show a small thumbnail preview instead — faster, less visually jarring, and still enough to judge a look.
Set the export colour space once. The export dialogue remembers your last-used settings, but it’s worth opening it deliberately and choosing a colour profile that matches your destination: sRGB for web, Display P3 for Apple devices, or Adobe RGB for print workflows. Doing this once saves the mild panic of finding out you’ve delivered a P3 file to a client whose browser washes everything out.
Increase the undo limit. The default history steps cap at a modest number; bump it to 100 in the Performance tab if you tend to explore edits iteratively. Disk space is cheap, and a deep history means you can scrub back through a session without second-guessing every decision.
Pin your most-used tools to the Edit tab toolbar. The Edit tab shows a scrollable list of tools, but you can right-click any tool name and choose Add to Favourites. Pinning Relighting, Dust Removal and the Erase tool to the top of the list means they’re always one click away, even when the AI Assistant has rearranged its suggestions further down.
Luminar Neo 1.26.0 is a major update that weaves the AI Assistant into the two places you spend most of your time. The Presets tab now analyses your image and recommends a look that suits the actual scene depth and contents, rather than offering a generic list. In the Edit tab, the same assistant proposes a starting set of adjustments — exposure, colour, detail — so you can begin refining straight away. The idea is to make the whole process quicker and a little more inspiring, particularly when you're facing a batch of raw files and don't want to build every correction from scratch.
- AI Assistant now available in the Presets tab for scene-aware look recommendations
- AI Assistant now available in the Edit tab for intelligent starting corrections
- Update designed to make editing faster, smarter, and more inspiring
- macOS 12.0 or later
- Intel or Apple Silicon Mac
- 8 GB RAM minimum, 16 GB recommended
Questions I keep hearing
Does Luminar Neo still work on an Intel Mac?
Yes, it supports both Intel and Apple Silicon Macs running macOS 12.0 or later.
How much RAM does Luminar Neo really need?
8 GB is the minimum, but Skylum recommends 16 GB for smoother performance when stacking layers and running AI tools.
What changed with the AI Assistant in version 1.26.0?
It now appears inside the Presets and Edit tabs, analysing each photo upfront so editing starts faster and with more relevant suggestions.
Questions from the class 0
Sign in or join the class to ask a question.
Nobody has asked anything yet. If you have used it on a real job, say what the file did.
Also on the Mac Apps shelf
The whole Mac Apps shelf Luminar AI
Edits photos using templates that analyse the image and apply adjustments automatically.
Luminar AI
Edits photos using templates that analyse the image and apply adjustments automatically.
 MacBooster
Finds and clears system junk, duplicate files, and privacy traces to free up disk space.
MacBooster
Finds and clears system junk, duplicate files, and privacy traces to free up disk space.
 MacCleaner Pro
Bundles app uninstallation, duplicate detection, and disk space analysis into a single toolkit.
MacCleaner Pro
Bundles app uninstallation, duplicate detection, and disk space analysis into a single toolkit.
 MacDroid Pro
Lets your Mac read and write to Android and MTP devices over USB.
MacDroid Pro
Lets your Mac read and write to Android and MTP devices over USB.
 MacFamilyTree
Builds an interactive family tree that pulls historical records from online genealogy databases.
MacFamilyTree
Builds an interactive family tree that pulls historical records from online genealogy databases.
 MacGPT
Puts ChatGPT in your menu bar for quick questions, text rewrites, and inline assistance anywhere.
MacGPT
Puts ChatGPT in your menu bar for quick questions, text rewrites, and inline assistance anywhere.
 Logoist 5
Creates logos, icons, and vector illustrations using layers, effects, and a built-in style browser.
Logoist 5
Creates logos, icons, and vector illustrations using layers, effects, and a built-in style browser.
 Live Home 3D Pro
Builds detailed floor plans and 3D walkthroughs of interior and exterior spaces.
Live Home 3D Pro
Builds detailed floor plans and 3D walkthroughs of interior and exterior spaces.