 ASPNetWorld
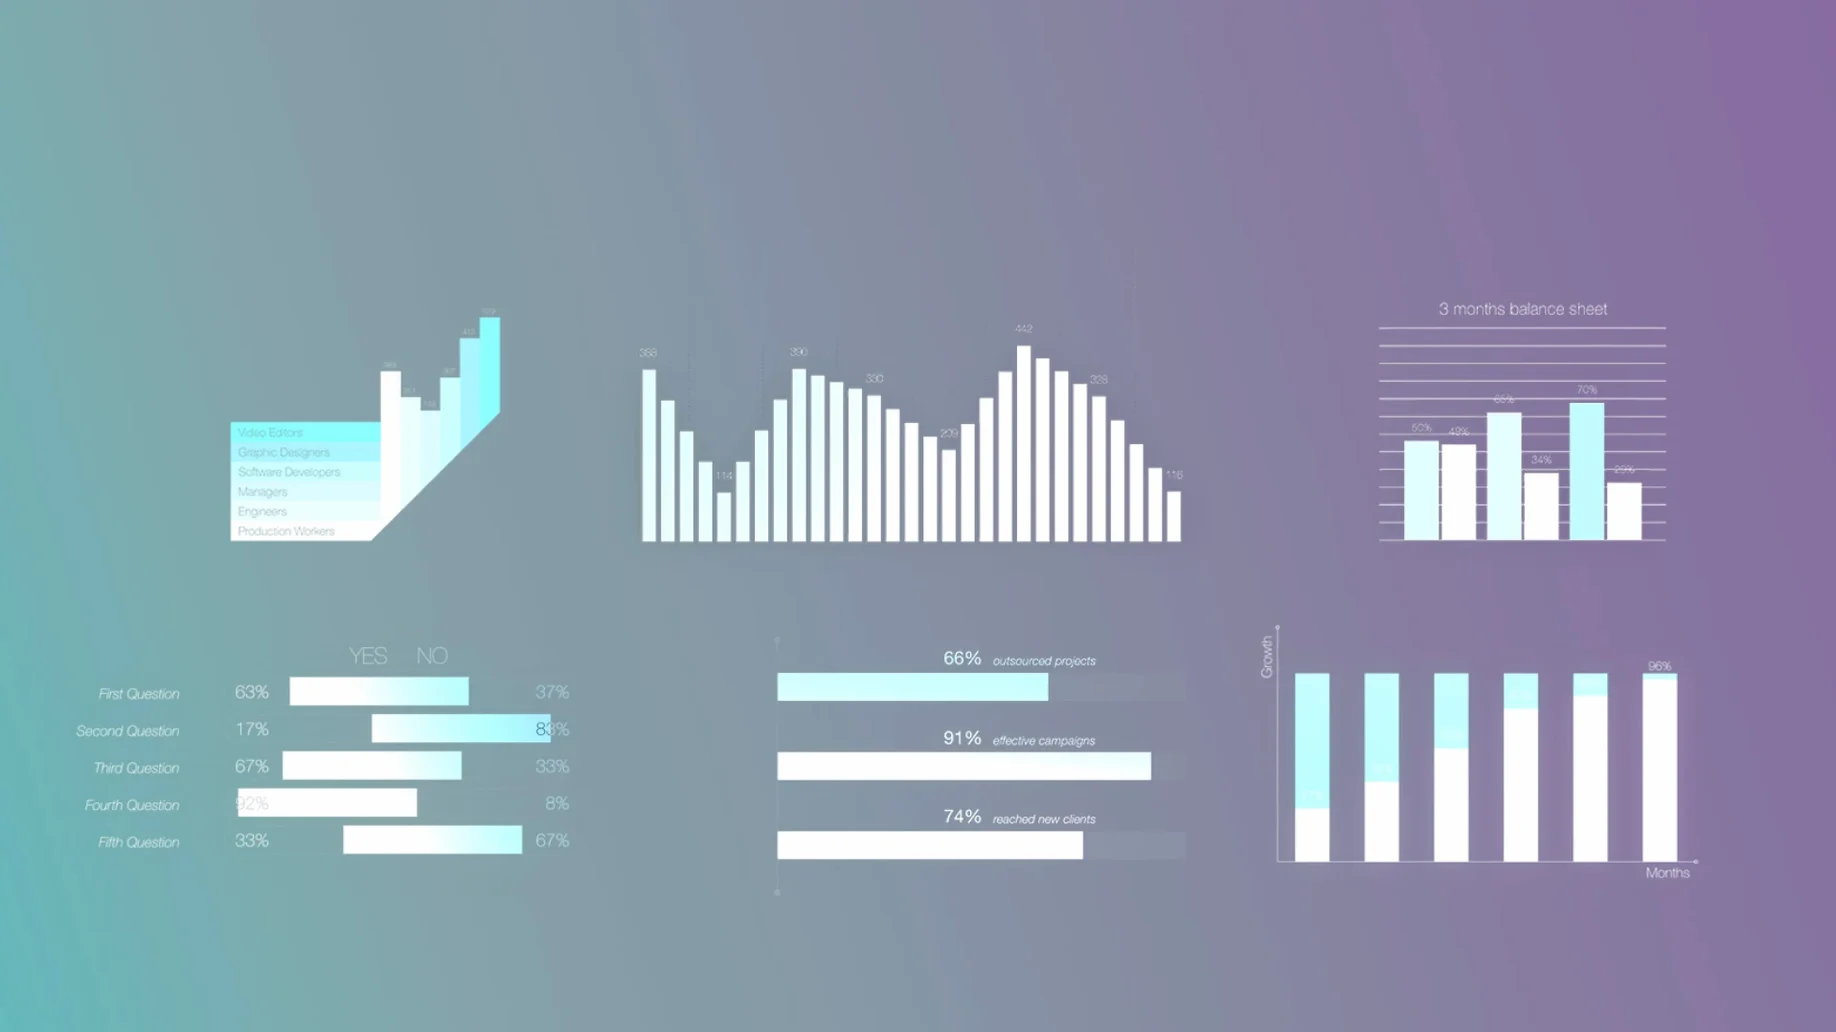
mInfographics is a MotionVFX plugin that gives Final Cut Pro editors a set of 60 infographic elements for presenting numbers, percentages and comparisons inside a video. Rather than building charts in a separate application and importing them as flat images, you drop these elements straight onto the timeline and adjust them in the inspector.
Typing a number updates the on-screen figure instantly
Most of the work happens in two places: the number fields and the description fields. Typing a new value into a number field updates the on-screen figure, and the description field changes the supporting label beneath it. That makes it easy to re-use one element across several scenes without rebuilding anything — change the text, move on. The chart elements work the same way. A bar chart or pie chart is driven by values you type in, and Final Cut Pro redraws the graphic to match. There is a bit of a learning curve with the spacing and typography options, but the logic stays consistent across the set.
Where these elements feel at home
They suit corporate videos, explainers and any edit where a statistic needs to land visually. Because the elements are universal rather than tied to one industry, you can dress them up or down with your own fonts and colours. MotionVFX is listed on Apple's Final Cut Pro ecosystem page as a supported developer, so the plugin is built to behave inside that environment.
What quietly improved in the latest release
The current build brought changes that are more about feel than feature lists. On‑screen controls now respond with less lag when you drag a bar chart value or resize a callout — on Apple Silicon machines the difference is subtle, but on older Intel hardware the inspector feels noticeably snappier than it did a couple of years ago. MotionVFX also tightened the way descriptions handle long strings of text. Previously, a caption that ran past three lines could nudge the whole element off‑centre; now the bounding box holds its anchor point, so you spend less time repositioning things after a client asks for “just one more sentence.”
The typography panel got a quiet polish too. Font weight and tracking adjustments preview in the viewer as you scrub the sliders, which cuts out the old trial‑and‑error loop of “type a number, check, type another number.” None of this rewrites how mInfographics works, but it shaves seconds off every tweak, and those seconds add up across a sixty‑second spot with twelve infographic hits.
The first forty‑eight hours: a sensible setup routine
After you unpack the folders and drop them into /Users/USERNAME/Movies/Motion Templates/Titles, open Final Cut Pro and resist the urge to drop an element straight into a paying project. Instead, create a throwaway library with a ten‑second clip of filler footage and place one of each category — bar chart, pie chart, callout, percentage ring — onto the timeline. The goal is not to design anything pretty; it is to learn which elements rely on keyframes and which ones animate themselves the moment they appear.
Pay attention to the on‑screen controls in the viewer. Some elements let you drag handles to reposition the graphic within the title‑safe area without touching the text fields at all. Once you have a feel for that, open the inspector and work through the number fields deliberately, typing in extreme values like 0 and 9999 to see how the layout flexes. A handful of the chart elements assume you will stay within a sensible range and can warp if you push them too far — knowing where that line sits on day one prevents confusion on deadline day.
Quit and relaunch Final Cut Pro when titles do not appear
The most common hiccup has nothing to do with the plugin itself: Final Cut Pro sometimes fails to scan the Titles folder until you quit and relaunch. If the elements do not appear under the Titles browser after moving the folders, restart the application fully rather than just closing the library. That refreshes the template index and the sixty elements show up under the MotionVFX category.
Another sticking point is the description field’s character limit. It is generous but not infinite. If a long caption cuts off mid‑word, switch to a smaller point size or split the information across two elements — a percentage ring with a separate callout beneath it often reads better anyway. If an element renders with a black background that you did not ask for, check the blend mode in the inspector; a small number of the infographics ship with “Normal” selected by default rather than “Overlay,” and that can obscure the footage behind them.
Users who found mInfographics via a motionvfx free download search sometimes end up with an incomplete folder structure. The full set contains exactly sixty elements; if your browser shows only twenty or thirty, one of the sub‑folders likely sat outside the Titles directory during the move. Drag everything again, making sure the parent folder lands exactly at /Movies/Motion Templates/Titles/.
Early mistakes that are easy to avoid
The biggest beginner mistake is treating every element as a standalone slide. mInfographics works best when the graphic appears to live in the scene — a bar chart over a desk shot, a percentage ring next to a product — rather than filling the screen on a plain background. Layering an element over real footage gives it context and hides the fact that the animation is, at its core, a motion template with a fixed entry and exit curve. If you need a full‑screen chart, at least animate the background plate with a slow scale or a subtle light leak so the frame never goes completely static.
Another early slip is ignoring the typography panel entirely. The default font is clean but anonymous; swapping it for whatever typeface the brand already uses makes the infographic feel like part of the edit rather than something bolted on. Similarly, beginners often leave the number animation curve at its linear preset, which makes values tick up like a stopwatch. Changing the curve to an ease‑out in the inspector — or adding a single keyframe tweak — turns a robotic count into something that breathes.
Finally, avoid the temptation to use six different element styles in one project. Two or three, repeated with different data, create a visual language the audience understands. Sixty elements in the palette does not mean sixty belong in the timeline. Even a motionvfx torrent that delivers the whole collection simply gives you more to choose from—the rule of editorial restraint still applies.
- macOS — check the developer's site for the exact minimum version
- Runs on both Intel and Apple Silicon Macs
- Interface language: English
Questions from the class 0
Sign in or join the class to ask a question.
Nobody has asked anything yet. If you have used it on a real job, say what the file did.
Also on the Mac Apps shelf
The whole Mac Apps shelf Motion
Designs title sequences, particle effects, and transitions on a huge canvas for video editors.
Motion
Designs title sequences, particle effects, and transitions on a huge canvas for video editors.
 MotionVFX mKBHD
Gives video editors a shortcut to Marques Brownlee’s clean, kinetic on-screen graphic style.
MotionVFX mKBHD
Gives video editors a shortcut to Marques Brownlee’s clean, kinetic on-screen graphic style.
 MotionVFX - mLowers Universal for FCP
Places seventy animated lower-third titles onto your timeline without jarring style clashes.
MotionVFX - mLowers Universal for FCP
Places seventy animated lower-third titles onto your timeline without jarring style clashes.
 Moom
Saves and restores exact window layouts so you never drag and resize the same arrangement twice.
Moom
Saves and restores exact window layouts so you never drag and resize the same arrangement twice.
 MotionVFX mModules
Fills Final Cut Pro’s Titles Browser with sixty self-contained animated elements and backgrounds.
MotionVFX mModules
Fills Final Cut Pro’s Titles Browser with sixty self-contained animated elements and backgrounds.
 Motionvfx - mTitle Cinematic
Drops fifty film-trailer title templates with lens flares and slow-building reveals into Final Cut Pro.
Motionvfx - mTitle Cinematic
Drops fifty film-trailer title templates with lens flares and slow-building reveals into Final Cut Pro.
 Mountain Duck
Makes remote server storage appear as a local disk in Finder, no sync folder required.
Mountain Duck
Makes remote server storage appear as a local disk in Finder, no sync folder required.
 Mole
Clears cached clutter, logs, and forgotten files to reclaim disk space on your Mac.
Mole
Clears cached clutter, logs, and forgotten files to reclaim disk space on your Mac.