 ASPNetWorld

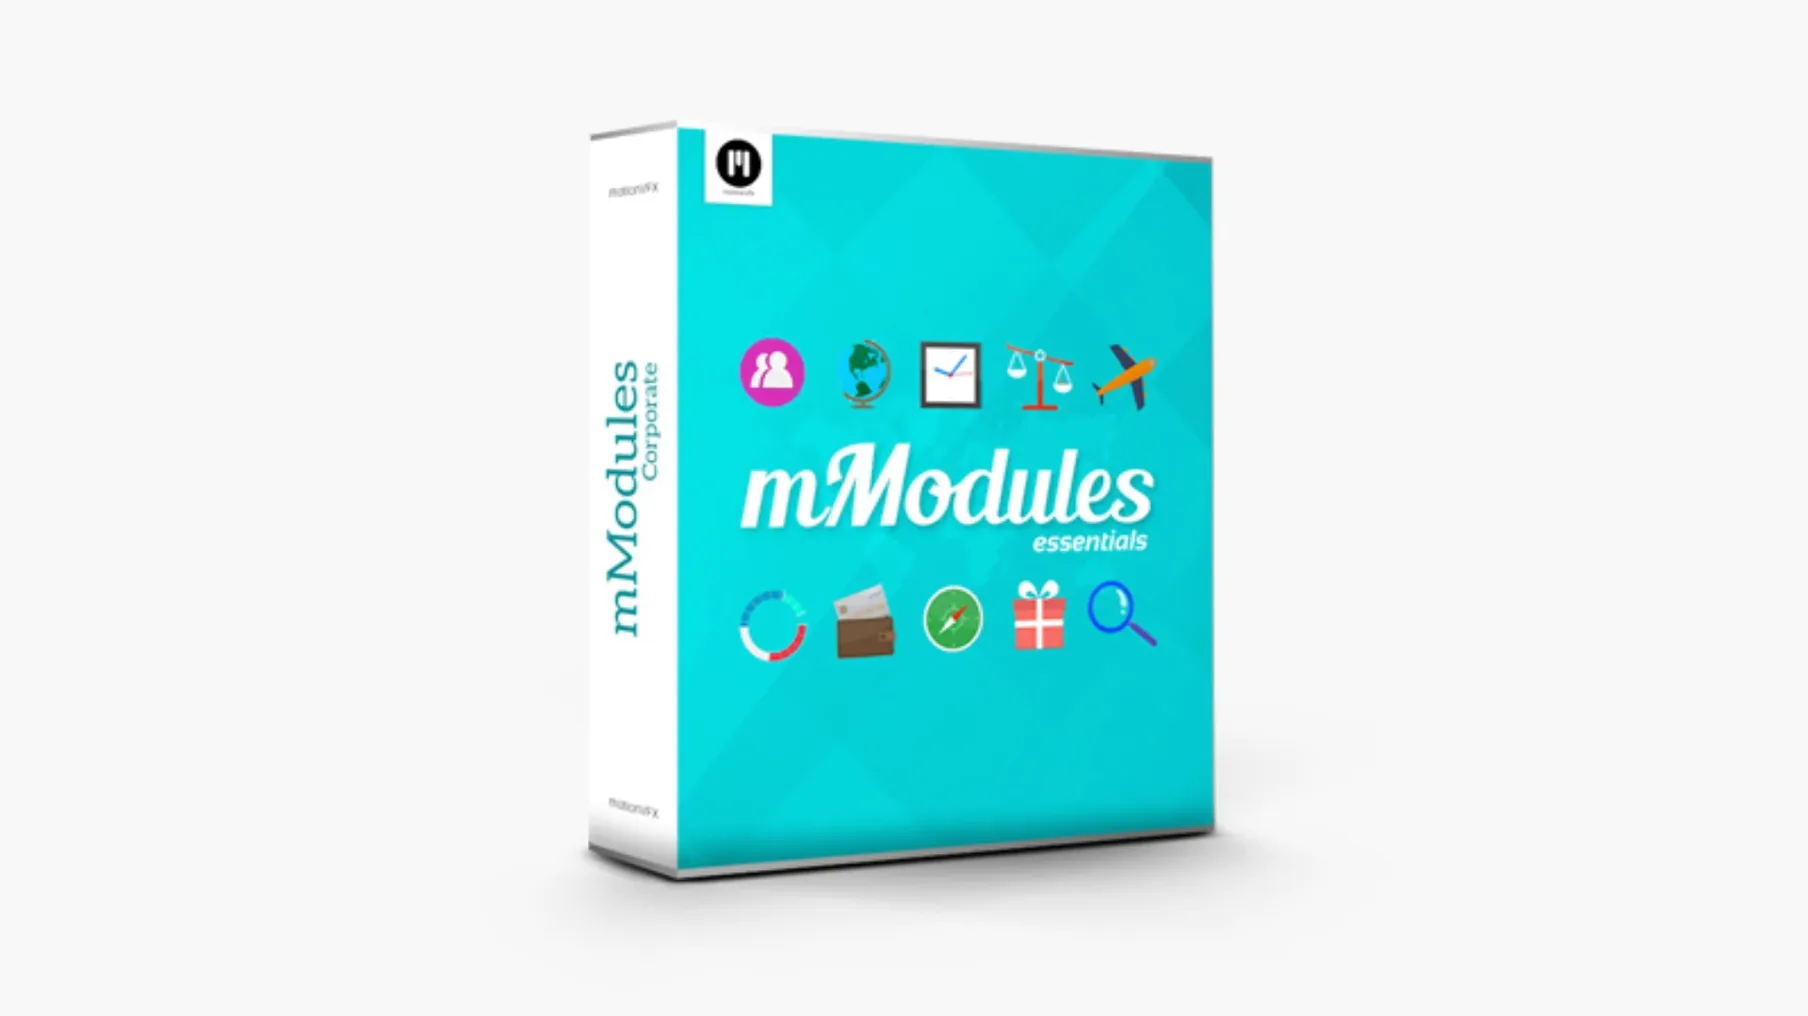
If you’ve spent any time in Final Cut Pro’s Titles Browser you’ll already know the built-in options are solid but sparse. mModules from motionVFX takes that familiar panel and quietly fills it with sixty self-contained elements — lower thirds, accent shapes, animated backgrounds — all living under their own motionVFX category so they never crowd your stock library.
Sixty elements organized the way your mix is actually structured
The sixty pieces aren’t a random grab bag; they’re grouped in a way that mirrors the tracks-and-buses thinking you’d use in a mix. Some are workhorse lower thirds that sit neatly over dialogue, others are full-frame transition helpers or little kinetic accents you drop onto a secondary storyline. The logic feels closer to building a pedalboard than browsing a clip-art folder — you don’t get everything at once, you get the right thing for the slot that needs filling.
Where mModules feels most at home
Because the elements live inside Final Cut Pro rather than a separate application, they inherit the timeline behaviour you already know. Drop one onto a connected storyline and it respects the magnetic timeline; stack a couple of shape elements above a talking-head shot and they composite with the same blend-mode controls you’d use for any other title layer. It’s not a new workflow — it’s the one you have, with better raw ingredients.
Render times on Apple Silicon dropped without a fanfare update
It’s tempting to think of a pack of sixty elements as finished, sealed, done. But motionVFX have kept the plumbing up to date, and the most recent releases have been more about feel than feature lists. Render times on Apple Silicon tightened noticeably — a compound clip with three or four animated accents now previews without that half-second stutter that used to creep in around the third pass. If you’re on an M-series machine, the elements lean on the Media Engine properly now, so background renders don’t spike the fan while you’re still cutting.
The other quiet fix was category tidiness. Earlier builds could scatter a stray element into the wrong browser tab if you’d migrated templates from an older Mac. The current structure locks everything under the motionVFX heading in both Titles and Generators, exactly where you’d expect, and it stays put even after a Final Cut Pro point update. Small thing, but it means your custom workspace layout survives a version bump without a morning of housekeeping.
One addition that arrived without fanfare: a handful of accent elements now contain optional drop‑zone backgrounds. You can drag a still or a clip straight into the published parameter in the inspector, and the motion graphic wraps around it. That used to require a separate compound clip and a border mask. Now it’s a single drag, which is the kind of thing you only really notice when you’re ten minutes from a client review and you need a logo sting to sit on textured glass rather than flat black.
Turning a four‑minute brand film from a locked cut into a finished piece
You’ve got a four‑minute brand film on the timeline — two interviews, some b‑roll of a workshop, a few product close‑ups. The cut works, but the gap between a finished edit and a finished piece is always the same handful of jobs: identify the speaker, soften a jump cut, give the end card a pulse. Here’s how a session with mModules tends to unfold.
First pass is lower thirds. You open the Titles Browser, click the motionVFX category, and skim. The naming is descriptive rather than whimsical — Lower Third Clean, Lower Third Bar, Lower Third Split — so you’re not decoding a mood, you’re matching a layout. You drop one above the first interview clip, type the name and title into the inspector, and the text animates in with a slide that’s crisp but not aggressive. The on‑screen controls let you nudge the vertical position without opening the viewer’s transform overlay, which keeps the operation from accidentally shifting your primary clip.
Second pass: accents. There’s a moment in the b‑roll where a machine arm swings left, and the frame feels lopsided for a beat. You browse the Generators Browser — same motionVFX folder — and find a thin animated line that sweeps opposite to the arm movement. You drop it onto a connected storyline above the b‑roll, trim it to exactly the two‑second window you need, and pull the opacity down to about sixty percent in the inspector. The line draws on, the arm swings, and suddenly the composition has a counterweight. You didn’t leave Final Cut Pro, you didn’t round‑trip to Motion, and the render bar stays grey.
Third pass: the end card. The client’s logo sits on a plain background, and it needs to feel like a full stop rather than an afterthought. You reach for one of the full‑frame animated backgrounds — a gentle particle drift that reads as texture, not noise — and place it underneath the logo clip. The background element ships with a published colour control, so you sample a shade from the logo itself and the particles shift from generic white to brand blue. The whole operation takes maybe ninety seconds, and because the background is a generator rather than a title, it sits happily on the primary storyline without fighting the magnetic timeline.
Motion‑based titles and generators that load as lightweight thumbnails only
“Will sixty new elements slow down the Final Cut Pro browser?” Not in any practical sense. The templates are lightweight — they’re Motion‑based titles and generators, not full‑fat effects units — and they load into the browser as thumbnails only when you’ve selected their category. If you’re not actively browsing the motionVFX folder, Final Cut Pro treats them the same as any unused title. On an M1 MacBook Air, the browser populates in under a second, and I’ve yet to see it beachball from template bloat alone. If you’re on an older Intel machine with a spinning drive, the initial category open might pause for a beat, but it’s a one‑time read, not a constant drain.
“Do I need Motion installed to use these?” No. The elements are self‑contained templates that Final Cut Pro reads directly. You only need Motion if you plan to crack one open and rebuild its innards — which is entirely possible, but it’s a bonus, not a requirement. They render, animate and publish their parameters inside Final Cut Pro without any helper application running in the background.
“What happens if I move the templates after installing?” Final Cut Pro expects them to live inside /Users/Your User Name/Movies/Motion Templates/Titles. If you relocate them, the browser simply won’t display them until you put them back or create a symbolic link. The good news is that any project already using the elements will hold their rendered previews, so your timeline won’t suddenly sprout missing‑media warnings — you just lose the ability to adjust parameters until the templates are restored.
Lower thirds and accent shapes with published parameters hidden in the inspector
Because the elements arrive as a single folder you drag into place, it’s easy to treat them as a finished product and never poke around the inspector. That’s a shame, because several of the lower thirds and accent shapes publish more controls than the preview thumbnail suggests. Look for a Scale slider that operates independently of the transform handles — it scales the internal graphic without affecting the bounding box, so a line can grow thicker without drifting out of alignment with the title text. It’s the kind of parameter that saves you from six extra keyframes and a layer of compound‑clip nesting.
Another hidden nicety: the animated backgrounds respond to the project frame rate, not a baked‑in speed. Drop one into a 25p timeline and the particles move at 25p; switch the project to 30p and they subtly adjust. You won’t get that judder you sometimes see with pre‑rendered stock elements that were authored for a different timebase. It’s a detail you never think about until a piece destined for both European and North American delivery suddenly looks wrong on one export — and here it simply doesn’t.
Keyboard‑wise, the elements play nicely with Final Cut Pro’s existing shortcuts. Select an element on the timeline, press Control‑V to open the video animation editor, and you’ll see the published parameters listed as keyframe‑able lanes — opacity, position offset, colour, scale — exactly the same lanes you’d get with a built‑in title. No special menu diving, no secondary plugin panel. If you’ve trained your fingers for the stock tools, they already know how to drive this.
One workflow that’s worth discovering early: you can stack two accent generators on the same connected storyline, set their blend modes to Screen and Overlay respectively, and composite a texture that looks far more bespoke than either element alone. Because they’re both generators, they don’t compete for the same title track lane, and the inspector treats them as independent clips. It’s a quick way to stretch sixty elements into a much wider palette without touching Motion at all.
Swap the system placeholder typeface before you place a single title
Final Cut Pro won’t tell you this, but the default text parameters on some mModules lower thirds ship with a typeface that’s a system placeholder — perfectly functional, but rarely what you want. Before you start placing titles on a real project, drop one onto a scratch timeline, open the inspector, and set the font, weight and tracking to your house style. Then select the adjusted element and choose File > Save as Template (or right‑click and pick Save as Effects Preset depending on your Final Cut Pro version). Future drag‑ins from that preset will carry your type choices, and you’ve just cut the repetitive inspector work out of every subsequent session.
Next, open Final Cut Pro’s Playback preferences and make sure Background Render is set to something comfortable for your machine. The mModules elements are light, but if you’re stacking six or seven animated accents across a timeline, a background render queue that kicks in aggressively can spin the fans on a MacBook Air. I tend to set it to a twelve‑second delay — long enough that I can skim and trim without triggering a render storm, short enough that the timeline is ready to play smoothly by the time I’ve finished a coffee. The elements themselves don’t demand this; it’s just good housekeeping when you’re layering motion graphics inside a magnetic timeline.
Lastly, if you work across multiple Macs — a desktop for heavy lifting and a laptop for on‑set assemblies — it’s worth noting where the templates live. The path ~/Movies/Motion Templates/Titles/ is user‑specific, not system‑wide. If you want the same mModules folder available on both machines, you’ll need to copy it into the same location on each Mac, or keep it on an external drive and drop a symbolic link into that Motion Templates folder. The elements themselves don’t phone home and don’t need activation, so there’s nothing to break when you move between machines. Just make sure the folder structure matches, and Final Cut Pro will treat them as native on both systems.
Questions I keep hearing
How do I install mModules once I’ve downloaded the archive?
Unpack the archive, then move the contents into the Motion Templates folder inside your user Movies directory. The exact path is /Users/Your User Name/Movies/Motion Templates/Titles.
Where do the templates appear in Final Cut Pro?
They show up in the Titles Browser under a dedicated motionVFX category, ready to be dragged straight onto the timeline.
Questions from the class 0
Sign in or join the class to ask a question.
Nobody has asked anything yet. If you have used it on a real job, say what the file did.
Also on the Mac Apps shelf
The whole Mac Apps shelf MotionVFX - mLowers Universal for FCP
Places seventy animated lower-third titles onto your timeline without jarring style clashes.
MotionVFX - mLowers Universal for FCP
Places seventy animated lower-third titles onto your timeline without jarring style clashes.
 Motionvfx - mTitle Cinematic
Drops fifty film-trailer title templates with lens flares and slow-building reveals into Final Cut Pro.
Motionvfx - mTitle Cinematic
Drops fifty film-trailer title templates with lens flares and slow-building reveals into Final Cut Pro.
 MotionVFX mKBHD
Gives video editors a shortcut to Marques Brownlee’s clean, kinetic on-screen graphic style.
MotionVFX mKBHD
Gives video editors a shortcut to Marques Brownlee’s clean, kinetic on-screen graphic style.
 Mountain Duck
Makes remote server storage appear as a local disk in Finder, no sync folder required.
Mountain Duck
Makes remote server storage appear as a local disk in Finder, no sync folder required.
 MotionVFX mInfographics
Drops animated charts and percentage counters straight into a Final Cut Pro timeline.
MotionVFX mInfographics
Drops animated charts and percentage counters straight into a Final Cut Pro timeline.
 MouseBoost Pro
Extends your right-click menu with checksums, terminal shortcuts, and actions Finder left out.
MouseBoost Pro
Extends your right-click menu with checksums, terminal shortcuts, and actions Finder left out.
 Motion
Designs title sequences, particle effects, and transitions on a huge canvas for video editors.
Motion
Designs title sequences, particle effects, and transitions on a huge canvas for video editors.
 Movavi Screen Recorder
Schedules screen recordings in advance so you never miss a live demo at an awkward time.
Movavi Screen Recorder
Schedules screen recordings in advance so you never miss a live demo at an awkward time.