 ASPNetWorld

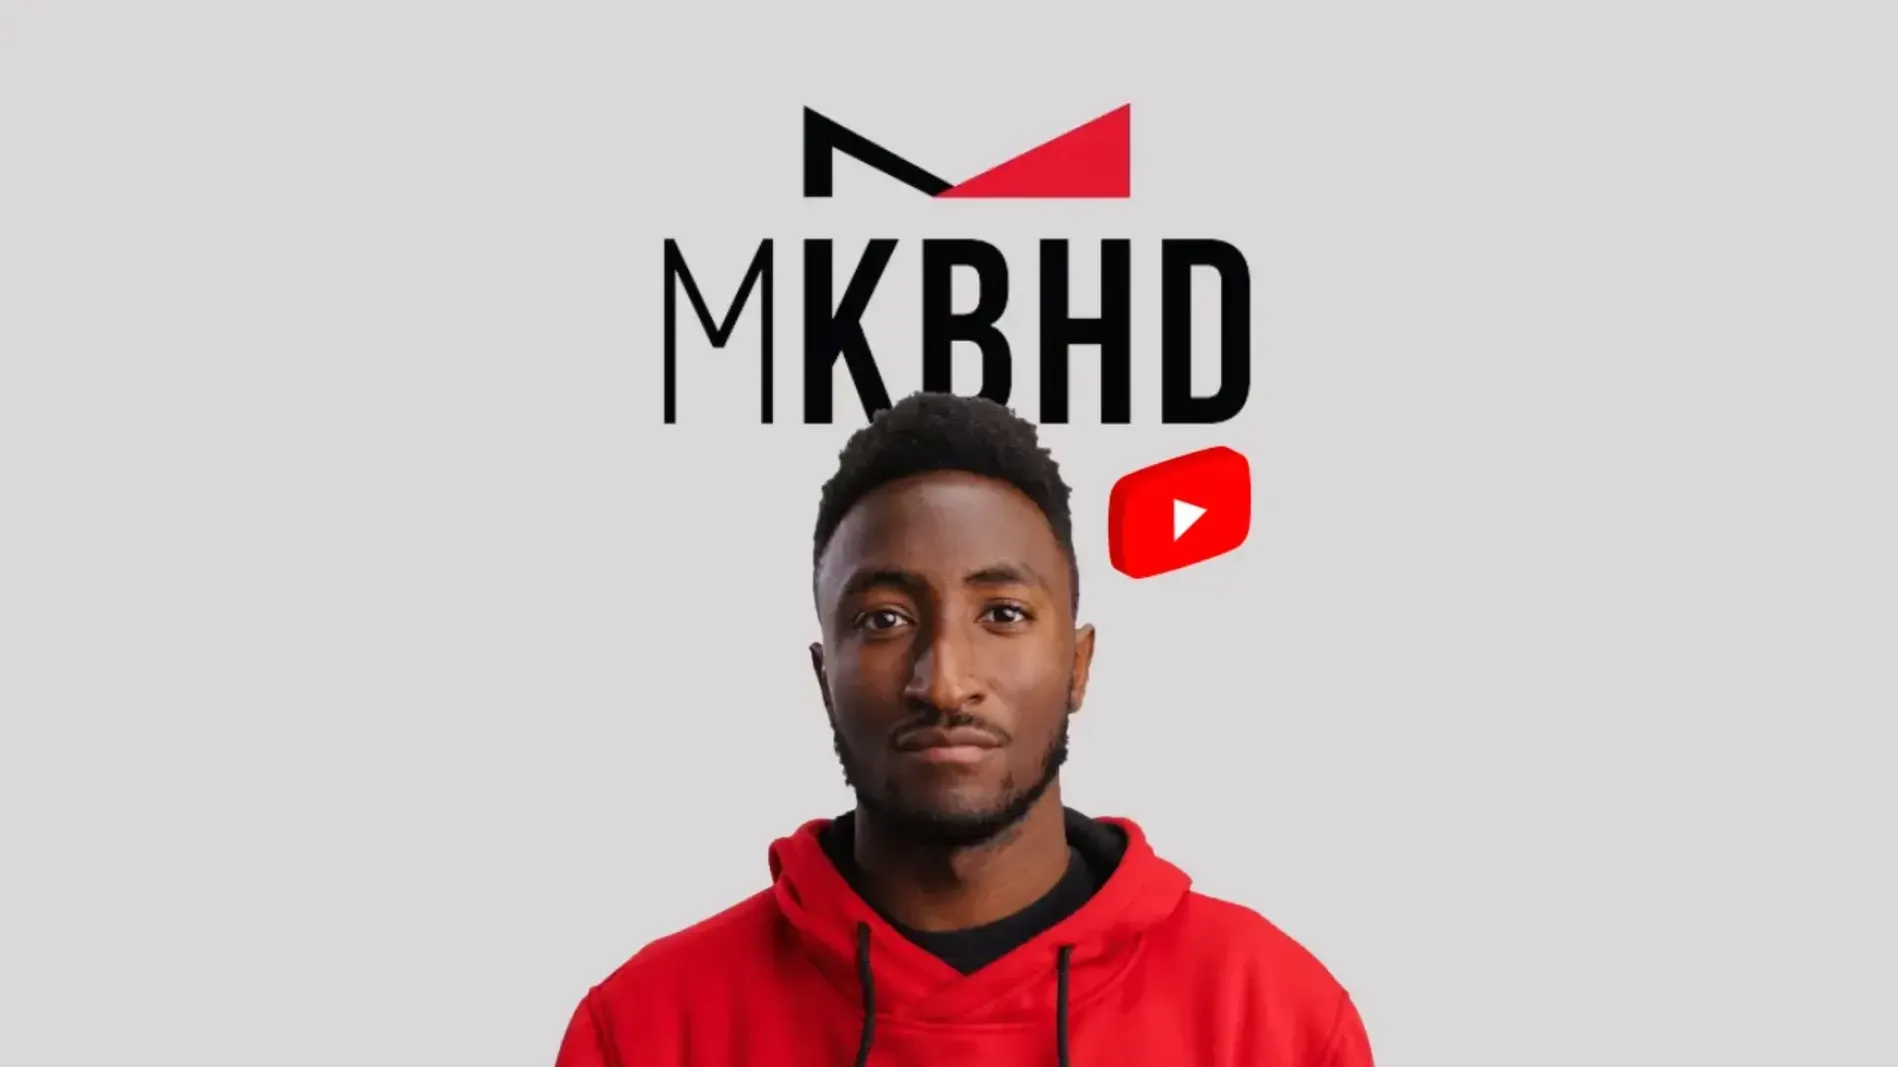
The latest build of this collaboration with Marques Brownlee packs 51 ready-made presets into a single download, giving you a shortcut to the clean, kinetic look he’s known for. It’s a drag-and-drop affair across three major editing hosts, though the exact contents shift depending on which application you’re working in.
Final Cut Pro gets 45 titles plus vertical video support baked in
The Final Cut Pro edition is the largest, landing with 45 titles and 6 transitions, and it happily handles both horizontal and vertical aspect ratios. If you’re working in DaVinci Resolve, you’ll find 35 titles, 10 effects and 6 transitions, though you’ll want at least 4 GB of VRAM to keep playback smooth. The Adobe Premiere Pro version draws on the same design language but requires Premiere Pro 2022 or newer with After Effects 2022 or newer installed alongside it — the plugin leans on that link for rendering.
How the sound fits the motion
What ties these presets together is their rhythm. The animations accelerate and land with a weight that suits a tech review or a product highlight, and the audio design — subtle whooshes, tight impacts — is baked into the templates so the mix feels finished the moment you drop a title onto the timeline. It’s not a soundtrack library; it’s audio married to motion, behaving the way MKBHD’s own edits do, where a graphic snaps into place just as a beat hits. The interface language throughout is English, and the whole thing expects macOS Big Sur 11.7.10 or later with 16 GB of system memory underneath it.
Blank viewer after dragging a title usually points to host communication
Most of the confusion I see comes from how the plugin talks to the host application, not from the presets themselves. Editors open the package, drag a title onto the timeline and then stare at a blank viewer, wondering if the download was corrupt. It rarely is. The culprit is usually a missing companion app — Premiere Pro users forget that After Effects needs to be installed and up to date, because mKBHD borrows its rendering engine in the background. Without it, the templates simply won't build.
Another common slip is folder placement. The Russian download page spells it out clearly, but people skim. One folder belongs in Motion Templates/Transitions and the other in Motion Templates/Titles. Swap them by accident and Final Cut Pro will show the items greyed out, and you'll waste twenty minutes rebuilding the library database for no reason. The folder names themselves aren't always obvious either, so I tell my evening class students to read the archive structure before they start dragging things around.
Then there's the resolution mismatch. Several of the kinetic reveals were designed with a 16:9 canvas in mind, and dropping them into a vertical 9:16 timeline in Premiere Pro — which doesn't officially support vertical for this plugin — leads to text that spills off the edges or looks cramped. You can fix it with manual keyframing, but it's not the instant drag-and-drop experience the product promises. If vertical is your delivery format, work in Final Cut Pro or Resolve and save yourself the headache.
What to do on day one
Before you touch a single preset, open a throwaway project and build a short stress test. Stack four or five titles back to back — a channel intro, a lower third, a chapter marker, a closing card — and play them through at full resolution. Watch the frame counter. If DaVinci Resolve stutters, check your VRAM allocation in the preferences; the 4 GB requirement is a floor, not a ceiling, and a busy timeline with colour grading underneath will push past it quickly.
Once playback holds, pick three presets and customise them lightly. Change the typeface, tweak the colour of the accent line, shift the timing by a few frames. The reason isn't creative — it's about learning where the editable parameters live, because motionVFX tucks some controls inside the Effects panel and others in the inspector, and the split isn't consistent across hosts. Knowing that layout on day one saves you from hunting mid-deadline.
Finally, resist the temptation to pepper an edit with all 51 presets at once. The collection shares a visual grammar, and using too many variations in a single video reads as restless rather than polished. MKBHD's own channel runs on consistency — two or three templates repeated with purpose, not a showreel of everything the plugin can do. Lock in your favourites early and treat the rest as a toolbox you dip into when the story genuinely needs a shift in energy.
One aesthetic executed with a creator’s confidence instead of dozens of styles
Stacked against motionVFX's own mTitle series, mKBHD is narrower in scope but stronger in personality. mTitle gives you dozens of styles — sci-fi, documentary, corporate — whereas mKBHD does one aesthetic and does it with the confidence of a creator who's been refining it on camera for over a decade. If your project already has a defined brand, mTitle might be the safer bet. If you want something that feels like a tech channel straight out of the box, mKBHD is the quicker route.
Compared with Pixel Film Studios' FCPX titles, the gap is mostly about polish. Pixel Film's catalogue is enormous and often cheaper to dip into, but the animations can feel floaty and the audio integration is hit or miss. mKBHD's presets arrive with sound that's been mixed to land tightly with the motion — the whoosh decays exactly as the text locks into place, and you don't need to nudge audio clips manually to make it work. That alone saves a surprising amount of time over the course of a ten-minute edit.
Against Envato Elements' template packs, the trade-off is curation versus volume. Envato gives you thousands of options and you'll definitely find something that approximates the MKBHD look, but you'll also spend an afternoon auditioning them. mKBHD is 51 presets made with one voice — you're paying for someone else's taste, which is either a limitation or a liberation depending on how decisive you are in the edit suite.
Polishing a locked twelve-minute laptop review with A-roll and B-roll in place
Picture a Tuesday evening. I've got a twelve-minute laptop review to finish for a client, and the rough cut is locked. The timeline in Final Cut Pro is mostly A-roll with a handful of B-roll inserts, and it needs visual signposting before the audience loses track of which section is which.
I park the playhead at the cold open and browse the mKBHD titles browser. The 'Channel Intro' preset catches my eye — bold white text on a dark animated backdrop, with a thin red line that streaks across and leaves the channel name behind. I drag it above the first clip, trim its duration to four seconds, and watch it once. The audio hit lands a fraction late against the cut, so I slide the whole title block three frames left. That's all it needs.
Next, the spec rundown section. I pull in a lower-third preset for the processor details, duplicate it across four clips, and edit the text in the inspector — model name, RAM, storage, GPU. Each instance inherits the same animation curve, so the sequence feels threaded together. A student once asked why I don't use a different preset for each spec line, and the answer is that consistency tells the viewer "this is still the same conversation," whereas switching styles every shot suggests a new thought.
At the seven-minute mark I want a transition that signals a tonal shift — moving from specs to real-world performance. I open the transitions folder and drop the 'Swipe Reveal' between two clips. The transition whips a dark panel across the screen with a low-end thump that clears the air. In Resolve I'd need to check my VRAM usage here; in Final Cut Pro it plays back without a hitch, even on a 4K timeline.
The closing card takes thirty seconds. I drag the 'End Screen' title onto the last three seconds, swap the placeholder text for the client's subscribe call to action, and render the whole thing out. From first preset to export, the titling work ran maybe eighteen minutes. Most of that was reading time — the plugin did the heavy lifting for timing and audio — and the client's note the next morning was simply "looks like a real video now." That's the point of a preset pack that knows exactly what it's trying to be.
The latest release adds 51 ready-made presets across the supported hosts, expanding the toolkit so you can build a full edit — titles, effects and transitions — without leaving the MKBHD design language.
- macOS Big Sur 11.7.10 or later
- 16 GB system memory
- 4 GB VRAM (DaVinci Resolve)
- Final Cut Pro 10.6.5, DaVinci Resolve 17.4, or Adobe Premiere Pro 2022+ with After Effects 2022+
- Intel and Apple Silicon supported
Questions I keep hearing
Which Macs can run the DaVinci Resolve version?
Any Mac that meets DaVinci Resolve 17.4’s own requirements and has 4 GB of VRAM available — that typically means a discrete GPU rather than an integrated one.
Do the presets include the music from MKBHD’s videos?
No, they include short sound-design elements like whooshes and impacts that are timed to the visual animations; you supply your own background track.
Can I use the Premiere Pro presets without After Effects?
No, the Premiere Pro version requires After Effects 2022 or newer to be installed, as the templates use dynamic linking for rendering.
Questions from the class 0
Sign in or join the class to ask a question.
Nobody has asked anything yet. If you have used it on a real job, say what the file did.
Also on the Mac Apps shelf
The whole Mac Apps shelf MotionVFX mInfographics
Drops animated charts and percentage counters straight into a Final Cut Pro timeline.
MotionVFX mInfographics
Drops animated charts and percentage counters straight into a Final Cut Pro timeline.
 MotionVFX - mLowers Universal for FCP
Places seventy animated lower-third titles onto your timeline without jarring style clashes.
MotionVFX - mLowers Universal for FCP
Places seventy animated lower-third titles onto your timeline without jarring style clashes.
 Motion
Designs title sequences, particle effects, and transitions on a huge canvas for video editors.
Motion
Designs title sequences, particle effects, and transitions on a huge canvas for video editors.
 MotionVFX mModules
Fills Final Cut Pro’s Titles Browser with sixty self-contained animated elements and backgrounds.
MotionVFX mModules
Fills Final Cut Pro’s Titles Browser with sixty self-contained animated elements and backgrounds.
 Motionvfx - mTitle Cinematic
Drops fifty film-trailer title templates with lens flares and slow-building reveals into Final Cut Pro.
Motionvfx - mTitle Cinematic
Drops fifty film-trailer title templates with lens flares and slow-building reveals into Final Cut Pro.
 Moom
Saves and restores exact window layouts so you never drag and resize the same arrangement twice.
Moom
Saves and restores exact window layouts so you never drag and resize the same arrangement twice.
 Mountain Duck
Makes remote server storage appear as a local disk in Finder, no sync folder required.
Mountain Duck
Makes remote server storage appear as a local disk in Finder, no sync folder required.
 MouseBoost Pro
Extends your right-click menu with checksums, terminal shortcuts, and actions Finder left out.
MouseBoost Pro
Extends your right-click menu with checksums, terminal shortcuts, and actions Finder left out.