 ASPNetWorld

Thirteen interface languages sit inside one portable disk image. That’s the first thing you notice about Movavi Video Editor 22.4.1 — it arrives ready to speak your language the moment you drag it into Applications. The app is built for people who need a social clip, a family montage or a short business video without learning a timeline editor from scratch.
Features that do a specific job
Every tool in Movavi Video Editor is tied to a clear outcome, so you reach for a feature rather than hunting through menus:
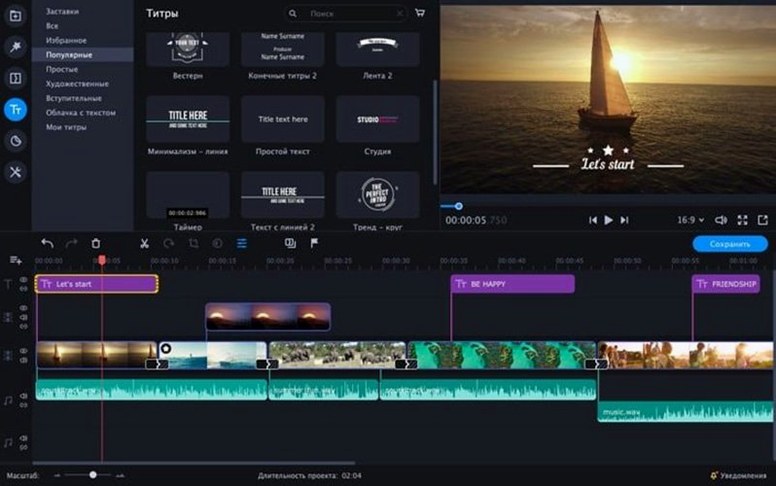
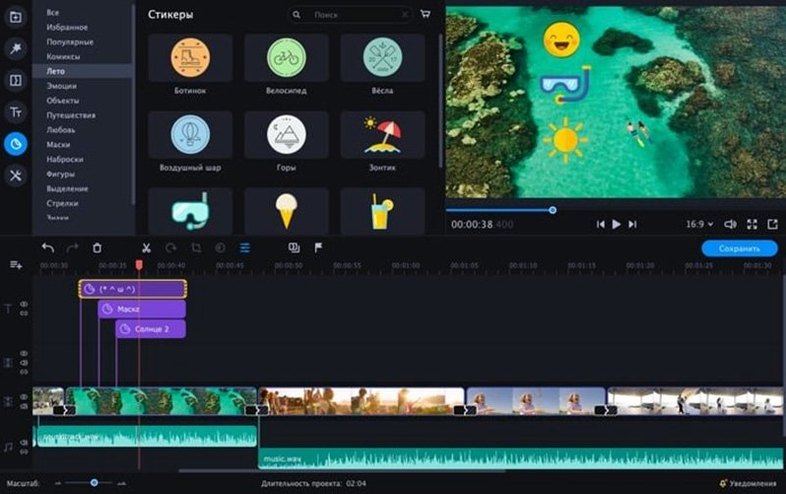
- Stickers and animated text overlays add personality to social clips. Think of them as a way to point at something on screen or punctuate a joke without leaving the timeline.
- Slow motion and reverse playback turn ordinary footage into something worth rewatching. Slow motion stretches a reaction shot; reverse playback makes a coffee pour look like magic.
- Quick cutting and trimming handles the core task of removing dead air. The workflow assumes you want to assemble a rough cut fast, then dress it with effects.
What the workspace feels like
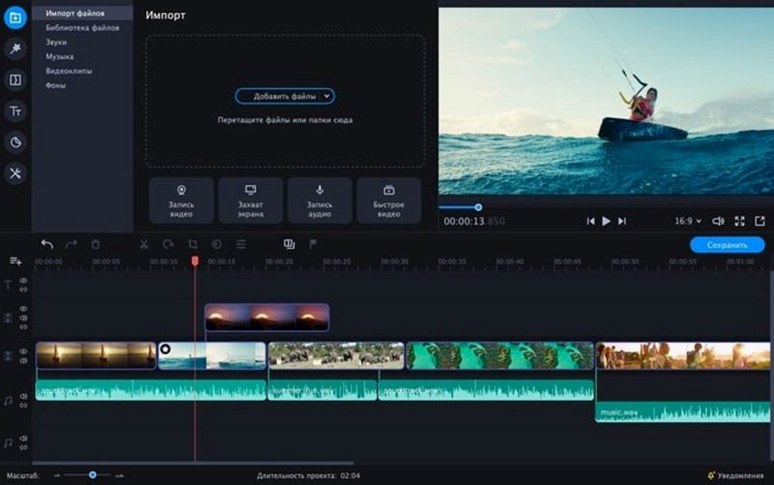
Movavi positions this editor as a Mac-native app, not a port, and the interface keeps to a single-window layout. You import clips, drag them to the timeline, and layer effects from a sidebar that stays out of the way until you need it. The sticker library and text presets live in the same panel, so swapping a static title for an animated one takes one click. Because the app runs on macOS 10.13 and later, it fits older Intel Macs that might struggle with heavier editors, while still feeling responsive on more recent machines.
Set your default import folder right after installing
A fresh installation of Movavi Video Editor 22.4.1 behaves like a tidy workshop before any projects have cluttered the floor. Spend twenty minutes on these habits and the next few weeks will feel smoother.
First, set your default import folder in the preferences. The app remembers the last place you pulled media from, but telling it to look inside a dedicated project folder from day one stops you scattering clips across the desktop. Second, browse the sticker and intro libraries right now, not when a deadline is breathing down your neck. Drag a few favourites onto a blank timeline just to see how they animate — knowing what’s available means you’ll reach for the right one instinctively later. Third, tap the spacebar to play and pause instead of reaching for the mouse. It sounds trivial, but the timeline responds faster to keystrokes than to button clicks, and that rhythm becomes second nature surprisingly quickly.
Turning twenty minutes of party footage into a two-minute highlights clip
Imagine you shot twenty minutes of phone footage at a friend’s garden party and promised a two-minute highlights clip by the evening. You open Movavi Video Editor and the workspace sits ready, single-window, no splash screen lingering.
Step 1 — Import everything at once. You drag the whole folder from Finder straight onto the media bin. The app scans the clips, builds thumbnails, and leaves them in a tidy grid. No import dialogue pestering you about formats.
Step 2 — Rough assembly on the timeline. You pull the first clip down to the track, then skim through using the playhead. Whenever you hit a dull stretch, you split the clip with a single keystroke and delete the dead section. The timeline doesn’t ripple automatically unless you ask it to, so you can trim without accidentally shifting everything downstream — a small mercy when you’re moving fast.
Step 3 — Slow motion on the money shot. There’s a clip of someone catching a flying sausage (it was that kind of party). You select the segment, open the speed controls, and drop it to half speed. The app stretches the frames and the motion holds up well enough for a social clip. A button click adds reverse playback to the same segment, so the sausage appears to launch itself back onto the fork. Absurd, delightful, done in under thirty seconds.
Step 4 — Dressing with text and stickers. You pull an animated title from the library and drop it at the start. The text reads “Garden Chaos” in a bouncy font that matches the tone. Later, you spot a sticker of a dancing vegetable and place it over a shot where someone is grilling courgettes. The sticker scales with a corner handle, no keyframes needed.
Step 5 — Chroma key for a joke. Someone held up a green tea towel behind a guest’s head. You apply the chroma key effect, sample the green with the eyedropper, and drop in a clip of a tropical beach as the new background. The edge isn’t broadcast-clean, but for a quick laugh it’s perfect. You render the preview to check timing, then export the whole thing at a resolution that suits Instagram. The session from import to finished file takes under an hour, and most of that time was spent choosing which jokes to keep.
The installer runs fine on macOS 10.13 and targets 64-bit Intel
People email me with the same handful of worries before they even open the disk image. Here are the honest answers.
“Will this choke my older Mac?” The installer runs on macOS 10.13 and the app targets 64-bit Intel processors, so if your machine can open High Sierra it can run Movavi Video Editor. On a 2015 MacBook Air with 4GB of RAM, timeline scrubbing stays fluid as long as you work with 1080p footage and don’t stack too many effects simultaneously. The app isn’t trying to be a compositing suite — it keeps the overhead low by design.
“Is chroma key actually usable, or just a checkbox feature?” It’s functional for the kind of background replacement that social videos and business presentations need. You sample a colour, tweak the tolerance slider, and the background vanishes. Even lighting helps, naturally, but the edge smoothing control hides a fair amount of spill. Don’t expect to key out wispy hair against a wrinkled bedsheet, but a solid green backdrop behind a talking head works reliably.
“How steep is the learning curve if I’ve only used phone editors?” Movavi Video Editor sits in the gap between a single-track phone app and a professional non-linear editor. The timeline works in layers, which is the one concept phone-only editors might need a moment to grasp. Once you understand that a sticker sits on its own track above the video, everything else falls into place within an afternoon. The interface labels are plain English — or German, Spanish, Italian, Chinese, Korean, Dutch, Polish, Portuguese, Turkish, French or Japanese — and tooltips appear when you hover long enough.
What the move to version 22 brought into daily editing
The 22.4.1 build refined a few workflows that had been nudging users towards third-party tools. The media bin now handles larger thumbnail sets without stalling, so projects with hundreds of short clips stay navigable. The chroma key effect gained an eyedropper that samples directly from the preview window rather than forcing you to guess which shade of green to pick from a colour wheel — a small change that saves repeated trips to the tolerance slider.
Export presets were reworked to match the social platforms that people actually target. Instead of generic “High Quality” and “Low Quality” options, the dialogue now lists frame sizes and bitrates tuned for Instagram stories, YouTube shorts and WhatsApp sharing. The difference is that you spend less time looking up recommended export settings on a phone while the export window waits. Also worth noting: the sticker and intro libraries expanded quietly between the early 22.x releases and 22.4.1, adding themed packs that cover seasonal events and business formats without requiring a separate download.
Alt-drag a clip to create an instant copy on the same track
Movavi Video Editor has a knack for tucking useful shortcuts just out of view, so here are the ones I point out to students during evening classes.
- Alt-drag a clip to create an instant copy on the same track. Useful when you want to repeat a short sting or a reaction shot without importing the file twice.
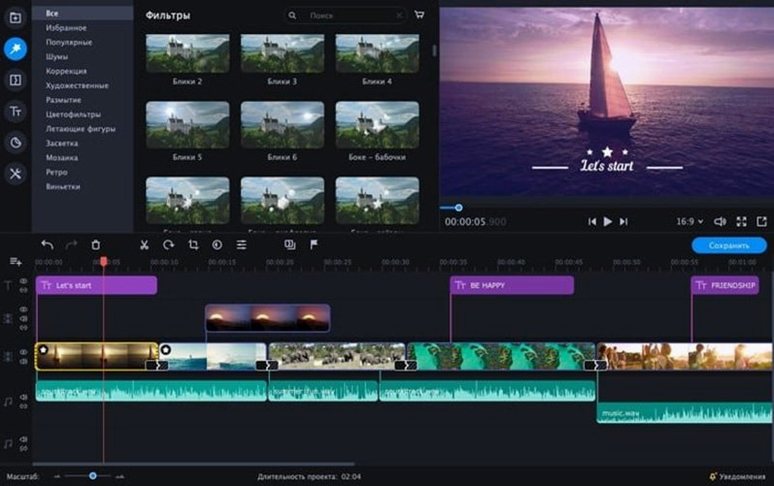
- Right-click any effect in the sidebar and choose “Add to Favourites.” The app maintains a personal collection that appears at the top of every effects panel, and it syncs across projects. If you always use the same lower-third text style, favourite it once and stop scrolling past twenty fonts to find it.
- Scrub the timeline with two fingers on a trackpad and the playhead moves at half speed. It’s a precision framing trick that isn’t mentioned in the toolbar but works on every Mac with a multi-touch surface.
- The audio tools include a one-click normaliser tucked inside the clip properties. If your background music drowns the voiceover, select the music clip, open properties, and hit “Normalise” to bring peaks down to a sensible level. It’s not a full loudness meter, but it stops the worst volume jumps before export.
- macOS 10.13 or later
- Intel-based Mac
Questions I keep hearing
What can I use Movavi Video Editor for?
It is designed for creating social clips, business videos and family movies with effects like stickers, animated text and slow motion.
Questions from the class 0
Sign in or join the class to ask a question.
Nobody has asked anything yet. If you have used it on a real job, say what the file did.
Also on the Mac Apps shelf
The whole Mac Apps shelf Movavi Video Converter
Converts media into Opus audio, WebM video, and image sequences, not just MP4 files.
Movavi Video Converter
Converts media into Opus audio, WebM video, and image sequences, not just MP4 files.
 Movavi Video Suite
Bundles video editing, file conversion, and screen recording into a single three-in-one tool.
Movavi Video Suite
Bundles video editing, file conversion, and screen recording into a single three-in-one tool.
 Movist Pro
Plays video files using either QuickTime or FFmpeg as the engine behind each codec.
Movist Pro
Plays video files using either QuickTime or FFmpeg as the engine behind each codec.
 Movavi Screen Recorder
Schedules screen recordings in advance so you never miss a live demo at an awkward time.
Movavi Screen Recorder
Schedules screen recordings in advance so you never miss a live demo at an awkward time.
 Mp3tag
Edits metadata across a whole music library in one fast batch, not track by track.
Mp3tag
Edits metadata across a whole music library in one fast batch, not track by track.
 MouseBoost Pro
Extends your right-click menu with checksums, terminal shortcuts, and actions Finder left out.
MouseBoost Pro
Extends your right-click menu with checksums, terminal shortcuts, and actions Finder left out.
 m’s HalfTone
Brings hands-on, animatable dot-pattern effects into After Effects with motion and transparency control.
m’s HalfTone
Brings hands-on, animatable dot-pattern effects into After Effects with motion and transparency control.
 Mountain Duck
Makes remote server storage appear as a local disk in Finder, no sync folder required.
Mountain Duck
Makes remote server storage appear as a local disk in Finder, no sync folder required.