 ASPNetWorld

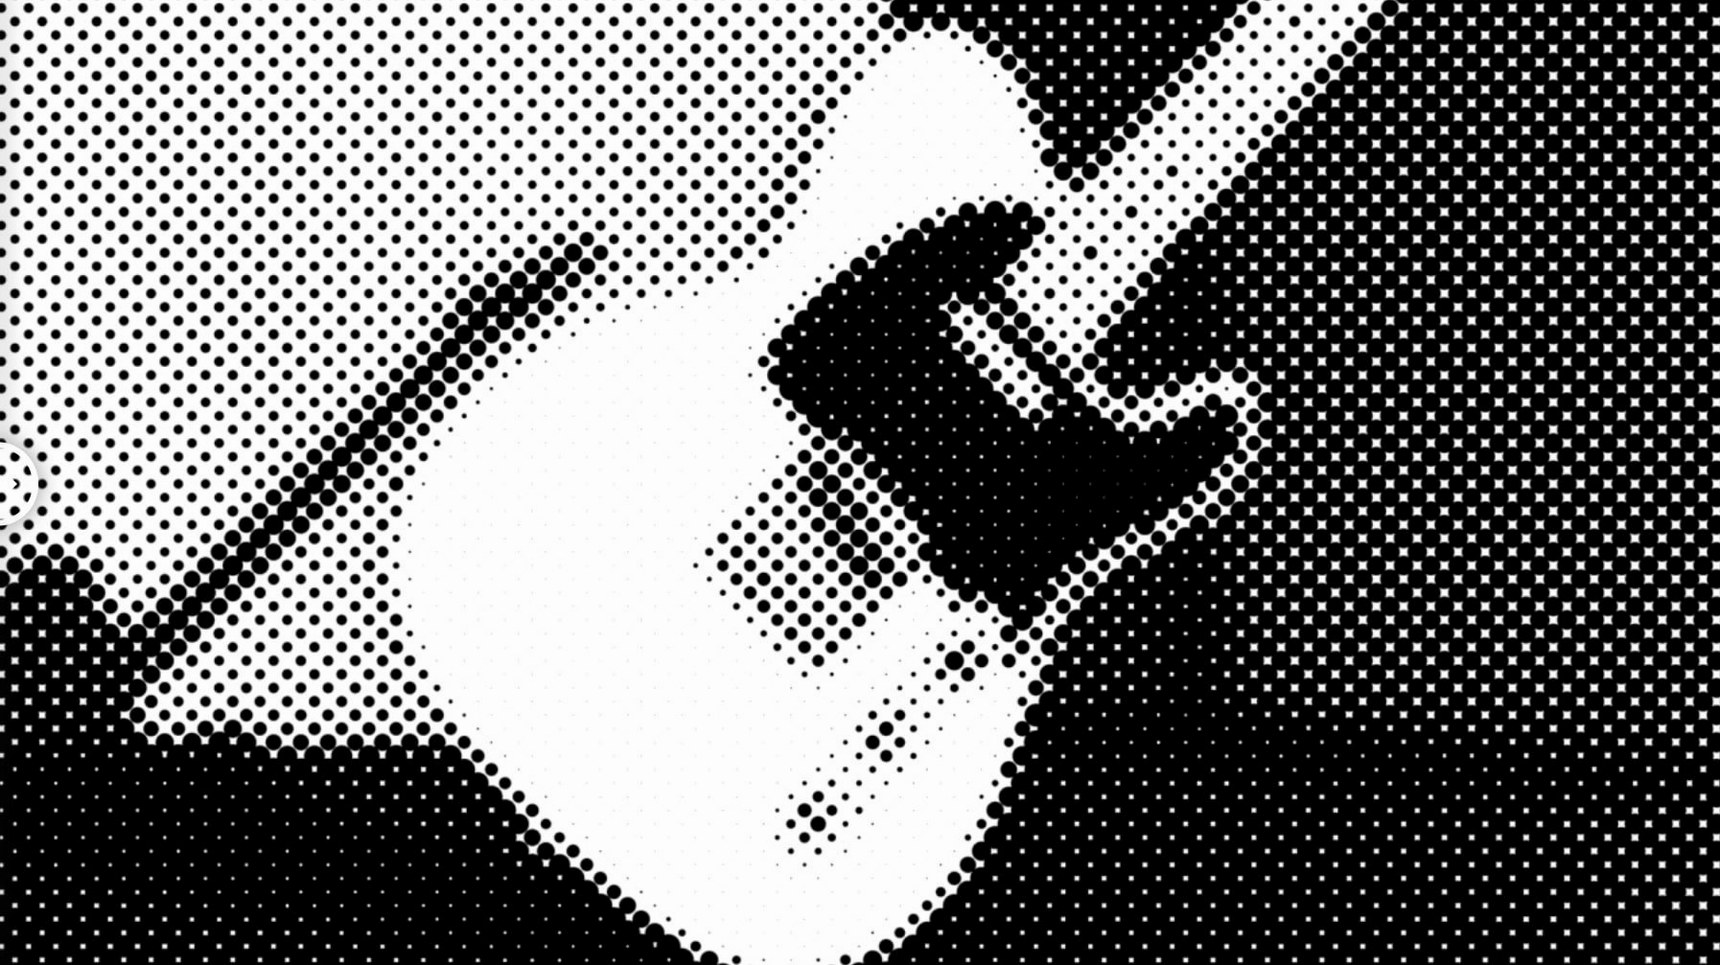
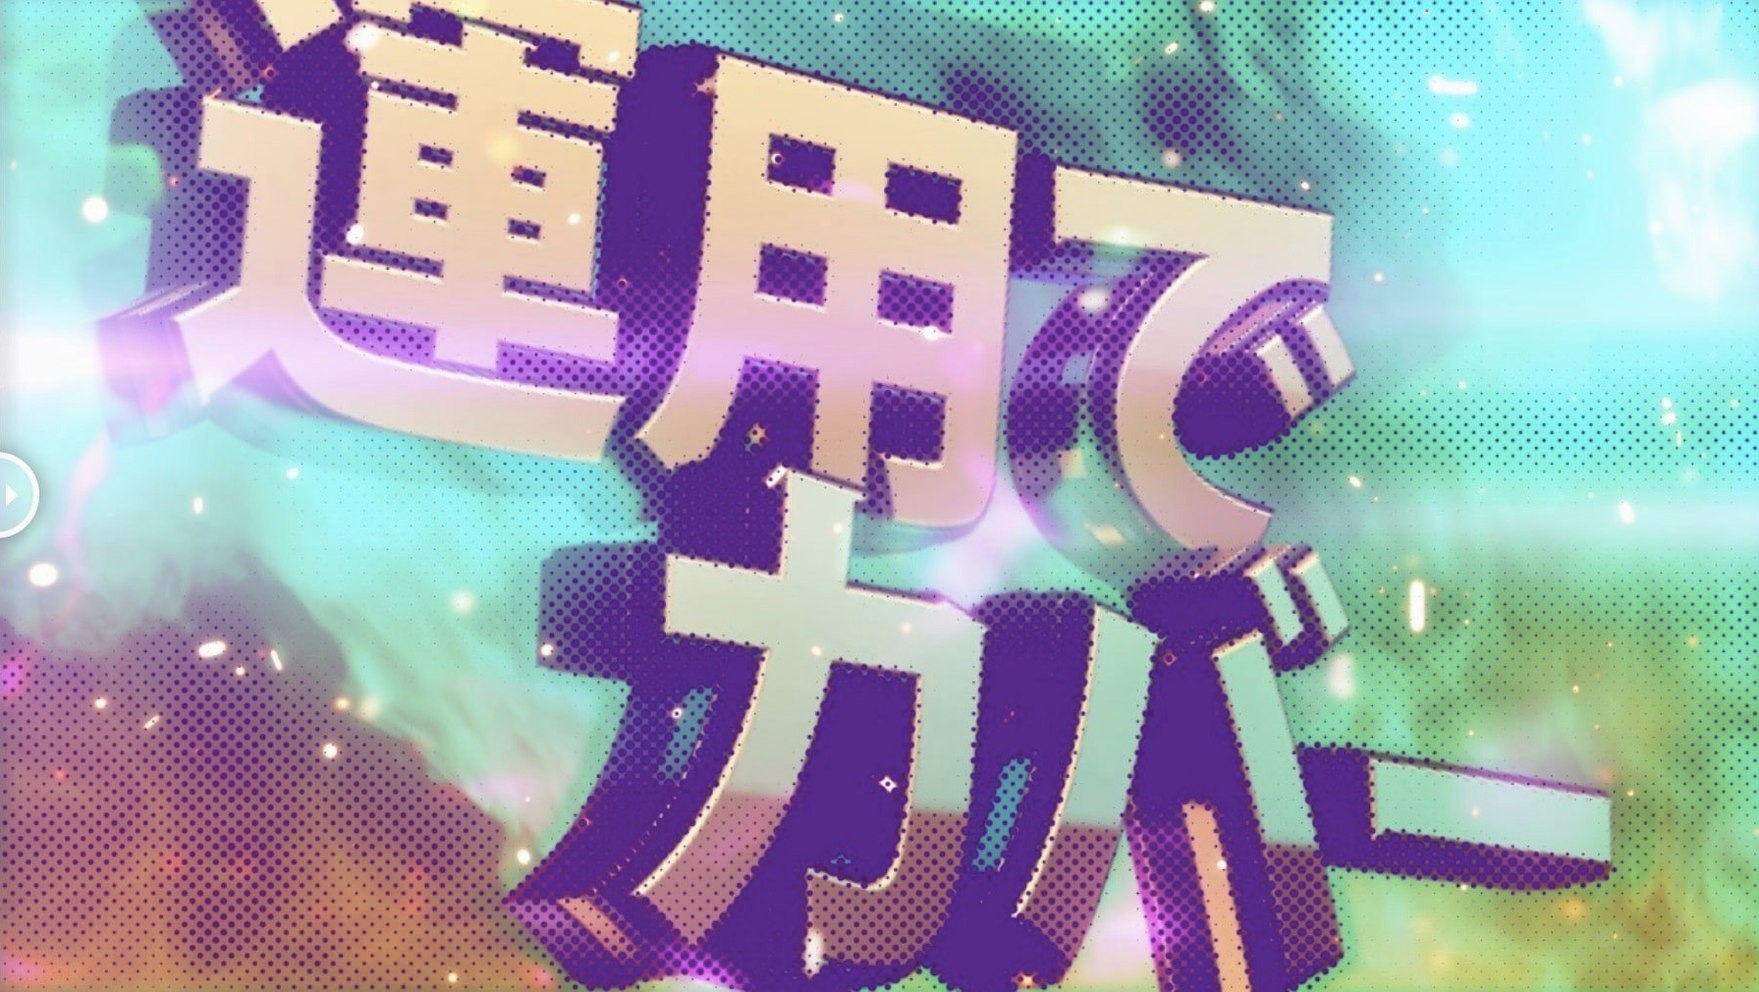
If you have ever nudged a circle around in Adobe Illustrator, you already understand half the appeal of m's HalfTone. The plugin brings that same hands-on dot-placement thinking into After Effects, but with motion and transparency in the mix. Instead of static screens, you get dots that can rotate, scale and fade as your footage plays — a proper creative playground.
Which control shows me what the plugin actually does?
Start with Dot Size. Drag it while watching a high-contrast clip and you will immediately see the halftone pattern tighten or swell. It is the quickest way to understand how the effect interprets your image.
A slow spin and offset shift make the grid breathe
Rotation is your next stop. A slow, keyframed spin — even just a few degrees over a few seconds — turns a mechanical grid into something alive. Combine it with a subtle Offset shift and the pattern starts to breathe.
Can I soften the effect without losing the halftone look?
Yes, and that is where the Alpha control earns its keep. It lets the original image ghost through the dots, so you get a haunting blend rather than a hard graphic mask. Perfect for title sequences that need texture, not distraction.
The plugin suits a particular kind of After Effects user very well, and it is not necessarily the person running the most complex 3D comp. It clicks fastest for motion designers who build their work around texture rather than geometry. If you find yourself adding film grain, paper textures or subtle scan-line overlays to give a piece weight, m’s HalfTone is going to feel like a native part of your toolkit. The same goes for title animators who treat text as a surface to distress, not just a message to read. A simple credit roll run through a square halftone pattern at low opacity suddenly has the tactility of a risograph print.
Video editors working on music promos or concert visuals get a lot out of it too. The plugin’s ability to react to luminance changes in the source footage means a drum hit can tighten the dot grid while a sustained synth note lets it relax — all driven by the original clip, with no manual keyframing required. That reactive quality is harder to achieve with layer-map-based halftone methods, which is why having the effect applied directly to the layer matters in fast-turnaround projects.
What about the user who just wants a quick stylised look for a social-media cut-down? They are well served here, but they will probably stop at the Circle shape and a gentle Dot Size adjustment. The plugin rewards that shallow use perfectly well. The deeper value reveals itself when you start layering instances and animating the Offset, which is when the halftone stops being a filter and becomes part of the composition’s rhythm.
Licensing refresh for smoother activation on recent macOS
Version 1.5.3 is a quiet update on the surface. The listed change is a licensing framework refresh to v4.1.4, which means activation is smoother on recent macOS builds. There is no new dot shape, no extra slider. In everyday use, the practical difference is that the plugin simply opens without friction — fewer authentication dialogs interrupting a late-night session, less chance of a project stalling while you dig out a licence file.
Earlier versions had already settled the core feature set, so the move to 1.5.x has been about compatibility rather than feature creep. The plugin runs natively on Apple Silicon and Intel, which became essential when After Effects 2023 and later dropped Rosetta fallback paths for many third-party effects. If you are on an M-series machine, the halftone calculations stay on the performance cores without translation overhead, so scrubbing the Dot Size parameter feels instantaneous even on 4K timelines.
The broad After Effects version support — stretching from CS5 right up to the 2026 beta cycle — means the plugin fits into studios where multiple machines run different AE releases. A freelancer bouncing between an older Mac Pro at a facility and an M3 MacBook Pro at home can keep the same effect stack without reformatting anything.
A start-to-finish halftone accent for a product sting
Imagine a five-second sting for a coffee brand: a slow-motion pour of cream into black coffee, shot from above. The brief asks for something graphic but warm — not a cartoon, not a sterile overlay. Here is a workflow that takes the raw clip to a finished halftone accent using only m’s HalfTone and native After Effects tools.
1. Isolate the contrast area. Duplicate the footage layer and apply a Lumetri Color effect above m’s HalfTone in the effects stack. Crank the contrast until the cream swirl reads as near-white and the coffee reads as near-black. The halftone plugin works on luminance, so feeding it a high-contrast source gives you cleaner dot definition. Pre-compose this layer so the halftone sees the processed image, not the original.
2. Dial in the halftone character. Apply m’s HalfTone to the pre-comp. Set the Shape to Circle. Bring Dot Size down until the dots are tight enough to feel like a print texture but not so small they dissolve into noise — around twelve to fifteen pixels on a 1920×1080 comp is a good starting point. Leave Rotation at zero for now. Push the Alpha slider to roughly 40% so the original creamy tones bleed through the dot pattern.
3. Animate the pattern to follow the pour. The cream enters from the top right of the frame. Add a keyframe for Offset at the start of the sting, then move the playhead to the moment the cream hits the centre of the cup and drag Offset slightly down and left. The dots appear to drift with the liquid motion. Keep the shift subtle — maybe twenty pixels total — so it feels like a physical registration error, not a digital glitch.
4. Add a secondary shape for depth. Duplicate the halftone layer. On the copy, switch Shape to Line, reduce Dot Size by half, and set Rotation to 45 degrees. Drop the layer’s opacity to 20%. Now you have fine diagonal lines singing underneath the circular dots, which gives the sting a screen-printed, layered-ink feel without any external textures.
5. Tie it all together with a blend mode. Set both halftone layers to Multiply. Place the original unprocessed footage at the bottom of the layer stack. The halftone now stains the image rather than masking it. Render a short RAM preview and tweak the Alpha sliders on both halftone layers until the brand logo — fading in over the final second — remains readable through the texture.
The whole setup takes under ten minutes once you know the sliders, and because the effect is inline rather than dependent on external maps, you can drag the pre-comp into any other project without breaking dependencies.
Skip the sensible defaults to find where it gets interesting
The default values in m’s HalfTone are sensible — a mid-range dot size, no rotation, full alpha — but they do not show you where the plugin gets interesting. The first thing I change on almost any new application is the Sampling method. The plugin samples the layer’s luminance to decide where dots go, and switching between the available sampling options changes the density distribution noticeably. On footage with strong edge contrast, a tighter sampling approach keeps dots from clustering awkwardly in shadow areas. On softer, flatter footage, a broader sample avoids a pattern that looks too uniform and digital.
Next, I set Rotation to a non-zero value straight away, even if I plan to animate it later. A static grid at zero degrees reads as a technical overlay; tilt it by seven or eight degrees and suddenly the dots feel like an artistic choice. It is a tiny psychological shift that makes client feedback go more smoothly — they see texture rather than an alignment test.
The Alpha control deserves to be treated as a creative fader, not a technical fix. I start every project with Alpha pulled down to around 60% and then push it back up only if the halftone needs to dominate. At full opacity the effect can flatten an image completely, which is sometimes the goal but rarely the starting point. Running Alpha low and layering two halftone instances with different shapes — say, circles at 30% alpha and squares at 15% — builds a composite texture that feels hand-pulled rather than plugin-generated.
Finally, lock in your Dot Size relative to your output resolution before you animate anything else. A dot size that looks crisp on a 1080p comp can turn to mush on an 8K export if you are scaling up. The plugin does not auto-scale its parameters to comp dimensions, so a quick test render at final resolution saves you from rebuilding keyframes later.
Version 1.5.3 is a quiet, behind-the-scenes update. The licensing framework has been refreshed to v4.1.4, keeping activation straightforward.
- Apple Silicon (ARM) and Intel (x86 64-bit) support
- Adobe After Effects CS5 through 2026
Questions I keep hearing
Does m's HalfTone work on Apple Silicon Macs?
Yes, version 1.5.3 supports both ARM (Apple Silicon) and x86 64-bit architecture, and it runs in After Effects versions from CS5 through to the 2026 release.
What does the latest update change?
Version 1.5.3 updated the licensing framework to v4.1.4, so activation runs more smoothly, but the core halftone controls remain unchanged.
Questions from the class 0
Sign in or join the class to ask a question.
Nobody has asked anything yet. If you have used it on a real job, say what the file did.
Also on the Mac Apps shelf
The whole Mac Apps shelf Mp3tag
Edits metadata across a whole music library in one fast batch, not track by track.
Mp3tag
Edits metadata across a whole music library in one fast batch, not track by track.
 Multitouch
Lets you assign custom finger swipes and taps to control apps without touching the keyboard.
Multitouch
Lets you assign custom finger swipes and taps to control apps without touching the keyboard.
 Movist Pro
Plays video files using either QuickTime or FFmpeg as the engine behind each codec.
Movist Pro
Plays video files using either QuickTime or FFmpeg as the engine behind each codec.
 MuMu Player Pro
Runs Android apps and mobile games on your Mac as if they were tiles in your dock.
MuMu Player Pro
Runs Android apps and mobile games on your Mac as if they were tiles in your dock.
 Movavi Video Suite
Bundles video editing, file conversion, and screen recording into a single three-in-one tool.
Movavi Video Suite
Bundles video editing, file conversion, and screen recording into a single three-in-one tool.
 Movavi Video Editor
Turns raw clips into social videos, family montages, or short business promos in thirteen languages.
Movavi Video Editor
Turns raw clips into social videos, family montages, or short business promos in thirteen languages.
 Movavi Video Converter
Converts media into Opus audio, WebM video, and image sequences, not just MP4 files.
Movavi Video Converter
Converts media into Opus audio, WebM video, and image sequences, not just MP4 files.
 Movavi Screen Recorder
Schedules screen recordings in advance so you never miss a live demo at an awkward time.
Movavi Screen Recorder
Schedules screen recordings in advance so you never miss a live demo at an awkward time.