 ASPNetWorld

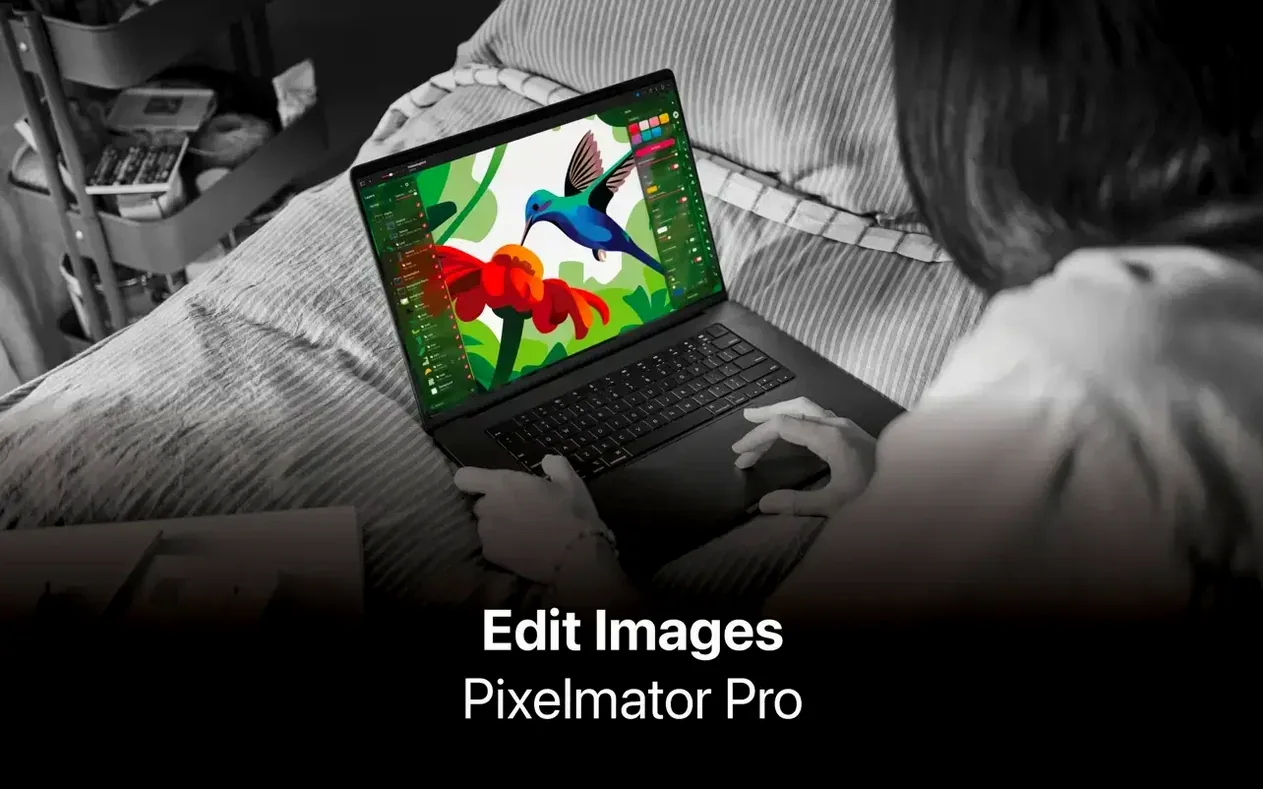
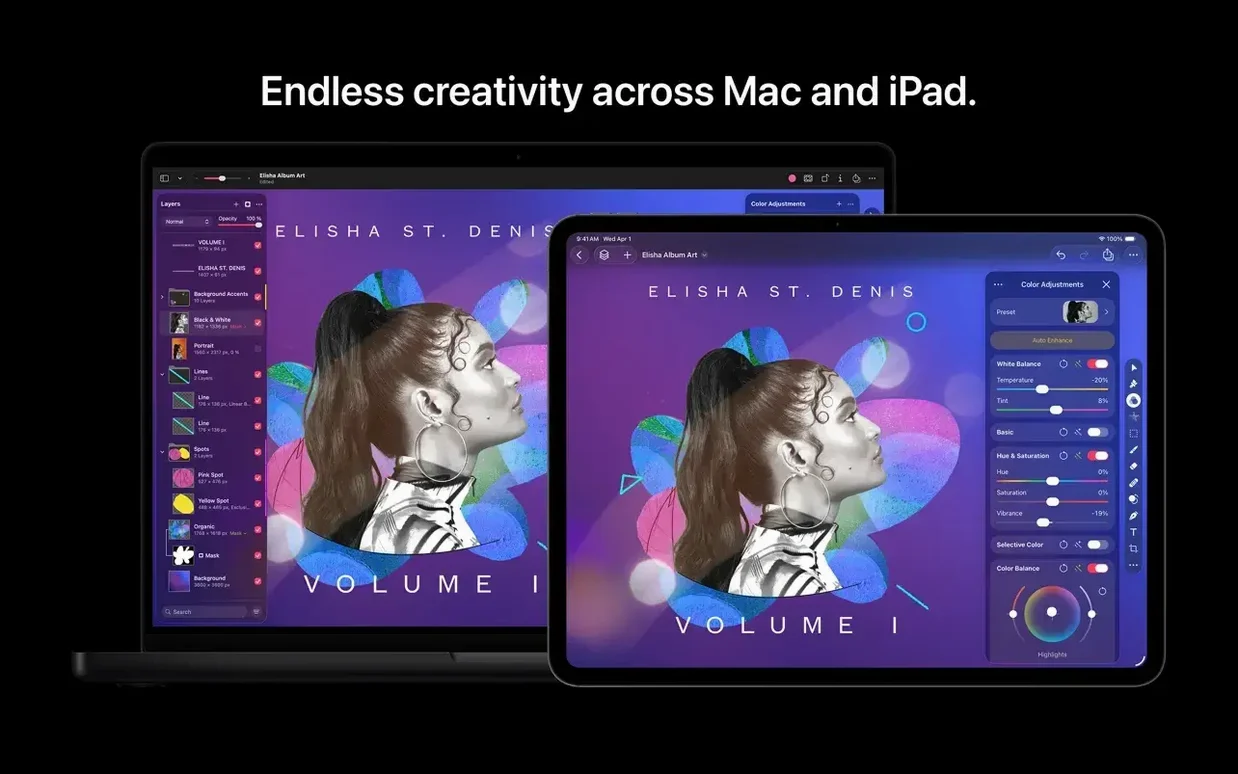
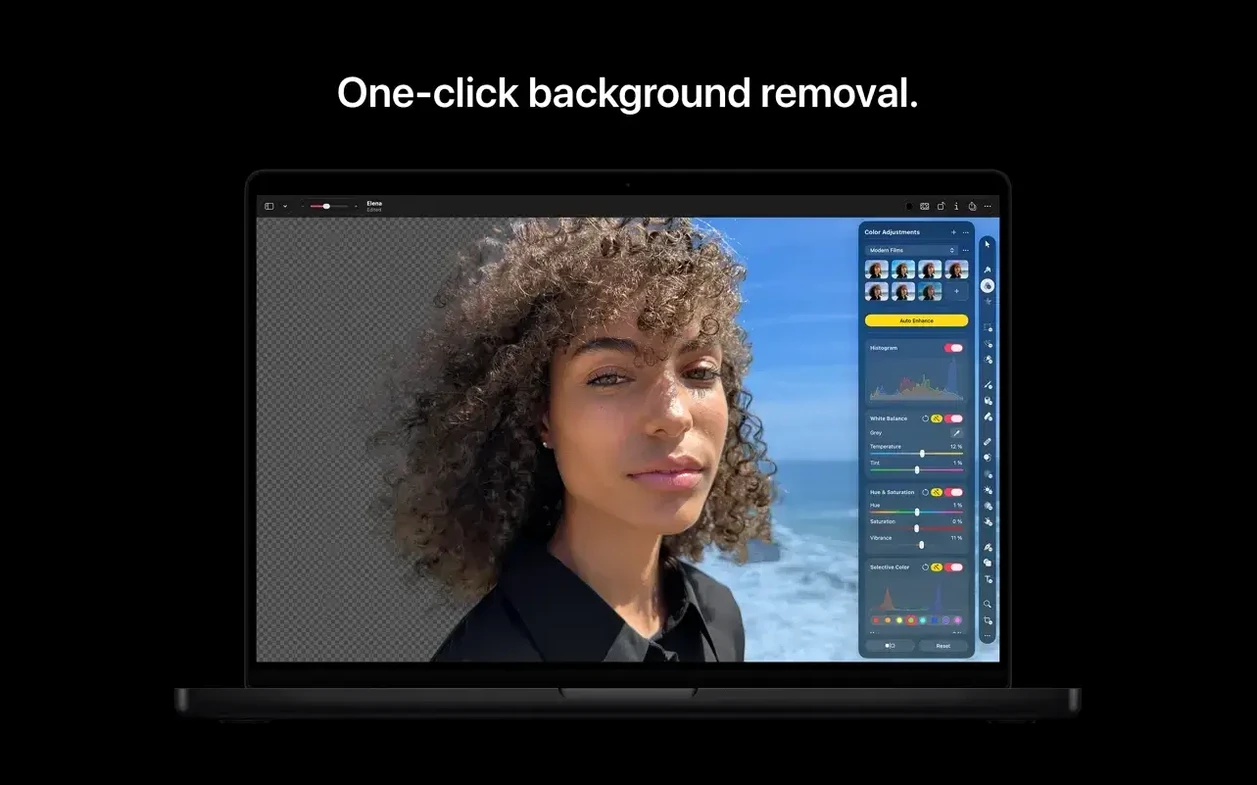
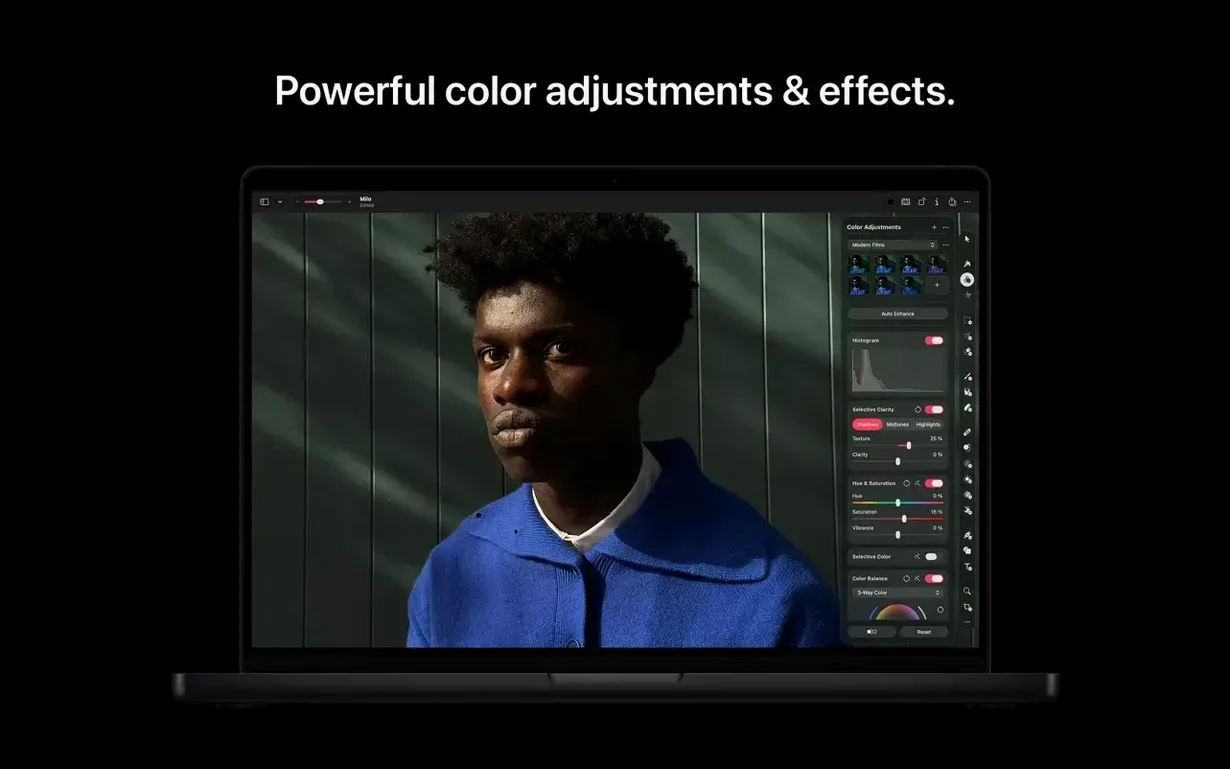
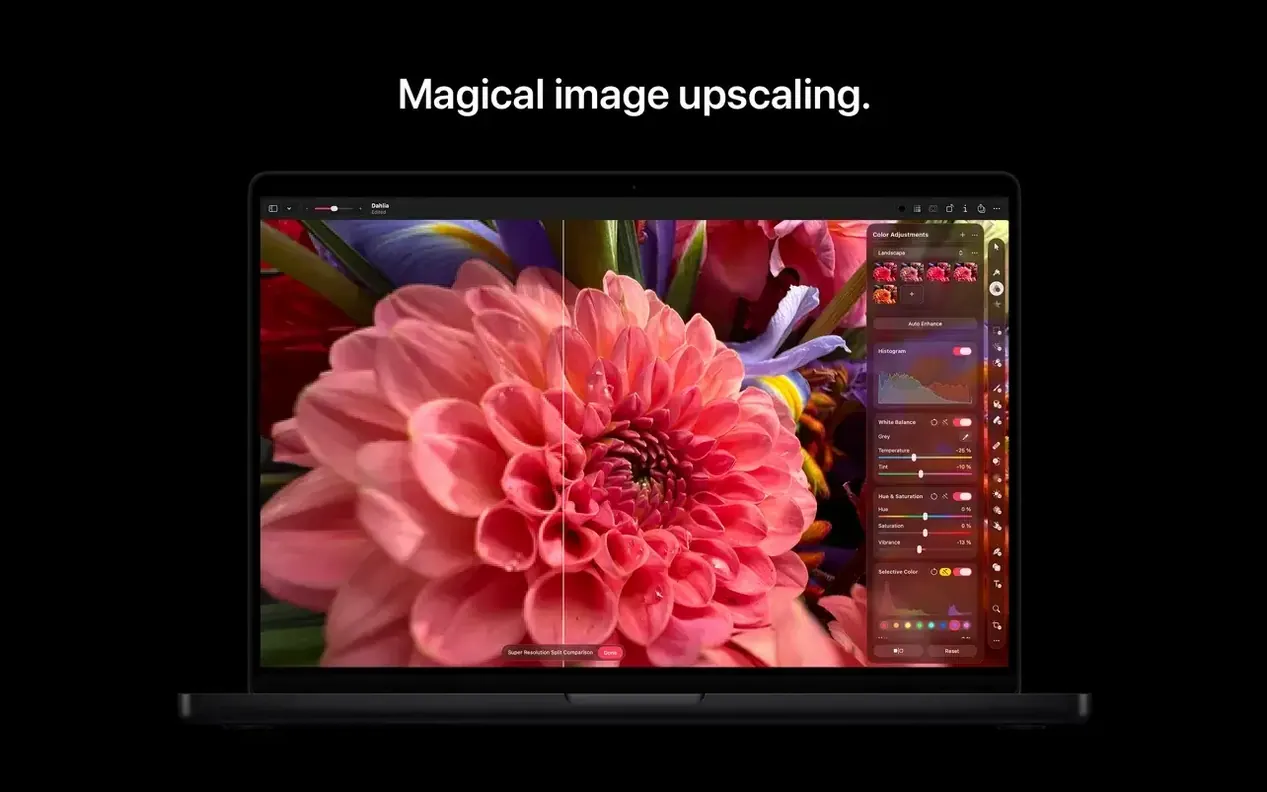
Pixelmator Pro is fully at home on Apple silicon, requiring a Mac with an M-series chip and macOS 26 or later. It’s designed to feel like a natural part of your system — quick to launch, tightly integrated with Photos, and built around a single, uncluttered window.
Bringing a shot to life from RAW
You can open RAW files directly without a separate converter, then use the Core ML-powered enhancement to let the app analyse and improve exposure, white balance, and colour in one move. Fine-tuning is always in your hands afterwards.
Cleaning up a composition
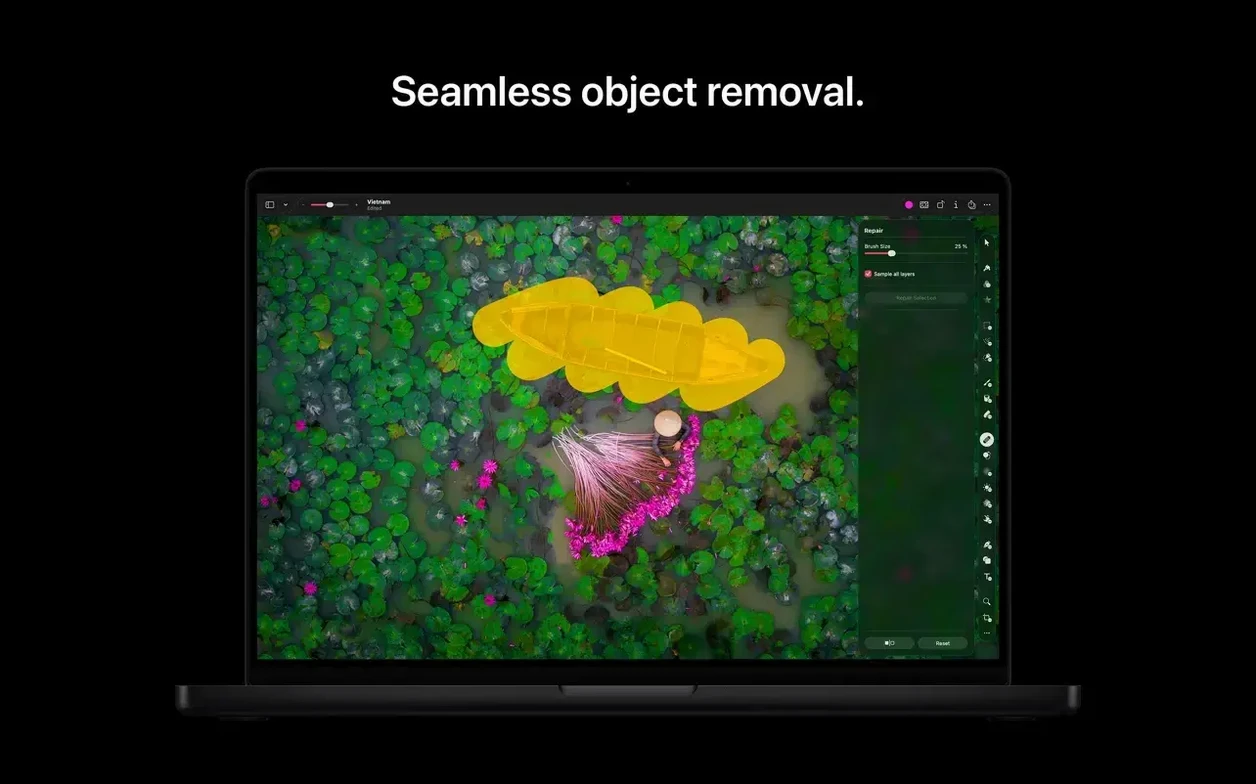
The retouching tools let you wipe away sensor spots, stray hairs, or an unwanted object by brushing over the area. For trickier fixes, the repositioning tool lets you select part of an image and reshape or shift it without leaving an obvious seam — handy when a subject needs a subtle nudge across the frame.
Assembling a poster or social graphic
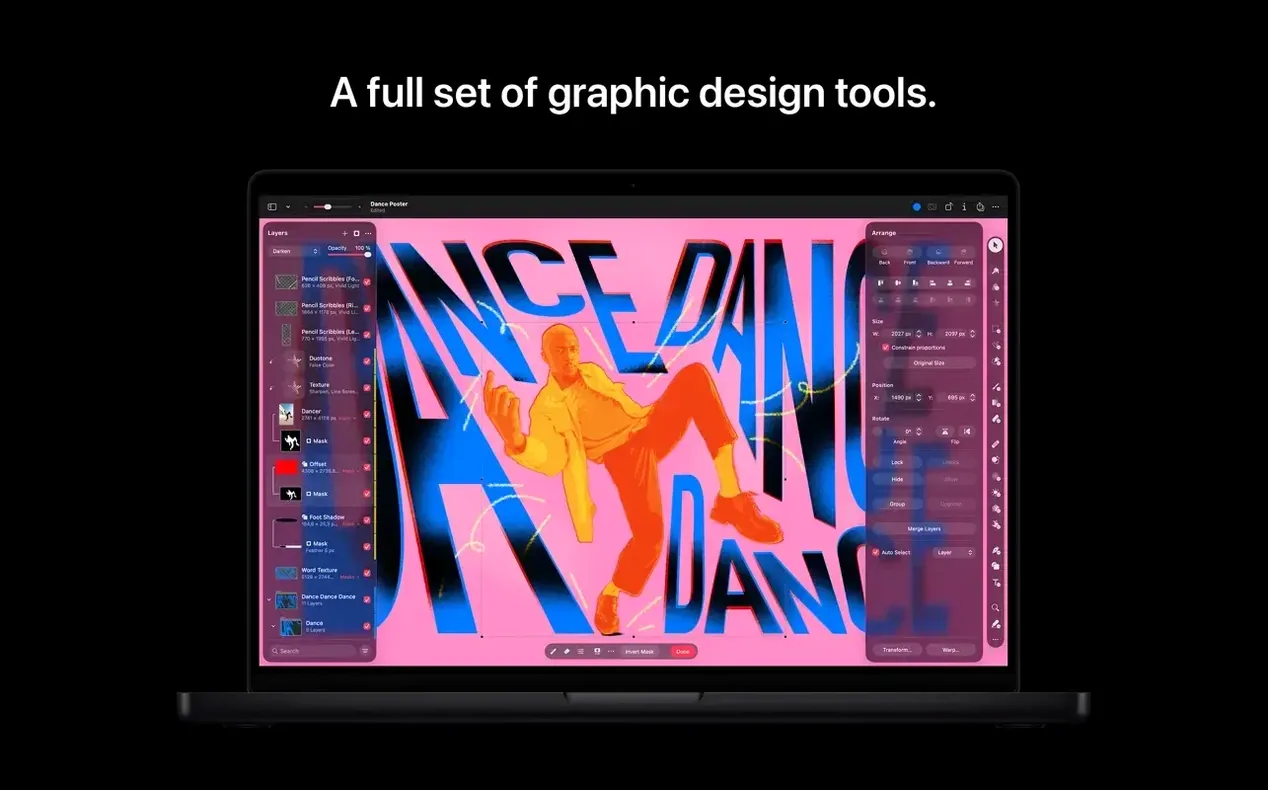
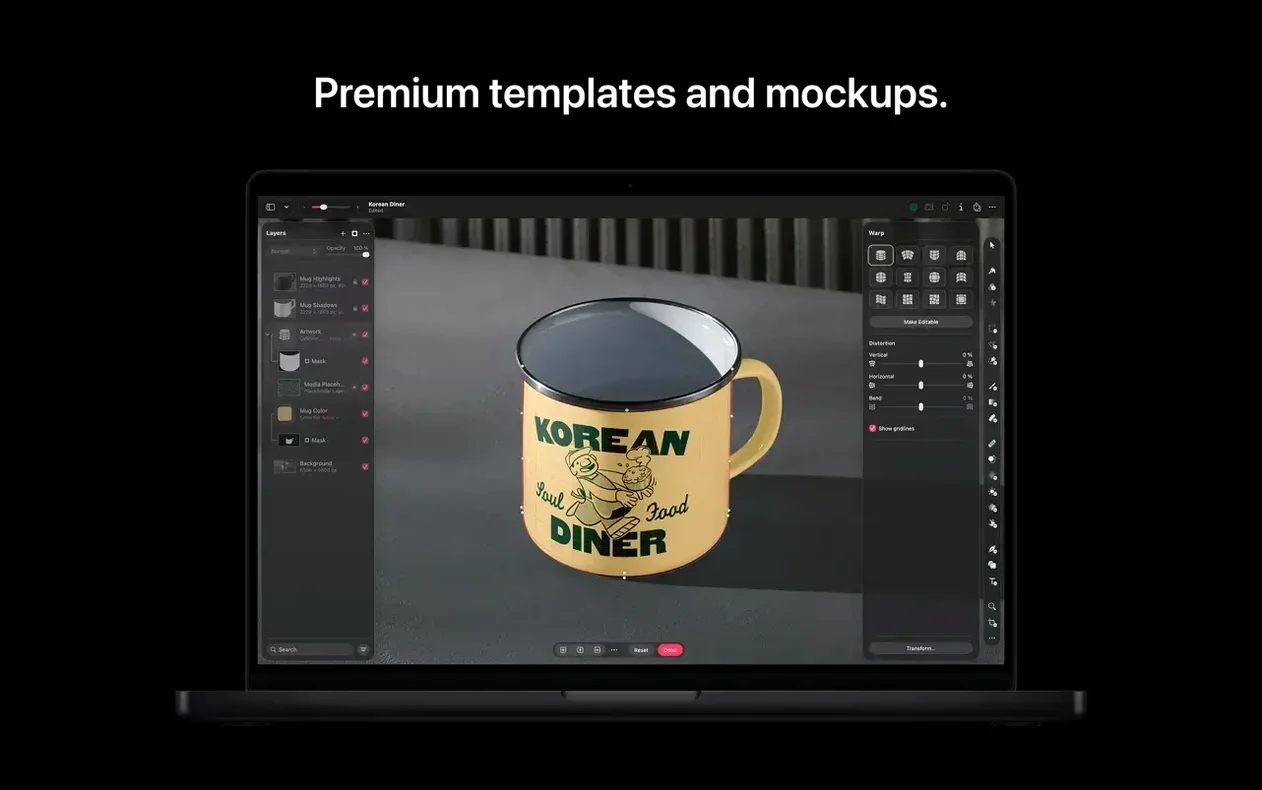
Version 4.3’s Content Hub acts as a side panel for dropping in photos, vector shapes, and illustrations. The new Generate Image feature builds a composition from a text description, while custom vector shapes can be created the same way — useful when you need a silhouette or icon that doesn’t exist in any stock library.
A magazine designer’s morning fix
Imagine a small indie magazine’s sole designer, three hours before a print deadline. The cover image is almost right — the model’s expression is perfect, the lighting works — but a fire-exit sign in the top-right corner is ruining the frame, and the whole thing feels a touch flat on the page. The shot came straight from a photographer’s SD card as a RAW file, and there’s no time to send it back for a reshoot.
The designer opens the RAW in Pixelmator Pro, lets the Core ML enhancement suggest a starting balance, then pulls the shadows up a little and nudges the white balance cooler by eye. The fire-exit sign vanishes with a few brush strokes of the retouching tool. A vector title treatment is needed for the masthead area, so a quick text prompt in the shape generator — “art deco sunburst with twelve rays” — delivers a clean, scalable graphic that slots into the composition. The whole job, from flat RAW to a print-ready TIFF, takes under twenty minutes.
A session that starts with nothing
It’s useful to see how a blank canvas turns into a finished piece without jumping between three different apps. Here’s a walk through a typical working session, built around the tools that version 4.3 puts within easy reach.
First, the app opens to a single window with the toolbar on the left. Creating a new document — A4 at 300 dpi, sRGB colour space — takes a couple of clicks in the file dialogue. The canvas appears, white and empty.
The job is a promotional graphic for a local record shop’s summer sale. The idea is a warm, vinyl-themed background with stylised typography and a few floating musical notes. Instead of hunting for stock photos, the Content Hub is opened from the toolbar. A search for “warm vinyl texture” brings up several options; one with subtle groove marks is dragged onto the canvas and resized to fill the frame. The layer is locked to prevent accidental nudges later.
Next, the headline. The Type tool is selected, and clicking on the canvas drops a text layer. The phrase “Summer Wax Sale” is set in a bold weight, sized generously. The colour is picked from the vinyl texture’s deepest black, then lightened slightly so it doesn’t disappear into the background. A soft drop shadow is applied from the Layer Styles pane — not for effect, but to keep the text legible against the darker grooves.
Now for the decorative elements. The Generate Image feature is invoked with the prompt “three simple floating musical notes, hand-drawn style, thin black lines on transparent background”. The result arrives as a new layer, and the notes are positioned around the headline with a bit of rotation applied individually. One note is set to a reduced opacity so it recedes visually.
Before finishing, the whole composition needs a once-over. The repositioning tool comes out to tweak one note that feels too close to the edge of the text block — a quick selection, a gentle drag, and it’s settled into a better spot. The image is exported as both a high-resolution PNG for print and a smaller JPEG for the shop’s social media.
Option-click a layer visibility icon to isolate it instantly
Several conveniences are easy to overlook when you’re focused on the big tools. These are the ones that reward a little exploration.
Quick layer isolation. Holding the Option key and clicking a layer’s visibility icon hides every other layer. It’s far quicker than toggling them off one by one when you need to check a single element in isolation.
Clipboard-aware new documents. When you copy an image to the clipboard and then choose File > New, the document dimensions are automatically set to match the clipboard contents. No guessing the pixel size of a screenshot or a grabbed web image.
Non-destructive colour adjustments. Every colour adjustment — curves, levels, hue shift — can be applied as a layer effect rather than baked directly into the pixels. Double-click the adjustment later to tweak it without degrading the original image.
Scroll-wheel zoom behaviour. By default, scrolling zooms in and out centred on the cursor position. Holding the spacebar temporarily switches to the Hand tool for panning, which means you rarely need to touch the toolbar for navigation.
Drag-and-drop from Photos. If you keep the Photos app open alongside Pixelmator Pro, you can drag an image straight from the library onto the canvas. It arrives as a new layer, and edits can be saved back to Photos with the Share menu.
The toolbar only shows a curated set of tools by default
Even a polished Mac app has its friction points. These are the ones that come up repeatedly, with the quickest way past them.
The tool you want isn’t visible. The toolbar shows a curated set of tools by default, and it’s easy to assume a feature is missing when it’s simply hidden. Right-clicking the toolbar or choosing Customise Toolbar from the View menu reveals everything — including the retouching, reshaping, and vector tools — and lets you drag them into position.
RAW files look flat on first open. The app shows the unprocessed sensor data initially, which can look washed out compared to a camera’s JPEG preview. The Core ML enhancement button (the magic wand icon in the toolbar) analyses the image and applies a sensible starting point. If the result is too aggressive, the strength slider in the adjustment panel dials it back without undoing the analysis.
Generate Image produces unexpected results. The text-to-image feature works best with concrete, visual descriptions. A prompt like “sunset over a lake” is likely to work; “an emotionally resonant image about memory” is not. If the output is off, adding style cues — “oil painting”, “flat vector”, “photorealistic” — steers it more predictably.
Layers panel has disappeared. A stray keyboard shortcut or an accidental click can collapse the layers panel. The quick fix is View > Show Layers, or the shortcut Command-Shift-L. The same applies to the Content Hub panel if it’s been closed.
Exported files look different from the canvas. This usually comes down to the colour profile. The document’s colour profile (set at creation or changed via Image > Colour Profile) needs to match the intended output. For web graphics, sRGB is safe; for print, the profile supplied by the printer avoids surprises. The export dialogue lets you embed or convert the profile on the fly.
Switch the scroll-wheel to pan by default in General preferences
The default setup is clean but not tailored to how most people actually work. A few minutes in the preferences panel pays off every session.
Set the scroll-wheel to pan by default. In the General preferences, switching the scroll-wheel behaviour from “Zoom” to “Pan” means two-finger scrolling moves the canvas around, which feels more natural for anyone coming from illustration or CAD software. Zooming is still available with pinch gestures on a trackpad or by holding Command while scrolling.
Turn on “Show file extension in title bar.” It’s a small detail under the General pane, but seeing the file format in the window title prevents the classic mistake of saving over a layered PSD with a flattened JPEG.
Adjust the autosave interval. The app saves versions automatically, but the interval can be shortened in the General preferences. On a fast Mac with plenty of RAM, setting it to every five minutes adds a safety net that costs almost nothing in performance.
Set the default colour profile. Under the New Document section of preferences, you can specify the default colour profile and resolution. If most of your work is destined for screens, setting sRGB and 72 dpi as the default saves a few clicks every time you create a canvas.
Enable “Show reference point” for transformations. In the Tools preferences, toggling this on places a small crosshair at the centre of any selected layer during transforms. It makes precise rotation and scaling around a specific point far easier than eyeballing it.
Check the accessibility settings early. Version 4.3’s improved Switch Control and VoiceOver support means the app can be driven almost entirely by keyboard and assistive devices. If you rely on these, the Accessibility pane in System Settings — not just the app’s own preferences — is where the deep integration lives.
Version 4.3 introduces the Content Hub, a browsable panel for inserting photos, graphics, shapes and illustrations without leaving the canvas. Alongside it, three AI-driven tools arrive: Generate Image builds scenes from text descriptions, Generate from Image performs text-based edits on existing artwork, and custom vector shape generation creates editable outlines from a prompt. Accessibility also sees a boost with better Switch Control and VoiceOver support.
- macOS 26 or later
- Mac with Apple silicon
Questions I keep hearing
Can I use Pixelmator Pro to edit photos stored in Apple Photos?
Yes — you can launch an image from your Photos library directly in Pixelmator Pro, and when you save, the edited version is written back to the library without exporting and re-importing.
Does the app handle RAW files from my camera?
RAW editing is supported natively, so you can open and adjust uncompressed image data without needing a separate converter or Adobe Camera Raw.
Questions from the class 0
Sign in or join the class to ask a question.
Nobody has asked anything yet. If you have used it on a real job, say what the file did.
Also on the Mac Apps shelf
The whole Mac Apps shelf Pixea Plus
Displays photos and raw files instantly without importing them into a library first.
Pixea Plus
Displays photos and raw files instantly without importing them into a library first.
 Pixelsnap
Measures the exact pixel distance between any two points on your screen.
Pixelsnap
Measures the exact pixel distance between any two points on your screen.
 Pixologic Zbrush
Sculpts digital clay into high-detail models using pixels that carry depth and material data.
Pixologic Zbrush
Sculpts digital clay into high-detail models using pixels that carry depth and material data.
 Picview - Image Viewer
 PhotoScape X Pro
Browses, fixes and collages a folder of snaps inside a single welcoming window.
PhotoScape X Pro
Browses, fixes and collages a folder of snaps inside a single welcoming window.
 Photomator
Hands you professional colour and curve controls layered on top of your Apple Photos library.
Photomator
Hands you professional colour and curve controls layered on top of your Apple Photos library.
 Plasticity
Builds watertight solid models for manufacture through direct, history-free editing.
Plasticity
Builds watertight solid models for manufacture through direct, history-free editing.
 Photo Mechanic
Ingests and culls thousands of raw photos at speed before your main editor finishes loading.
Photo Mechanic
Ingests and culls thousands of raw photos at speed before your main editor finishes loading.