 ASPNetWorld

Front-end developers turning mockups into code, designers who need to check the spacing on a live webpage, and anyone producing pixel-precise interface work will find themselves reaching for Pixelsnap. It is a measurement tool that sits quietly in your menu bar until you need to know exactly how far apart two elements are, or whether that button is really centred.
Three ways to measure what’s on screen
Pixelsnap gives you a small toolkit, and each piece maps to a real job you do during the day. Select an object anywhere on screen — a button, an image, a block of text — and the app draws a bounding box around it with width and height readouts. Need to check the gap between that button and the edge of a card? Drag a distance measurement between any two points and the pixel count appears. For alignment work, a crosshair mode overlays horizontal and vertical guides that snap to edges, so you can see at a glance whether layers are properly stacked.
Where the guides come from
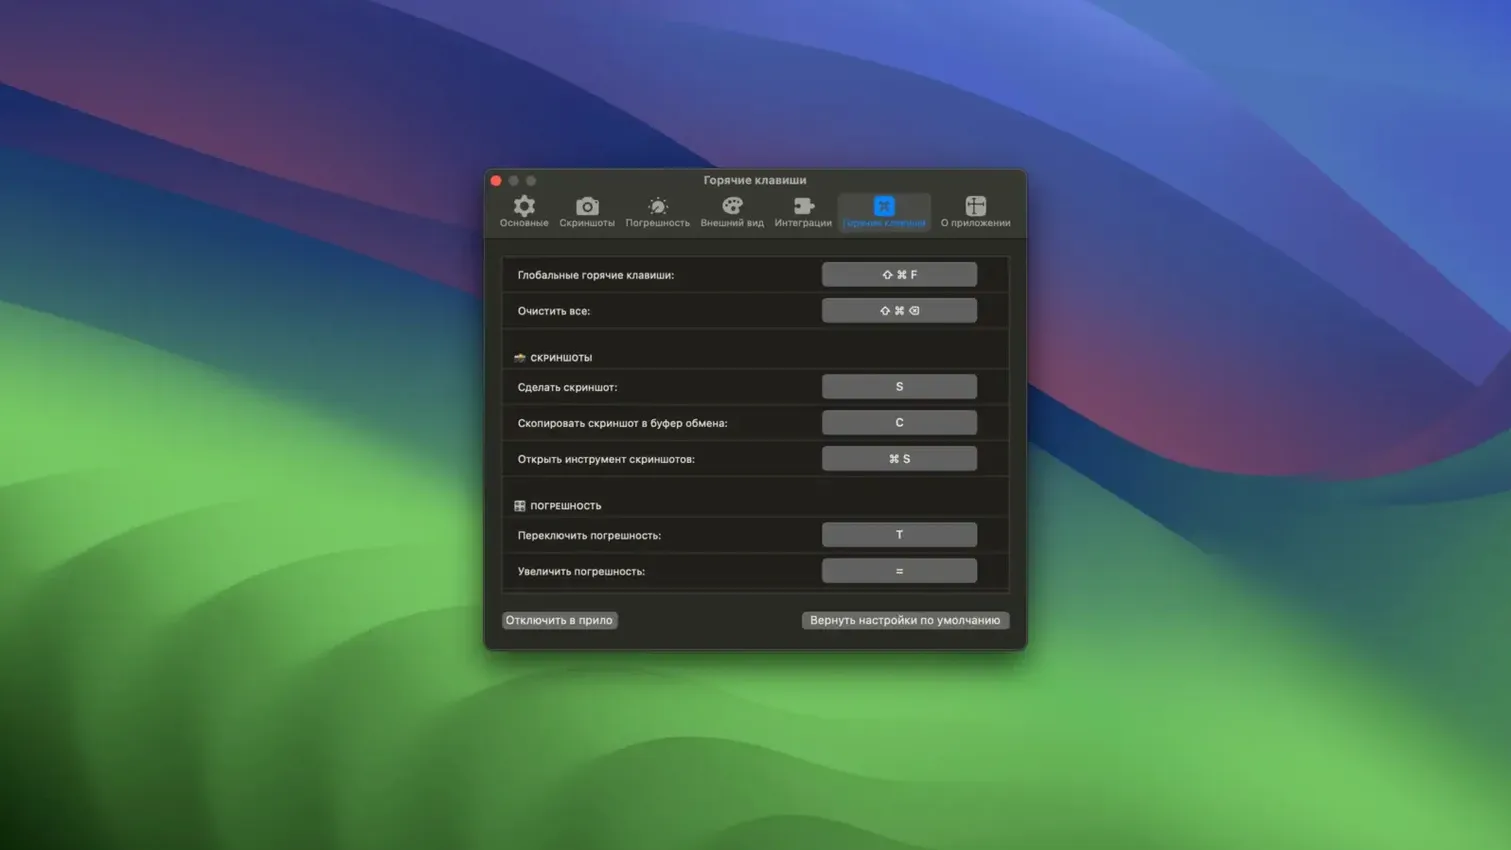
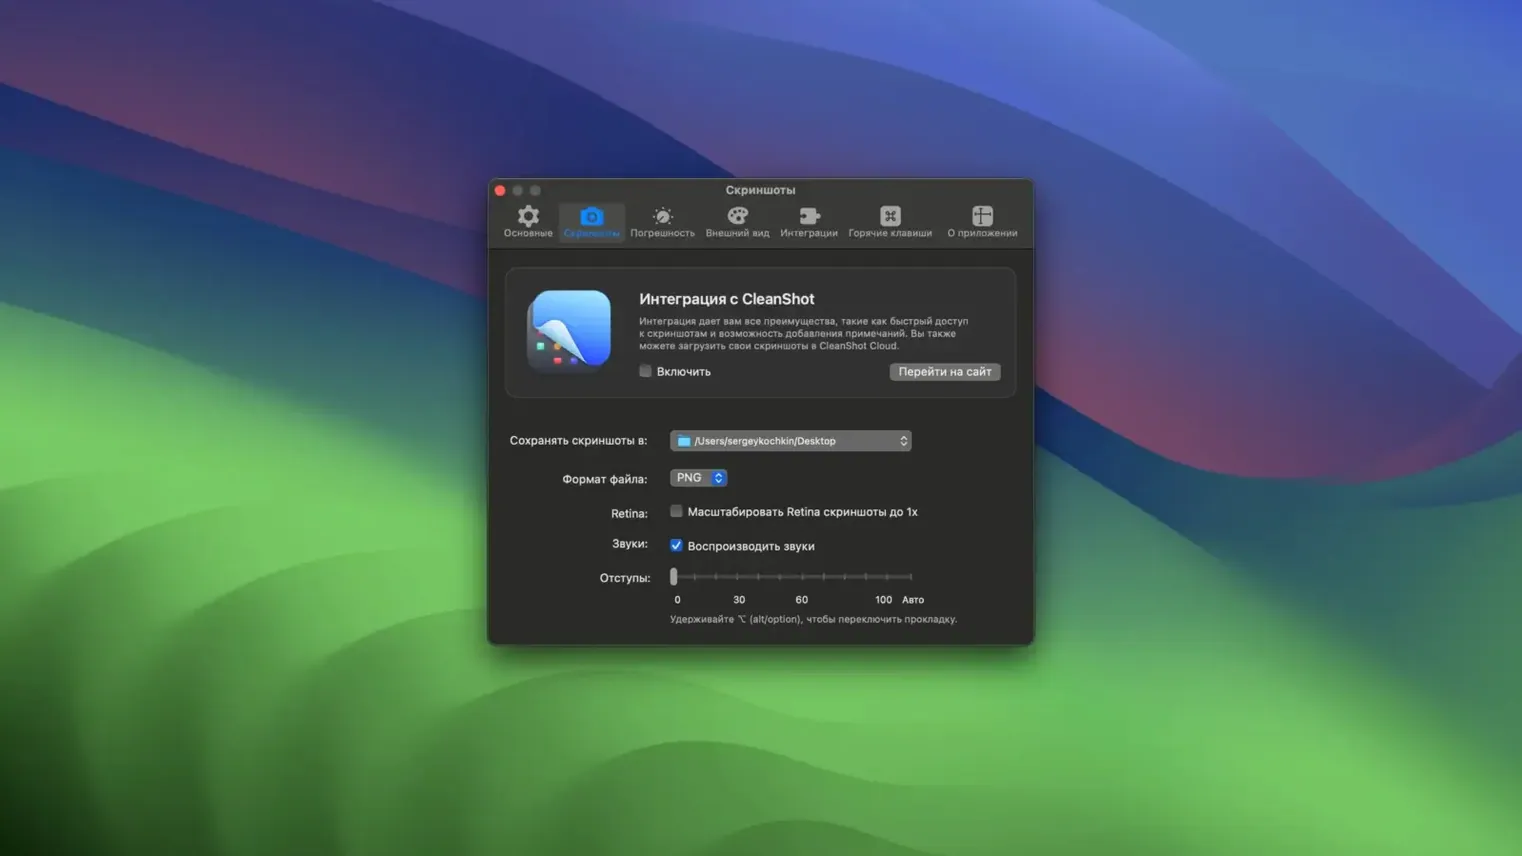
When you move the crosshair close to an interface element, Pixelsnap generates snap guides automatically. These magnetic lines latch onto object bounds and let you verify alignment without counting pixels manually. Because the app works across your whole screen — not inside a single window — you can measure from a design file in Sketch right across to a reference image open in Preview. Integration with CleanShot means you can capture and annotate those measurements in one flow, which is handy when you need to share a spec with a colleague. The tool runs natively on both Apple Silicon and Intel Macs, and asks for nothing more than macOS 10.13.
Let the measurement settle before trusting the numbers
Long-time users tend to develop a handful of measuring habits that make the first week smoother. The most useful one is learning to let the tool settle before you read the numbers. After you select an object, give the bounding box half a second to snap fully onto the element’s edges — especially when you are measuring elements with soft shadows or low-contrast backgrounds, where the tolerance mode needs a moment to do its job. Dragging quickly past several candidates often confuses the auto-detection, so a slower, deliberate cursor movement pays off.
Another habit worth forming early: decide where you want your measurements to appear before you take them. Pixelsnap shows distances right at the cursor by default, but if you need to share a screenshot later, you will get cleaner results by dragging the measurement into open space away from cluttered interface details. That tiny positioning choice saves you from having to re-export a measurement image because the numbers ended up sitting on top of a button label. If you use CleanShot, get into the rhythm of measuring first, then triggering the capture — the integration works best when Pixelsnap’s overlays are already on screen.
People who keep the app in the menu bar rather than quitting it between sessions pick up speed much faster. The keyboard shortcut for summoning the crosshair, once committed to muscle memory, turns measuring into something you do mid-flow rather than as a separate task.
Low-contrast edges and drop shadows block object detection
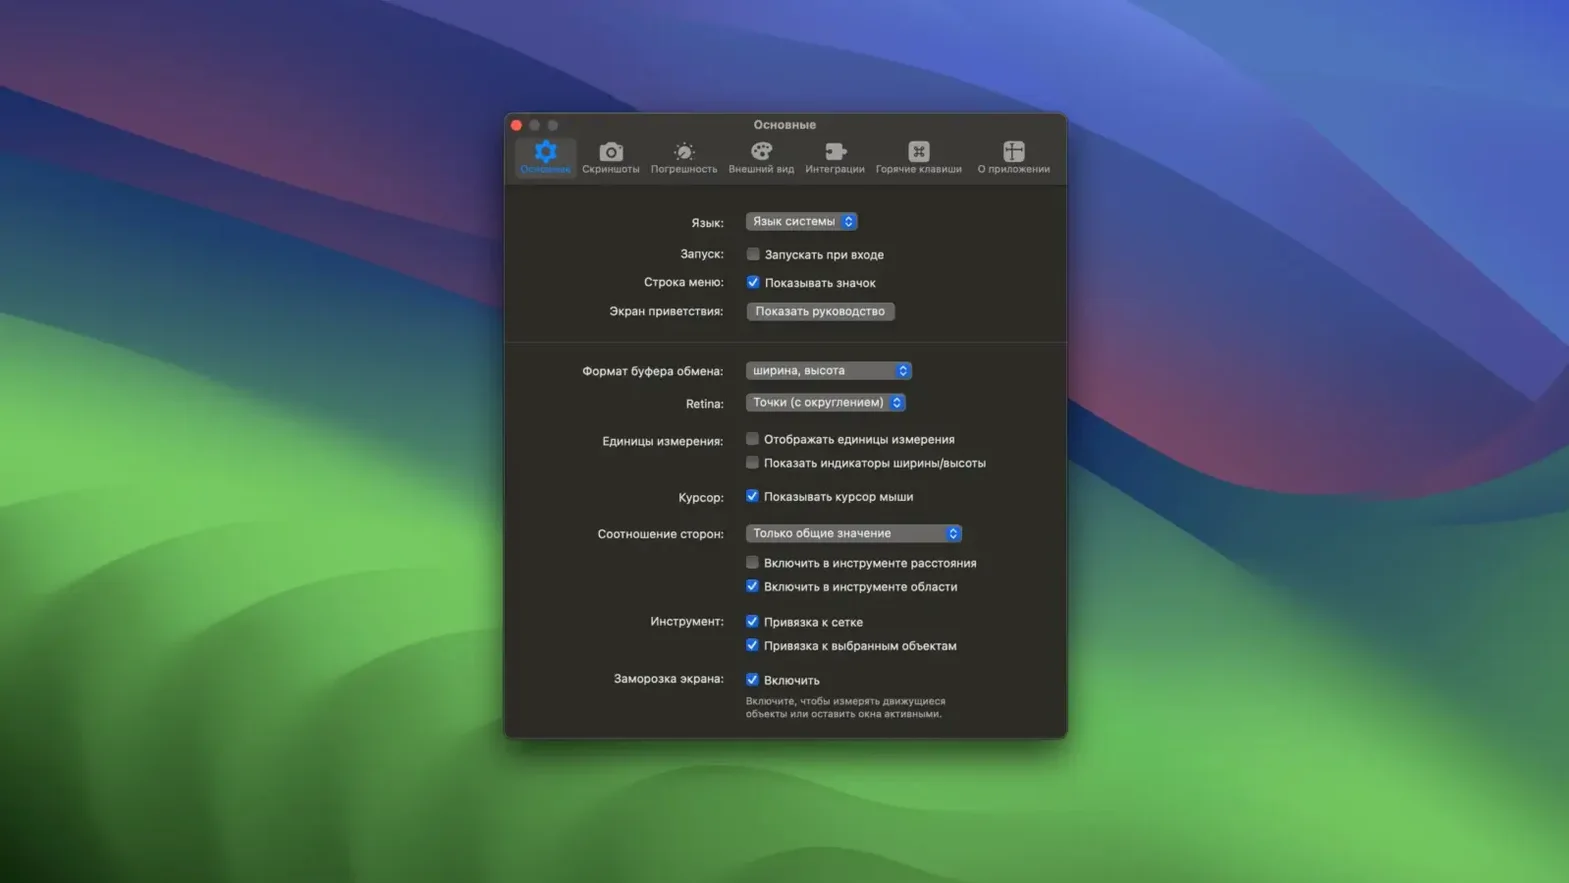
One of the first gripes people hit is the tool refusing to detect an object that looks obvious to the eye. Often the culprit is a low-contrast edge or a drop shadow that softens the boundary. Switching on tolerance mode from the menu bar icon usually solves it — the app relaxes its edge-detection thresholds and catches elements that were previously invisible to it. If that still fails, zoom into the screen area using macOS’s built-in zoom and try again; Pixelsnap works at the displayed zoom level, so enlarging the region gives the detection algorithm much sharper edges to bite into.
Another common hiccup is measurements that look wrong when exported as an image. This nearly always comes down to not letting the snap guides fully engage before hitting the export shortcut. The fix is simple: after dragging out a distance, wait for the line to turn its final colour and for the number to stop flickering. Only then capture or export. Some users searching for a PixelSnap crack Mac workaround report similar glitches that turn out to be version mismatches rather than tool faults — staying on the current build avoids a lot of phantom problems.
Sketch and Adobe XD users sometimes notice that measurements inside those apps seem off until they realise the integration works with the document’s real dimensions, not the zoomed view on screen. If you are zoomed to 200% inside Sketch, Pixelsnap still reports the actual pixel values, not the magnified ones. That is by design, and once you trust it, you stop second-guessing the readouts.
- macOS 10.13 or later
- Works natively on Apple Silicon and Intel Macs
- No activation required
Questions I keep hearing
Can I measure distances between any two points on the screen?
Yes, you can click and drag between any two points in any app to see the pixel distance, and Pixelsnap will also show horizontal and vertical components of that measurement.
Does Pixelsnap work with design tools like Sketch or Figma?
It does. Because it measures directly on the screen rather than inside a specific application, you can use it to measure elements in Sketch, Figma, a browser window, or anywhere else.
What languages does the app support?
The interface is available in Russian, English, Spanish, Italian, Simplified Chinese, French, and Japanese.
Questions from the class 0
Sign in or join the class to ask a question.
Nobody has asked anything yet. If you have used it on a real job, say what the file did.
Also on the Mac Apps shelf
The whole Mac Apps shelf Pixelmator Pro
Develops raw shots and composites artwork in a single-window photo editor.
Pixelmator Pro
Develops raw shots and composites artwork in a single-window photo editor.
 Pixologic Zbrush
Sculpts digital clay into high-detail models using pixels that carry depth and material data.
Pixologic Zbrush
Sculpts digital clay into high-detail models using pixels that carry depth and material data.
 Pixea Plus
Displays photos and raw files instantly without importing them into a library first.
Pixea Plus
Displays photos and raw files instantly without importing them into a library first.
 Picview - Image Viewer
 Plasticity
Builds watertight solid models for manufacture through direct, history-free editing.
Plasticity
Builds watertight solid models for manufacture through direct, history-free editing.
 PhotoScape X Pro
Browses, fixes and collages a folder of snaps inside a single welcoming window.
PhotoScape X Pro
Browses, fixes and collages a folder of snaps inside a single welcoming window.
 PlistEdit Pro
Displays and rearranges the nested tags inside macOS preference and configuration files.
PlistEdit Pro
Displays and rearranges the nested tags inside macOS preference and configuration files.
 Photomator
Hands you professional colour and curve controls layered on top of your Apple Photos library.
Photomator
Hands you professional colour and curve controls layered on top of your Apple Photos library.