 ASPNetWorld
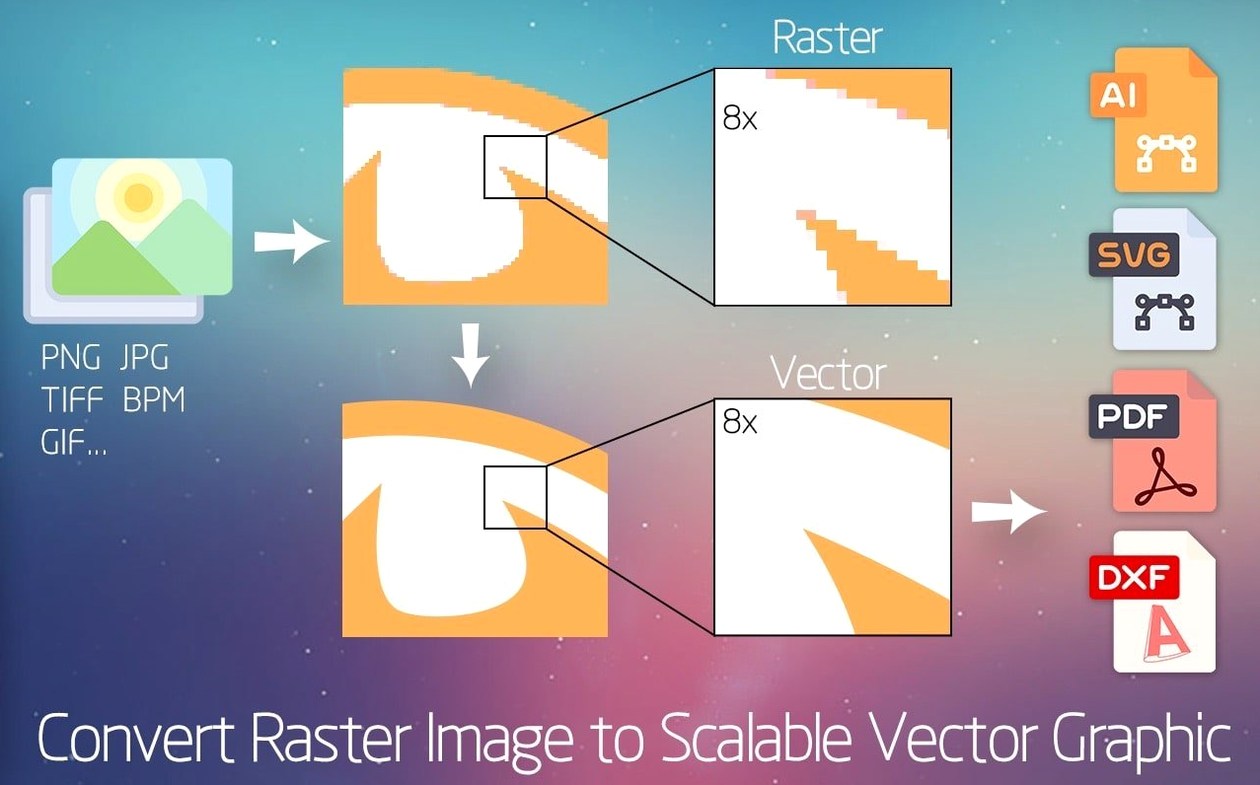
You’ve got a hand-drawn logo someone snapped on a phone, or a JPEG of a graphic pulled from an old PDF, and it needs to go on a banner that’s six feet wide. Enlarging pixels just gives you a soft, sad mess. A vector trace is the answer, and that’s the problem Super Vectorizer Pro is built to solve.
Opening a rough bitmap straight from the File menu
Open the image straight from the File menu — it reads most common bitmap formats without fuss. For a logo with a busy background, I’d clean it up a little in Preview first, but the app can work with what you give it. It runs happily on both Intel and Apple Silicon Macs all the way back to OS X 10.10.
What does the tracing look like in practice?
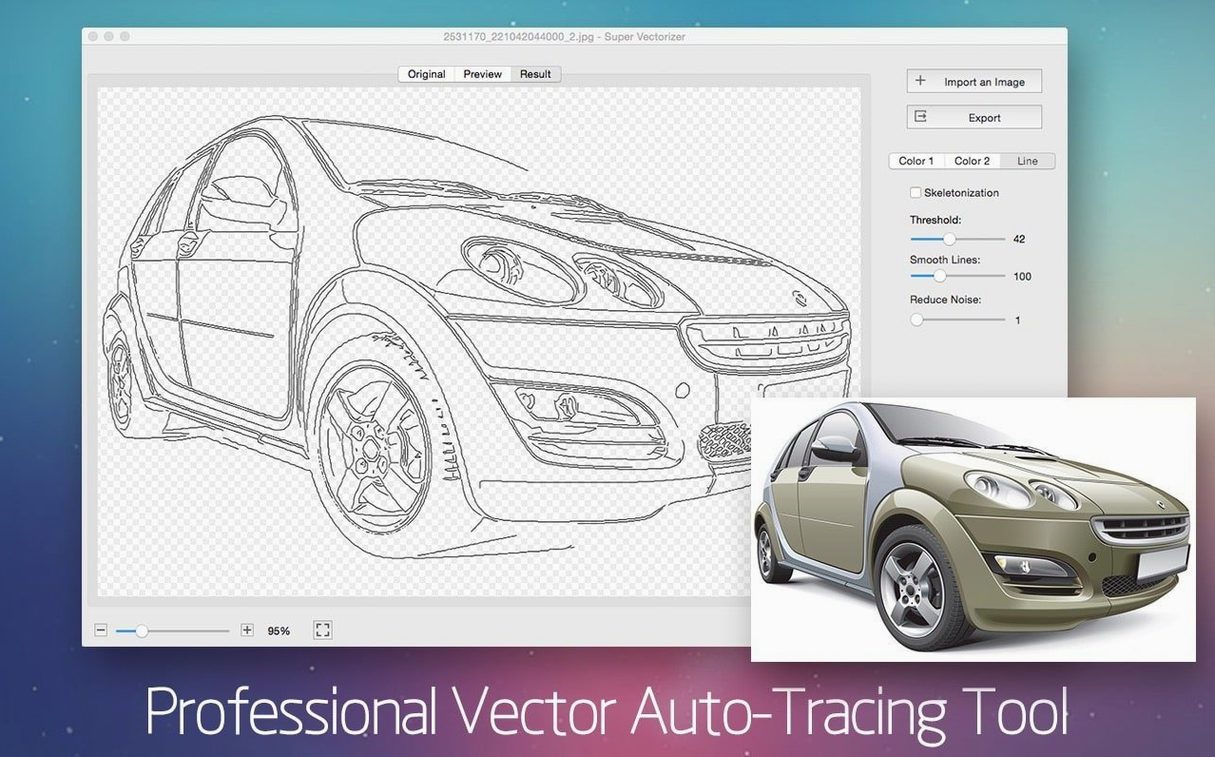
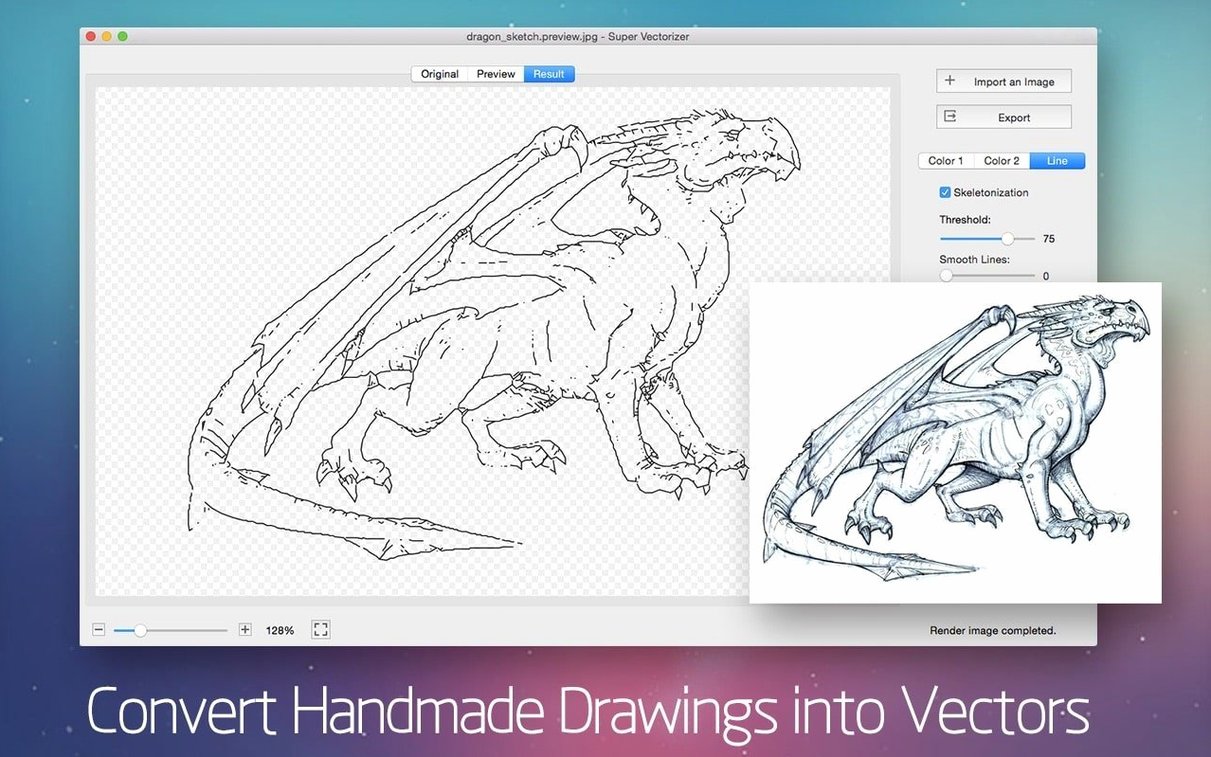
You pick a mode — say, a colour trace for a badge-style logo — and the preview updates in a couple of seconds. The sliders let you dial in edge detail and simplify curves until the shapes feel right. The skeletonization function is a neat touch when you’re dealing with a single-weight line drawing and you want a true centre-line trace rather than a filled outline.
Where does the vector go next?
Export to AI, SVG, DXF, or PDF, with a toggle for a transparent background. I usually open the SVG straight into Illustrator, but the files play nicely with Corel and other vector editors on the Mac too. The interface can switch between nine languages including Russian, Japanese, and Simplified Chinese, which makes it easy to share with a bilingual team.
Before you trace anything serious, open the preferences and switch the default export format to SVG if you work mostly on the web — it saves you an extra step every time. The colour count defaults to a modest number, but bumping it to 32 or the full 64 early on gives you richer results for painted scans without much of a speed penalty. I also tick “Ignore white background” straight away when I’m tracing a logo on a pale or paper-coloured backdrop; it keeps the vector clean and the background genuinely transparent in the output. The preview pane can be set to show outlines only, and I find that far more honest than the filled preview when I’m judging how faithfully a pencil sketch has converted.
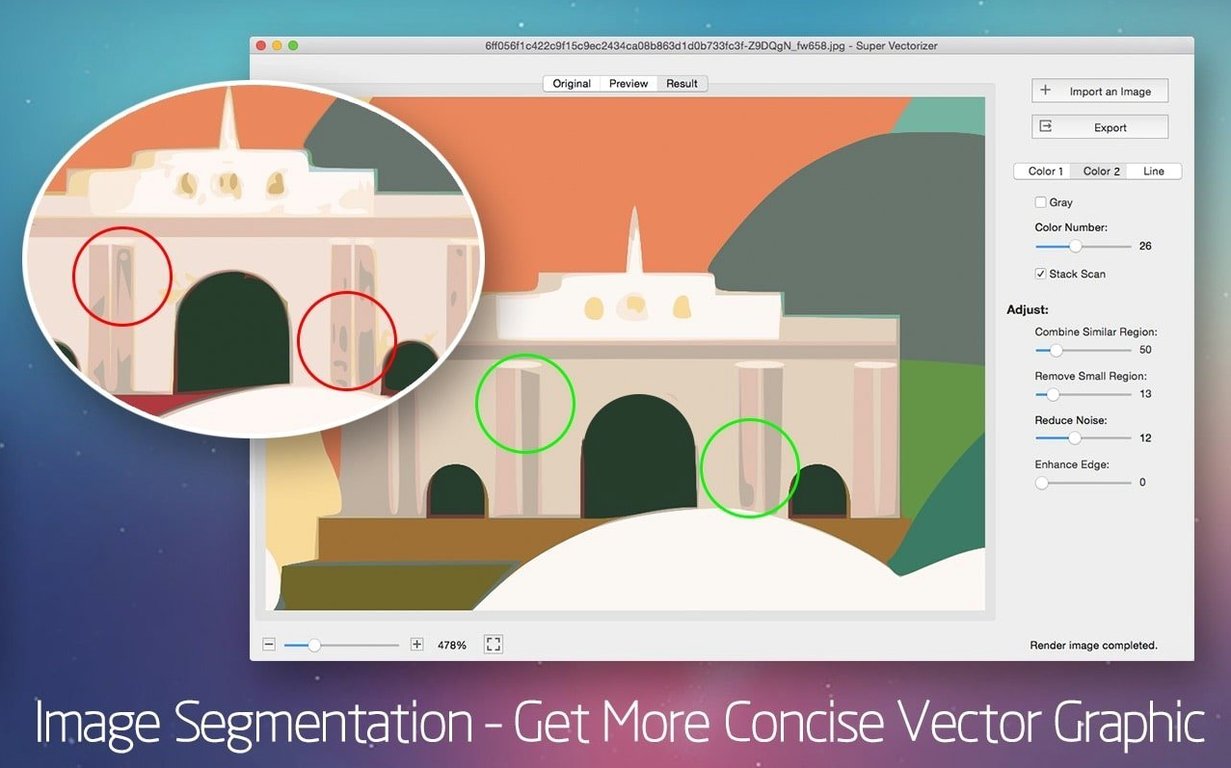
If you’re working from a photo with JPEG artefacts, the “smooth” slider is your first stop. Push it a little higher than the default, and the tracer stops trying to honour every blocky compression edge as a deliberate shape. For the opposite problem — a crisp but over-complex graphic that produces a tangled mesh of tiny paths — pull the simplify slider right before you trace, not after. Doing it during the trace keeps corner sharpness where it belongs.
Common bumps and how to ride them out
One of the first things people notice is a tracing that looks gorgeous in the preview but exports as a solid silhouette. Nine times out of ten, that’s the colour-detection threshold set too low, so the app lumps distinct shades into one. Lift the colour count and nudge the threshold slider down a fraction until the preview separates them again. Another classic is the “empty canvas on open” moment with a perfectly valid PNG. The app sometimes baulks at files with an unusual colour profile — quickly resaving the image as a plain sRGB PNG in Preview usually sorts it.
When you’re tracing something like a page from a manga or a comic panel, the skeletonize mode can produce broken lines if the original has gaps in the inking. The fix isn’t in the vector settings at all — darken the scan a little in any bitmap editor first, or close small gaps with a couple of brush strokes, and the centre-line detection snaps back to a single continuous path. On older Macs still running OS X 10.10, real-time preview can feel sticky with high-colour-count traces; turning off live preview while you adjust the sliders makes things far more comfortable, and you only need to flick it back on to check the final look.
A handful of users hunting for a super vectorizer pro crack or a super duperr torrent find versions where the DXF writer needs a bit of attention before it sings. The build you have here includes the TNT team’s work and handles DXF output reliably, so that particular headache isn’t one you need to nurse.
Questions that turn up before the first install
“Will it open my thirty-year-old MacPaint file?” Probably not directly, but if you can still view it and export it as a PNG or TIFF from a modern image app, Super Vectorizer Pro will take it from there. The input list covers more than seventy bitmap formats, and that’s enough to catch practically anything a graphic designer stumbles across in a client’s archive.
“Does it work alongside sims 2 super collection mac download or other game assets?” Not in the sense of a direct plugin, but if you’re extracting textures or UI elements from a game and want to redraw them as crisp vectors for a mod or a fan project, the app sits perfectly in a pipeline alongside asset-grabbing tools. Trace the bitmap, export to SVG, and bring the result into whatever editor your project uses. The vector files are just files; they don’t care where the original pixels came from.
“What if I need a sims 2 super collection mac free download style trace on a low-resolution texture?” The skeletonization mode is built for that kind of job — thin, aliased lines in a tiny asset become a clean single-stroke path you can scale to any size without the chunky stair-step edges.
“Can I trace a photo and get a painterly vector?” You can, but the result will be a collection of flat colour regions, not brushstrokes. Push the colour count to sixty-four and keep the simplify slider low, and you’ll get something that works well as a stylised posterisation — it’s a look that suits gig posters and screen-printed merch nicely.
Turning a crooked JPEG of a hand-lettered sign into a tote bag graphic
Say someone emails you a photograph of a hand-lettered shop sign they want on a tote bag. It’s a JPEG, slightly crooked, whitewashed wall behind it. You drag it onto the app window. The preview pops up in greyscale by default, but you switch the mode to colour because the lettering has a subtle gold edge you want to keep. You set the colour count to forty-eight and watch the preview re-render — the gold separates from the black outline, and the white wall vanishes when you tick the background-removal option.
The edges are a little wobbly where the photo had motion blur, so you push the smooth slider up to about thirty percent. The curves steady out without losing the hand-drawn character. You toggle the outline-only preview and squint at the letterforms — a couple of serifs have merged where the paint bled, so you drop the threshold by five, and the shapes pop apart again. Satisfied, you export an SVG with a transparent background and drop it straight into Illustrator to set the final cut line for the bag printer. The whole trace took under four minutes, and most of that was you being fussy about the serifs.
- macOS 10.10 (Yosemite) or later
- Apple Silicon or Intel 64-bit processor
Questions from the class 0
Sign in or join the class to ask a question.
Nobody has asked anything yet. If you have used it on a real job, say what the file did.
Also on the Mac Apps shelf
The whole Mac Apps shelf SuperDuper!
Makes bootable backups of your entire Mac.
SuperDuper!
Makes bootable backups of your entire Mac.
 Sublime Text
Edits code quickly and reliably.
Sublime Text
Edits code quickly and reliably.
 Sweet Home
Designs home interiors in 3D.
Sweet Home
Designs home interiors in 3D.
 SwitchResX
Manages display resolutions and settings.
SwitchResX
Manages display resolutions and settings.
 TablePlus
Manages databases in a visual interface.
TablePlus
Manages databases in a visual interface.
 Tayasui Sketches Pro
Draws and paints with natural-feeling brushes.
Tayasui Sketches Pro
Draws and paints with natural-feeling brushes.
 TechSmith Snagit
Captures screens and records your screen.
TechSmith Snagit
Captures screens and records your screen.
 Techtool Pro
Diagnoses and repairs Mac hardware issues.
Techtool Pro
Diagnoses and repairs Mac hardware issues.