 ASPNetWorld
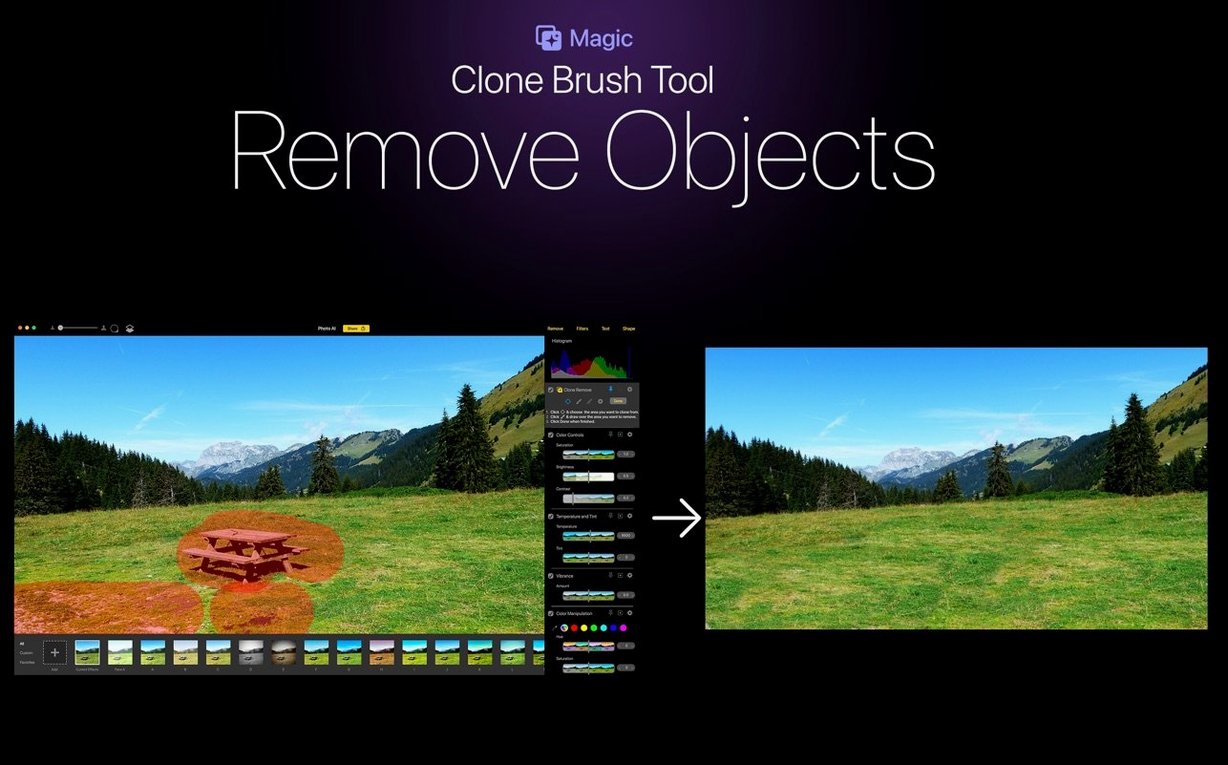
Fixing a soft portrait or pulling clean detail from a noisy evening shot used to mean juggling three different plug-ins and a lot of patience. Topaz Photo AI puts the heavy lifting into a single desktop editor that analyses your image and decides which corrections it actually needs — sharpening, noise reduction, or a bit of both — without asking you to become an engineer first.
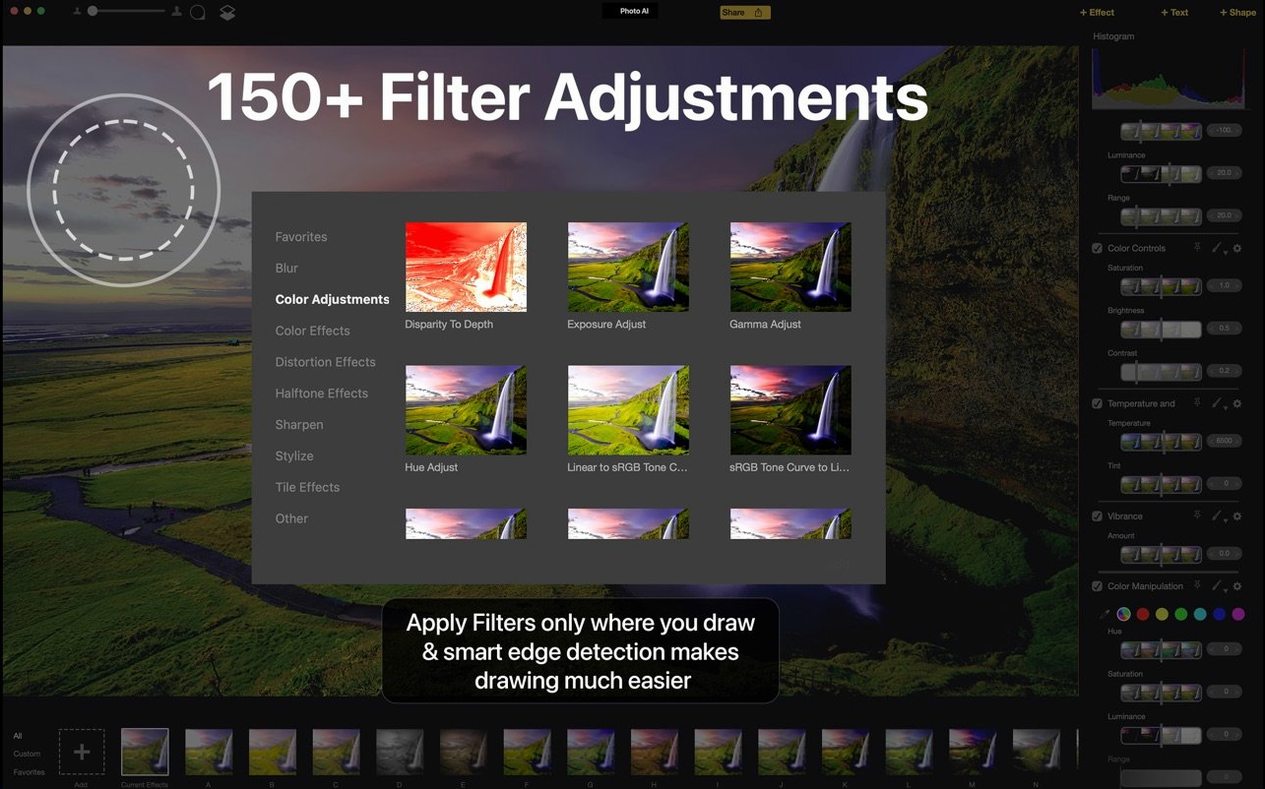
Local processing engine and over 150 filters remain intact
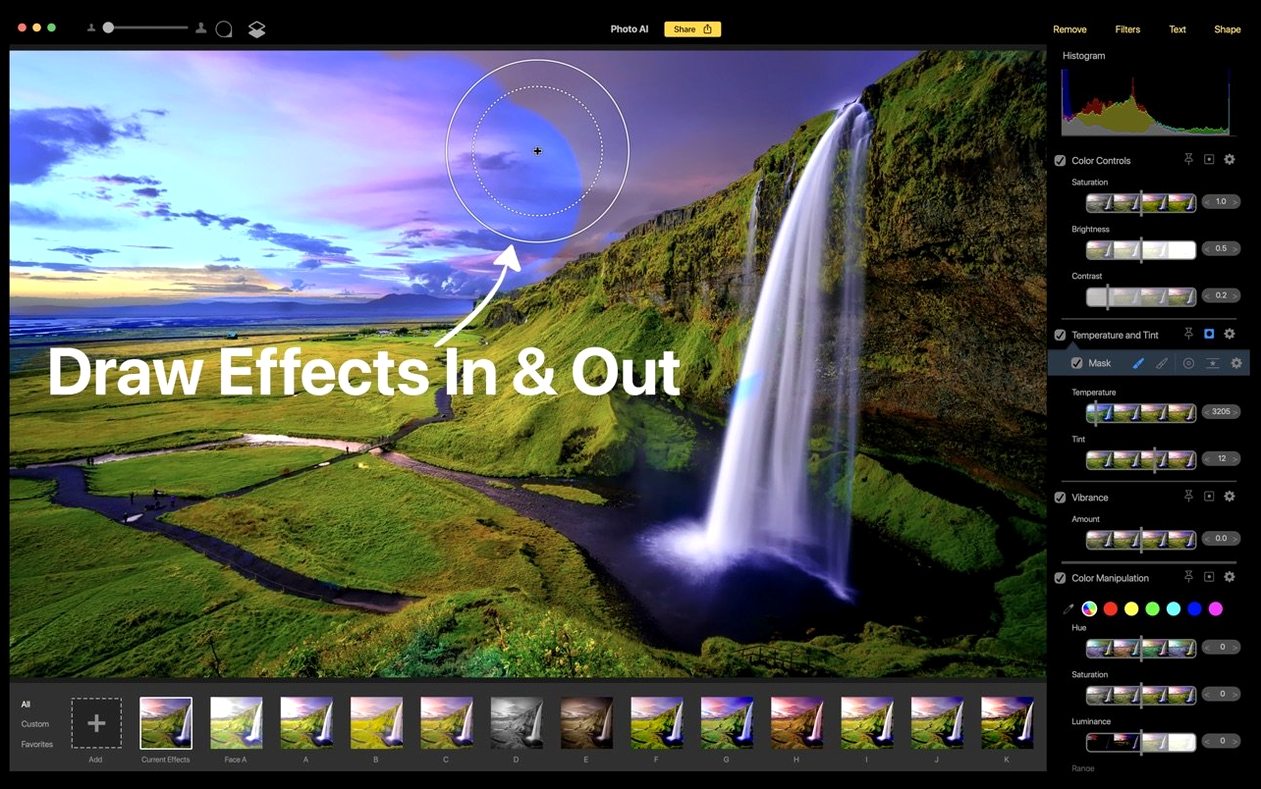
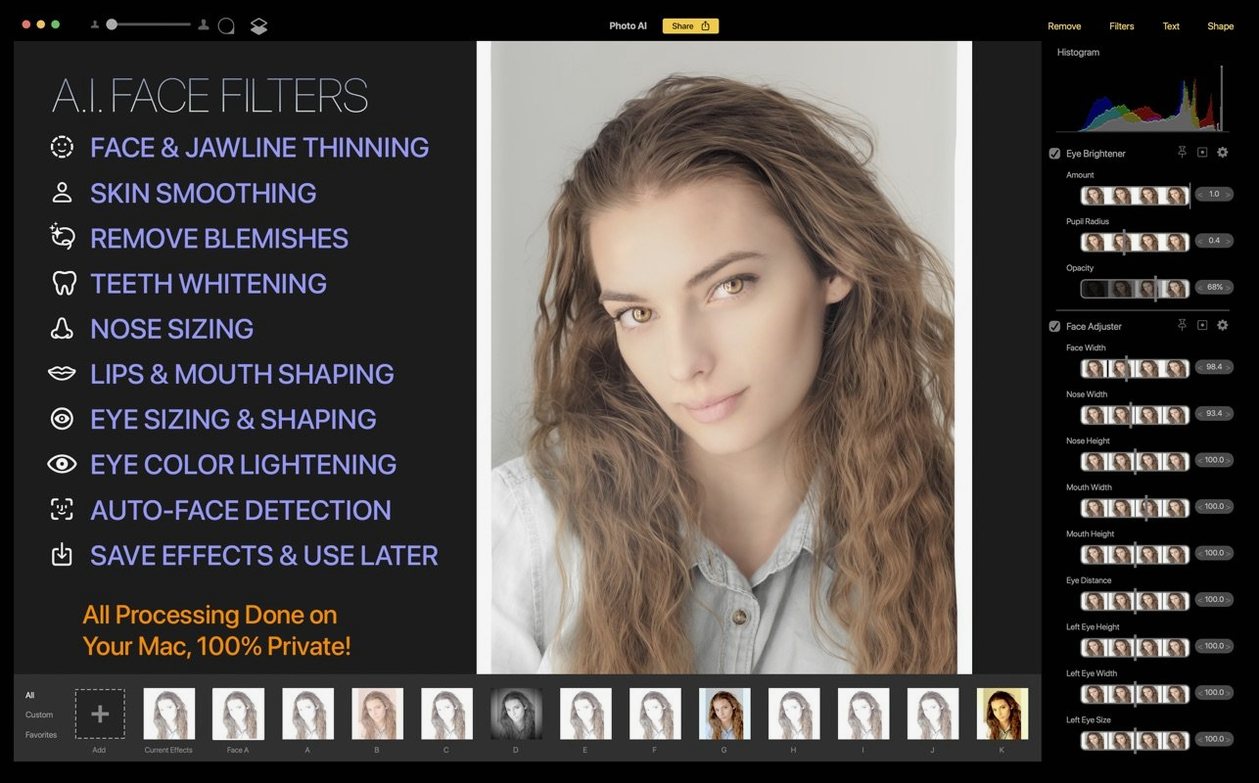
At its heart this is still the same local-image-processing workhorse. Everything happens on your Mac; nothing gets uploaded to a cloud service. You get over 150 filter and effect controls, dedicated face filters for portraits, and content-aware object removal that lets you paint out distractions with a brushstroke. The interface language is English or Simplified Chinese, and the current app bundles every model from the older Photo AI along with several new ones. The legacy app has been replaced outright by the renamed Topaz Photo.
In-app purchases arrive without changing the core engine
Version 2.1 folds in built-in purchases, so unlocking the full toolkit no longer requires a separate step outside the application. Underneath that change, the core remains the same dependable engine: it still asks for macOS 11 or later, still runs on Intel architecture, and still treats your image library as private data that never leaves the machine it lives on.
Older Intel Macs will work but expect longer processing waits
The first thing people want to know is whether the app will bog down an older Intel Mac. The short answer is that it works, but it makes you wait. A 2018 MacBook Pro with 16 GB of RAM chews through a 24-megapixel raw file in about twenty to thirty seconds when you ask it to run the full autopilot stack — sharpen, denoise, and upscale. That is perfectly usable for a handful of keepers after a day out, though anyone planning to batch-process an entire wedding will want to put the kettle on between folders. The processing happens entirely on the CPU and integrated graphics; there is no Metal acceleration to speak of, which keeps compatibility broad but means you feel every megapixel.
Another frequent question is whether the app respects your existing folder structure or insists on importing everything into a library. It does not touch your folders. You open a file from wherever it lives, work on it, and export the result to a new location. The original stays put. This makes it easy to slot into a workflow where you cull in another application first and only bring the promising frames into Topaz for the heavy enhancement work.
People also ask about the face filters and whether they cross into uncanny-valley territory. The face recovery model is conservative by nature — it pulls back detail in eyes and hair rather than smoothing skin into plastic. On a group shot where one face is slightly soft because the focus landed on the wrong row, the difference is subtle enough that nobody would guess software intervened. You can push the slider further for creative effect, but the default behaviour is to restore what the lens missed, not to invent new cheekbones.
And yes, the app runs perfectly well without an internet connection once it is installed. The models are stored locally. No logins, no activation pings, no cloud processing.
A real-world workflow: rescuing a dim café shot
Imagine you have a single raw file taken indoors at a café. The light was low, you shot at ISO 6400, and the image is both grainy and slightly soft because you were hand-holding at a slow shutter speed. You want a clean version for a small print and a social crop that zooms into the subject's face.
You open the file directly. The autopilot analyses it and suggests sharpening and noise reduction — it almost always gets that combination right for high-ISO shots. You accept the suggestion but nudge the noise reduction slider down a few points because you prefer keeping a whisper of grain texture rather than a perfectly smooth finish. The preview updates in real time; you can click between the original and the processed view to check whether you are losing fine detail in the brickwork behind the subject.
Next you switch to the face recovery panel. The subject's eyes are slightly shadowed, and the autopilot missed the face because it was turned at an angle. You draw a rough box around the face manually, and the model kicks in, pulling sharpness into the eyelashes and the texture of a knitted scarf. The effect is adjustable with a single strength slider, so you dial it back until it looks natural on the screen.
Now you want the crop for social media to be larger than the original resolution allows without pixelation. You enable the upscale module, set the output to 1.5× the linear dimensions, and let it run. The result is a file large enough to crop tightly without blowing up artefacts. You export the full frame as a TIFF for printing and the upscaled version as a JPEG for posting. Two files, one session, no round-tripping between separate plug-ins.
Pixelmator handles general edits, Topaz focuses on detail restoration
Put it next to Pixelmator Pro and the division of labour becomes clear. Pixelmator is a general-purpose image editor with a strong machine-learning layer — it can do super-resolution and denoising, but those are features inside a broader canvas that also handles layers, vector shapes, and colour grading. Topaz strips away the canvas and the compositing tools, focussing entirely on the three problems that plague captured photographs: noise, softness, and insufficient resolution. If you already edit in Pixelmator, Topaz works as a dedicated prep step before you start adding gradients and text.
Comparing it with ON1 NoNoise AI is more direct because both apps target the same trio of corrections. ON1 tends to produce a slightly more contrasty result out of the box, which can look punchy on screen but sometimes costs you shadow detail that you cannot recover later. Topaz errs on the side of preserving tonal range, leaving the contrast choices to you in your main editor. The face recovery in Topaz is also a step ahead — ON1 does not offer an equivalent face-specific model, so you end up applying global sharpening that can make skin texture look harsh while it fixes the eyes.
DxO PureRAW occupies a similar space but ties itself tightly to raw files and lens profiles. It corrects distortion, vignetting, and chromatic aberration in the same pass as denoising and sharpening, which is wonderful if your camera and lens combination is in its database. Topaz takes the opposite approach: it works on any image format — raw, TIFF, JPEG — and makes no assumptions about your glass. That makes it the more flexible choice when you receive files from multiple cameras or work with scanned film, where there is no lens profile to lean on.
It bridges your raw developer and final output
The app makes the most sense as a bridge between your raw developer and your final output. A typical chain runs like this: you ingest files into Lightroom or Capture One, apply basic exposure and white balance corrections, then send the keeper images to Topaz for noise reduction and sharpening before you do any local dodging, burning, or retouching. Because the app writes a new file rather than altering the original, you can re-import the cleaned version and continue editing non-destructively in your main catalog.
It also plays well with macOS Quick Actions. Once you have settled on a group of enhancement settings that suit a particular camera at a particular ISO, you can save them as a preset and apply them via the Finder by right-clicking a batch of images. This is not a full Automator integration — there is no drag-and-drop action block for it — but the preset system inside the app is quick enough that you can open a folder of twenty shots, apply the saved preset to all of them, and walk away while the queue processes.
For anyone who uses the Mac's built-in Photos app as their primary library, the workflow is slightly less elegant because Photos does not offer a direct "edit in external editor" handoff that passes a raw file cleanly. The simplest route is to export the unmodified original from Photos, process it in Topaz, and import the result back as a new image. It adds a couple of clicks, but the results justify the detour on images you truly care about.
Option-drag a comparison slider to see the original at full strength
When you drag a comparison slider across the preview, you can hold the Option key to temporarily see the original at full strength without moving the slider all the way back. It is a tiny thing, but it saves you from losing your place when you are trying to judge whether a subtle adjustment is actually doing anything.
The upscale module has a hidden trick: if you type a pixel dimension directly into the width or height field instead of using the percentage slider, the app calculates the exact multiplier needed and locks the aspect ratio automatically. This is far quicker than toggling between a calculator and the interface when you are preparing files for a print lab that demands a specific resolution.
Face recovery boxes can be copied between images in a batch. If you have a series of portraits taken under identical lighting with the subject in roughly the same position, you can set up the face region once, copy the settings, and paste them onto the rest of the set. The model re-analyses each frame, so small shifts in pose do not throw it off.
The content-aware removal tool is not just for dust spots and litter. You can paint over an entire person in the background of a street scene, and the fill algorithm reconstructs the wall or pavement behind them with surprising coherence — not always perfectly on the first try, but with enough accuracy that a quick heal in your main editor finishes the job. The brush size responds to the bracket keys, which is never mentioned in the interface but works exactly as it does in Photoshop.
A final detail worth knowing: the app remembers your last-used export format and colour space across sessions. If you always deliver sRGB JPEGs at 90% quality, you set it once and forget it. The setting persists until you change it, which removes one small point of friction from a tool you are probably opening for quick, focussed tasks rather than leisurely exploration.
Version 2.1 introduces built-in purchases, so everything from unlocking filters to managing your toolkit happens inside the app. The underlying processing engine and system requirements are unchanged from the previous release.
- macOS 11 (Big Sur) or later
- Intel 64-bit processor
Questions from the class 0
Sign in or join the class to ask a question.
Nobody has asked anything yet. If you have used it on a real job, say what the file did.
Also on the Mac Apps shelf
The whole Mac Apps shelf Topaz Gigapixel AI
Enlarges low-resolution images while keeping faces and textures crisp and natural.
Topaz Gigapixel AI
Enlarges low-resolution images while keeping faces and textures crisp and natural.
 Topaz Video AI
Reconstructs watchable detail from old, low-quality video footage frame by frame.
Topaz Video AI
Reconstructs watchable detail from old, low-quality video footage frame by frame.
 TouchDesigner
Assembles real-time visuals by wiring together operators for points, textures and geometry.
TouchDesigner
Assembles real-time visuals by wiring together operators for points, textures and geometry.
 Transmit
Moves files between your Mac and remote servers through a fast, dual-pane browser.
Transmit
Moves files between your Mac and remote servers through a fast, dual-pane browser.
 Trimma
Trims the start or end off a video without opening a library or creating a project.
Trimma
Trims the start or end off a video without opening a library or creating a project.
 TunesKit iPhone Unlocker
Removes a forgotten screen passcode or an Apple ID from a locked iPhone.
TunesKit iPhone Unlocker
Removes a forgotten screen passcode or an Apple ID from a locked iPhone.
 Tuxera NTFS
Lets your Mac read and write Windows-formatted drives without a second thought.
Tuxera NTFS
Lets your Mac read and write Windows-formatted drives without a second thought.
 Typeface
Browses a visual grid of every installed font and compares them side by side.
Typeface
Browses a visual grid of every installed font and compares them side by side.