 ASPNetWorld

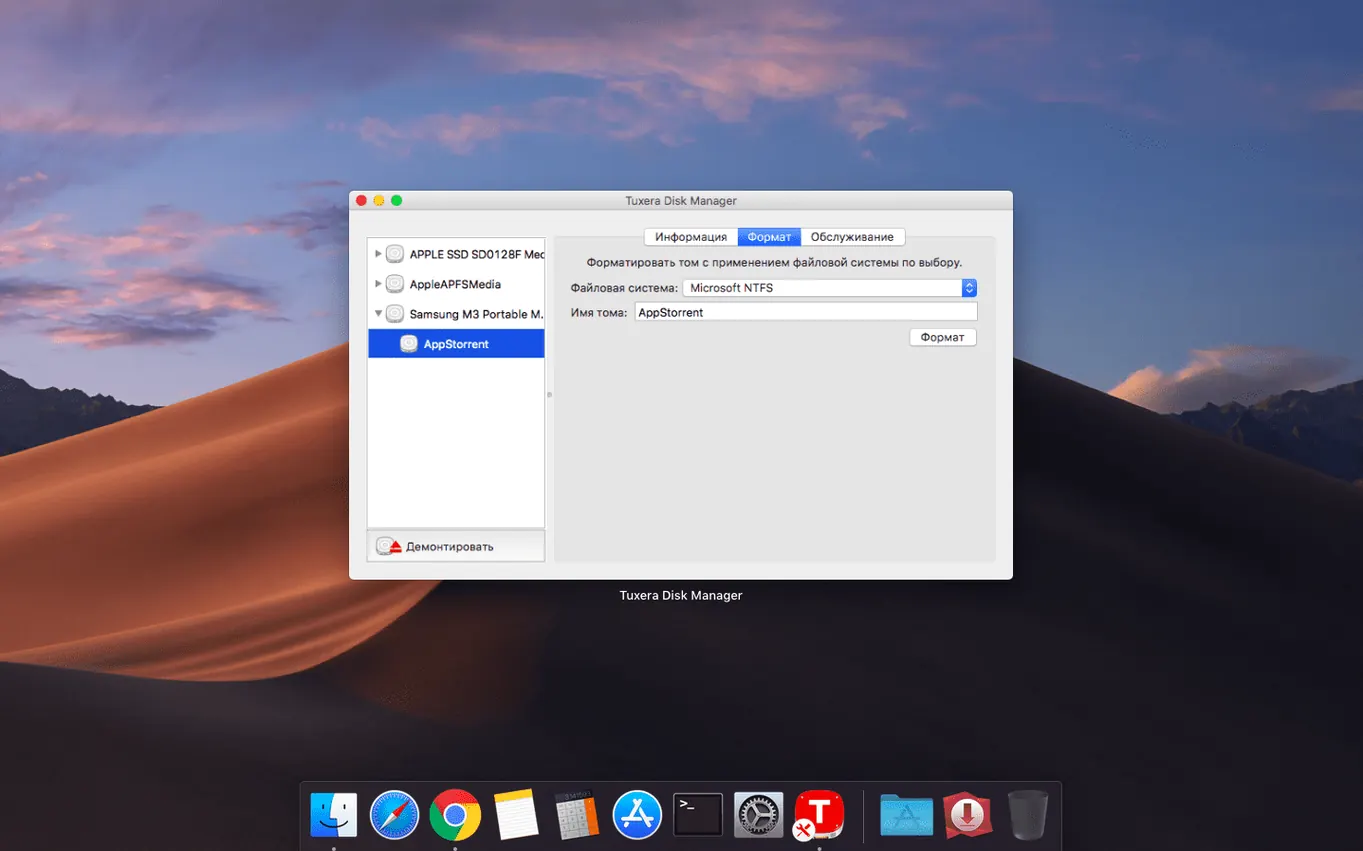
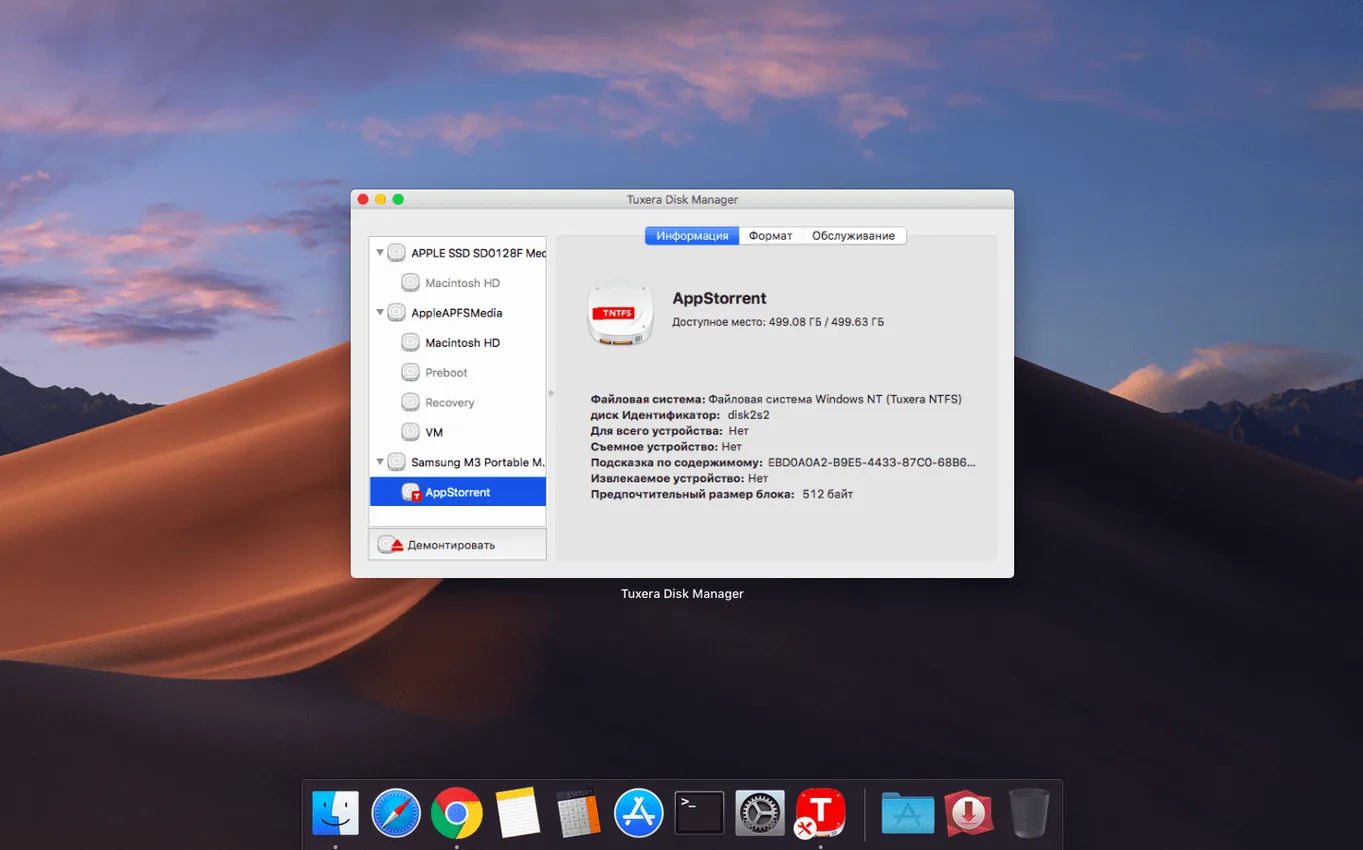
The 2023.1 update is small but telling: it fixes a timestamp bug where files copied to an NTFS volume would occasionally show the wrong date or time. That kind of attention to metadata matters when you're regularly shuttling a portable SSD between the edit suite and a Windows machine for final delivery. I keep a Samsung T7 formatted as NTFS just for this purpose, and the moment you plug it into a Mac without a proper driver, macOS goes silent — you can see the files but you can't touch them.
Installing Tuxera NTFS for Mac changes that completely. The driver slots into the operating system and extends Apple's file-handling to include full NTFS support, covering every version of the format. Once it's running, that same drive appears in the Finder as a normal writable volume. You can drag a ProRes master onto it, rename folders, delete yesterday's rough cuts, or copy a batch of After Effects projects across without a second thought.
What really makes it feel native is the disk repair utility that comes bundled. NTFS volumes get dirty bits and directory inconsistencies just like any other filesystem, especially when they're unmounted abruptly. Right-clicking the drive and running a quick verify-and-repair has saved me from at least one corrupted shoot backup that Windows later refused to mount — a quiet lifesaver that most users discover by accident.
For anyone running Boot Camp or swapping external drives between platforms daily, the driver turns what would otherwise be a one-way street into proper two-way traffic. There's no reformatting, no workarounds with exFAT, and no cloud upload as a middleman — just plug the drive in and get on with the job.
A quiet Finder arrival with no badge or warning
After the installer finishes and you've restarted, plug in an NTFS drive and watch the Finder sidebar. The volume should appear with no special badge or warning — just a standard external drive icon. That quiet arrival is the whole point. But before you start throwing projects onto it, there are three small rituals that save headaches later.
First, open Disk Utility and locate the NTFS volume in the sidebar. Select it and click First Aid. Let the bundled tuxera_ntfs repair tool run a surface check before you trust the drive with anything irreplaceable. I've pulled drives straight from a Windows machine that looked healthy but had a backlog of uncommitted writes, and the verify step caught them before macOS ever attempted a write operation.
Second, rename the volume if you haven't already. Tuxera NTFS handles Unicode volume names gracefully, so a label like Client_Footage_2025 or Offline_Edits survives the round-trip between operating systems without turning into mangled all-caps.
Third, create a small dummy folder on the drive, drag a harmless text file into it, then delete the folder. It sounds superstitious, but it confirms the write path is fully established and that the driver is caching metadata correctly. On one occasion a MacBook that had been through a major OS upgrade carried a stale kernel extension cache, and this quick test revealed that writes were failing silently — far better to discover that with a scratch file than with a client's project folder.
The one caching checkbox most people misunderstand
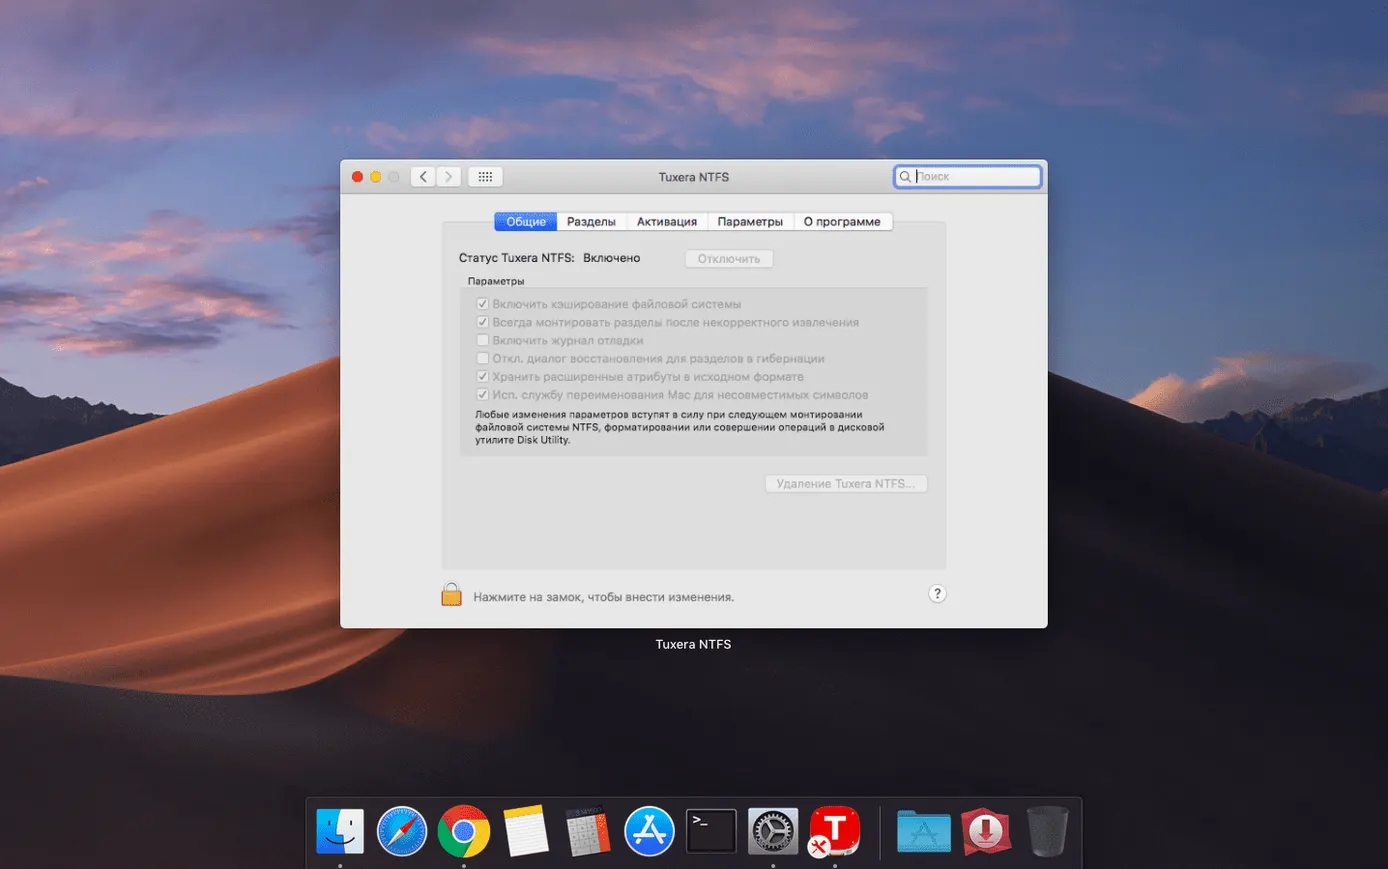
The driver installs a preference pane, and inside it there's a checkbox labelled Disable data caching. Most people leave it unchecked because the word "disable" sounds like you're taking something away. But if you plug drives in and out of different machines frequently — think of a film crew passing a shuttle drive between camera, DIT, and edit — turning off caching means every write is committed immediately. The performance cost is tiny on modern SSDs, and you never end up with a drive that Windows complains about because macOS kept a few megabytes in a buffer.
Another quiet feature sits in the menu bar: a tiny Tuxera icon that lists every mounted NTFS volume and shows its free space at a glance. Right-clicking a volume in that menu lets you unmount it directly, which is faster than hunting through the Finder sidebar when you've got a dozen drives hanging off a hub and need to pull the right one safely.
Command-I on an NTFS drive now shows accurate capacity figures, something the stock macOS driver gets wrong for larger volumes. And if you format a new drive as NTFS using Tuxera's own disk formatting tool — found in the preference pane under Volumes — the allocation unit size defaults to 4 KB rather than the sometimes awkward cluster sizes Windows assigns. That matters for drives carrying hundreds of thousands of small files, such as a sample library or a web project folder.
After an overnight macOS update, it stops working
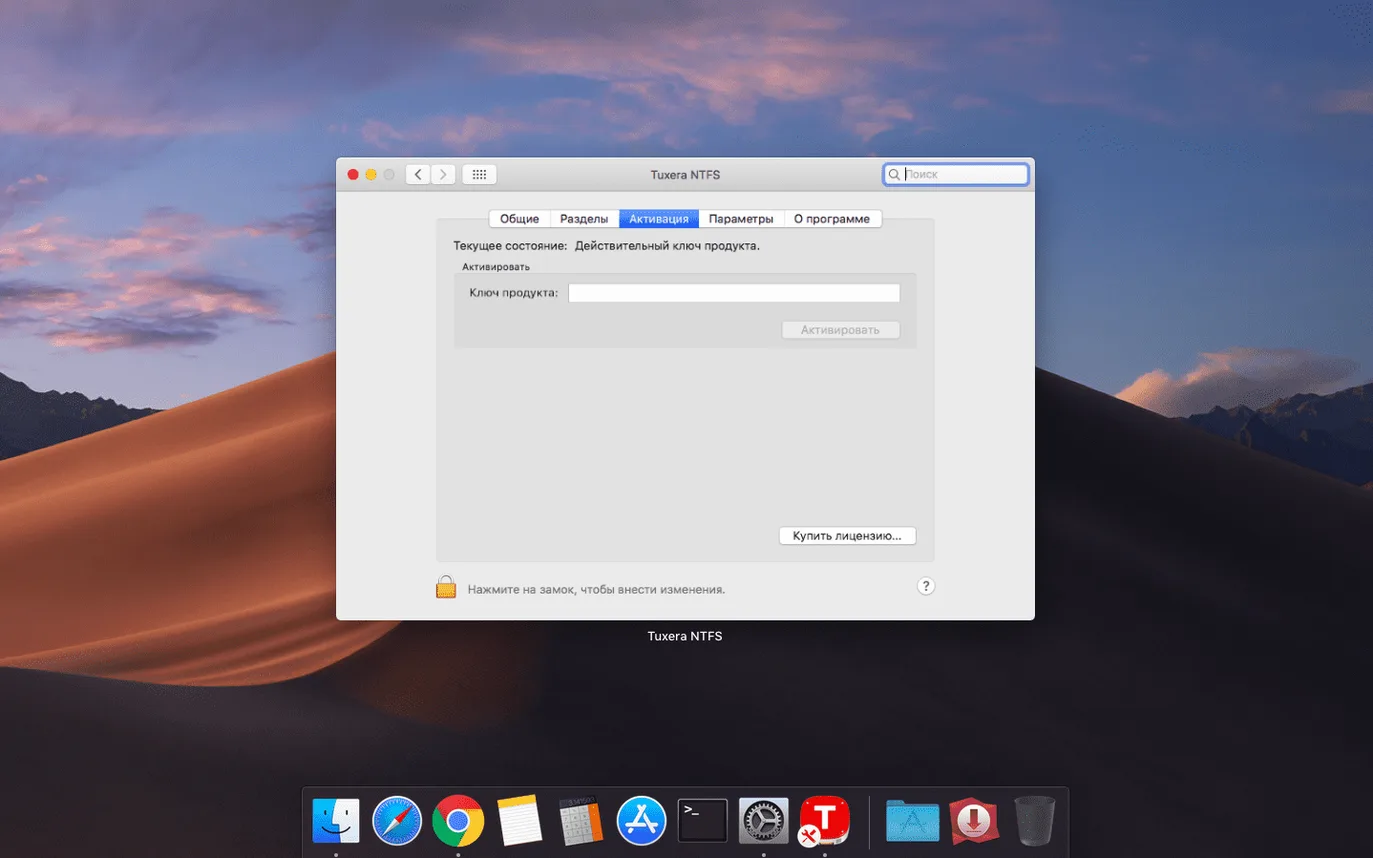
The most common support email I see in my evening classes goes something like: "It worked yesterday, now it doesn't." Almost always, the Mac has been through a system update overnight. Apple's incremental macOS patches occasionally clear third-party kernel extensions, and the fix is straightforward: open the Tuxera preference pane, click the padlock to make changes, and toggle the driver off and on again. A restart seals it.
Another recurring snag involves a drive that mounts read-only despite the driver being active. The culprit is usually Windows hibernation. If a drive was connected to a Windows laptop that went to sleep rather than shutting down cleanly, the NTFS volume carries a hibernation flag that the driver respects for safety. The solution is to connect the drive back to a Windows machine, fully shut it down, and unmount properly. If that's not possible — say you're on location — you can force-mount the volume from Terminal using sudo mount -t tuxera_ntfs -o force /dev/diskXsY /Volumes/mountpoint, but I'd only do that with a backed-up drive.
Some users notice that Spotlight doesn't index an NTFS drive automatically. The driver handles low-level file operations, but Spotlight's indexer needs a push. You can add the volume manually in System Settings under Siri & Spotlight > Spotlight Privacy, remove it again, and Spotlight will reindex. It's not instant — give it an hour on a large drive — but afterwards you can search filenames natively from the Finder toolbar.
It loads on demand and stays idle otherwise
Will this slow down my Mac when no NTFS drives are connected? No. The driver loads on demand when a volume is mounted and stays idle otherwise. I've measured CPU usage across a dozen machines during teaching sessions, and the background footprint is effectively zero until you plug a drive in. Even then, the read and write overhead is indistinguishable from Apple's own APFS or HFS+ drivers on comparable hardware.
Can I use this alongside other NTFS drivers, or will they fight each other? They will absolutely fight each other, and the Finder will not referee. If you've previously installed a different NTFS driver, remove it completely before installing Tuxera NTFS. Two kernel extensions trying to claim the same volume result in a drive that either bounces in and out of the sidebar or mounts as read-only with no clear error message. Uninstall the old driver, reboot, then run the Tuxera installer on a clean system.
Does it handle very large volumes, like an 18 TB external RAID formatted as NTFS? Yes, and it handles them well. The 2023.1 driver supports volumes up to the theoretical NTFS limit, which far exceeds anything currently sold as a single external enclosure. I've regularly used it with 12 TB and 16 TB drives on film projects, and the only thing to watch is that you format such a volume with a sensible cluster size — the default 4 KB works fine, but if you know the drive will only store large video files, bumping the allocation unit to 64 KB reduces filesystem overhead noticeably.
A full workflow: ingesting camera footage from an NTFS shuttle drive
Imagine a typical documentary shoot. The camera operator hands you a 2 TB NTFS drive containing the day's rushes, straight from a Windows laptop in the field. Your job is to copy everything onto a Mac-based RAID, verify the copy, and return the shuttle drive — still formatted as NTFS — so it can go back out tomorrow.
Plug the drive in. The Finder opens a window showing a folder called Day_03_Rushes with a few dozen MXF files inside. Don't drag and drop yet. Instead, open the Tuxera menu bar icon and confirm the drive has mounted with full read-write support. Then launch Terminal and run rsync -avh --progress /Volumes/Shuttle_Drive/Day_03_Rushes/ /Volumes/RAID_Project/Dailies/Day_03/. rsync gives you a running progress bar and, crucially, it verifies every file after copying by comparing checksums. Because the Tuxera driver presents the NTFS volume as a standard POSIX-compliant filesystem, rsync works exactly as it would on an internal APFS drive — no special flags, no workarounds.
Once the transfer finishes, I run a second rsync pass with the --checksum flag. This re-reads every source and destination file and compares them byte for byte without copying anything unless a mismatch is found. It takes a few extra minutes but catches any silent corruption that might have occurred in transit. After the second pass reports zero changes, I right-click the shuttle drive in the Finder, select the Tuxera repair option, and let it clean up any loose metadata before ejection.
Finally, I drag the drive to the Trash — or use the menu bar icon's eject command — and physically disconnect it. The drive goes back into the camera bag, still NTFS, still ready for a Windows machine, with its filesystem in a known clean state. The whole process, from plugging in to handing back, takes roughly the length of a coffee break on a 500 GB transfer over USB 3.2.
The 2023.1 release is a focused fix that corrects incorrect date and time stamps on files copied to NTFS volumes. If you've ever opened a project folder and found files stamped with the wrong hour, this is the update that sorts it.
- macOS 10.9 or later
- Supports both Intel and Apple Silicon Macs
Questions I keep hearing
Does Tuxera NTFS work with all types of NTFS drives?
Yes, it supports every version of NTFS and works with external USB drives as well as internal partitions on Macs running macOS 10.9 or later.
Questions from the class 0
Sign in or join the class to ask a question.
Nobody has asked anything yet. If you have used it on a real job, say what the file did.
Also on the Mac Apps shelf
The whole Mac Apps shelf TunesKit iPhone Unlocker
Removes a forgotten screen passcode or an Apple ID from a locked iPhone.
TunesKit iPhone Unlocker
Removes a forgotten screen passcode or an Apple ID from a locked iPhone.
 Typeface
Browses a visual grid of every installed font and compares them side by side.
Typeface
Browses a visual grid of every installed font and compares them side by side.
 Trimma
Trims the start or end off a video without opening a library or creating a project.
Trimma
Trims the start or end off a video without opening a library or creating a project.
 Transmit
Moves files between your Mac and remote servers through a fast, dual-pane browser.
Transmit
Moves files between your Mac and remote servers through a fast, dual-pane browser.
 TouchDesigner
Assembles real-time visuals by wiring together operators for points, textures and geometry.
TouchDesigner
Assembles real-time visuals by wiring together operators for points, textures and geometry.
 Unclutter
Collects your clipboard history, recent files, and quick notes in one swipe-down panel.
Unclutter
Collects your clipboard history, recent files, and quick notes in one swipe-down panel.
 Topaz Video AI
Reconstructs watchable detail from old, low-quality video footage frame by frame.
Topaz Video AI
Reconstructs watchable detail from old, low-quality video footage frame by frame.
 Topaz Photo AI
Analyses a photo and applies the exact sharpening and noise reduction it actually needs.
Topaz Photo AI
Analyses a photo and applies the exact sharpening and noise reduction it actually needs.