 ASPNetWorld

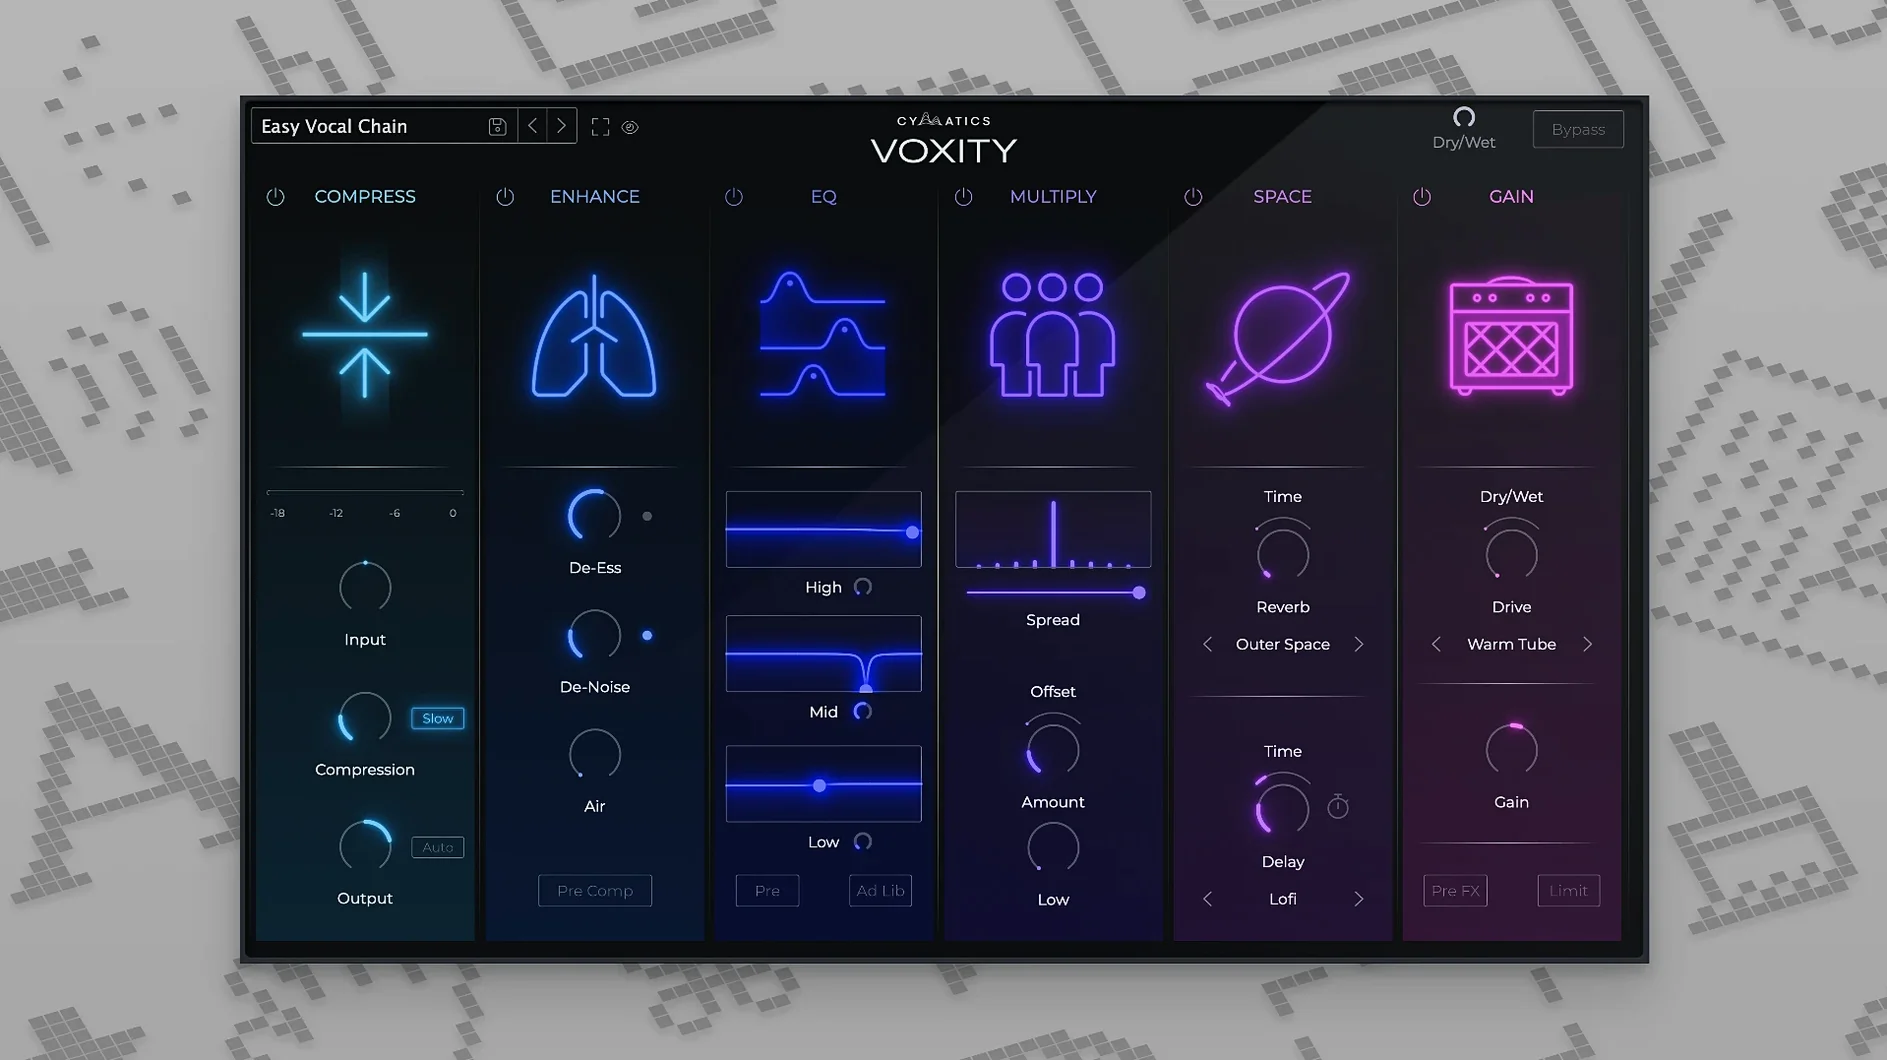
VOXITY runs natively on both Apple Silicon and Intel Macs from macOS 10.14 upwards, in 64-bit hosts only.
Vocal mixing plugin — a single processor built to handle the EQ, compression and spatial sweetening a lead vocal typically needs, without routing across multiple inserts.
Brightness — an air band that lifts the top end without becoming brittle; useful for pulling a recorded vocal forward in a busy arrangement.
Depth — a body control that adds weight to the low-mid range, giving a close-miked performance more chest resonance without muddying the consonants.
All-in-one design — rather than chaining separate processors, the controls are tuned to interact as one vocal chain, so an adjustment to presence automatically respects the compression curve underneath. The result is a sound that stays glued together even when you push things harder than you normally would.
Your first session with VOXITY will probably sound better than you expect — that's by design. The factory state is already doing several things at once, and the knobs are calibrated so you can travel a long way before anything breaks apart. But a few habits from the first three or four days make a genuine difference to how quickly you settle in.
Sweep the Depth knob before touching a preset
Hold off on the presets for the first hour. Open the plugin on a dry lead vocal, set the input so the meter hovers around -12 dB, then grab the Depth knob and sweep it slowly between nine o'clock and three o'clock while the full arrangement plays. You're not listening for the soloed vocal — you're listening for where the voice stops fighting the bass and the low end of the keys. Once you find that pocket, leave it alone. That one move often saves three rounds of mix notes.
Next, solo the vocal and back the Breath Control fader off to about 40%. On most condenser recordings recorded in a treated room, anything above 60% starts to soften the consonants in a way that's hard to recover downstream. If you're working with a dynamic mic in an untreated space, you can push it to 70–75%, but only after you've dialled in the brightness — the two controls interact, and it's easy to over-correct a dull recording by pulling breath noise out first and then reaching for the air band.
The Width control deserves its own caution. It's tempting to crank it on a hook, but mono compatibility falls away sharply past one o'clock. Rather than guessing, insert a gain plugin after VOXITY, sum to mono, and toggle while you adjust. You'll typically find the sweet spot between eleven and one, where the vocal feels spacious but still present in a phone speaker or a club PA.
Finally, treat the output gain as part of the sound, not just a trim. Pushing it gently into the internal limiter — just a decibel or two of occasional reduction — adds a glue that helps the vocal sit inside a dense pop or hip-hop production. For sparser arrangements, keep the limiter inactive and match levels with the fader in your DAW instead.
Polishing a raw vocal tracked in a home studio
Imagine a producer who records songwriters in a home studio — an SE Electronics condenser into a modest interface, a reflection filter behind the mic, the room treated with broadband panels but not dead. The recording arrives raw: a little boxy around 400 Hz, sibilance that jumps out on the word "see," and a performance that wants to feel intimate but sounds small when placed against a stereo piano and a brushed snare.
VOXITY sits first in the chain. Depth comes up to about eleven o'clock to give the chest register some weight, then the Harshness control nudges down just enough that the "s" sounds stop grabbing attention — no de-esser side-chain routing, no extra plugin window. Brightness goes to one o'clock for air, and Width stays at twelve because the song leans on a tight centre image. A touch of the built-in plate reverb, set to a short 1.2-second decay and mixed low, wraps the voice in a sense of space without pulling it backwards. The whole thing takes under two minutes, and the vocal now feels finished enough that the songwriter stops asking "can you make it sound warmer?" — which is usually code for several problems at once.
That speed is the real proposition here. When you're tracking someone who's paying by the hour, you don't want to build a vocal chain from scratch while they scroll their phone. A Cymatics Voxity torrent that lands on a producer's machine often gets opened during a session like this, where the time between recording and a rough mix is measured in minutes rather than days. The plugin's layout supports that pace — no tabs, no hidden menus, everything visible at a glance.
Why input gain matters more than the EQ bands
The most common mistake is treating it like an EQ and ignoring the compression that's running underneath. The Brightness and Depth bands sit post-compression, so if you haven't set the input level properly, you're boosting a signal that's already being squeezed in ways you can't hear. The fix is simple: bypass the plugin once you've set your tone, check that the bypassed level matches the processed level, then reactivate and trust the gain staging.
Another frequent slip is loading a preset labelled "Modern Pop" onto a vocal that was tracked through a dark ribbon mic, then wondering why the top end sounds brittle. The presets are starting points, not corrections — they assume a reasonably balanced recording at the input. If your source is unusually dull, add brightness before auditioning presets, or use the preset as a rough sketch and then tweak the tone controls with your ears, not your eyes.
Beginners also tend to overuse the Echo and Reverb sections because they're right there in the same window. A quarter-note delay with 30% feedback sounds lush in solo, but in a full mix it turns a verse into a wash. A better approach: set the reverb level with the whole arrangement playing, then back it off by 2 dB. If you can still clearly hear the tail, it's probably too loud. The same rule applies to any cymatics download that bundles time-based effects into a channel strip — the convenience makes it dangerously easy to over-sauce.
Switch off the internal limiter to reveal the compression
Out of the box, the internal limiter is on by default. For most tracking and early mixing work, switch it off. You want to hear what the compressor section is doing without a brick-wall ceiling masking your dynamics. Turn it back on only at the final levelling stage, and even then, aim for 1–2 dB of reduction at most. If you're hitting it harder, your input gain is too high.
The Breath Control detection curve can feel a little aggressive on quieter passages. If you notice the vocal closing down during the last syllable of a phrase, pull the control back to 35–45% and compensate with a dedicated de-esser after VOXITY for the stubborn sibilants. The plugin isn't designed to replace surgical tools — it's a broad-stroke processor, and the breath control works best when it's subtle enough that you forget it's there.
Finally, the stereo width processing defaults to a mid-side matrix that's calibrated for a centred lead vocal. If you're running VOXITY on a double-tracked backing vocal bus, widen the control a touch further than you would on a lead — around two o'clock — and then check in mono. Backing vocals often collapse more gracefully than leads at wider settings, and the extra spread can help them frame the centre without pulling focus. Many cymatics free downloads aimed at vocal production include standalone wideners, but having it inside the same plugin means one fewer insert to manage when you're juggling fifty tracks.
- macOS 10.14 or later
- Apple Silicon or Intel processor
- 64-bit host application
- Interface language: English
Questions from the class 0
Sign in or join the class to ask a question.
Nobody has asked anything yet. If you have used it on a real job, say what the file did.
Also on the VST Plugins shelf
The whole VST Plugins shelf Cymatics QUAKE
Synthesises weighty 808 bass sounds from scratch with built-in saturation circuits.
Cymatics QUAKE
Synthesises weighty 808 bass sounds from scratch with built-in saturation circuits.
 Devious Machines Infiltrator
Sequences a chain of audio effects step by step from a single MIDI note.
Devious Machines Infiltrator
Sequences a chain of audio effects step by step from a single MIDI note.
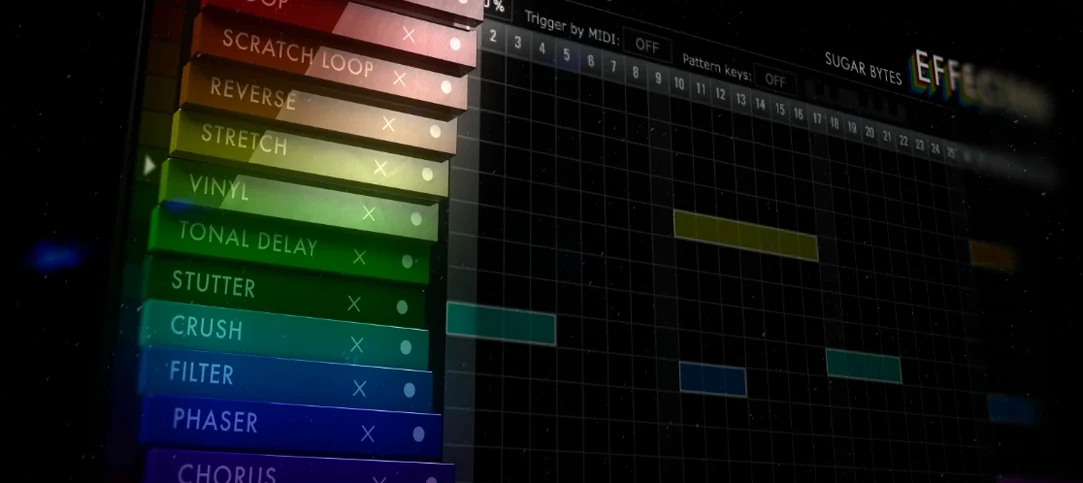 Effectrix
Paints sequenced audio effects across a step grid to transform a loop over time.
Effectrix
Paints sequenced audio effects across a step grid to transform a loop over time.
 elastiquePitch
Shifts the pitch and formant of a recording independently without changing its length.
elastiquePitch
Shifts the pitch and formant of a recording independently without changing its length.
 Cableguys Snapback
Layers a second sample underneath your drum hit and snaps its timing to the transient.
Cableguys Snapback
Layers a second sample underneath your drum hit and snaps its timing to the transient.
 EZbass
Turns your chords into realistic basslines with fingerstyle detail and ghost notes.
EZbass
Turns your chords into realistic basslines with fingerstyle detail and ghost notes.
 EZdrummer
Builds full drum tracks from your ideas when no drummer is available.
EZdrummer
Builds full drum tracks from your ideas when no drummer is available.
 FabFilter Total Bundle
Brings together a suite of tools to shape and polish your mixes.
FabFilter Total Bundle
Brings together a suite of tools to shape and polish your mixes.