 ASPNetWorld

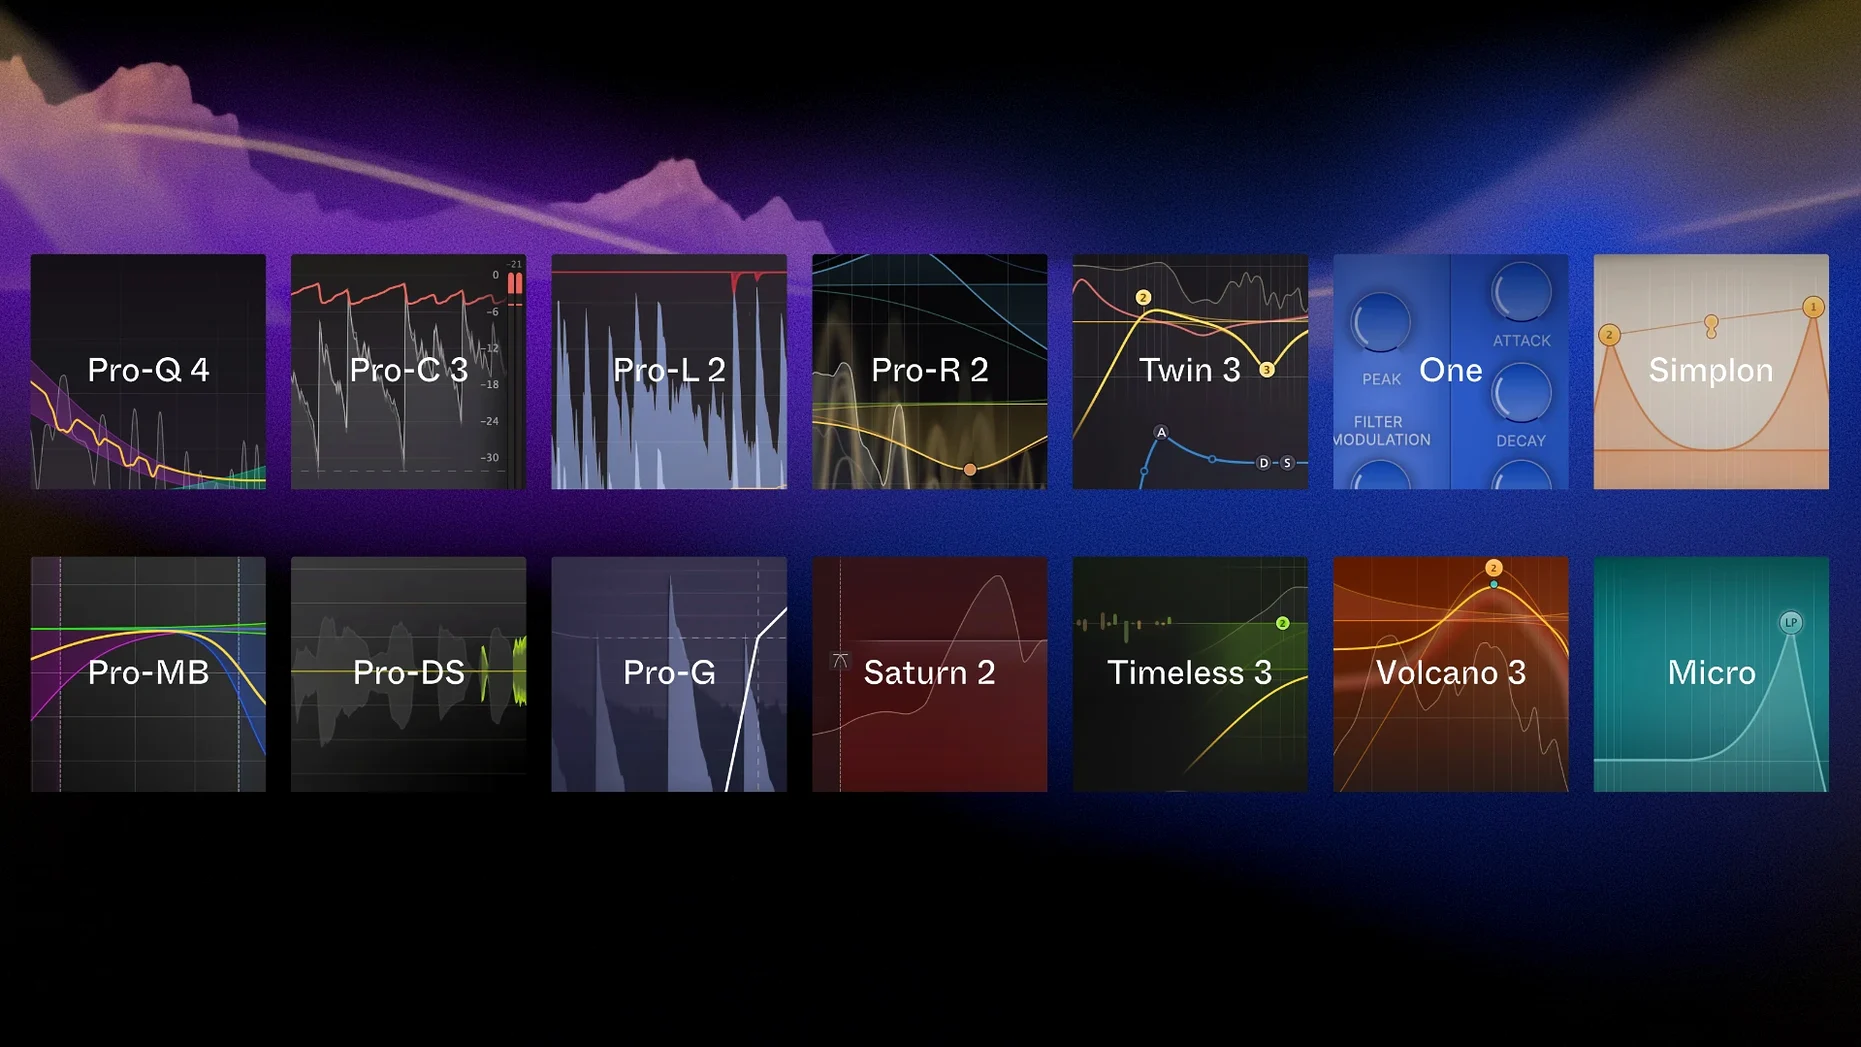
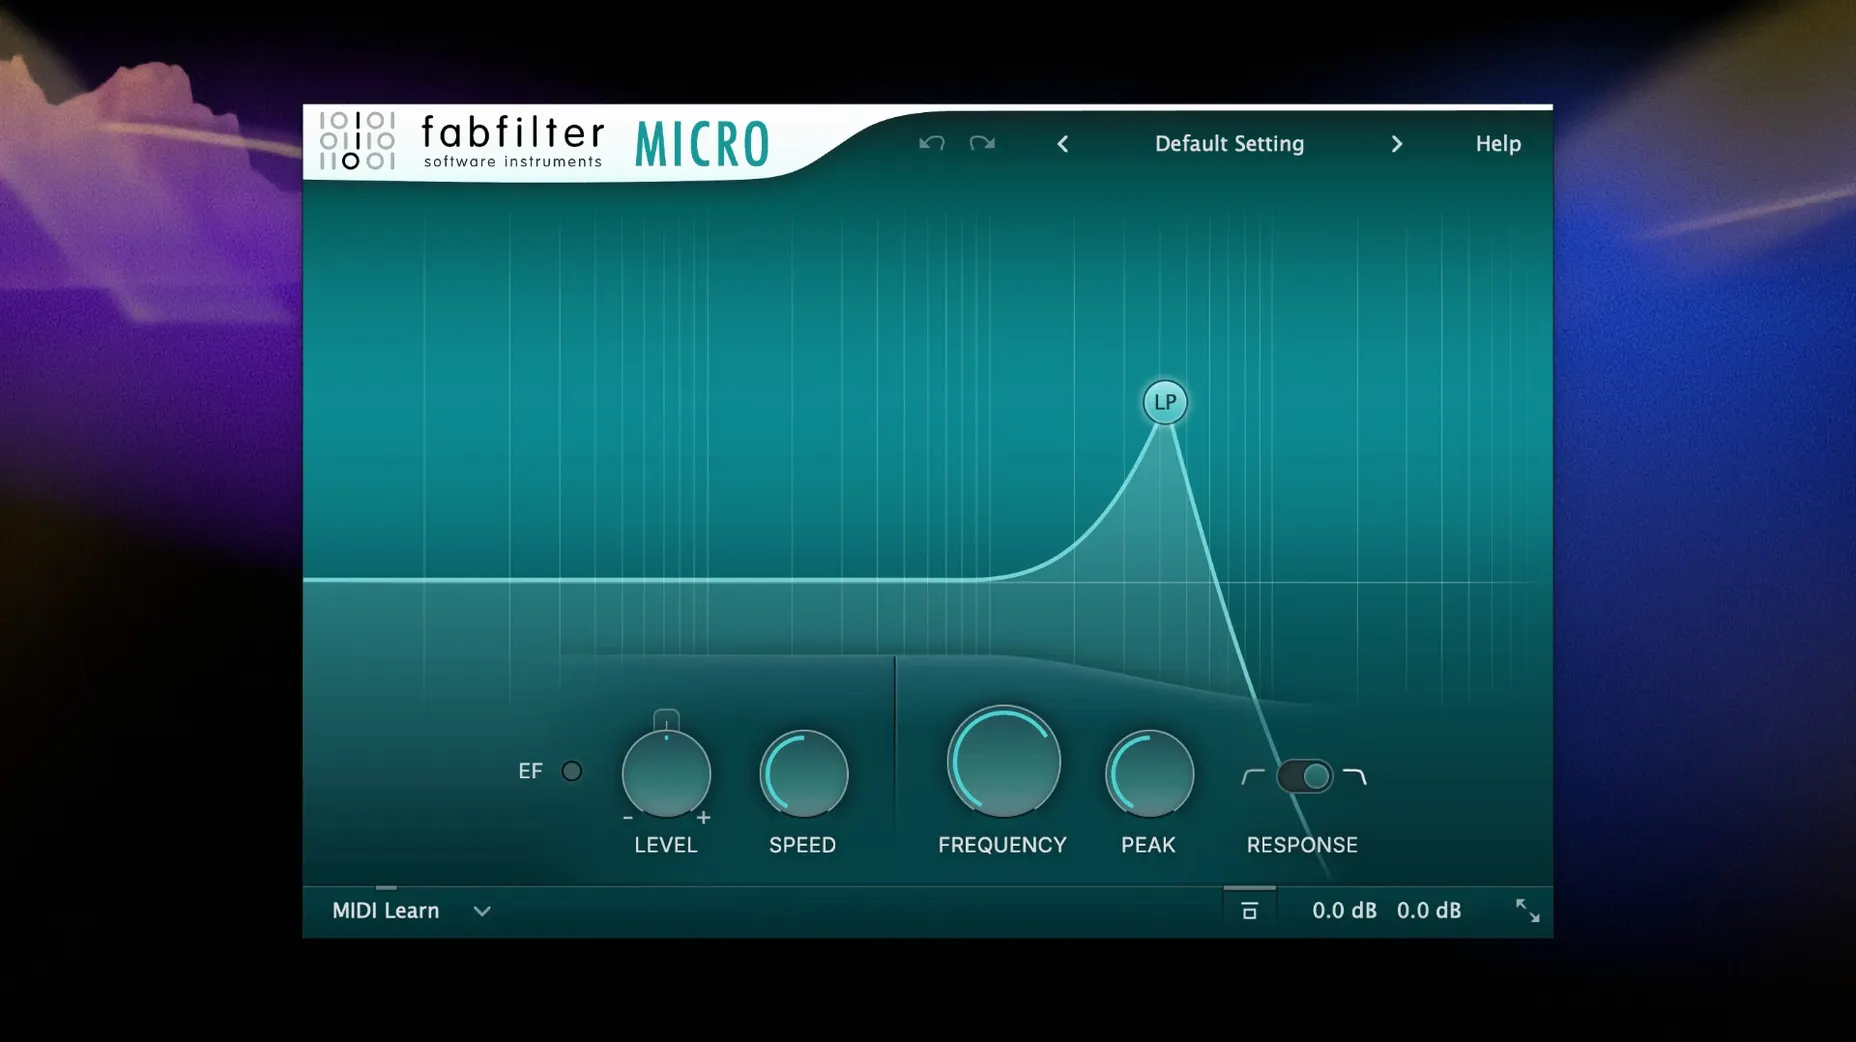
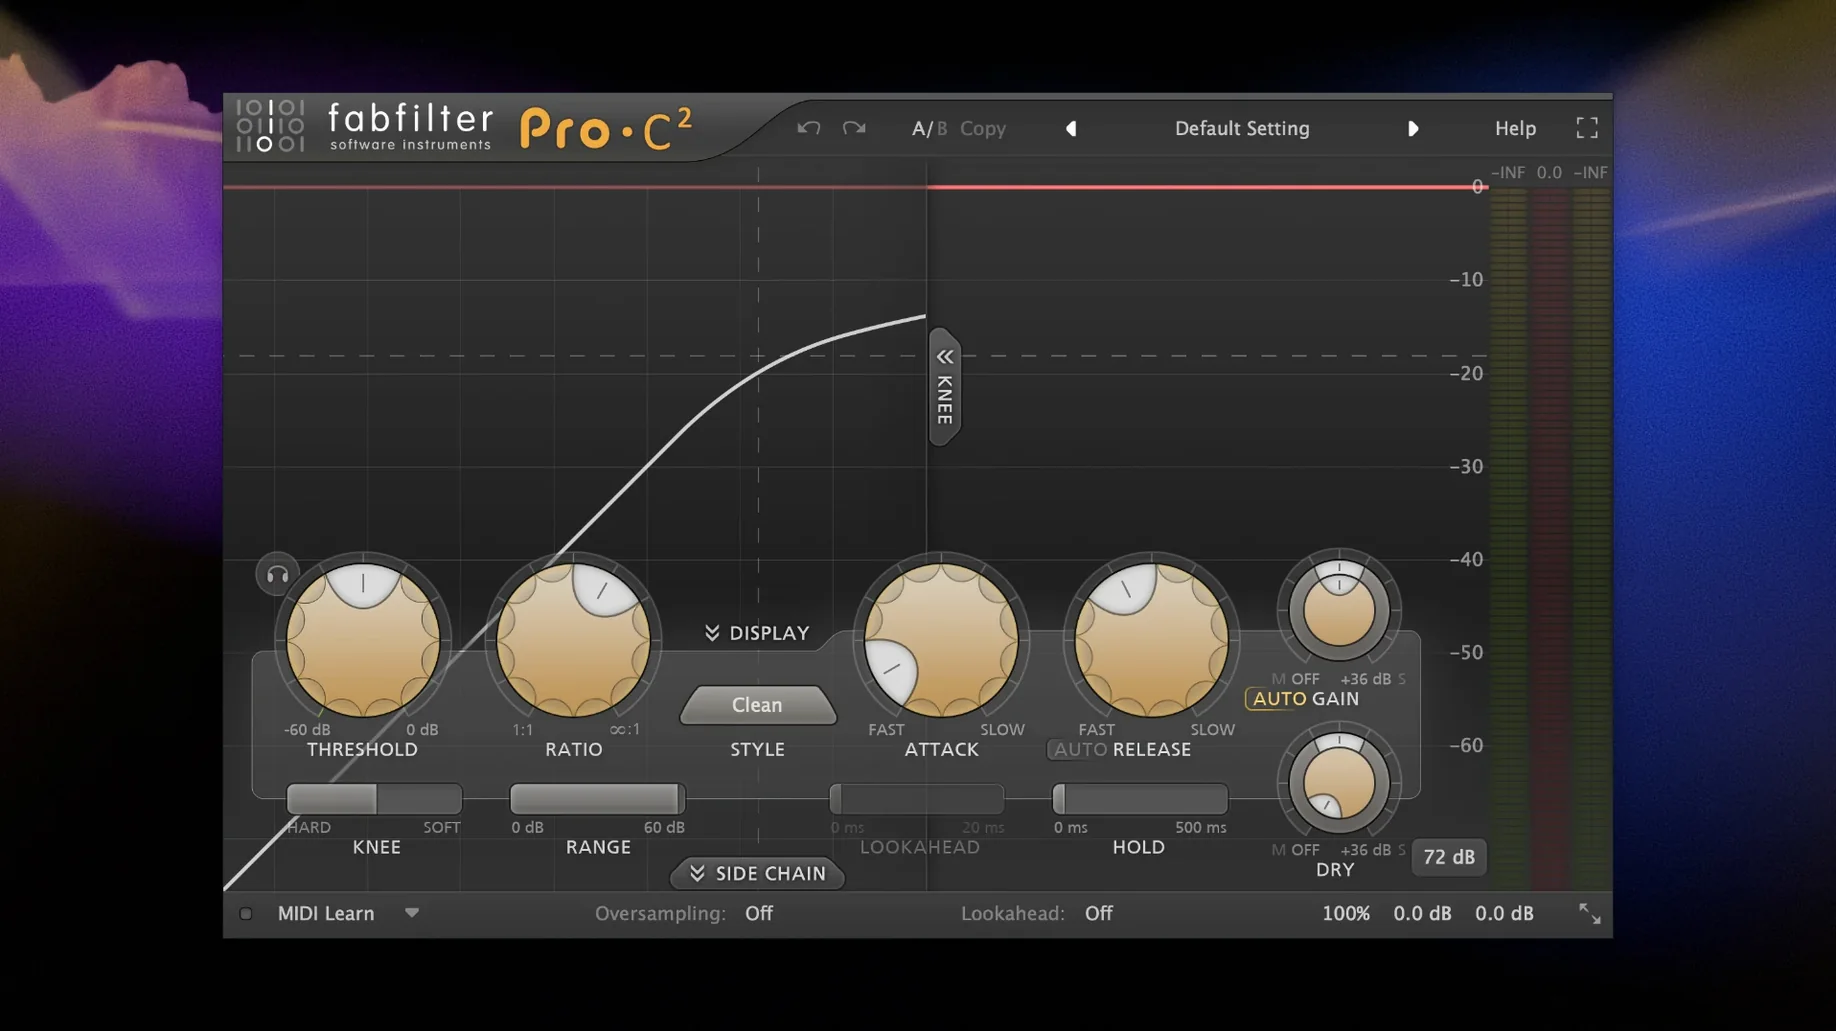
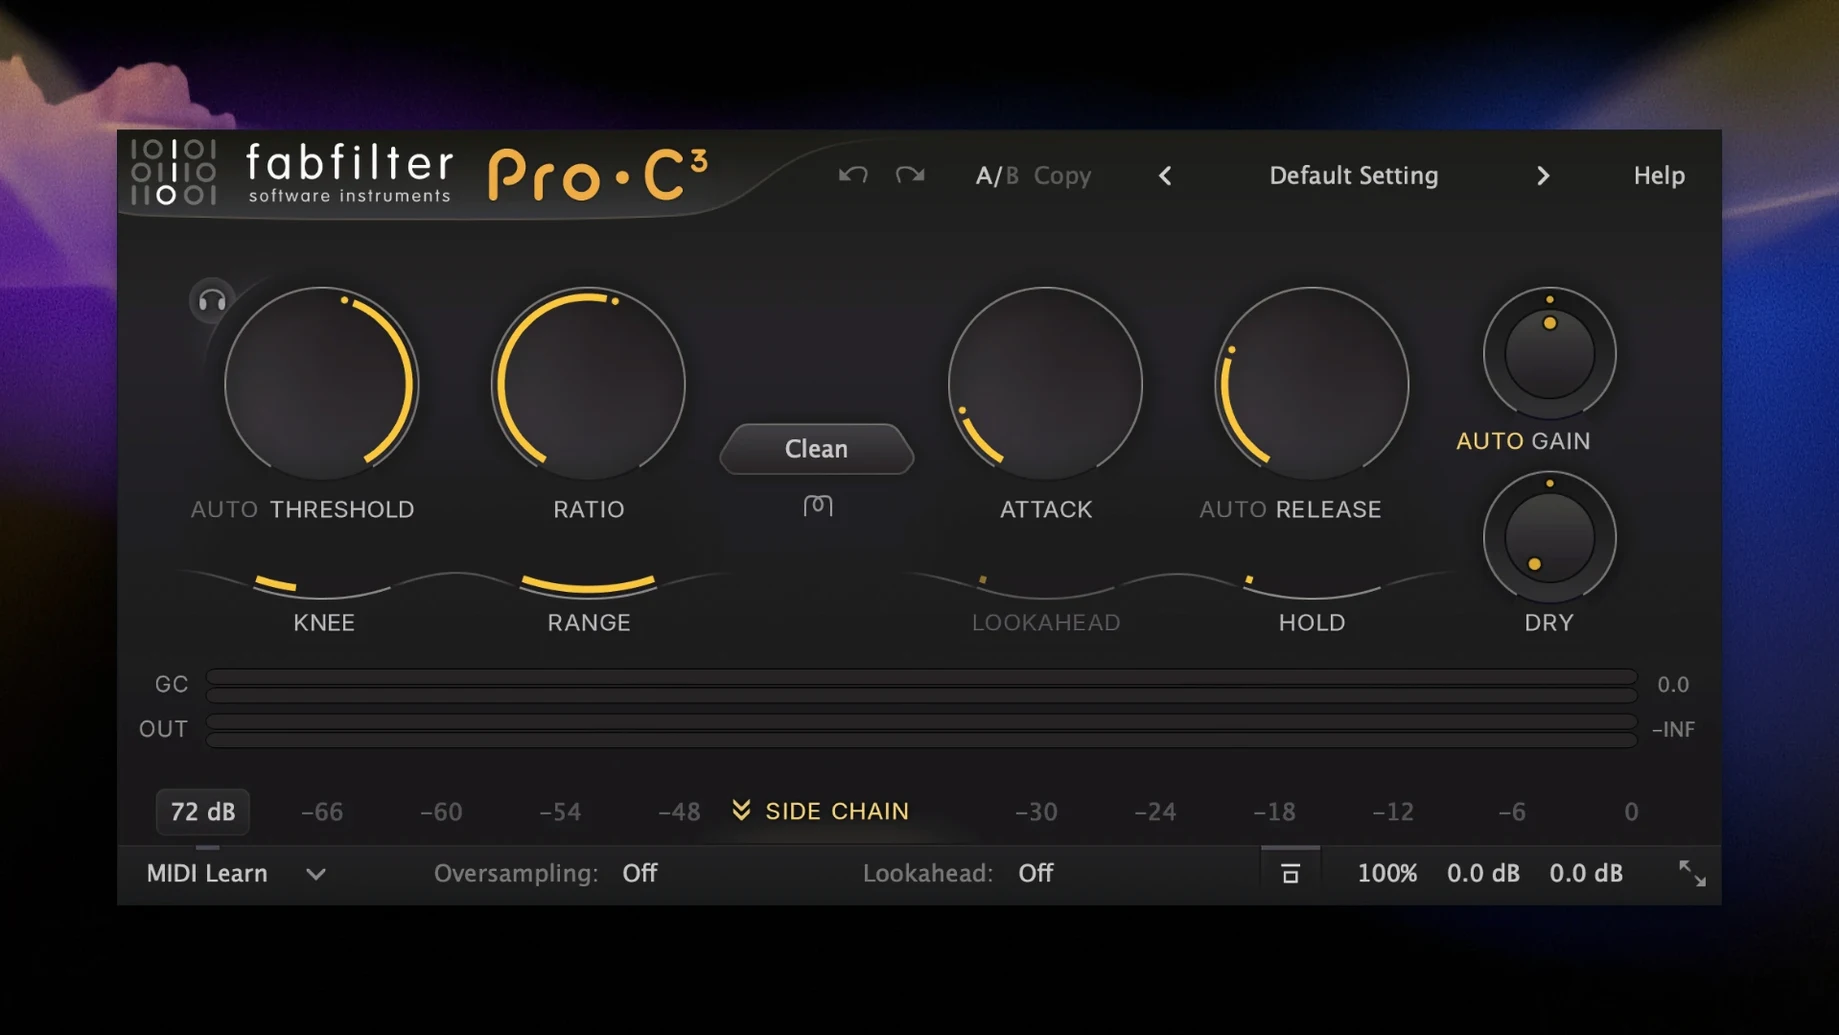
While the headlining EQ continues to set standards, the current build of the Total Bundle quietly refines engine-level behaviour across several plug-ins — the sort of under-the-hood work that improves CPU scheduling on Apple Silicon without touching a single knob. For an experienced user, the story isn't the new flash; it's how the collection handles complex routing and modulation when you push it.
Processing tools worth digging into
Pro-MB remains the unsung hero for frequency-specific gating and upward compression — something a conventional compressor simply can't do. Paired with Pro-L's true-peak limiting and its oversampled inter-sample peak detection, you can build a transparent mastering chain without a single third-party meter. And Pro-R's decay rate EQ lets you sculpt a reverb tail so the low-mids don't bloom out of control on a dense mix, a detail that separates a workhorse plug-in from a one-trick preset player.
The creative engine underneath
What makes the bundle more than a mix toolkit is the modulation architecture shared by Saturn, Timeless and Volcano. Saturn's multiband distortion can be driven by an envelope follower keyed to a completely different track, turning a bass guitar into a dynamic saturation trigger for a synth pad. It is the kind of lateral thinking the bundle rewards when you stop treating each plug-in as an isolated processor and start using them as a modular system.
Blank interfaces and disappearing sidechains
A handful of things trip people up repeatedly, and they're rarely about the sound — they're about the way the plug-ins talk to the host or to each other. One of the most frequent is a blank interface on older Metal-incompatible Macs. The FabFilter framework leans heavily on GPU-accelerated rendering, so if you're running a 2012 machine with a non-Metal card, the analyser and spectrum displays can simply not draw. The workaround is to switch the OpenGL renderer in the plug-in's settings menu — it's tucked behind the little gear icon — which forces a software fallback and restores the visual feedback at a slight CPU cost.
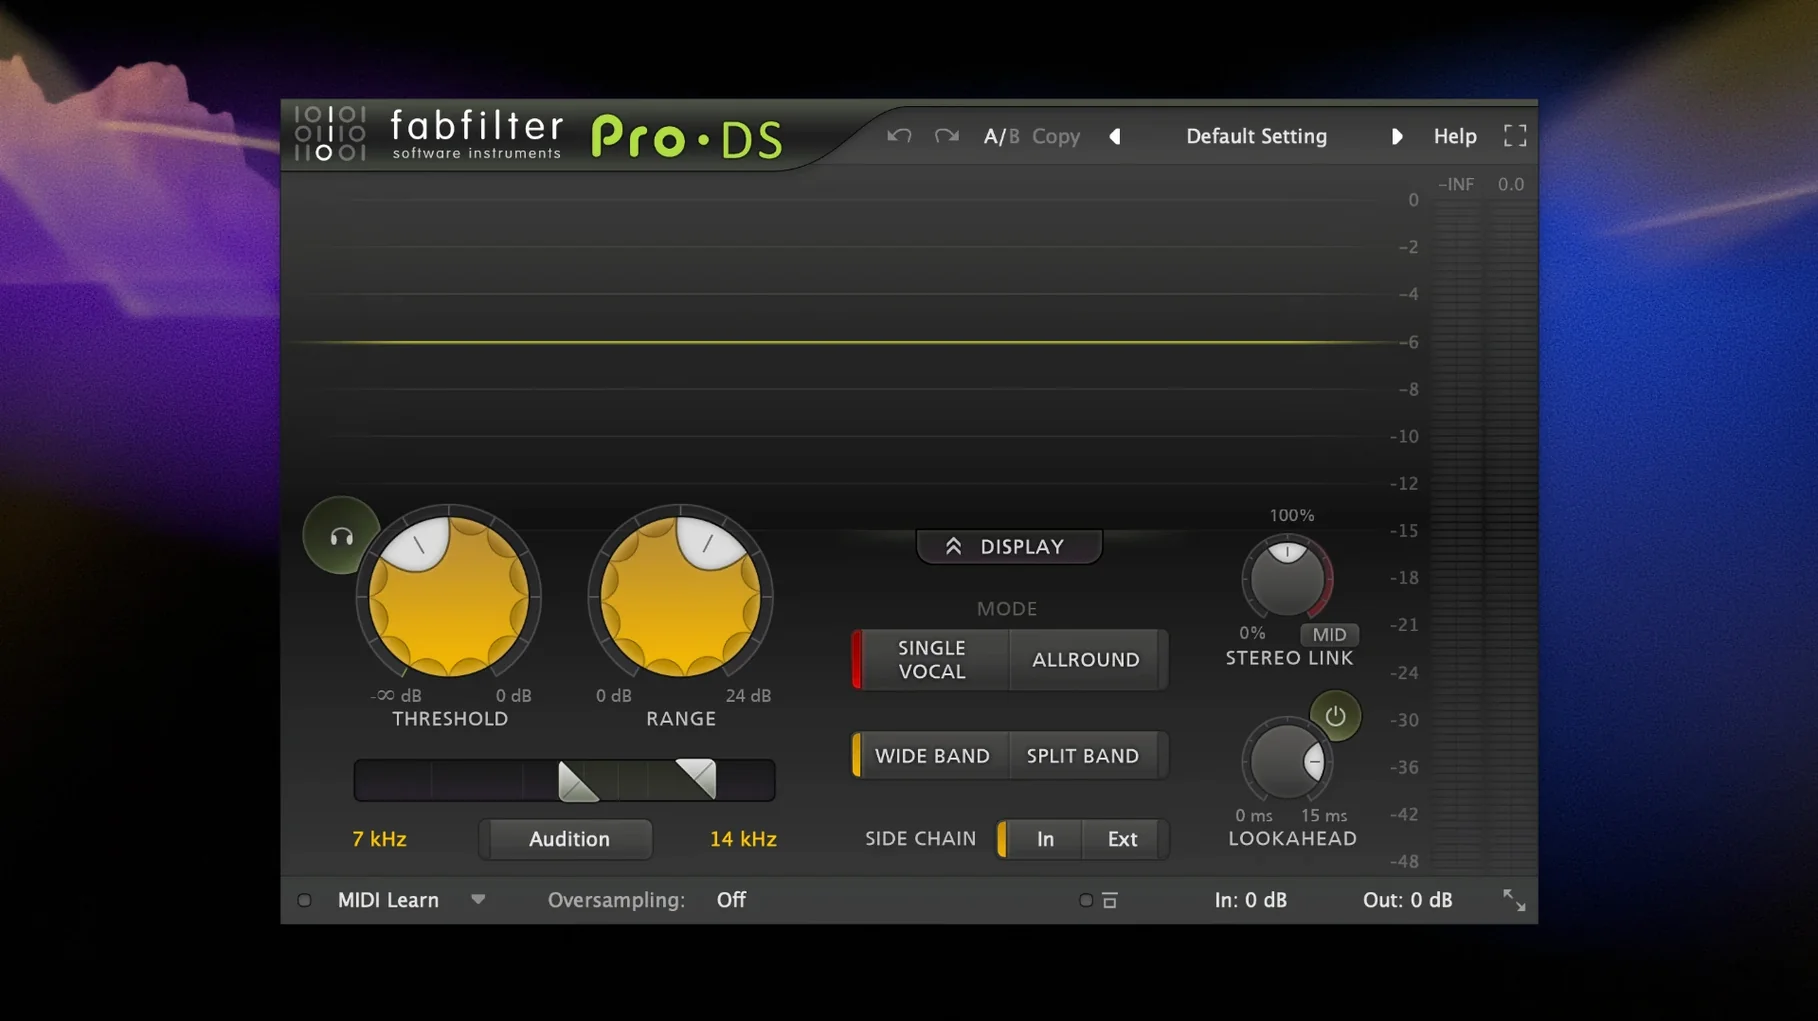
Latency spikes in Logic Pro. Pro-L, Pro-MB and Pro-C all introduce lookahead when their oversampling or true-peak modes are engaged. Logic's low-latency mode will bypass them entirely, which can catch you out if you're tracking a vocal through a monitoring chain that includes, say, Pro-DS followed by Pro-C. Rather than disabling low-latency mode globally, right-click the plug-in slot and choose Low Latency Safe so Logic leaves it active. Alternatively, run Pro-DS in its zero-latency Wideband mode during tracking and switch to Split Band for the mix — the detection circuit is identical, only the filtering architecture changes.
Pro-R's decay suddenly feels wrong on a second listening pass. This usually happens because the Distance knob is doing more work than you think. It adjusts early-reflection timing and pre-delay in tandem, so a setting of around 60% can sound wonderfully ambient on first impression but muddy the transient detail when you return with fresh ears. Pull Distance back to 20–30% and lengthen the decay time slightly instead — you'll keep the sense of space without the smearing.
Sidechain detection misbehaving. When Pro-G or Pro-C doesn't seem to react to the external key signal, the culprit is almost always the sidechain routing in the DAW itself. In Ableton Live, for example, the external sidechain input defaults to the track's own post-mixer signal unless you explicitly select an input from the drop-down that appears below the plug-in slot. In Logic, make sure the sidechain source track has an actual output assigned — a common oversight when you've muted the source region but forgotten that a muted track still sends to a sidechain bus. And if the detector seems slow, check that the external signal isn't heavily low-pass filtered upstream; Pro-C's internal sidechain EQ can compensate, but it works better with a full-bandwidth trigger.
Mixing engineers processing 40-track drum and string stems
The bundle makes sense for three distinct types of user, and each one leans on a different part of the collection. Mixing engineers who handle stemmed multitracks — the kind of work where you receive forty tracks of drums, strings and vocals with a tight deadline — tend to live inside Pro-Q and Pro-MB. The spectrum grab feature in Pro-Q, where you hover over a peak in the analyser and drag to create a bell filter exactly on that frequency, saves the kind of cumulative time that adds up to an earlier finish. Combine that with Pro-MB's dynamic phase processing mode, which keeps the phase response linear across bands even under heavy gain reduction, and you can clean up a muddy low-end without the comb-filtering artefacts that lesser multiband processors introduce.
Mastering engineers gravitate toward Pro-L and Pro-MB as a paired system. The oversampled true-peak limiting in Pro-L is genuinely transparent at 4× oversampling, and the inter-sample peak meter isn't a marketing bullet point — it catches peaks that a standard digital meter will miss by a measurable margin on program material with heavy limiting. Pro-MB then handles the tonal glue upstream, often with only a decibel or two of gain change per band but with the attack and release times tuned to the tempo of the song. Set the low band to around 120 Hz with a gentle upward expansion ratio and you can restore the sense of breathing that heavy limiting tends to flatten out.
Sound designers and electronic producers are the third group, and they often discover the bundle through Saturn and Timeless before touching the mixing tools. Saturn's multiband architecture means you can saturate only the upper harmonics of a bass patch while leaving the fundamental clean, which is invaluable for keeping low-end weight when you want the sound to cut through small speakers. Timeless's dual delay lines with independent feedback paths and the modulation matrix — which lets you assign an LFO to the filter cutoff of only the right channel's feedback loop — create stereo movement that feels organic rather than gimmicky. And Twin, though the least talked-about plug-in in the bundle, is a surprisingly deep analogue-modelled synthesiser that integrates directly with the modulation system shared across the creative plug-ins. Route Twin's output through Volcano for a filter sweep synced to the host tempo, then feed that into Pro-R for a reverb whose decay thins out as the filter closes, and you've built a performance patch with no external routing required.
A workflow: vocal riding into a dense mix
Imagine a track where the vocal needs to sit inside a busy arrangement — drums, two guitar layers, a pad and a bassline that's already eating up the 80–200 Hz range. The vocal was recorded with good mic technique but the singer moves closer to the capsule on quiet phrases and pulls back on loud ones, so the raw take has a dynamic range of about 12 dB. Here's a chain that sorts it out without sounding processed.
Start with Pro-Q on the vocal channel. High-pass at 90 Hz with a gentle 12 dB/octave slope, then find the low-mid resonance that every vocal booth seems to impart — usually somewhere between 250 and 400 Hz — and dip it by 3 dB with a medium Q. Use the spectrum grab tool: solo the band with a click and sweep it until the boxiness disappears, then unsolo it. Add a high shelf boost of about 2 dB at 8 kHz for air, but switch the shelf to Natural Phase mode so the phase shift doesn't smear the transient detail on consonants.
Next, insert Pro-DS in Wideband mode for tracking-latency safety, but once you're mixing, switch it to Split Band and set the threshold so it only catches the sibilants. The Split Band detector in Pro-DS is frequency-selective, meaning it triggers gain reduction only on the high-frequency content rather than pulling down the entire signal when an ess hits. Set the range to about 6 dB — enough to tame the sharpest sibilants without making the singer lisp.
Now Pro-C in Vocal mode. The Vocal preset is a good starting point, but switch the knee from soft to medium and set the ratio to 3:1. The key move here is to use the sidechain EQ built into Pro-C's detector section: enable it and cut the low frequencies below 120 Hz so the compressor ignores the plosives and low-end energy that would otherwise trigger gain reduction on every syllable. Set the attack to around 10 ms to let the initial consonant through, and the release to auto so it follows the programme material. Aim for 4–5 dB of gain reduction on the loudest phrases.
Finally, insert Pro-MB on the vocal bus (not the channel itself) and enable only two bands: a low band from 20 Hz to 200 Hz, and a high band from 200 Hz upward. On the low band, apply gentle upward compression — a ratio of 0.5:1 with an attack of 30 ms and a release of 100 ms — to bring up the quiet phrases without touching the loud ones. This is the invisible ride that saves you from drawing automation for an hour. On the high band, leave it flat. The result is a vocal that stays present from whisper to belt, with the sibilants controlled and the low-mid clutter carved out, ready to sit in the mix without fighting for space.
Balancing four self-mixed tracks with wildly different tonalities
Scene: late evening, a cup of tea that's gone cold, and four tracks from a band who recorded and mixed everything themselves. The mixes are good — nothing clipping, sensible panning — but they're four different shades of tonal balance because they were mixed across three months in two different rooms. The job is to make them sound like a single release without ironing out the character of each song.
Drag the tracks into a new project. The first step isn't processing; it's listening. Track one is the brightest, with a hi-hat that pokes out a little too much around 10 kHz. Track two is the most dynamic, with quiet verses and loud choruses. Track three is the darkest, with a low-end that feels a touch uncontrolled below 60 Hz. Track four sits somewhere in the middle. Make mental notes, then load Pro-Q on track one and do nothing more than a gentle high-shelf cut at 10 kHz — half a decibel, broad Q. The goal isn't to fix the hi-hat; it's to bring track one closer to the average tonal balance of the set.
On track two, load Pro-MB and set up a broadband dynamic range controller: bypass all bands except one, set it to cover the full frequency range, and apply a ratio of 1.5:1 with a threshold that catches only the loudest chorus peaks. This is gentle loudness normalisation, not squashing — the verses stay intact, the choruses come down by a couple of decibels. The band's energy is preserved, but the listener won't need to reach for the volume knob between sections.
Track three needs the low-end tightened. Pro-Q again: a dynamic bell cut at 50 Hz, so the cut deepens only when the bass guitar hits a particularly resonant note. The dynamic mode in Pro-Q is a threshold-triggered EQ band, not a multiband compressor, so the phase response stays linear and the cut is purely subtractive. Set the threshold so the band kicks in around 3 dB of attenuation and the Q to taste — wide enough that it doesn't ring, narrow enough that it doesn't thin out the kick drum.
Track four is the reference. Nothing on it yet, but load Pro-L on the stereo bus for all four tracks and set the output ceiling to -1.0 dBFS. Engage 4× oversampling and true-peak detection. Now cycle through the tracks and watch the inter-sample peak meter: any red flashes mean the true peak is exceeding -1.0 even though the sample peak is fine. Back off the input gain on the offending track's limiter until the red disappears. The EP now has a consistent ceiling, and the tonal balance between tracks has been nudged into alignment without a single surgical EQ move that changes the character of a song.
The last step is sequencing. Add a short fade between tracks two and three — Logic's default crossfade is fine — and then load Pro-R on a send with a medium hall preset. Dial the mix to 10% wet and automate it so the reverb tail just kisses the final chord of each track, then fades to silence over two seconds. It's a tiny detail, but it turns four separate mixes into a single listening experience. Export at 24-bit with dithering off, and the EP is ready.
AU plug-ins as the native path inside Logic Pro
The bundle works as AU, VST and VST3 plug-ins, which means it slots into Logic Pro, Ableton Live, Cubase, Reaper, Studio One and any other DAW that supports the formats on macOS. Audio Unit is the native format for Logic and GarageBand, and FabFilter's AU implementation supports the full feature set including sidechain inputs, which not every third-party developer gets right. On Apple Silicon hosts, the plug-ins run natively without Rosetta translation, and the current build benefits from the improved CPU scheduling mentioned earlier — sessions that used to stutter on an M1 with twenty instances of Pro-Q now run comfortably with headroom to spare.
With macOS's Audio MIDI Setup utility, you can create aggregate devices that combine multiple audio interfaces, and the bundle doesn't care whether your outputs are a single headphone jack or a 32-channel Dante network. The plug-ins report latency correctly to the host, so delay compensation stays accurate even with lookahead-heavy processors like Pro-L in the chain. On recent versions of macOS, the system-level microphone privacy indicator doesn't interfere with plug-in audio processing — a relief if you've ever had Logic's audio engine drop out because a system alert hijacked the input.
For users who work with video in Final Cut Pro or DaVinci Resolve, the AU versions can be loaded in the audio inspector of both applications. Pro-Q in particular is useful for cleaning up location dialogue — the dynamic EQ mode can tame a room resonance that only appears when a specific voice pitch excites it — while Pro-G's expander mode can reduce background hiss more transparently than a noise gate because it attenuates rather than mutes. The plug-in windows are resizable, which matters on a laptop screen where screen real estate competes with a timeline and a viewer. Drag the bottom-right corner and the entire interface scales smoothly, retina-sharp at any size.
Integration with MIDI controllers is another quiet strength. The creative plug-ins — Saturn, Timeless, Volcano, Twin — expose their modulation sources as MIDI-learnable parameters. Right-click any knob, choose Learn MIDI CC, and wiggle a fader on your controller. The assignment sticks across sessions. What makes this particularly useful is that a single CC can control multiple parameters across different plug-ins if you set up the assignments in each instance, so a single expression pedal can simultaneously open Volcano's filter cutoff, shorten Timeless's delay time and increase Saturn's drive — a performance setup
- macOS 10.13 or later
- Apple Silicon or Intel 64-bit Mac
- Interface language: English
Questions I keep hearing
Which plug-ins are included in the FabFilter Total Bundle?
The bundle includes professional EQ, reverb, compressor, multiband dynamics, limiter, de-esser and gate/expander plug-ins, alongside creative multiband distortion, delay, filter and synthesizer effects.
Does the FabFilter Total Bundle run natively on Apple Silicon Macs?
Yes, the bundle is listed for Apple Silicon and Intel 64-bit Macs, requiring macOS 10.13 or later.
Questions from the class 0
Sign in or join the class to ask a question.
Nobody has asked anything yet. If you have used it on a real job, say what the file did.
Also on the VST Plugins shelf
The whole VST Plugins shelf EZdrummer
Builds full drum tracks from your ideas when no drummer is available.
EZdrummer
Builds full drum tracks from your ideas when no drummer is available.
 EZbass
Turns your chords into realistic basslines with fingerstyle detail and ghost notes.
EZbass
Turns your chords into realistic basslines with fingerstyle detail and ghost notes.
 elastiquePitch
Shifts the pitch and formant of a recording independently without changing its length.
elastiquePitch
Shifts the pitch and formant of a recording independently without changing its length.
 Effectrix
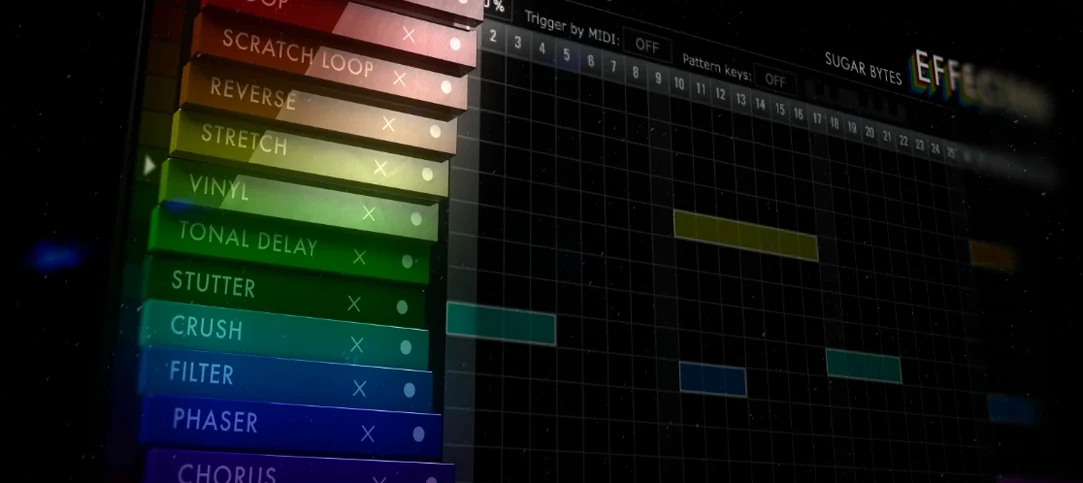
Paints sequenced audio effects across a step grid to transform a loop over time.
Effectrix
Paints sequenced audio effects across a step grid to transform a loop over time.
 Devious Machines Infiltrator
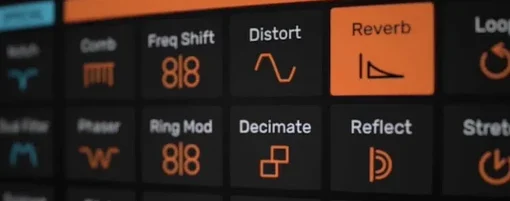
Sequences a chain of audio effects step by step from a single MIDI note.
Devious Machines Infiltrator
Sequences a chain of audio effects step by step from a single MIDI note.
 Cymatics VOXITY
Puts a lead vocal's EQ, compression and spatial sweetening inside a single plug-in.
Cymatics VOXITY
Puts a lead vocal's EQ, compression and spatial sweetening inside a single plug-in.
 Cymatics QUAKE
Synthesises weighty 808 bass sounds from scratch with built-in saturation circuits.
Cymatics QUAKE
Synthesises weighty 808 bass sounds from scratch with built-in saturation circuits.
 iZotope Insight
Displays detailed visual readings of loudness, spectrum and stereo spread while you mix.
iZotope Insight
Displays detailed visual readings of loudness, spectrum and stereo spread while you mix.