 ASPNetWorld
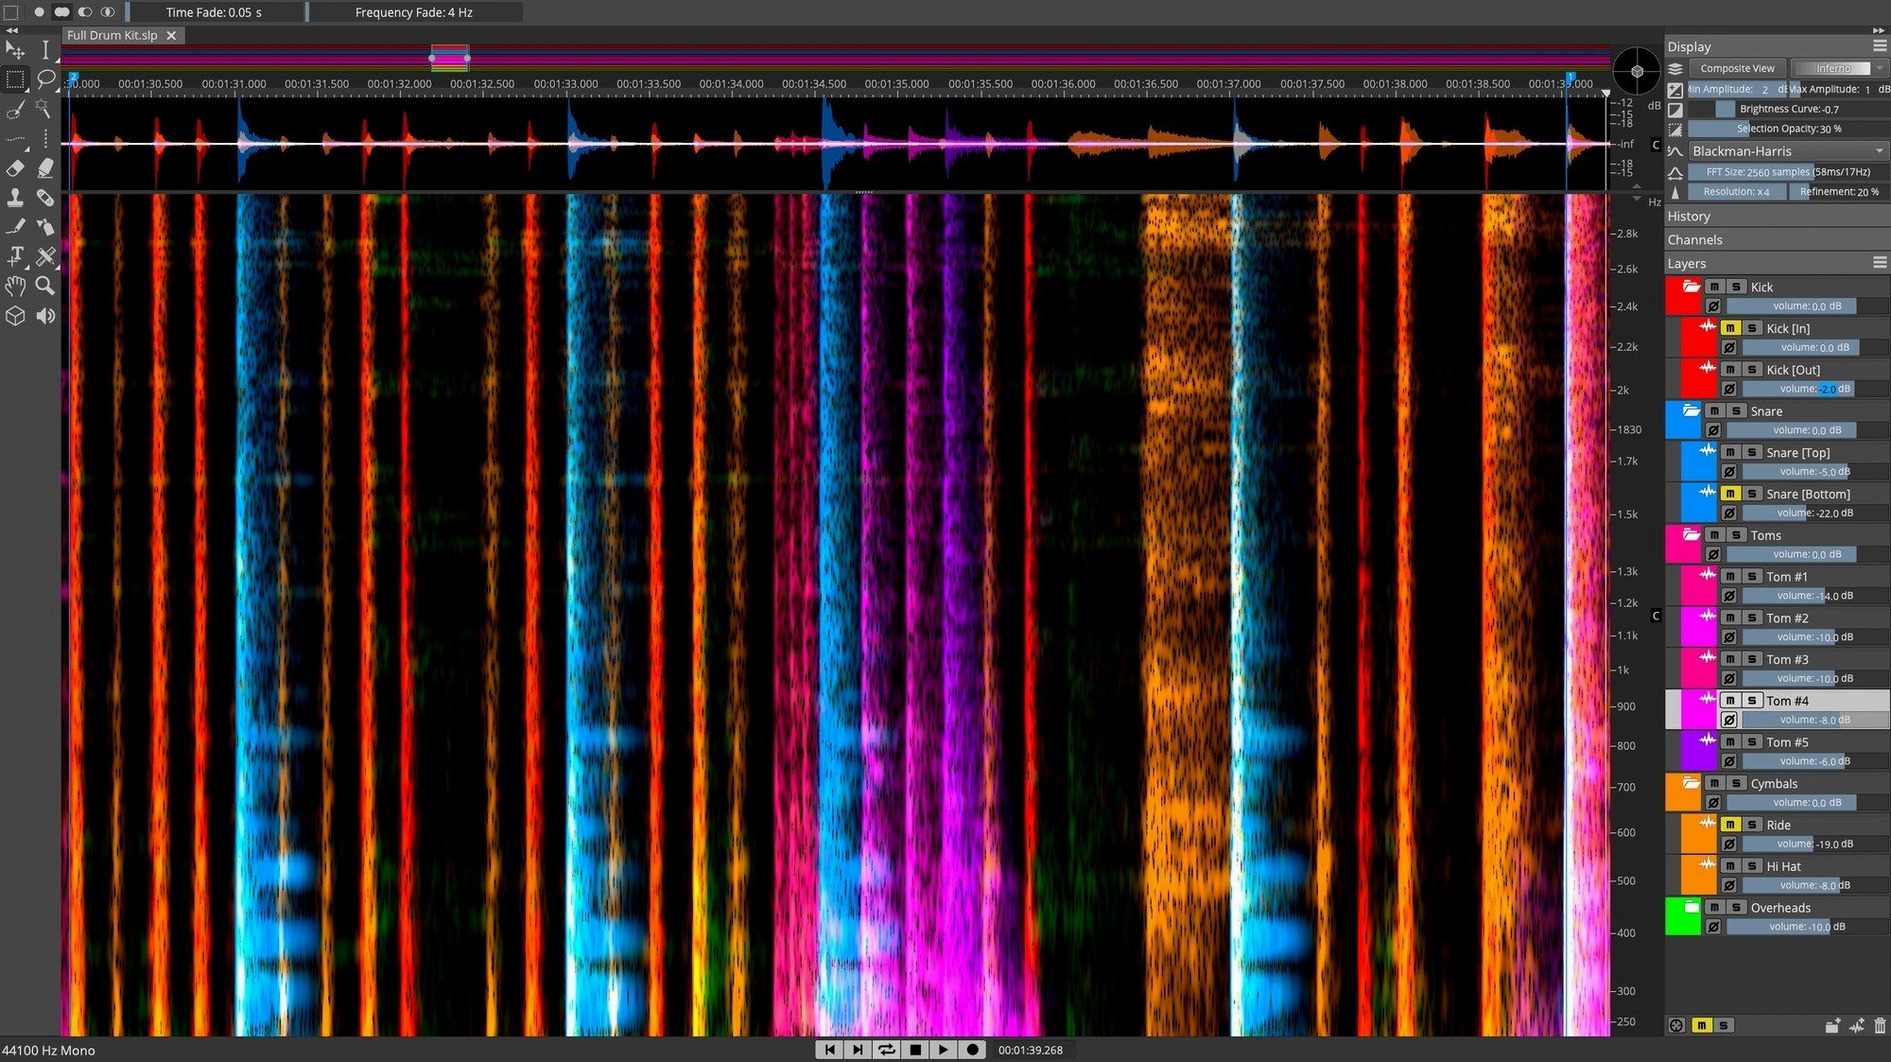
Steinberg SpectraLayers Pro is a spectral audio editor that lets you work directly with sound as visual data, treating a mix as a layered, editable object.
Integrating with your DAW
Beyond its standalone mode, SpectraLayers connects to a session via ARA 2, which extends a host like Nuendo or Cubase so the two applications share the same audio data without constant round-tripping.
Unmixing a full arrangement
The AI-based unmixing engine can pull a finished stereo mix apart into its component stems, giving you access to individual parts as if you had the original multitrack.
Cleaning up a dialogue recording
The Voice Denoiser is tuned specifically for isolating the human voice, making it a natural fit for rescuing speech from noisy environments before the material reaches a video editor.
A vocal repair walkthrough, from noisy original to clean take
Imagine a live recording where the vocal is perfectly delivered but sits on top of a low-frequency rumble and a persistent 2 kHz whistle from a nearby monitor. The rumble you can tame with a high-pass filter in any EQ, but the whistle is buried inside the words themselves. Here's how I'd approach it in SpectraLayers, step by step.
First, open the file and let the spectral display fill the window. Switch the view to a colour scale that makes quiet background noise visible — something with a dark background and a bright, high-contrast foreground works well for this. You'll immediately see the whistle as a thin, continuous horizontal line running through the entire recording. The rumble shows up as a brownish haze across the bottom two octaves.
Select the Frequency Selection tool and draw a loose rectangle around the whistle's frequency band, from about 1.8 kHz to 2.2 kHz, spanning the full length of the clip. Apply a gentle gain reduction of perhaps 6 dB first — listen back and see if that's enough. If the whistle is still poking through, use the Harmonic Selection tool instead. Click on the fundamental line and SpectraLayers will grab its harmonics too, which is vital when the whistle has a raspy, complex tone.
With the harmonics selected, open the Amplitude controls and pull the gain down by another 4–6 dB. The beauty here is that you're attenuating only the whistle's spectral footprint, not the vocal harmonics that cross through the same frequency region. The voice stays intact because you're working on a component that exists independently in the spectral domain. For the rumble, a simple low-frequency selection and a 12 dB cut usually does the job without thinning out the voice's body.
Before you render, toggle the selection on and off a few times while playing the loudest phrase. Your ear will tell you when the whistle has dropped below the threshold of distraction. The whole process takes about three minutes once you know where to look.
What a post-production editor sees in it
Consider someone cutting dialogue for a documentary. They've received field recordings from three different locations: a kitchen, a moving car, and a park bench during a lunchtime crowd. Each location has its own noise signature, and the director wants consistency across the timeline.
Rather than reaching for broadband noise reduction plugins and hoping for the best, the editor loads each clip into SpectraLayers and studies the noise profile visually. The kitchen hum is an even band around 120 Hz with harmonic spikes from a refrigerator compressor. The car has a shifting low-frequency drone that rises and falls with the engine revs. The park features a diffuse, mid-heavy wash of voices and footsteps.
Using a combination of the Voice Denoiser and manual spectral editing, the editor isolates the dialogue from each environment. The AI doesn't just strip noise — it learns the voice's spectral shape and separates it, leaving the background as a removable layer. Once the voices are clean, the editor can apply a consistent room tone from the project's ambience library, giving all three scenes the same acoustic glue. What would have been an afternoon of fiddly automation becomes a morning of precise, visual cleanup work. And because the original recordings are preserved as layers inside the project, nothing is ever truly lost — you can always adjust a separation later if the director changes their mind about how much background should bleed through.
Rescuing a bass line from a muddy cassette transfer
I want to rescue a bass line from an old four-track cassette transfer where the low end is fighting a muddy kick drum. The kick was recorded too hot, and every thump smears into the bass notes. I drag the stereo file into SpectraLayers and the display resolves into a landscape of blues, greens and yellows. The kick drum shows up as a series of bright vertical smears below 100 Hz, each one followed by a decaying bloom of harmonics. The bass line weaves between them, a continuous melodic contour that's darker and more sustained.
I reach for the Component Unmixing module first. I train it by roughly circling a kick hit and a bass note, and the AI separates the two sources into independent layers within about twenty seconds. I solo the bass layer and listen. The separation isn't perfect — there's a slight flamming effect where the kick's attack overlaps with the bass transient — but it's close.
Now I zoom into one of those tricky overlaps. I switch to the Paintbrush tool, set the opacity to about 30%, and carefully paint out the residual kick energy from the bass layer. This is slow, meditative work: each brush stroke removes a little more of the smeared transient without touching the bass note underneath. I work through four or five kick hits, and by the end the bass line sounds like it was recorded in isolation. I export it and drop it into my DAW, where it sits cleanly against the new drum track I've programmed. The whole session took forty minutes, and most of that was listening, not editing.
It sits alongside your DAW as a specialist problem-solver
Does SpectraLayers replace my DAW's audio editor, or does it sit alongside it? It sits alongside. Think of it as a specialist tool you reach for when EQ, compression and standard editing can't solve the problem. You can run it standalone and bounce files back to your DAW manually, or you can use ARA 2 integration with Cubase or Nuendo so it opens as an extension of the host session. Most people I teach keep it running as a secondary window and send clips over when they need spectral access.
Will it work on an older Intel Mac, or does it need Apple Silicon? Version 13 runs on both architectures, and I've seen it perform smoothly on Intel machines from 2018 onward, provided you have enough RAM. Spectral editing is memory-intensive because the display alone is essentially a high-resolution image of your audio being redrawn in real time. The AI processes — unmixing, Voice Denoiser, Pattern Finder — benefit noticeably from the Neural Engine on Apple Silicon chips, but they'll complete on Intel too, just a little more slowly.
Can I try before I commit to the full Pro edition? Steinberg offers an Elements edition that shares the same core spectral view and some of the basic editing tools. If you're curious whether the visual approach clicks with you, Elements is a sensible place to explore before moving up to Pro. The unmixing and advanced AI modules are exclusive to Pro, so if stem separation is the main thing you need, you'll want to go straight there.
Does it handle third-party plug-ins inside its own mixer? SpectraLayers Pro includes a channel strip per layer with slots for VST 3 effects, so you can insert an EQ, compressor or reverb directly on a separated stem without leaving the application. It's not a full mixing environment — you'll still do your final balance in a DAW — but it's enough to audition a cleaned or unmixed result in context.
Increase the spectral resolution to see finer detail
Out of the box, SpectraLayers is configured for general use, but a few adjustments make it feel more responsive. Open the preferences and look for the Display tab. Increase the spectral resolution to its maximum value — this gives you finer detail when you're zoomed in on problem frequencies. The trade-off is a slightly heavier GPU load, but any Mac from the last five years handles it without complaint.
Next, go to the Selection preferences and enable Auto-select harmonics by default. When you click on a frequency, the software will attempt to grab the related harmonic series above it. For tasks like whistle removal or de-essing, this saves you from manually tracing each overtone. You can always disable it per selection if you need a more surgical approach.
I also recommend setting the Undo history to at least fifty steps. Spectral editing is exploratory — you'll often paint, cut, adjust gain, listen, and backtrack. A deep undo buffer means you can follow a hunch without worrying about losing a good state. Finally, under Audio, match the driver buffer size to what you use in your DAW; this keeps playback latency consistent when you're switching between applications throughout a session.
Version 13.0.20 is an installer maintenance release. The detailed release notes are available directly from the downloaded disk image.
- macOS 12 or later
- Apple Silicon or Intel processor
- ARA 2-compatible host (Nuendo or Cubase) required for ARA integration
Questions from the class 0
Sign in or join the class to ask a question.
Nobody has asked anything yet. If you have used it on a real job, say what the file did.
Also on the VST Plugins shelf
The whole VST Plugins shelf SSG Audio Optimus
Masters audio with intelligent spectral assistance.
SSG Audio Optimus
Masters audio with intelligent spectral assistance.
 Spire
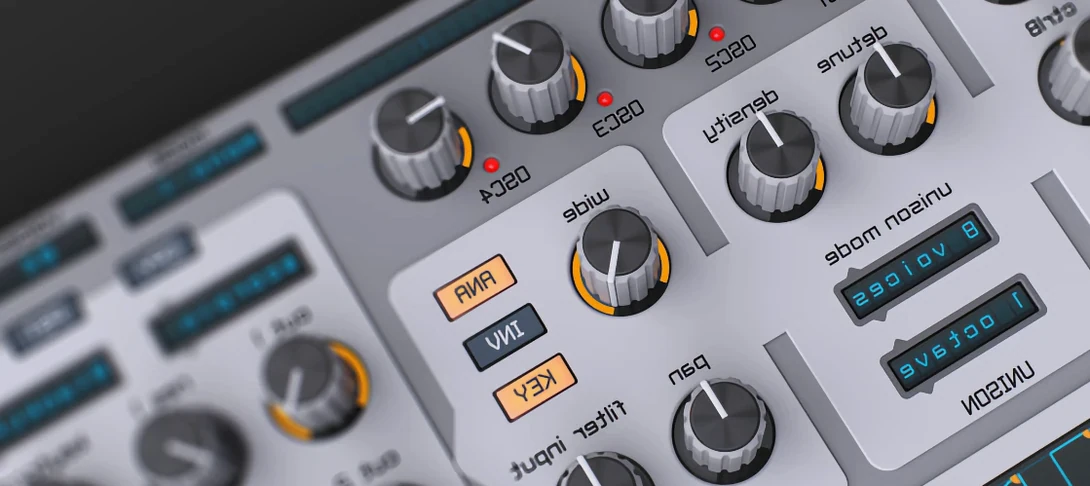
Synthesises rich virtual analogue sounds.
Spire
Synthesises rich virtual analogue sounds.
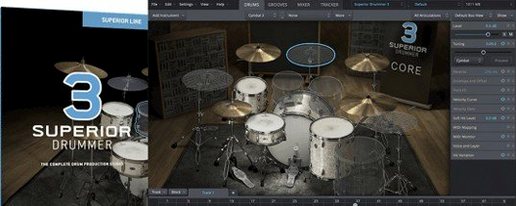 Superior Drummer
Provides realistic, multi-channel drum recordings.
Superior Drummer
Provides realistic, multi-channel drum recordings.
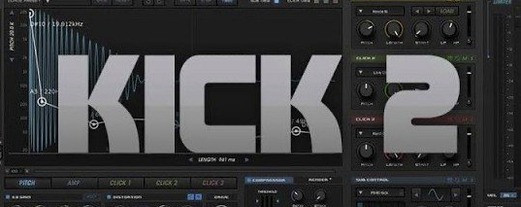 Sonic Academy KICK
Designs a kick drum from a synthesised sub layer and sampled click layers you tune by ear.
Sonic Academy KICK
Designs a kick drum from a synthesised sub layer and sampled click layers you tune by ear.
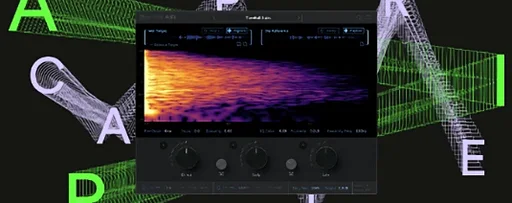 Supertone Air
Matches re-recorded dialogue to production sound.
Supertone Air
Matches re-recorded dialogue to production sound.
 Slate Digital Submerge
Generates a sub-bass tone that ducks around your kick drum automatically.
Slate Digital Submerge
Generates a sub-bass tone that ducks around your kick drum automatically.
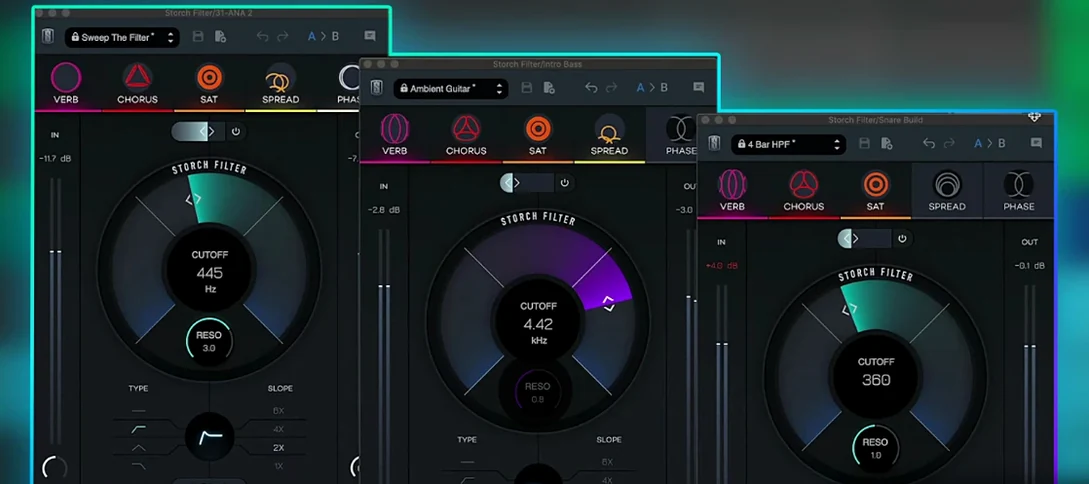 Slate Digital Storch Filter
Sweeps, stutters and shimmers a sound through a single musical filter interface.
Slate Digital Storch Filter
Sweeps, stutters and shimmers a sound through a single musical filter interface.
 Slate Digital Murda Melodies
Processes audio with a chain that shifts from subtle warmth to a crushed, distorted texture.
Slate Digital Murda Melodies
Processes audio with a chain that shifts from subtle warmth to a crushed, distorted texture.