 ASPNetWorld
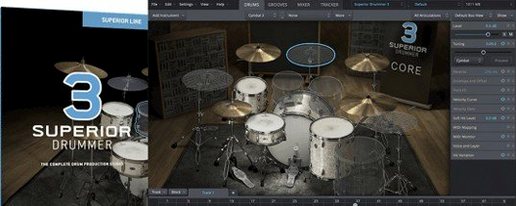
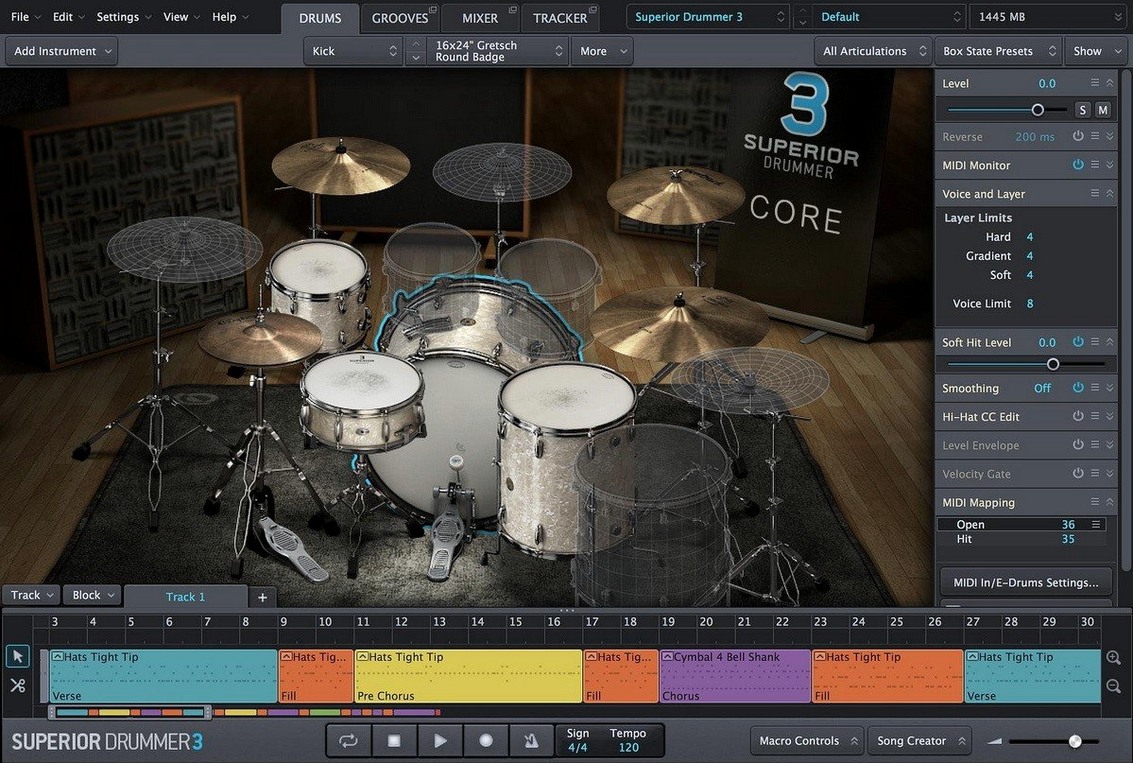
If your production workflow already leans on a DAW like Logic Pro for composition and mixing, Superior Drummer 3 slots in as the dedicated drum room you never had to book. Rather than scrolling through one-shot samples, you are loading a full, multi-channel recording of a high-end kit into a custom-built mixing console. It is a drum sampler at its core, but packaged as a self-contained studio environment that runs as a 64-bit plug-in on both ARM and x86 Macs.
What sits inside the download
The package arrives as a disk image, and once installed, the heart of it is the extensive core sound library. This is not a collection of static hits; you are dealing with detailed multi-sampled kits captured in world-class rooms. Surrounding that library is a fully featured mixer with bleed control, routing, and effects tailored for drum processing. One particularly clever trick is the ability to feed an existing drum recording into the engine and have it converted to MIDI, letting you replace or reinforce the original performance with the Superior Drummer library while keeping the human feel intact.
Runs natively on Apple Silicon and Intel from High Sierra onward
On a technical level, the software runs on macOS 10.13 and later, and the current version 3.4.4 maintains compatibility with the latest Apple Silicon machines alongside older Intel systems. This means you can drop it into a project on an M-series MacBook Pro with the same confidence as on an older Mac Pro tower, provided your host software supports 64-bit plug-ins. The interface language is English, and the workflow is designed to mimic a traditional recording signal chain, making the jump from a hardware desk to the screen feel logical rather than like learning a new instrument from scratch.
Building a full drum performance from a late-night piano sketch
Imagine it is late evening, and you have a sketch of a song that has been sitting in Logic Pro as a piano guide and a faint vocal for a fortnight. The drum bus is empty. You insert Superior Drummer on a software instrument track, and the plug-in window opens after a moment while the library indexes in the background. The first thing you see is the main construction window, with a kit visualisation that is more functional than ornamental—click a cymbal, hear a cymbal.
You begin by loading the default Avatar kit, not because it is the right kit, but because it loads fast and lets you find a tempo and a feel. You tap in a kick-snare pattern on a MIDI keyboard, quantise it loosely to about 70% strength so it breathes, and scroll through the kick drum presets while the loop plays. Each kick is not just a different tuning; it is a different drum, in a different room, with its own close, overhead and room mic relationships already set. You land on a 22-inch with a felt beater that has the right balance of thump and air, then spend three minutes swapping the snare through four or five options before a brass-shelled 14-inch gives the crack you were hearing in your head.
With the core groove looping, you open the mixer tab. The channels are laid out like a console strip: kick in, kick out, snare top, snare bottom, hi-hat, three toms, overheads, room mics, and a couple of ambient pairs depending on the kit. The snare bottom channel is thin and fizzy on its own, but tucked under the top mic at about -8 dB it adds just enough wire rattle. You pull the overhead faders down a touch and push the room mics up until the groove feels like it is happening in a space rather than inside your headphones. A touch of the built-in saturation on the room bus glues the transients together.
By now you have been working for maybe twenty minutes and you have not opened a single third-party plug-in. The hi-hat needs tightening, so you open the envelope shaper on that channel and pull the sustain back until the pedal chic is crisp and out of the way of the vocal. You bounce a rough stereo stem to the DAW timeline, mute the MIDI track, and carry on writing. The session feels less like programming and more like having tracked a real drummer and then spent an hour getting sounds—except the hour took twenty minutes and nobody needed tea.
Three overlapping camps of songwriters, engineers, and live players
Superior Drummer is not a single-purpose tool dressed up as a studio, and the people who benefit most from it tend to fall into three overlapping camps.
Songwriters and producers who think in arrangement, not just beats. If you build productions from the ground up and treat drums as a musical voice rather than a metronome, the library depth matters. You are not fishing for a loop that fits; you are choosing a shell material, a head type, a stick tip, and then placing hits where the song asks for them. The ability to swap a maple snare for a steel one halfway through a chorus, or to thin out a verse by pulling the room mics down in the mixer, means the drums follow the arc of the song.
Mix engineers who receive poorly recorded drum tracks. The audio-to-MIDI conversion is not a gimmick here. Feed in a multitrack of a live kit that was captured in a less-than-ideal basement, and Superior Drummer can detect the transients, map them to the corresponding articulations, and trigger the library samples. You keep the drummer's performance—the push and pull of the fills, the ghost notes on the snare—but replace the sound with something that was recorded in a treated room with proper mic placement. The bleed control in the mixer becomes essential here, letting you dial in just enough original snare buzz in the tom mics to keep it human.
Electronic producers looking for organic texture. The library is weighted toward acoustic drums, but the sound design potential comes from the mixer. Distorting the room mics, gating the close mics aggressively, and layering a triggered electronic kick underneath turns a jazz kit into something that hits like a downtempo track. The envelope shapers and the transient designer let you reshape attacks so a brushed snare becomes a short, percussive stab that sits in a dense electronic mix without fighting the synths.
Pleasant surprises tucked in the corners
Some of the most useful features are the ones nobody mentions on a first pass through the interface. They are small workflow accelerators rather than headline features, but they add up over a long session.
The MIDI node system in the groove editor is easy to overlook. You can drag a MIDI block onto the timeline and then edit individual hits not as piano-roll notes but as drum articulations. A snare hit is shown as a snare hit, labelled with its assigned articulation, and you can change it from a centre hit to a rimshot with a right-click. It is a small thing, but it means you never have to remember that C#2 was the rimshot and D2 was the sidestick.
The macro controls on the main page are not labelled with any fanfare, but they are customisable. By default, a single knob might control overall ambience, but you can map it to any combination of faders, effect parameters or mic balances. For live tracking or quick arrangement passes, having one knob that crossfades between a tight, dry kit and a cavernous room sound saves constant trips to the mixer.
Keyboard shortcuts inside the plug-in are sparse but the ones that exist are worth knowing. Holding Option while dragging a fader in the mixer moves all faders in that group—all close mics, say—relatively. Command-click on a drum in the construction window solos that channel, which is faster than finding the solo button on the mixer strip. The tap-to-find feature in the browser lets you hit a key on your MIDI controller and have the library search narrow to sounds that match that general pitch and body, which is unexpectedly useful when you know the sound you want but not what the Toontrack team named it.
The settings you change before anything else
Out of the box, Superior Drummer is set up for a general-purpose studio scenario, but a handful of preferences are worth adjusting before you build your first proper track.
Buffer and preload settings. In the audio engine preferences, the default preload buffer size is sensible for a desktop machine, but on a laptop—especially one running an external drive for the 230 GB library—bumping it up can prevent dropouts when you switch kits during playback. Conversely, if you are on a machine with fast internal storage and plenty of RAM, lowering the preload time speeds up kit loading noticeably.
Velocity curve. The MIDI input section has a velocity curve editor that defaults to linear. If you play drums from a keyboard rather than a pad controller, pulling the curve so that moderate key strikes trigger lower velocities makes the performance feel more like a drummer's dynamic range. Pad players often want the opposite: a slightly compressed curve so that ghost notes register without having to tap unusually softly.
Default mixer template. Every new kit loads with the mixer state that was saved with it, but you can override this by setting a default template. If you routinely add the same parallel compression bus, or you always pull the hi-hat bleed out of the snare mic, saving a template with those changes means every kit you audition starts from your preferred baseline rather than the factory one.
Multi-core support. In the audio settings, enabling multi-core rendering if it is not already active makes a measurable difference on M-series chips with their efficiency and performance cores. The plug-in will distribute voice streaming across available threads, which matters when you have a full arrangement running with multiple instances or a dense MIDI track with high polyphony.
A complete replacement workflow, start to finish
One of the more satisfying tasks you can perform with Superior Drummer is taking a live drum recording and rebuilding it with the library sounds while keeping the original performance. Here is how that plays out in practice, using a typical four-mic basement recording as the source.
You begin with a multitrack session: kick mic, snare top, and a stereo overhead pair recorded on a portable interface. The kick is woolly, the snare has more ring than body, and the overheads capture a room that is mostly plasterboard and regret. Rather than spending an hour with EQ and gates trying to polish it, you decide to use the recording as a trigger source.
Step one: isolate the transients. You send the kick and snare tracks to Superior Drummer via sidechain inputs, one instance per drum if you want separate control, or a single instance with the audio routed to the tracker. The plug-in's transient detection analyses the audio and plots hits on a timeline. You set the detection threshold so that it catches the ghost notes on the snare but ignores the bass guitar bleed that has leaked into the kick mic. This takes some trial and error, but the visual waveform display helps you see where false triggers are occurring.
Step two: map articulations. The tracker assigns each detected hit a MIDI note based on its amplitude and frequency content. A hard snare centre hit maps to the centre articulation, while a lighter, higher-frequency tap might map to a rim click. You go through a verse and chorus manually to check the mapping, correcting a few misfires by dragging the articulation labels in the tracker window. This is tedious for about ninety seconds, and then it is done.
Step three: build the replacement sound. With the MIDI performance now driving the library, you load a kit that matches the genre. The original drummer played with sticks and a medium touch, so you pick a kit with a punchy birch kick and a snare that has a short decay. In the mixer, you balance the close mics first, then bring in the overheads until the cymbal wash feels natural, then add just a touch of the ambient room pair to give the stereo image some depth.
Step four: blend the original bleed. This is the step that stops the result from sounding like a programmed replacement. You take the original overhead tracks and route them to a separate aux in the DAW, high-pass them at around 600 Hz, and tuck them under the Superior Drummer output at a low level. What you are keeping is the high-frequency air and the natural cymbal decay from the original performance. The body of the sound—the kick, the snare, the tom resonance—comes from the library. The air and the human inconsistencies come from the basement recording. The result is a drum sound that has the polish of a professional room with the character of the original take, and the whole process from import to rough mix takes under an hour once you know the routing.
The jump to version 3.4.4 is primarily a stability and compatibility update, but there is an important structural change to be aware of. Any Superior Drummer 3 product released from the second quarter of 2025 onward will require version 3.4.0 or later as a baseline, so keeping current ensures you can access the newest sound expansions without a hitch.
- macOS 10.13 or later
- Supports both Apple Silicon (ARM) and Intel (x86) architectures
- Requires a 64-bit host application
Questions I keep hearing
Can Superior Drummer 3 create MIDI from an audio recording?
Yes, it includes a feature that analyses drum audio recordings and converts them into MIDI data, allowing you to trigger the built-in samples with the original performance's dynamics and timing.
Does this run natively on Apple Silicon Macs?
Absolutely. The plug-in supports both the ARM architecture used in M-series chips and the older x86 architecture, so it runs smoothly on a wide range of Macs from macOS 10.13 upwards.
What exactly is included in the software?
It combines an extensive multi-sampled drum library with a built-in mixing console, effectively giving you a complete virtual drum studio rather than just a collection of sounds.
Questions from the class 0
Sign in or join the class to ask a question.
Nobody has asked anything yet. If you have used it on a real job, say what the file did.
Also on the VST Plugins shelf
The whole VST Plugins shelf Supertone Air
Matches re-recorded dialogue to production sound.
Supertone Air
Matches re-recorded dialogue to production sound.
 Synapse Audio The Legend HZ v2.0.2.R1
Recreates classic analogue synth sounds.
Synapse Audio The Legend HZ v2.0.2.R1
Recreates classic analogue synth sounds.
 Steinberg SpectraLayers Pro
Edits audio spectrally and visually.
Steinberg SpectraLayers Pro
Edits audio spectrally and visually.
 T-RackS
Masters audio with virtual studio gear.
T-RackS
Masters audio with virtual studio gear.
 SSG Audio Optimus
Masters audio with intelligent spectral assistance.
SSG Audio Optimus
Masters audio with intelligent spectral assistance.
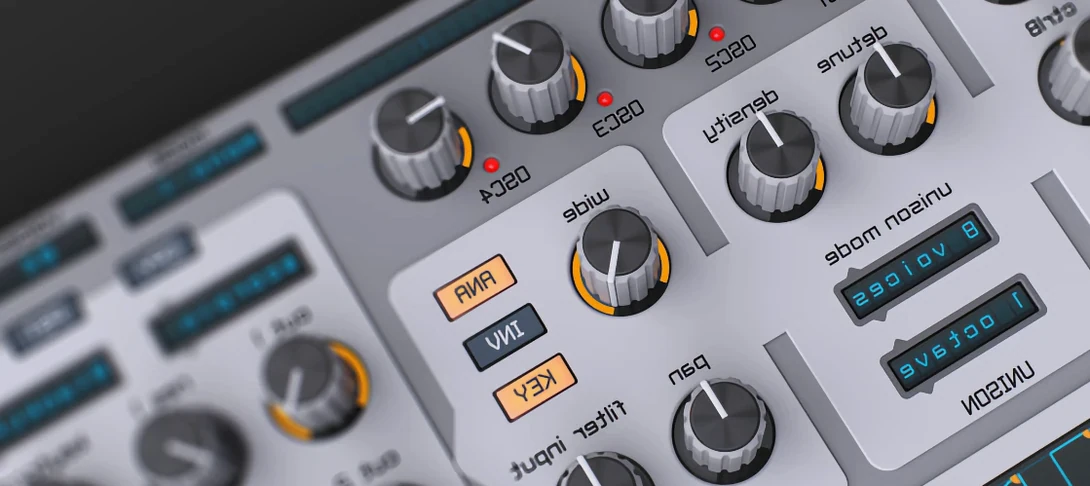 Spire
Synthesises rich virtual analogue sounds.
Spire
Synthesises rich virtual analogue sounds.
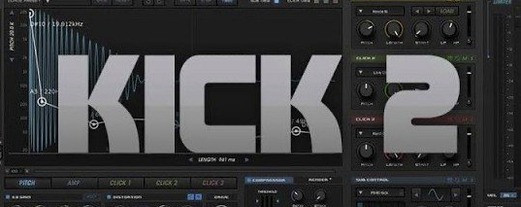 Sonic Academy KICK
Designs a kick drum from a synthesised sub layer and sampled click layers you tune by ear.
Sonic Academy KICK
Designs a kick drum from a synthesised sub layer and sampled click layers you tune by ear.
 Slate Digital Submerge
Generates a sub-bass tone that ducks around your kick drum automatically.
Slate Digital Submerge
Generates a sub-bass tone that ducks around your kick drum automatically.